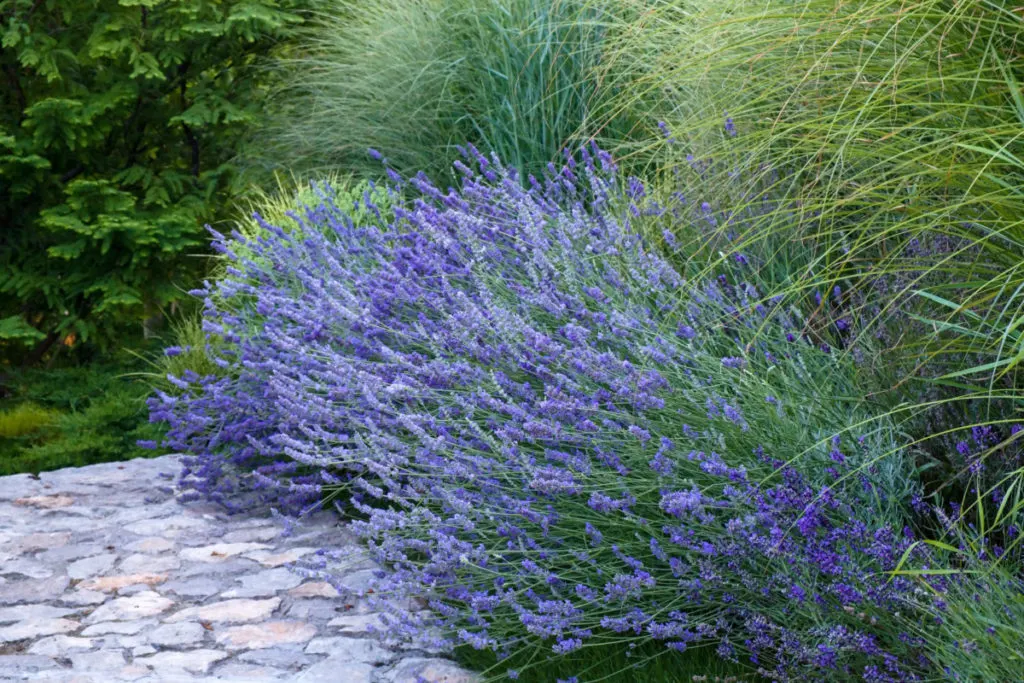
When it comes to perennial garden plants, lavender often tops the list. This member of the mint family adds fragrance to every flower bed and attracts a variety of beneficial pollinators. Today, it’s valued for its calming effects and ability to ease anxiety and insomnia.
Lavender comes from the Mediterranean and thrives in a wide range of soils—making it perfect for your less-than-ideal garden plots. Here’s what you need to know about how to start growing lavender at home.
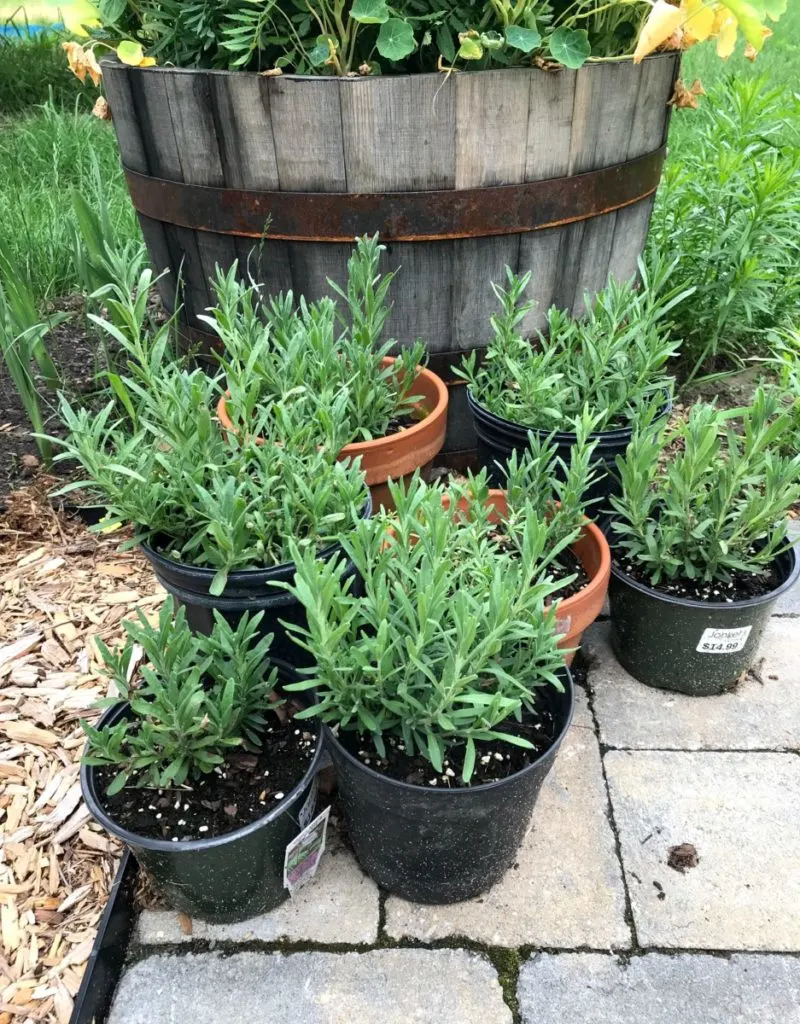
Best Lavender Varieties
The first step for growing lavender at home is deciding on which variety to plant. Here are some of the most popular options:
English Lavender (Lavandula angustifolia)
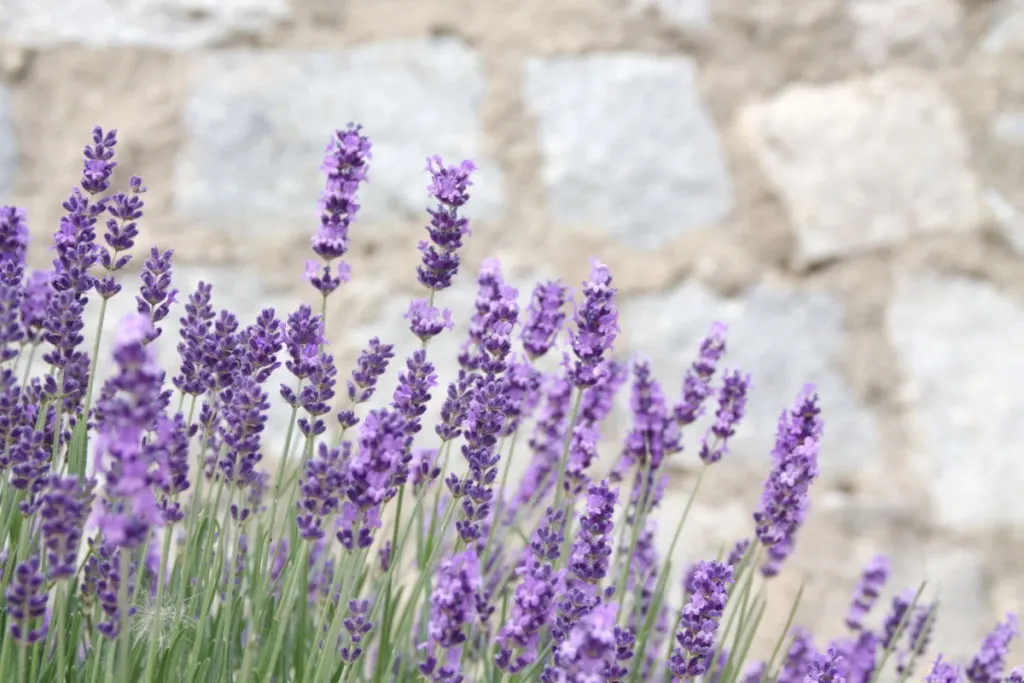
As the most common lavender variety, English lavender encompasses hundreds of cultivars, most of which are hardy to Zone 5 and bloom twice per season. Popular options: Hidcote, Munstead, Silver Mist.
Spanish or Butterfly Lavender (L. stoechas)
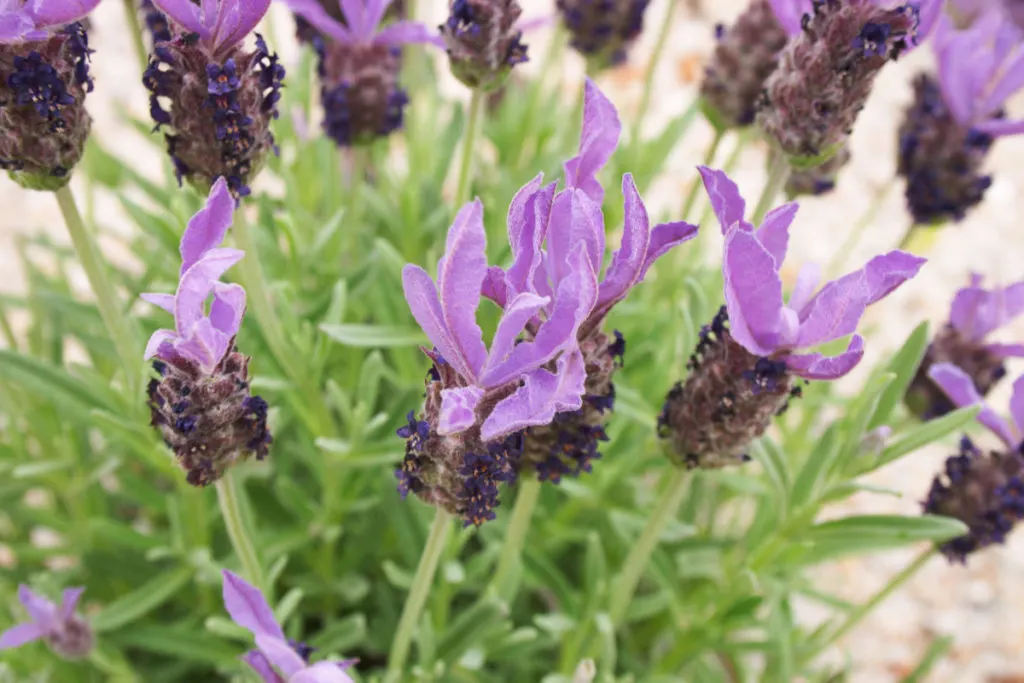
Grown for its silvery aromatic leaves and ear-like flowerheads, Spanish lavender is winter hardy to Zones 7-9. Popular options: Ballerina, Anouk.
Lavandins (L. x intermedia)
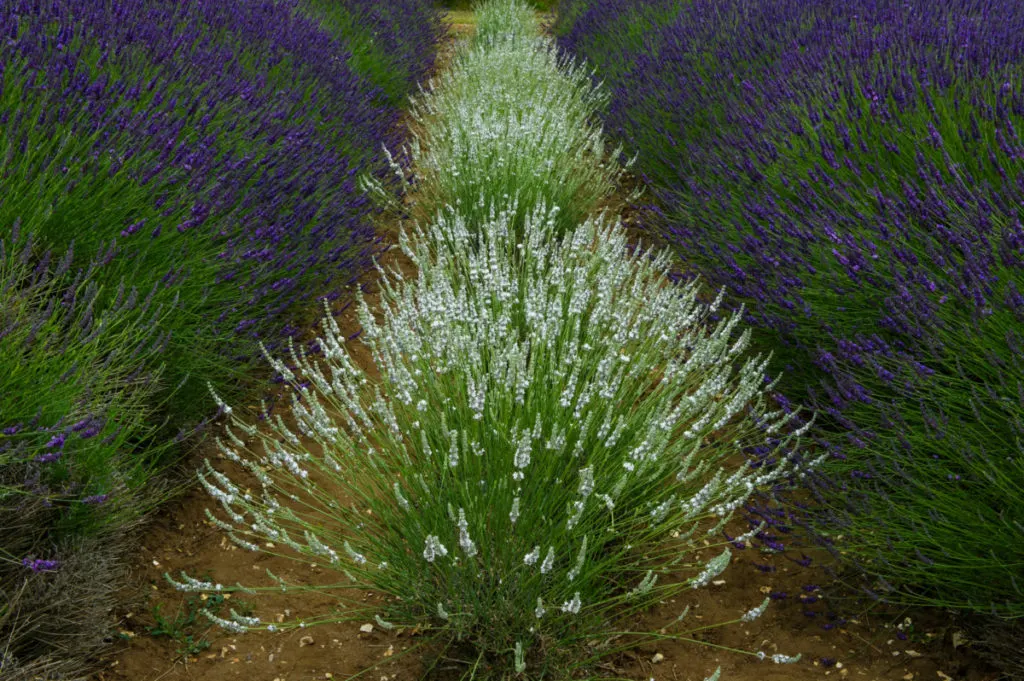
This hybrid of English and Portuguese lavender produces large plants that bloom once per year in the late summer. Popular options: Phenomenal, Provence.
French or Fringed Lavender (L. dentata)
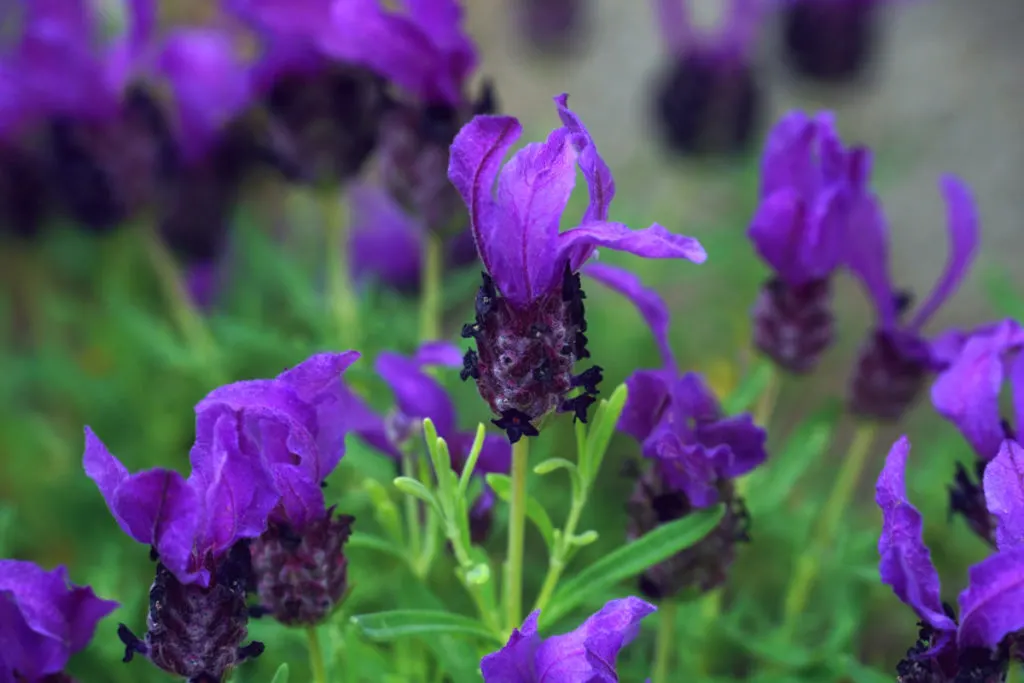
French lavender thrives in hot, steamy conditions. These smaller plants do well when grown indoors and in pots. Popular option: Royal Crown.
If in doubt, it’s best to base your lavender variety decision around your climate.
If you experience harsh, wet winters, stick with English cultivars or consider growing in a container so you can bring the plant indoors.
How to Germinate Lavender Seeds
Lavender is notoriously tricky to start from seed. Plants can take three months or longer to germinate, and young seedlings often need to be brought indoors for the first winter. For this reason, most gardeners purchase small starter plants instead.
However, those with patience can successfully grow lavender from seed. The seeds will germinate most successfully if collected in the fall and sown on the surface of a shallow seed tray. You should then overwinter the tray in a cold frame or cool-temperature greenhouse with ventilation for planting in the spring.
Another option is to trick the seeds into thinking they’ve gone through winter within a few weeks through cold stratification in the refrigerator.
Wet a paper towel and place it on a plate, sprinkling the lavender seeds on top. Press them into the towel to ensure they make contact. Place the plate in a part of the fridge that won’t be disturbed and leave it in place for three to four weeks. After this point, you can remove them from the paper and plant them within a seed tray.
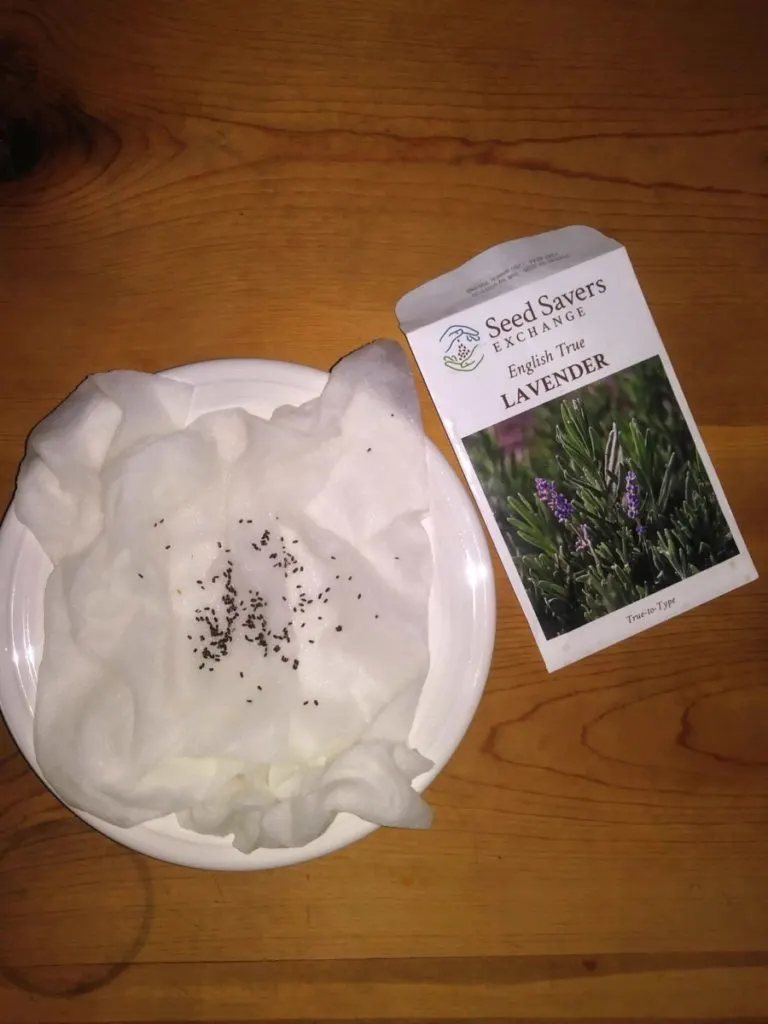
Even under ideal conditions, lavender seeds can take 14-21 days to germinate. Make sure you surface sow them into damp soil and avoid using a plastic lid, as it can keep the soil too wet. When watering, only do so from below so you don’t dislodge the seeds before germination.
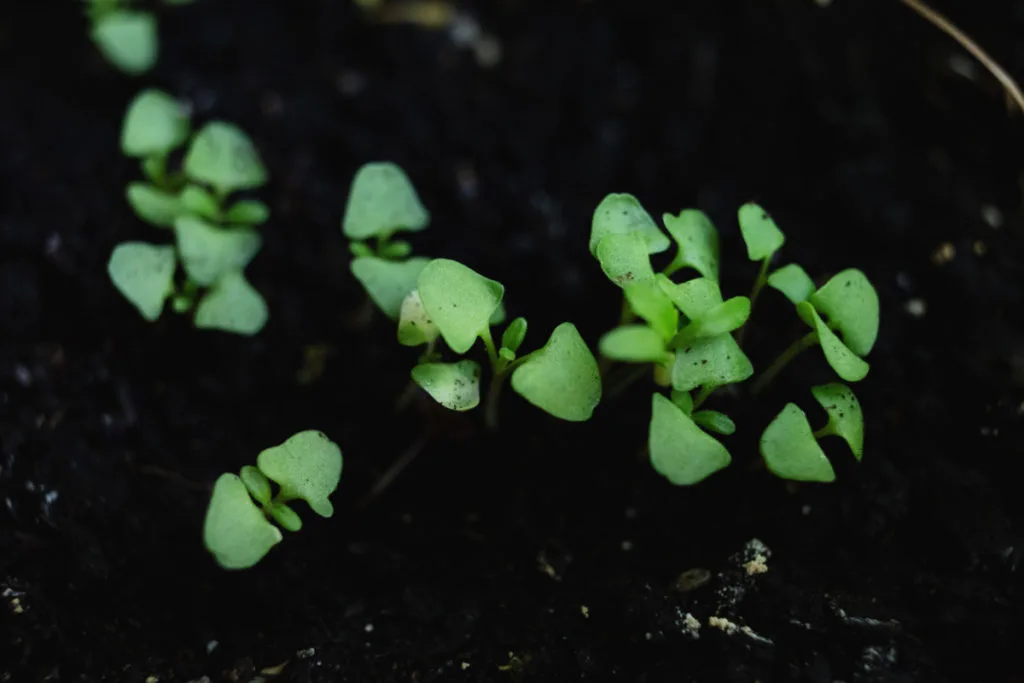
Delicate seedlings should start to pop out within a few weeks. If germination rates seem low after four weeks, move the seeding tray to a cooler spot for two weeks before placing the tray on a heating mat for extra warmth.
Note that many lavender cultivars won’t grow true to the parent plant when propagated by seed. The English cultivar Munstead is a safe choice.
Planting Lavender: A Guide
Here’s what you need to know to get your lavender garden established.
When to Plant Lavender
Whether you’re starting from seed or with established plants, lavender is ready for transplanting once it has several true leaves per plant.
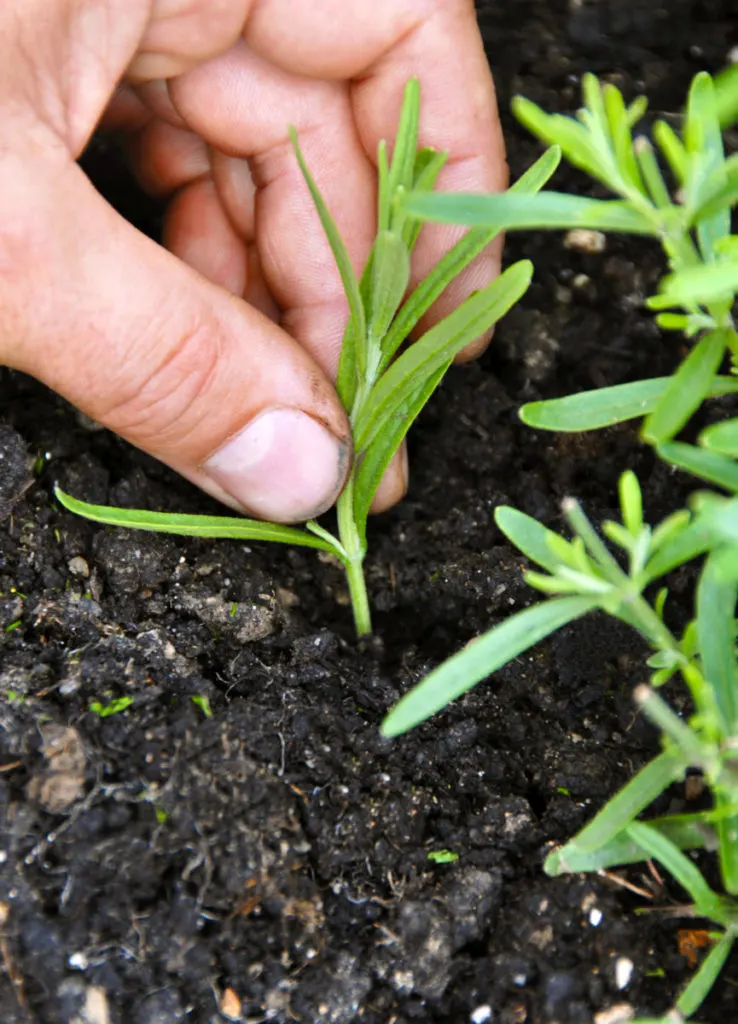
Timing will depend on your growing zone. Cold regions (Zones 1-6) should plant in the spring or early summer, while Zones 7-10 can plant in the early fall so that roots can get established before the cooler winter weather.
For spring plantings, wait until the soil has warmed up to at least 60°F (15°C), and there’s minimal risk of frost.
Where To Plant Lavender
Though lavender isn’t picky about its soil quality, it prefers full sun and slightly alkaline growing conditions (a pH around 7.0 is ideal). Plants in hot climates will appreciate afternoon shade.
As they are used to the arid Mediterranean, lavender roots can’t tolerate excess water in the soil and will quickly start to rot if they stay wet. If your soil is clay or otherwise compacted, consider adding coarse sand and organic material to improve drainage and make it more workable.
You can also dig a half-foot deeper than the root ball and fill the bottom of the hole with gravel. Or, skip improving your soil altogether by planting lavender in raised beds or pots.
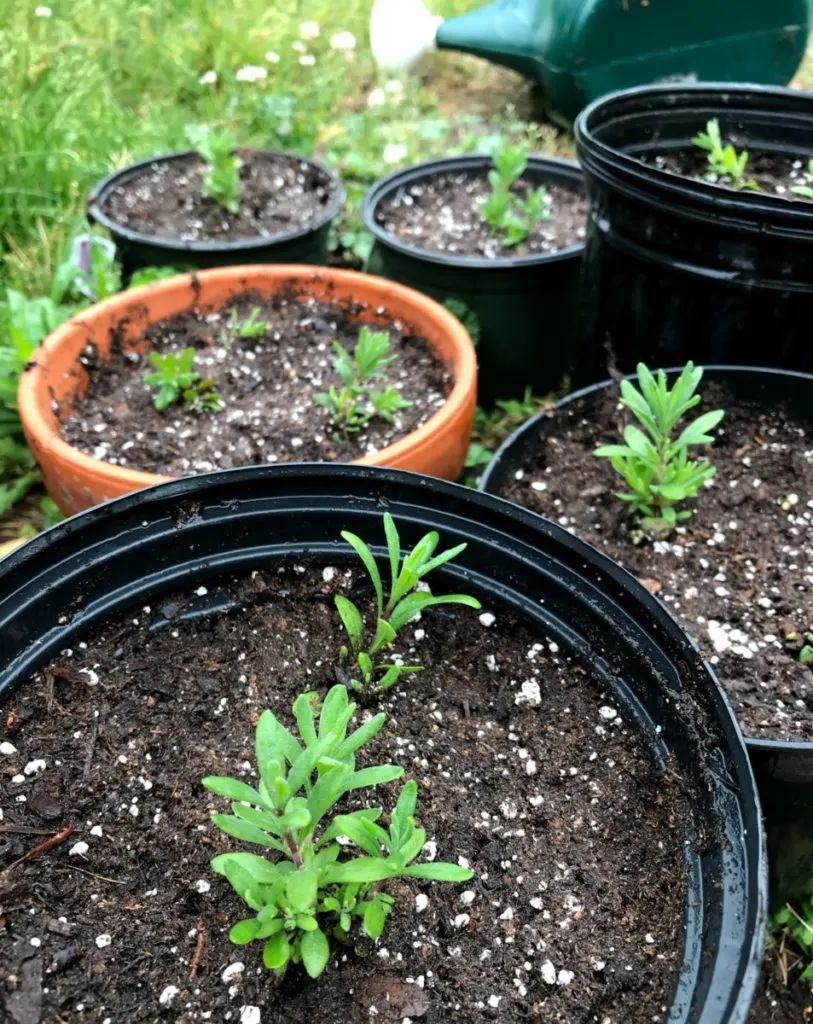
How to Plant Lavender
No matter what size plants you start with, it’s best to space lavender plants two to three feet apart. This will give them plenty of room to reach a total size between one and three feet tall. Smaller varieties, such as Royal Crown, need less space.
Make sure you allow for good airflow between plants, especially in southern regions with high humidity.
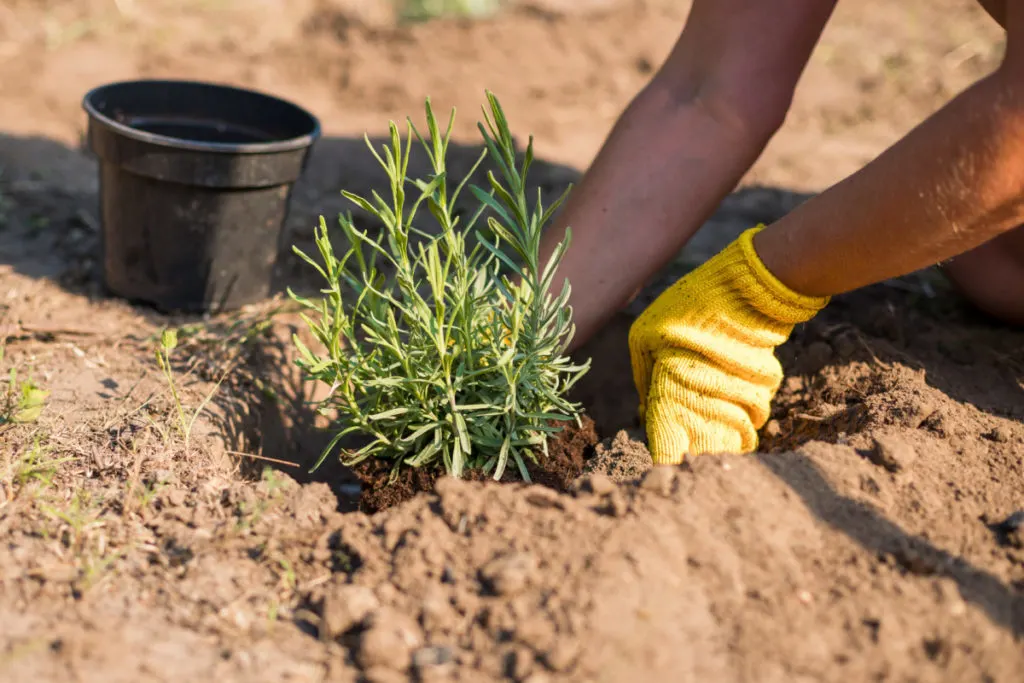
When preparing the planting hole, make it twice as deep and wide as the root ball. You can add a half cup of lime and bone meal to each planting hole to raise the pH of acidic soil.
“Rough up” the roots on established plants to encourage them to grow outwards and plant with the top of the ball even with the soil line. Add soil back around the roots, pressing it firmly into place.
Water immediately to remove air pockets and add more soil as it settles. For the next few weeks, water only when conditions are exceptionally dry to not stress the roots.
How to Propagate Lavender from Existing Plants
Lavender doesn’t take well to being divided, but it’s possible to take cuttings in the early summer for propagation purposes.
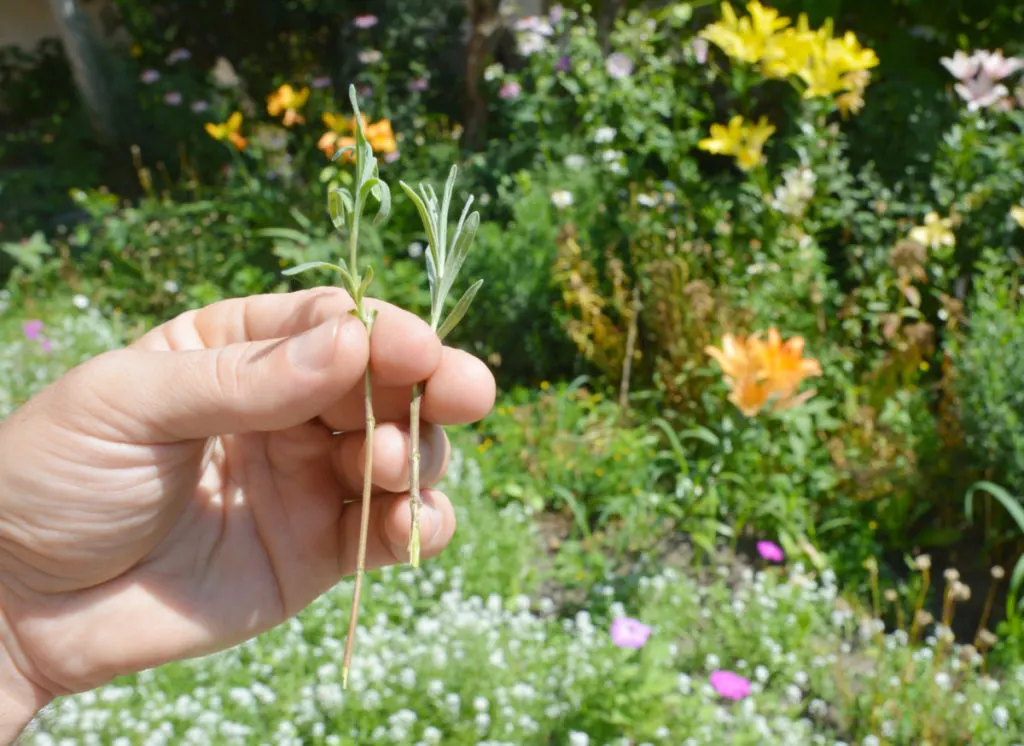
Select a healthy branch from an established plant and take a six-inch cutting from it, removing the lower leaves. Dip the cut end in a rooting hormone powder and place it in a pot of wet potting soil. Keep the pot in a partially shaded location and water regularly until you see signs of rooting.
Read Next: 15 Herbs You Can Propagate From Cuttings
How to Care for Lavender Plants
Once your lavender is in the ground, it’s time to step back and let it grow. Like most perennials, lavender takes time to get established. Expect minimal growth the first year but big blooms by the second and peak production by the third.
Weeding
Lavender doesn’t react well to crowding. Keep weeds to a minimum by adding mulch or pea gravel to the soil surface after planting. This helps the young plants get established without competition pressure. Make sure this mulch isn’t thick, as this may keep the soil too moist.
Watering
While young lavender plants need frequent watering, the plants are drought tolerant once established. In fact, overwatering is a common cause of stress for mature plants.
Water just once or twice a week as the plant gets established, and once every two to three weeks after reaching maturity. Once flower buds form, you can increase the watering to twice per week until harvest time.
Fertilizing
Lavender requires little fertilizer for healthy growth. A light sprinkling of lime at the start of the growing season should be all that’s necessary to maintain the correct pH level.
Pruning
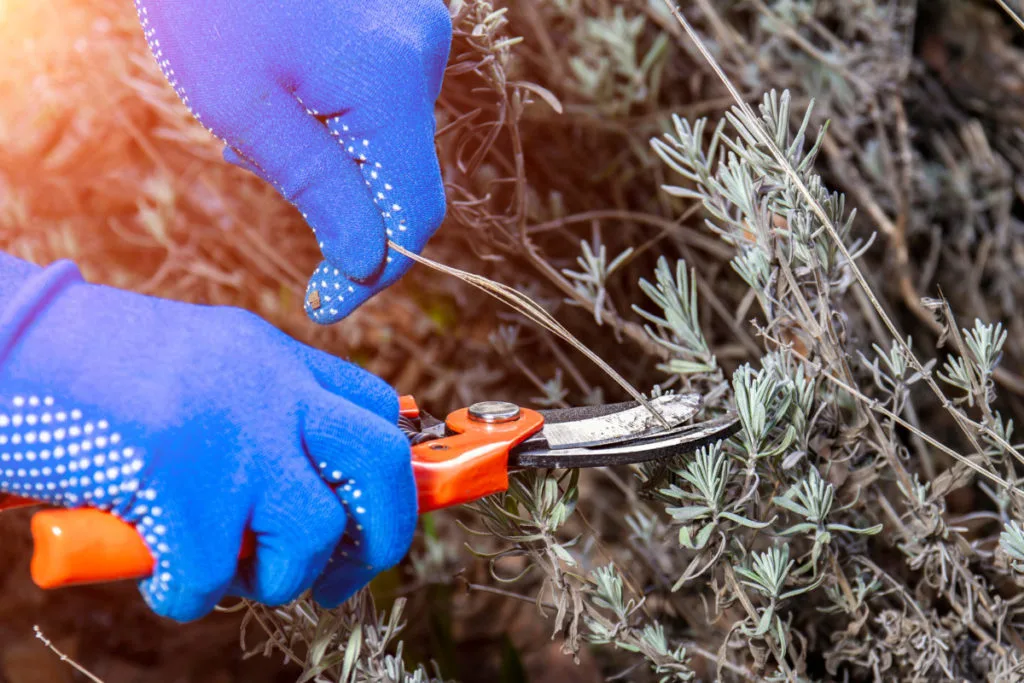
Lavender plants require annual pruning to keep them healthy. From the second year on up, prune back lavender plants in the springs by cutting the woody stems back by a third. This stimulates new growth and promotes better flowering while also preventing the plant from growing leggy.
You should also prune back lavender plants immediately after flowering and again in the early fall.
For full details on how to prune lavender click here.
Pests and Diseases
Lavender’s heady fragrance may be attractive to humans, but it often means that garden pests like deer and insects prefer to stay away. Those in humid regions may have issues with fungal diseases like powdery mildew if plants stay wet and are spaced too closely.
If you do encounter insect problems, a mild insecticidal soap should take care of them. Check your plants regularly so you can spray as soon as you notice an infestation.
Winter Care
Many varieties of lavender don’t do well in frigid temperatures. You can protect plants through the winter months by covering them in the fall with a mulch of straw or evergreen boughs. This insulates them from temperature extremes.
Once the weather warms, remove the mulch so the plant can resume growing.
If you grow lavender in pots, you can bring them indoors. Place them next to a south-facing window with as much light as possible and water sparingly to ensure it stays dormant.
Harvesting and Using Lavender Flowers
While lavender is a gorgeous ornamental in its own right, many people want to learn how to start growing lavender at home to harvest the flowers. Lavender is commonly used in aromatherapy for its ability to promote calmness and wellness, and the flowers can be used fresh or dried.
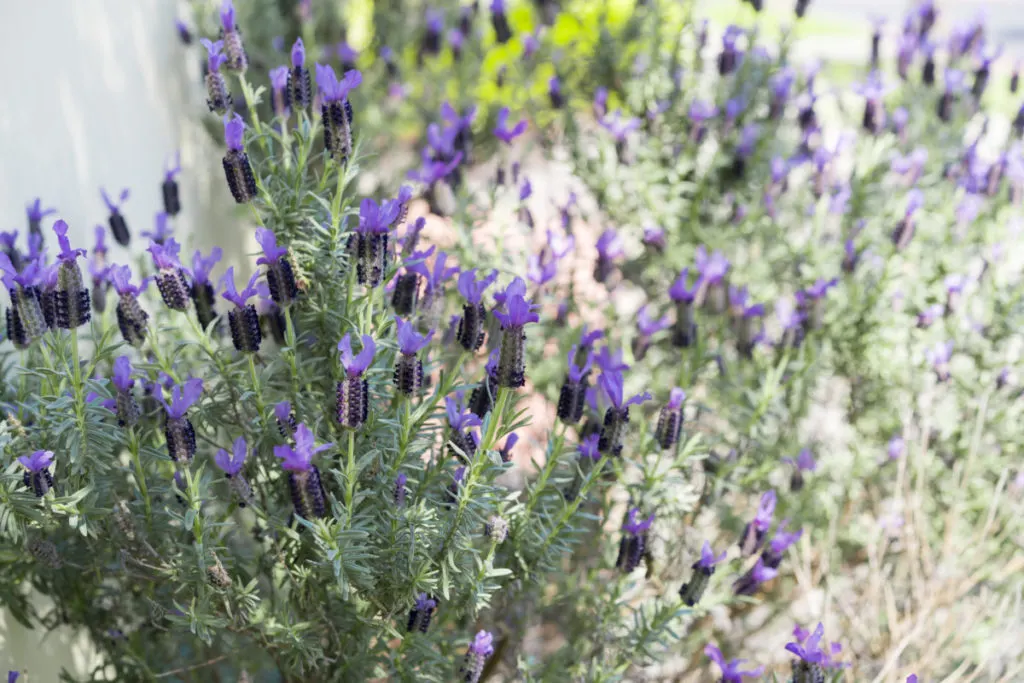
Even if you don’t plan to use the flowers, deadheading spent blooms will encourage the plant to produce more flower buds.
Harvesting is simple.
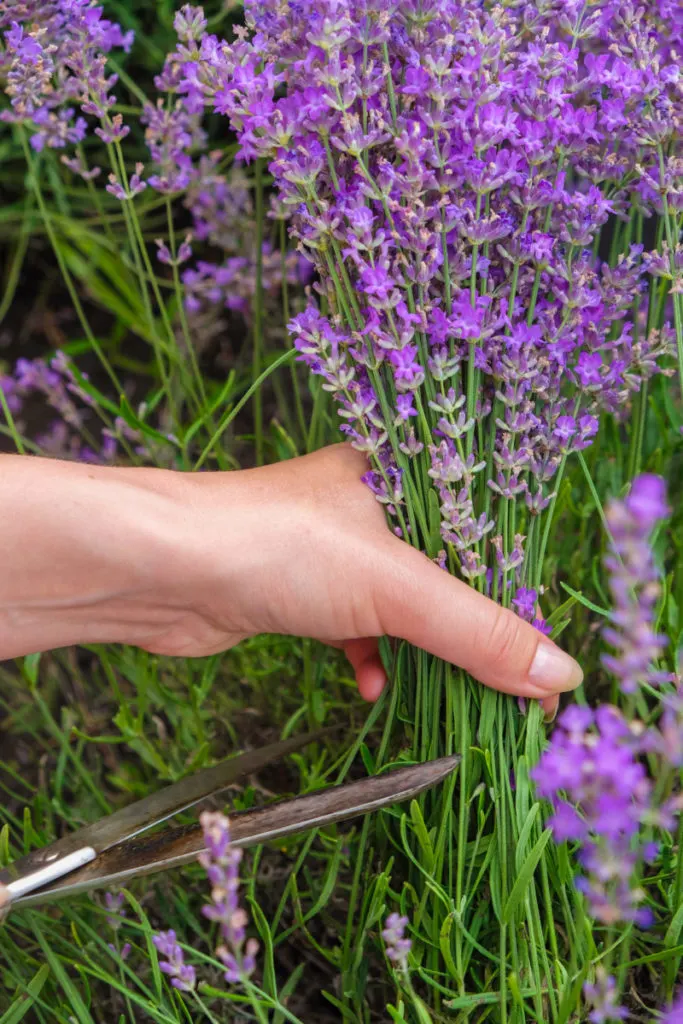
For best results, snip the stems once half the flower buds are open. The earlier in the day the better, as lavender oils will be most concentrated in the morning.
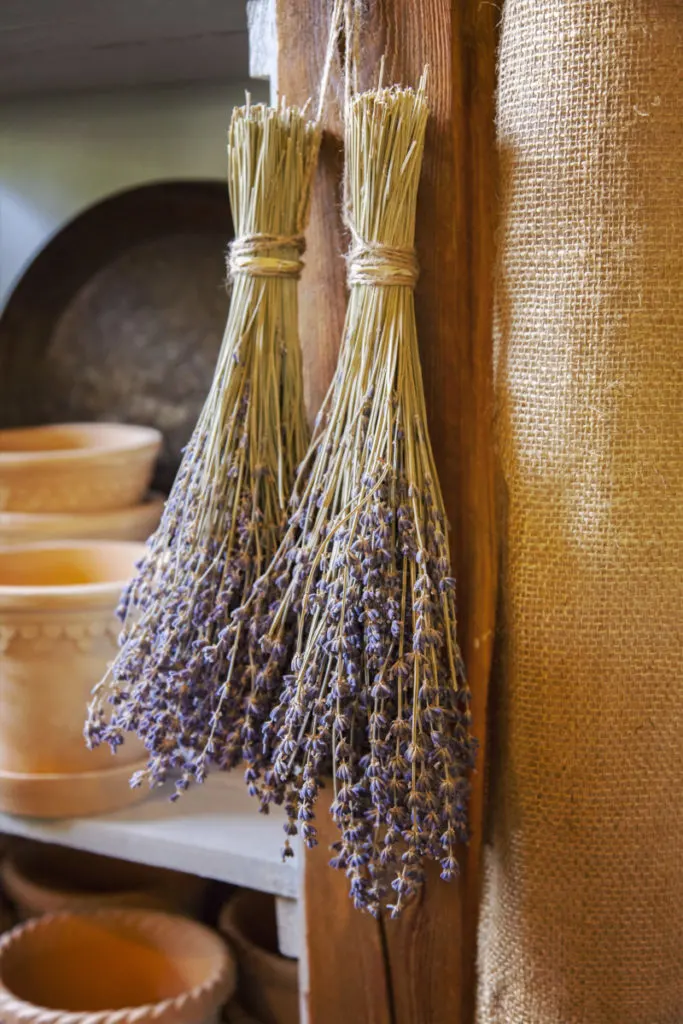
Cut the stems as long as you can, and gather them into bundles secured with a rubber band. Hang them upside down and store them in a cool, dark place with good airflow. You can also spread the flowers on open trays or use a dehydrator to speed the process.
After drying, you can incorporate the flowers into bouquets or strip the blossoms off the stems for use in potpourri or within fragrance satchels. Lavender is also edible, and an essential component of Herbes de Provence mixes. Consider adding dried flowers to your favorite savory sauces and baked goods.
We’ve got plenty of ways to put your lavender harvest to good use. 12 Ways to Use Lavender Around The Home & Garden
Learning how to start growing lavender at home is a rewarding experience. Give this perennial flower a good start in life, and it will fill your garden with fragrant flowers for summers to come.

Get the famous Rural Sprout newsletter delivered to your inbox.
Including Sunday musings from our editor, Tracey, as well as “What’s Up Wednesday” our roundup of what’s in season and new article updates and alerts.

