
The act of decorating your home for the holidays, particularly your front door, has been around since time began. Or at least for several hundred years prior to today.
If you look into the history of wreaths, you’ll find at least two answers to where they originated from. Some thoughts speculate that ancient Romans and Greeks used them first, in honoring their most esteemed citizens. Wreaths denoted your occupation and status as a citizen. Wreaths of laurel were used to crown the victorious players in the first Olympic Games.
The word wreath, by itself, literally means “a thing bound around”. It also represents eternal life.
The very first Christmas wreaths came from the pagan tradition of celebrating Yule, in which evergreens were twisted into a circle to symbolize the eternal seasonal cycle. The greenery served as a reminder of spring and green growing things in the coldest and darkest months of the year.
And it was a Lutheran pastor who gave Christians their Advent wreath in the mid-1800s. Pastor Johann Hinrich Wichern made a wreath using the wheel from a cart to help children count down the time of advent until Christmas. He added candles to mark the weekday and larger colored candles to mark each Saturday in the season of Advent.
While we can’t know the exact beginnings of this tradition, hanging a wreath is a beautiful symbol of meaning and belief for many.
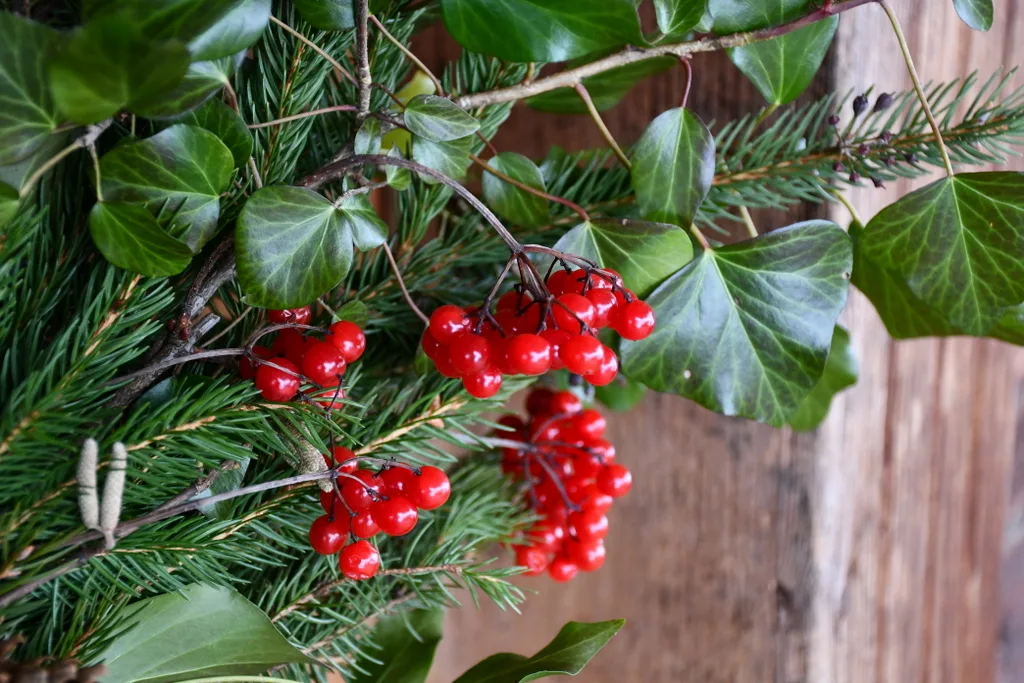
What we do know, however, is how a well-decorated door makes us feel. A wreath offers happiness and hominess upon arrival for family and friends alike. It makes us feel welcome as it invites us into the warm spaces of inner peace (hopefully).
You might even say that wreaths have their own right to be created, and exist, simply because they are beautiful.
Gather up some energy to go for a walk and head out into the hills, or your backyard, to collect some wreath-making materials.
Natural Materials For Making Wreaths
When you keep your eyes open, you are bound to find something in nature to add to a decorative wreath.
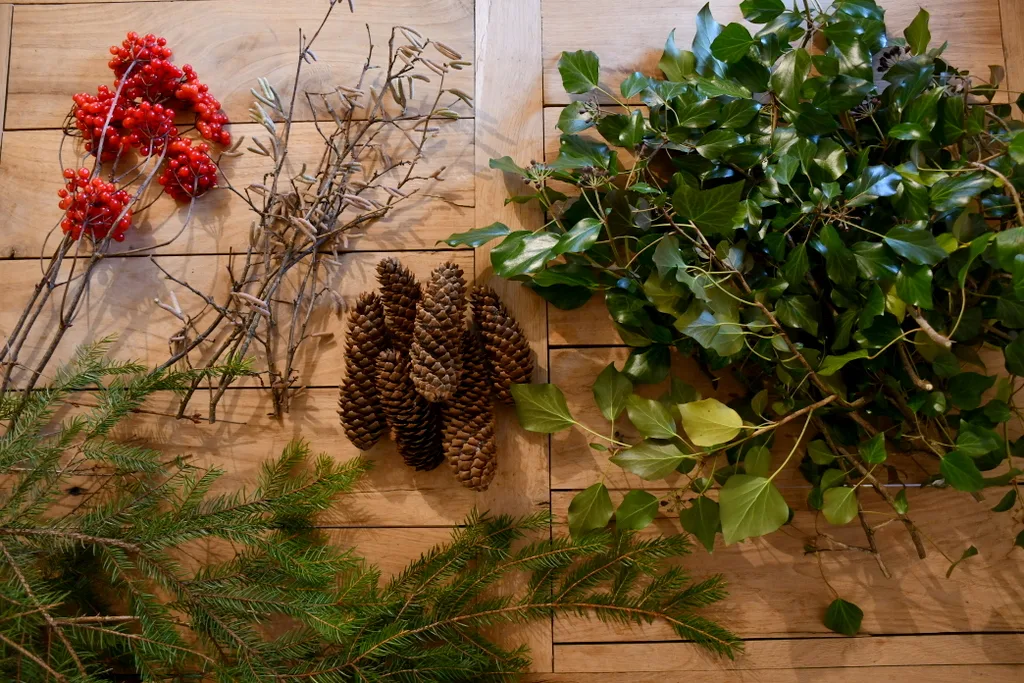
Here are some natural materials to look out for when you take a countryside or urban hike:
- evergreen branches (pine, spruce, cedar, juniper, holly, ivy)
- berries (rose hips, viburnum, hawthorn, winterberry)
- pinecones
- other interesting branches, such as twigs with catkins from hazel bushes
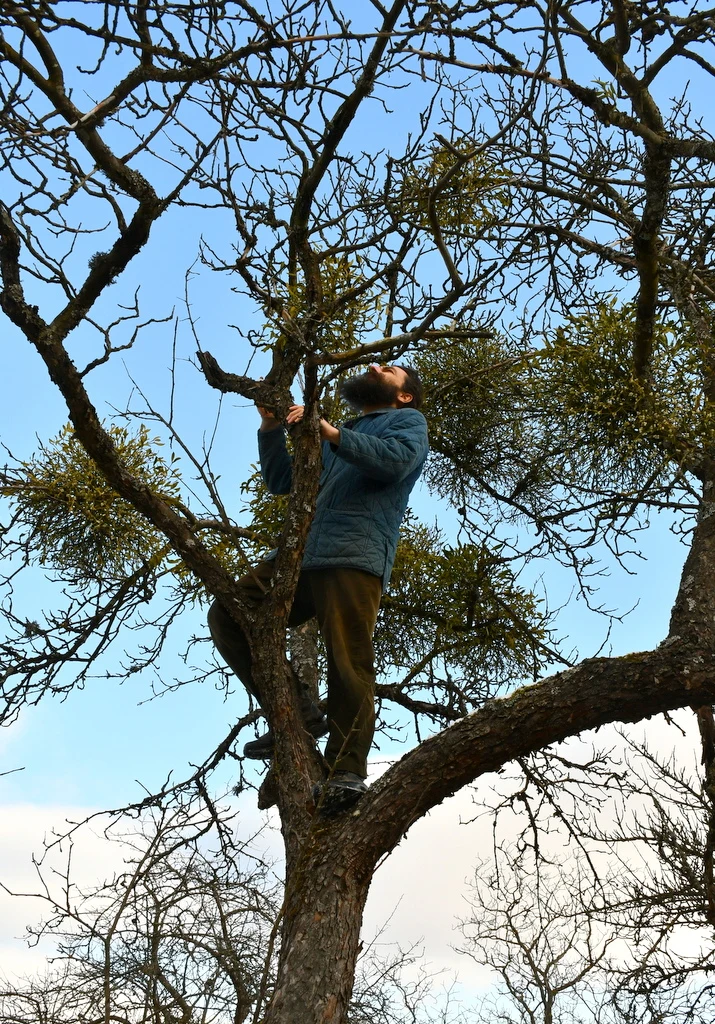
- mistletoe – if not for the wreath, then for kissing underneath
Check out 9 Plants to Forage For Natural Christmas Decorations for more ideas.
Once you’ve collected your natural materials, and plenty of them, so you don’t have to head out in the cold again, you are ready to choose a frame for your festive wreath.
Choosing A Wreath Frame + Other Tools Needed For Wreath-Making
In this pictorial, we have used grapevines as a base material, though you can replace this with willow or hazel twigs, or any other vining material (wisteria, honeysuckle, etc.) that lends itself to weaving.
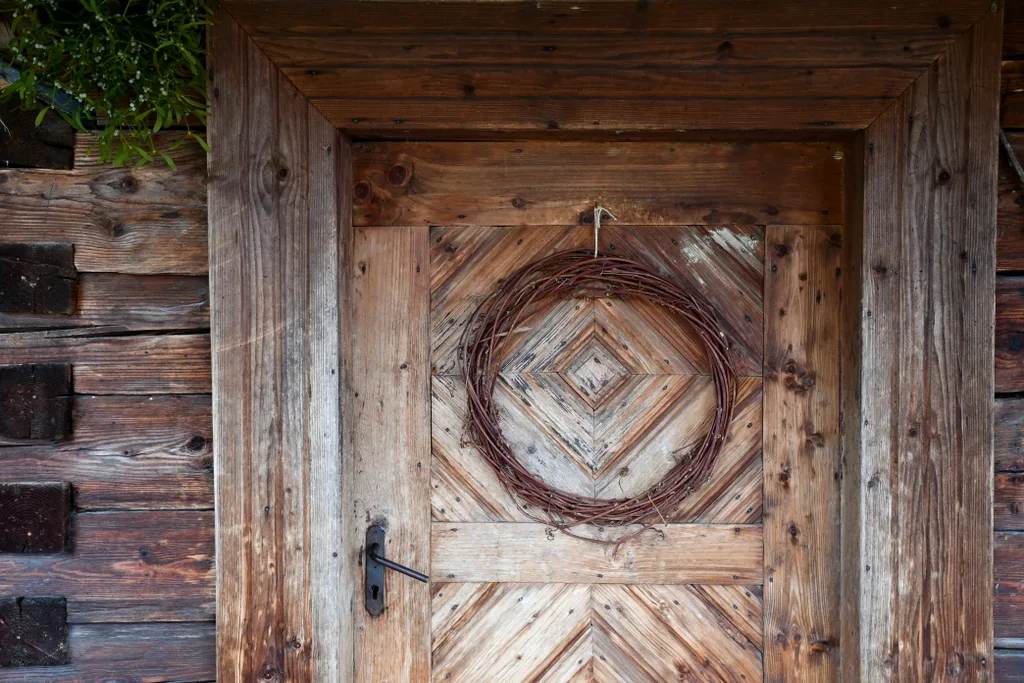
To make our wreath making even easier, we’ve used the grapevine wreath that already hangs on our door. You’ll see that we’ve spruced it up to add more winter cheer.
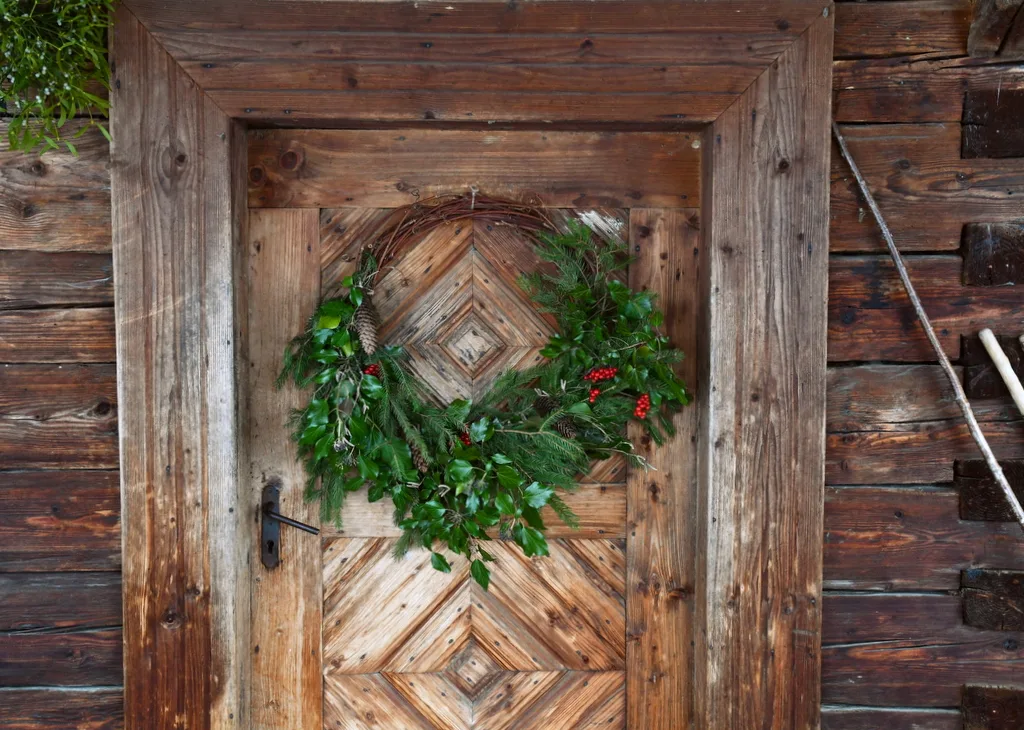
You can also start with a wire wreath frame should you have one.
Always challenge yourself to be creative, thrifty and self-reliant whenever possible. Not only will your projects turn out beautiful, but you also have the potential to save some money. This wreath cost us nothing to make. Only time, attention and collected materials went into it.
After a short hike in the hills, armed with only a pair of pruners, we came back with a bag of greens, twigs and berries. The pine cones we collected on a previous trip to a city park.
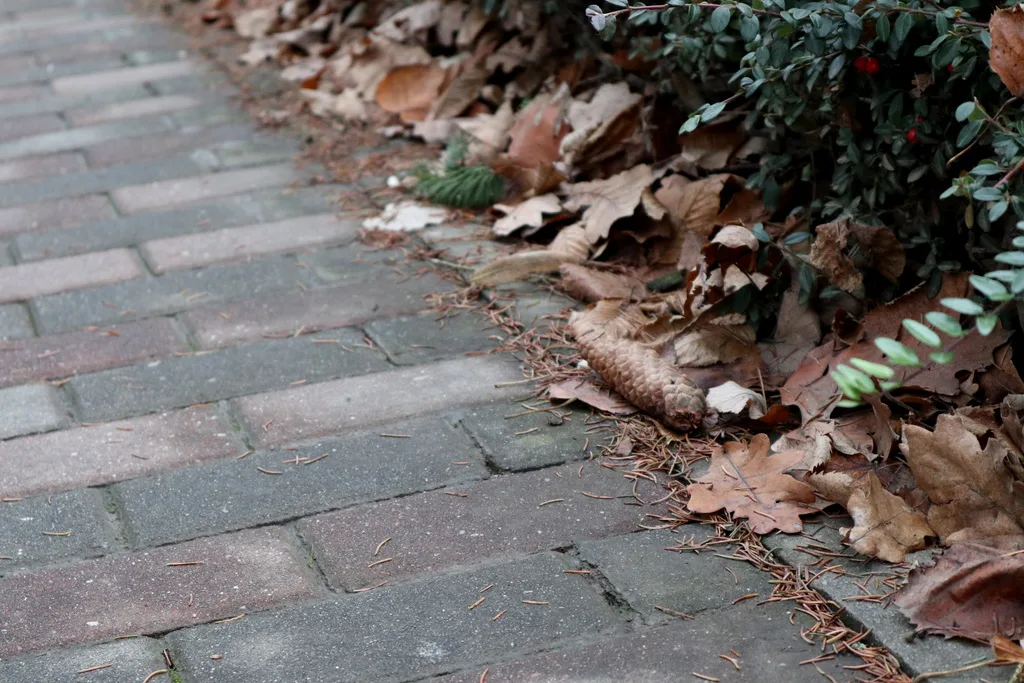
Take it home, dry it out by the fireplace and it will open up beautifully!
To make a wreath, in addition to your natural materials, you’ll also need:
- pruners
- scissors
- florist wire or twine
And that’s it.
There’s no need for hot glue, you don’t even need to use wire if you don’t want to. A nice thick hemp or jute twine will be strong enough.
You might also want to wear gloves, as certain evergreen branches can be quite poky, even causing a rash if you have sensitive skin.
Putting Your Wreath Together
You don’t need to decide at the beginning if you want your greens to wrap all the way around, or just partway around the wreath.
Simply choose a starting point and prepare a small bundle of greens, always looking for the best proportion.
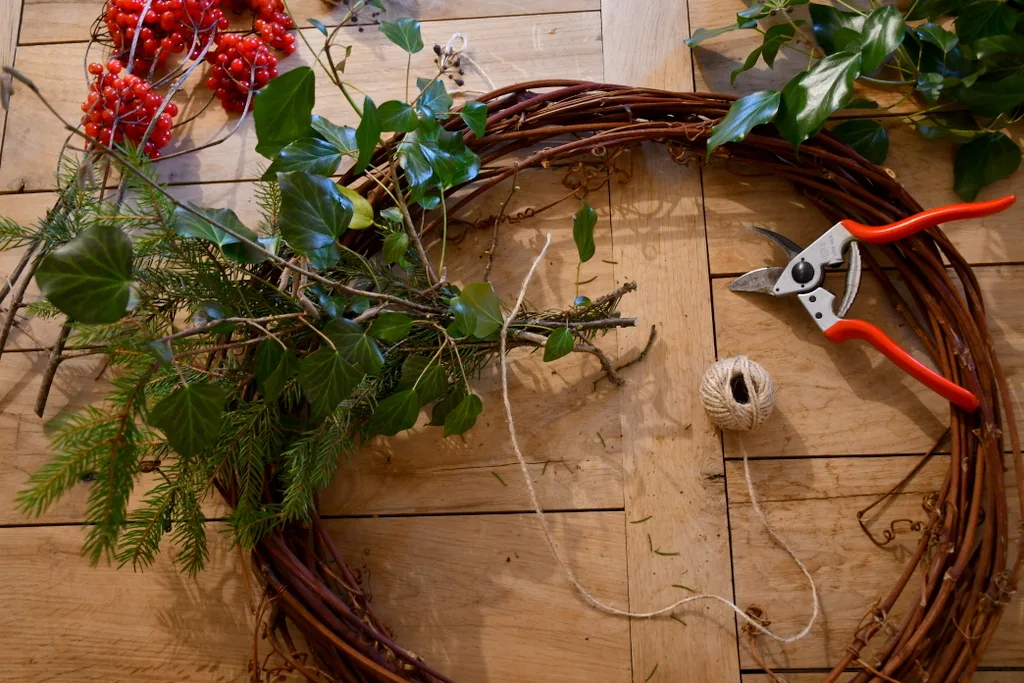
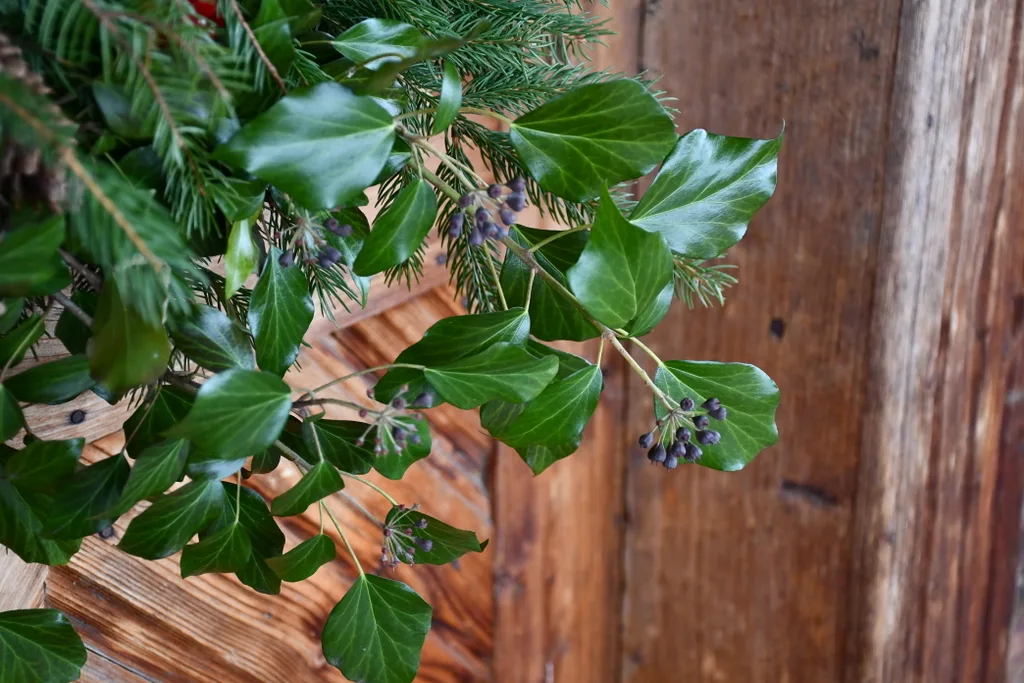
For example, in each bundle, we used 2 or 3 European spruce (Picea abies) branches, cut to size. On top of this, we laid either one branch of ivy (Hedera helix), a branch of hazel catkins, or a branch of red berries from a European cranberry bush (Viburnum opulus).
To increase your love for the Earth – and for foraging, it’s always good to get to know the plants you are harvesting and to recognize them by their Latin names too.
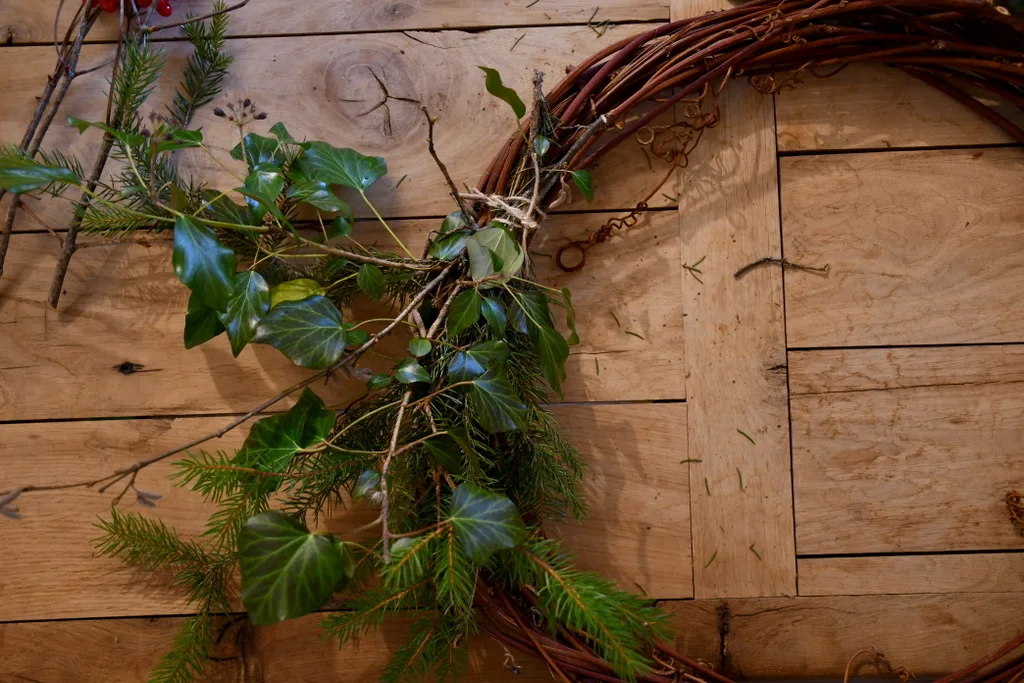
Tie the bundle firmly together with twine. Then tie it onto your wreath frame, pulling as tightly as you can. Once the branches begin to dry, they will shrink a bit and become loose, so now is the time to use your strength.
Adding More Bundles To The Wreath
Systematically, you’ll want to tie additional bundles and overlap each bundle on the wreath.
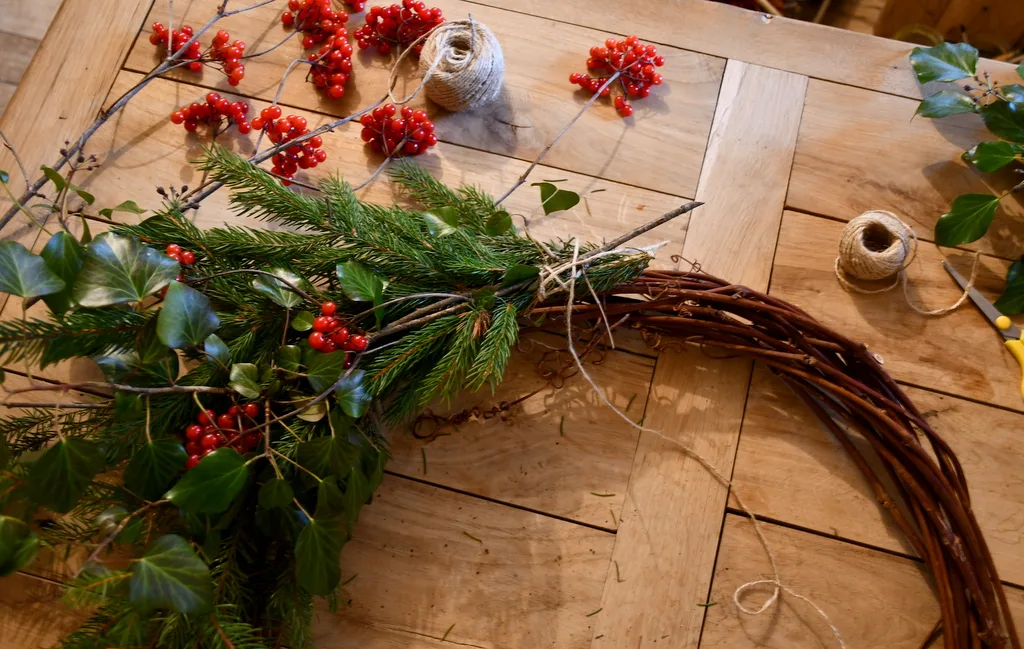
Some people choose to tie one straight, followed by the next one tipped to the outside, followed by the third leaning in. We’ve laid all bundles directly over the previous one. It all depends on the material you are working with.
Once you’ve tied a few bundles on your wreath frame, hang it up and take a step back to check your progress. If you aren’t happy with the way they are tied on, now is the time to change it.
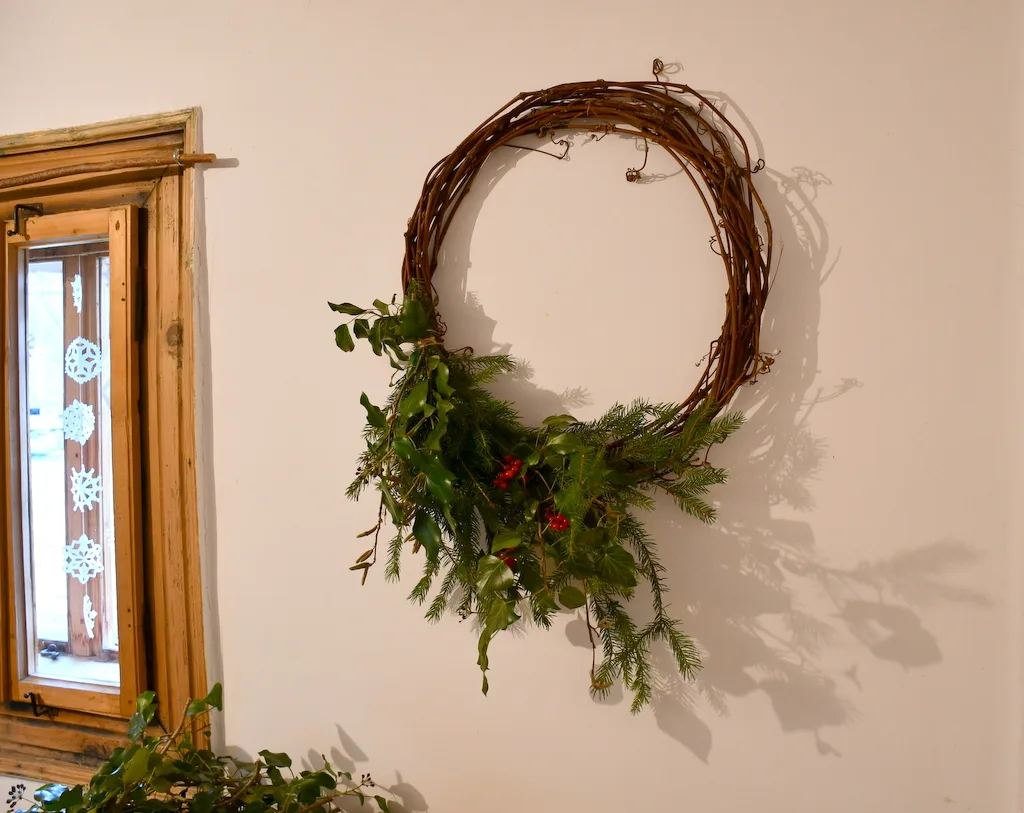
If you love it, continue going around until you run out of materials or you find a nice balance to the wreath.
Another thing you may need to consider is weight. The more bundles you add, the heavier your wreath will grow.
A word on tying…
Most wreath-making tutorials tell you to wrap that twine or wire all the way around from first to final bundle, with no stops in between.
We’ve chosen to tie each bundle on individually and the end result came out fantastic.
Finishing and Tidying Up Your Wreath
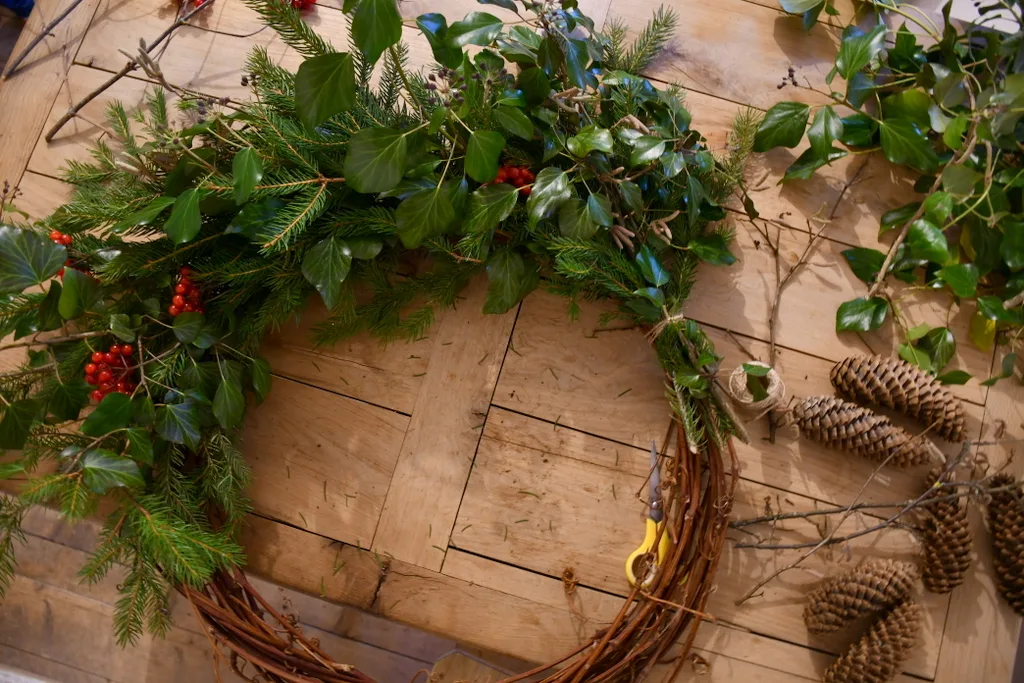
In the end, you can trim up the unruly bits with a quick snip of your pruners. Be sure to hang the wreath in its set location before cutting off too much, if any at all.
If your wreath calls for more berries, tie the individual stems in.
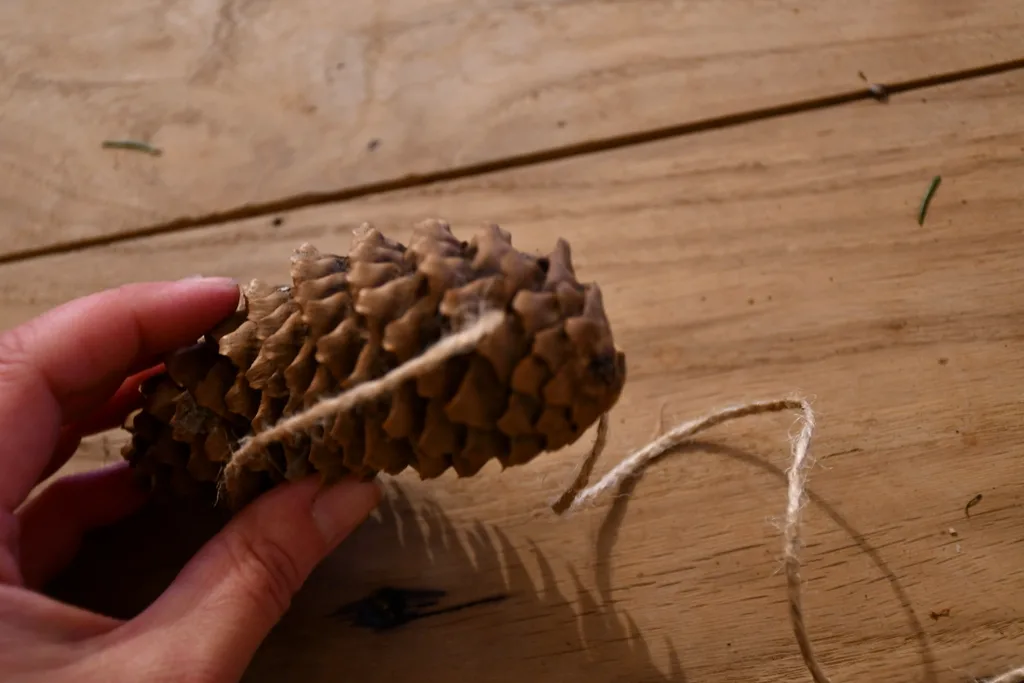
Last, but not least, come the pine cones.
You can also tie them on one-by-one. Take a long piece of twine, fold it in half to find the center, and push it under the flaps near the base of the cone. From here you can tie a knot to secure it, then tie it in place on the wreath.
Add as many as you like, being sure to find a harmonious balance between size and shape.
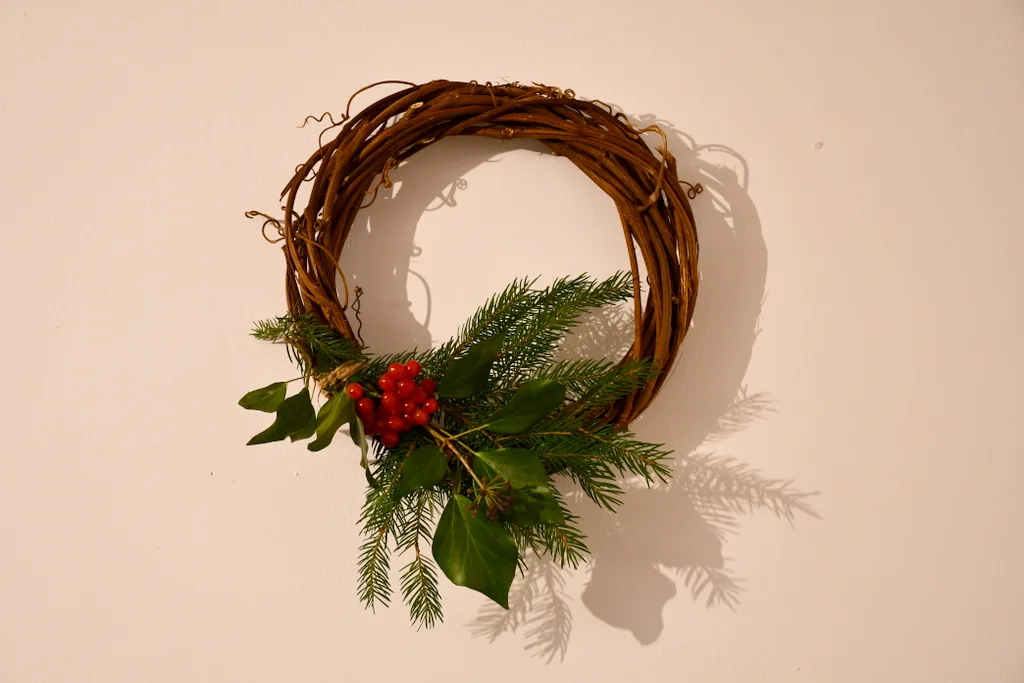
In the end, if you have leftover materials, go ahead and make a mini-wreath, to bring some festive greenery to the inside of your home.
See, all it takes is a few trimmed branches from an evergreen to fill your home with holiday cheer. Wishing many Happy Holidays to you and yours!

Get the famous Rural Sprout newsletter delivered to your inbox.
Including Sunday musings from our editor, Tracey, as well as “What’s Up Wednesday” our roundup of what’s in season and new article updates and alerts.

