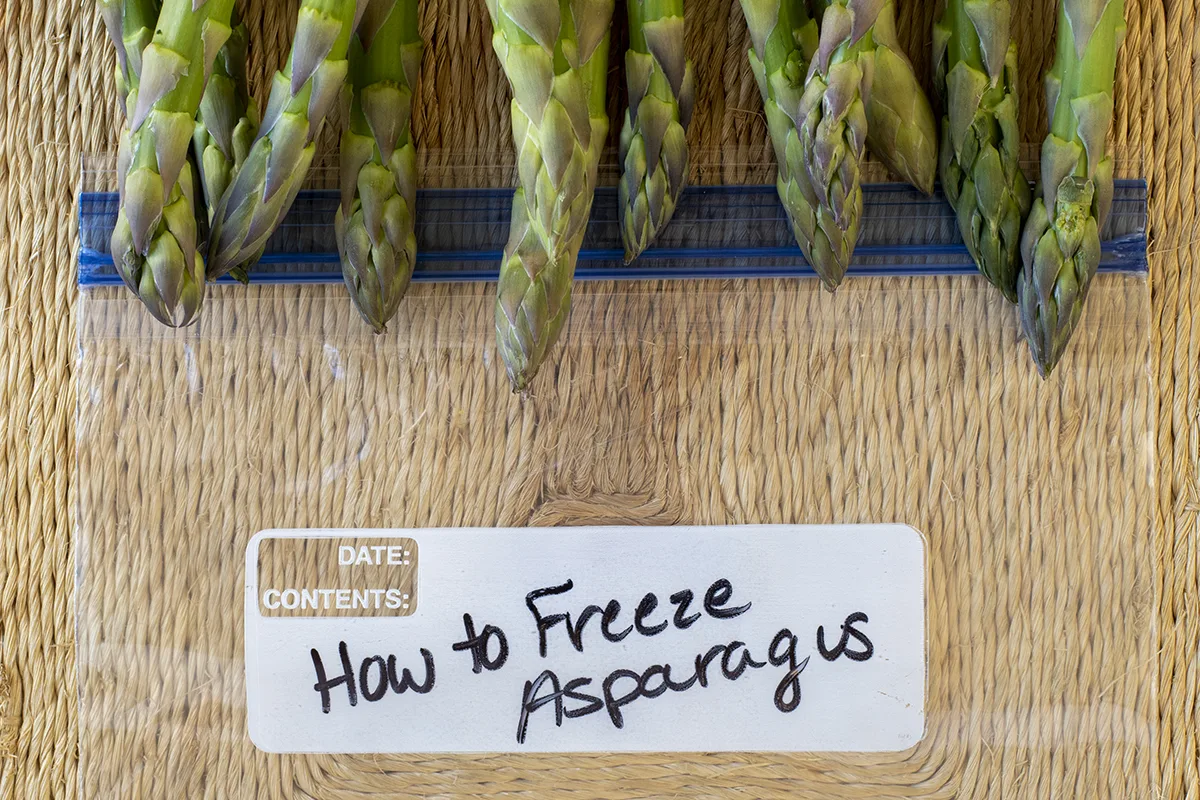
Blink, and you’ll miss it. The asparagus season, that is. For gardeners, fresh asparagus and rhubarb are the first two plants to harvest each spring, but only if you’ve taken care of your spring asparagus chores.
After a winter of eating heavy food, these early season harbingers are a welcome change to the table. There’s nothing quite as wonderful as the crunch and fresh, green taste of new asparagus. Even the color seems to scream, “Spring is finally here!”

But with a well-established asparagus bed, you will often have more than you could eat fresh in its short growing season. Cheryl has graciously shared how to keep asparagus fresher longer once it’s been cut, but that still leaves you with plenty to preserve to enjoy later in the year.
You can, of course, preserve asparagus with a pressure canner. It is a low-acid food and thus requires pressure canning to prevent botulism. Unless you decide to pickle it, pickled asparagus can be canned using the water bath method. Or, if you prefer the extra crunch and instant satisfaction that comes with quick pickles, you can always make refrigerator asparagus pickles.
However, one of the best (and surprisingly quick) ways to preserve and enjoy a bumper crop of asparagus is to freeze it.
And the best part is, freezing is the perfect way to preserve those thicker, more fibrous stems of asparagus. You know, the ones you didn’t see right away when picking.
That extra fiber helps retain a firm texture once it’s thawed.
So, if you’ve got a bunch of hefty stems that are too tough for pickling or sautéing with butter, they’re perfect candidates for freezing. You’ll find their texture much improved when you get around to thawing them and eating them.
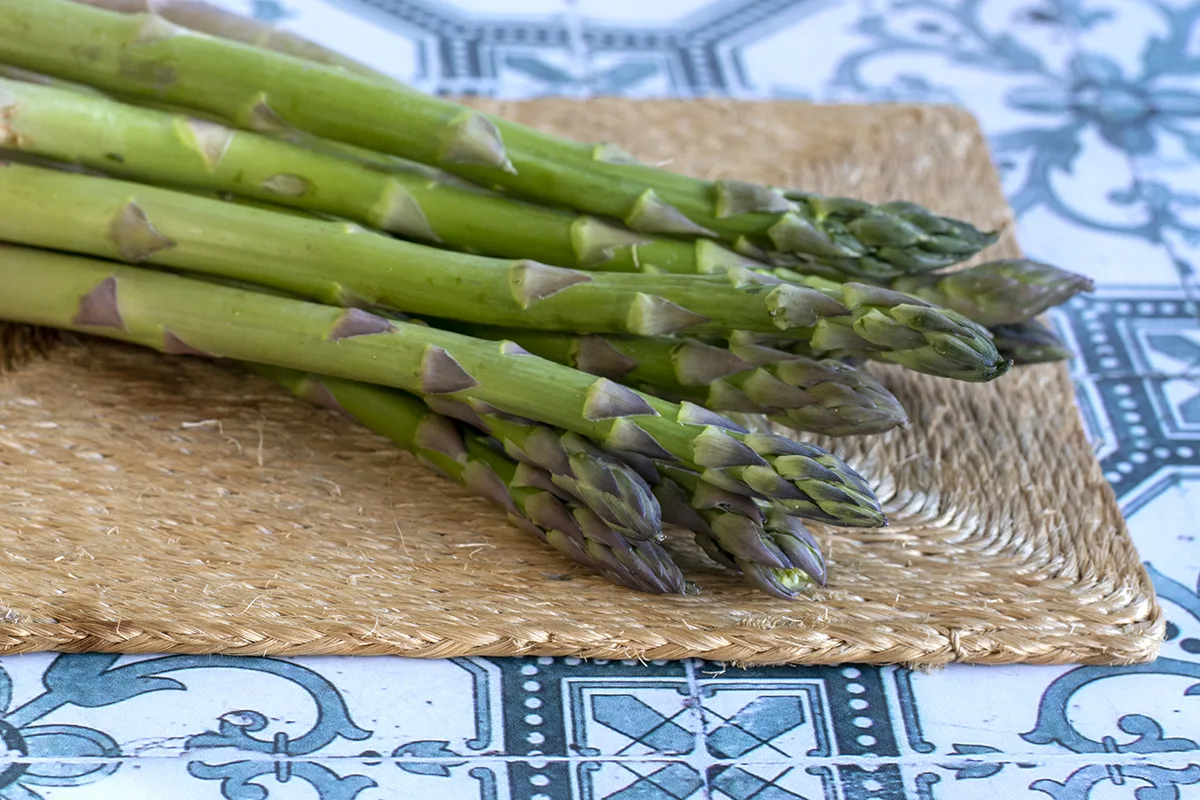
Of course, in today’s modern world, we’ve become accustomed to having no seasons when it comes to our food. In most areas, asparagus is available in the supermarket all year through. Granted, what you can purchase in the spring and what is available in, say, October is usually two very different grades of quality.
But that doesn’t mean you shouldn’t take advantage of a good sale and snatch up fresh asparagus to freeze. Especially if it’s well-picked over, and all that is left are the bunches of thick stems. The smart consumer you are, you know these are the perfect candidates for the freezer.
First Thing’s First
Rinse the asparagus and then trim those stems. If you’re freezing your asparagus immediately after harvesting, well, now you’re just showing off and making the rest of us look bad. You don’t have to trim your ends.
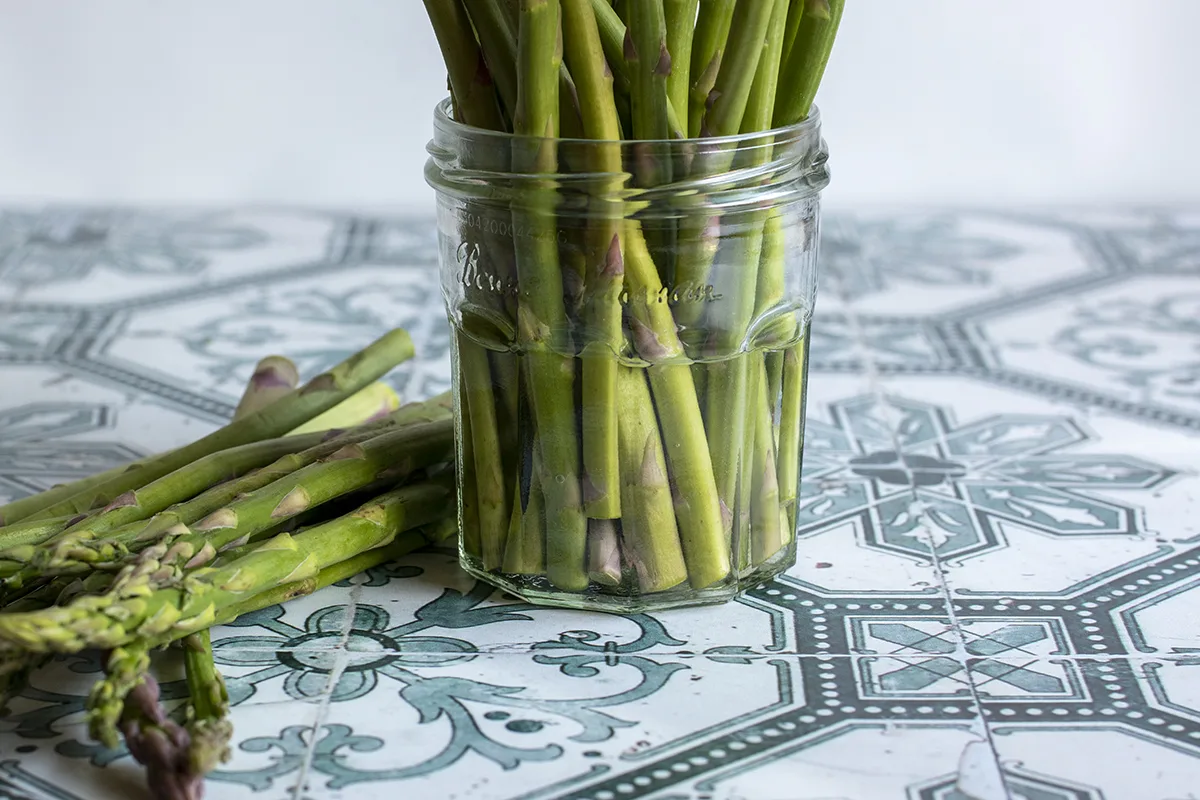
However, for the rest of us who have let our asparagus sit in the fridge in a jar for a few days or just brought it home from the supermarket, we will have to trim off the woody stems. While they aren’t great for eating, you can still toss them into a broth, so save them for your ugly broth bag.
The Snap Method and Why I Stopped Using It
Anyone who loves a good kitchen hack has heard how to hold the bottom of the stem and head and bend until it snaps. Supposedly this leaves you with only the tender part still attached to the end with the head. After doing this for ages, I got frustrated with how I always ended up with dinky stems that were usually always snapped in half, leaving plenty of tender asparagus still attached to the woody end.
These days I chop the ends off and inspect the bottoms where I cut. If the bottoms are mostly green, I know I’ve cut far enough up to remove the tougher portion. If there is still a good bit of white in the center of the stem, I need to take a little more off.
Stems or Chunks
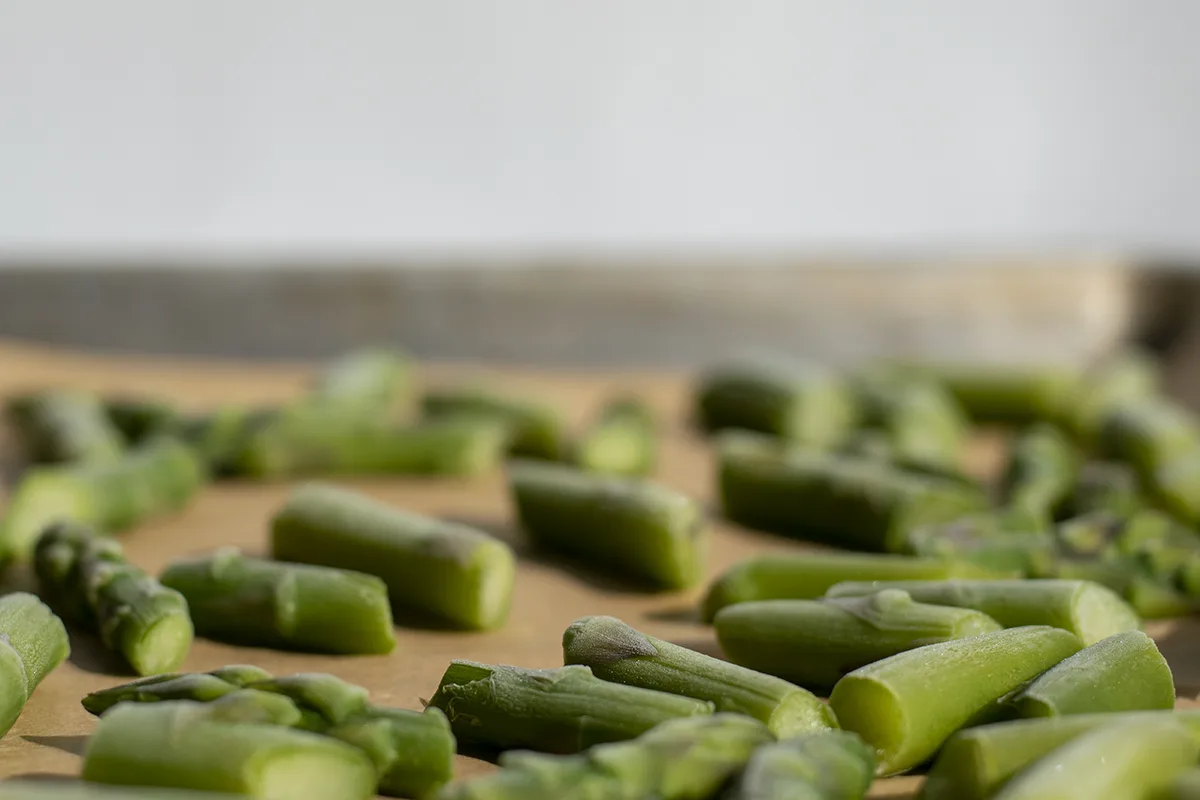
Decide whether you want to freeze your asparagus as whole stems or slice it into chunks. You could get crazy and do a few batches of each. Go on, you rebel, you.
Blanch
Asparagus needs to be blanched before you freeze it. Blanching slows down the naturally occurring enzymes in food that causes spoilage. This will also give you the best flavor and texture and that lovely bright green.
Prepare a large pot of boiling water with a teaspoon of salt. Seriously, you want the asparagus to swim about freely, don’t cramp them.
While waiting for your water to boil, prepare an ice bath in the sink. Now, don’t go cutting corners here. When I say ice bath, I mean you need to put actual ice in it, not just let your faucet run on cold for a bit. The idea here is to stop the cooking process immediately.
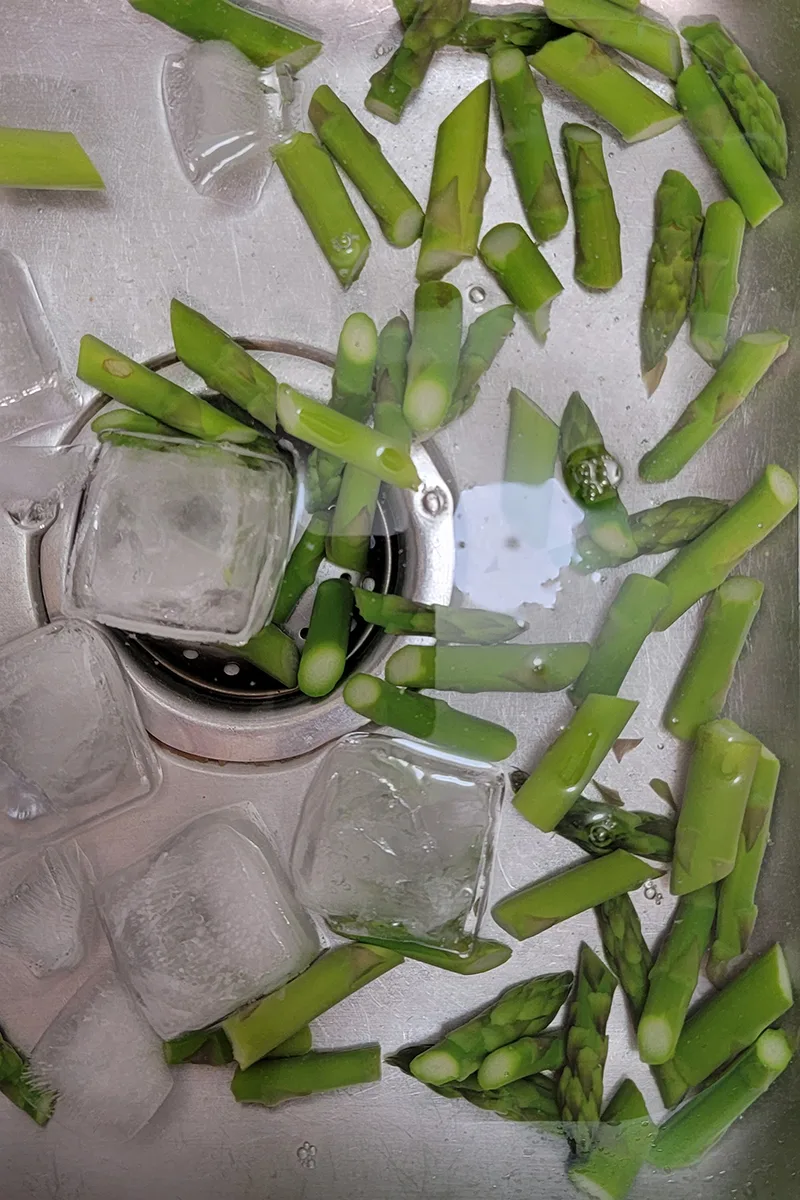
Add the asparagus to the boiling water and blanch for three minutes. Remove the asparagus directly into the ice bath using a large slotted spoon or skimmer. Once the asparagus has cooled (another three minutes), transfer it to a colander to drain.
Freeze
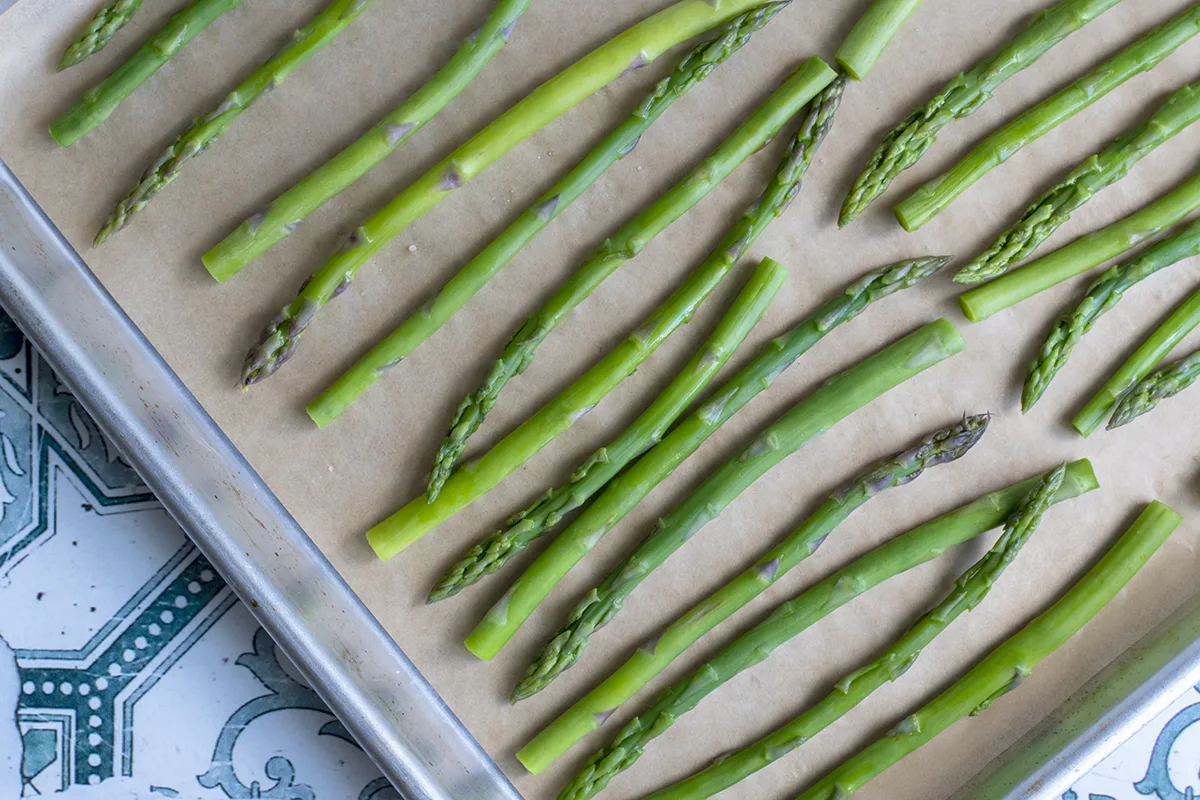
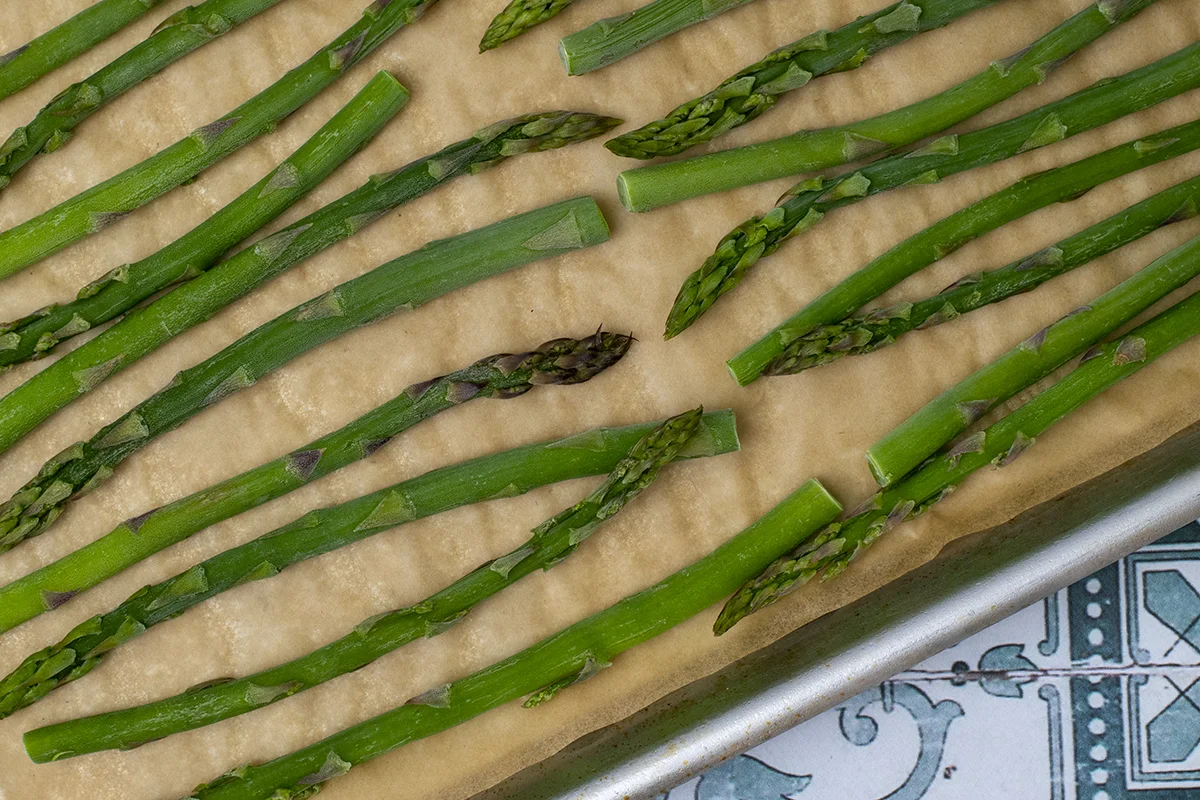
Lay the blanched spears or chunks on a parchment-lined baking sheet and pop it in the freezer for 3 hours. Freezing the asparagus before you package it means you won’t end up with a rock-hard asparagus blob.
Package and Seal
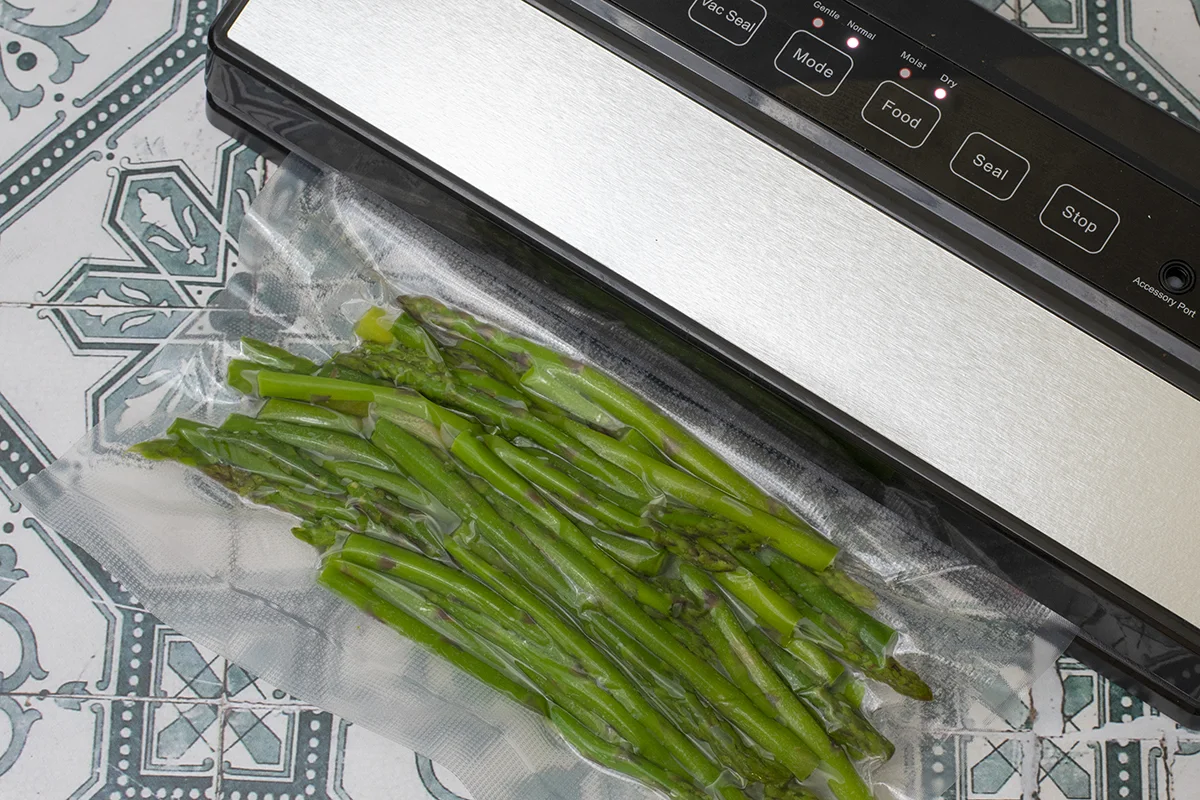
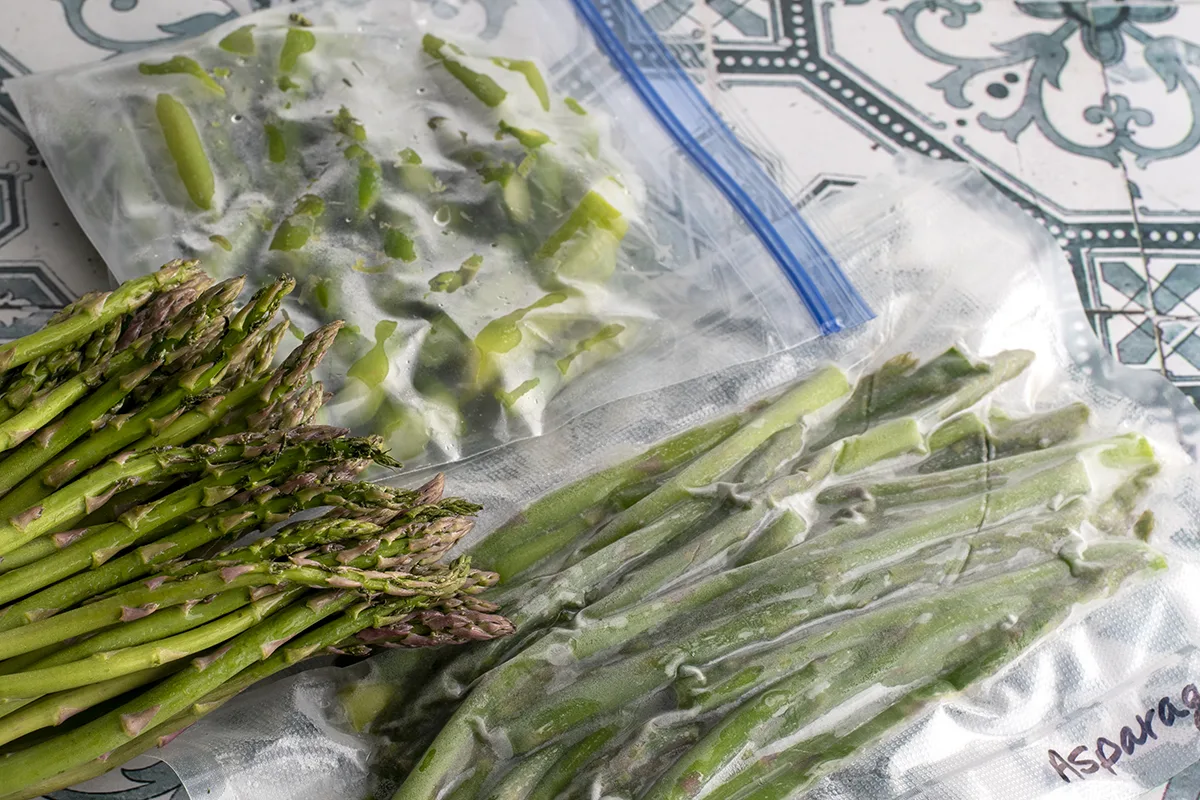
Have your freezer bags or vacuum sealer equipment all lined up and ready to go. It’s important to work quickly when transferring the frozen spears or chunks to their bags. Once they begin to thaw, they can get a little mushy if handled roughly.
If you’re using a vacuum sealer, opt for the gentle setting to avoid squashing delicate stems.
Seal with a vacuum sealer or sip out extra air with a straw or your mouth before sealing the bags, labeling them and tossing them back into the freezer.
Enjoy
Since the asparagus is cooked during the blanching process, it only needs to be warmed once thawed. You can quickly sauté them with a little butter. Frozen asparagus is perfect for things like quiche and frittatas, asparagus dip and my favorite – cream of asparagus soup.
See? I told you it was easy. Now, who wants quiche for dinner?

Get the famous Rural Sprout newsletter delivered to your inbox.
Including Sunday musings from our editor, Tracey, as well as “What’s Up Wednesday” our roundup of what’s in season and new article updates and alerts.

