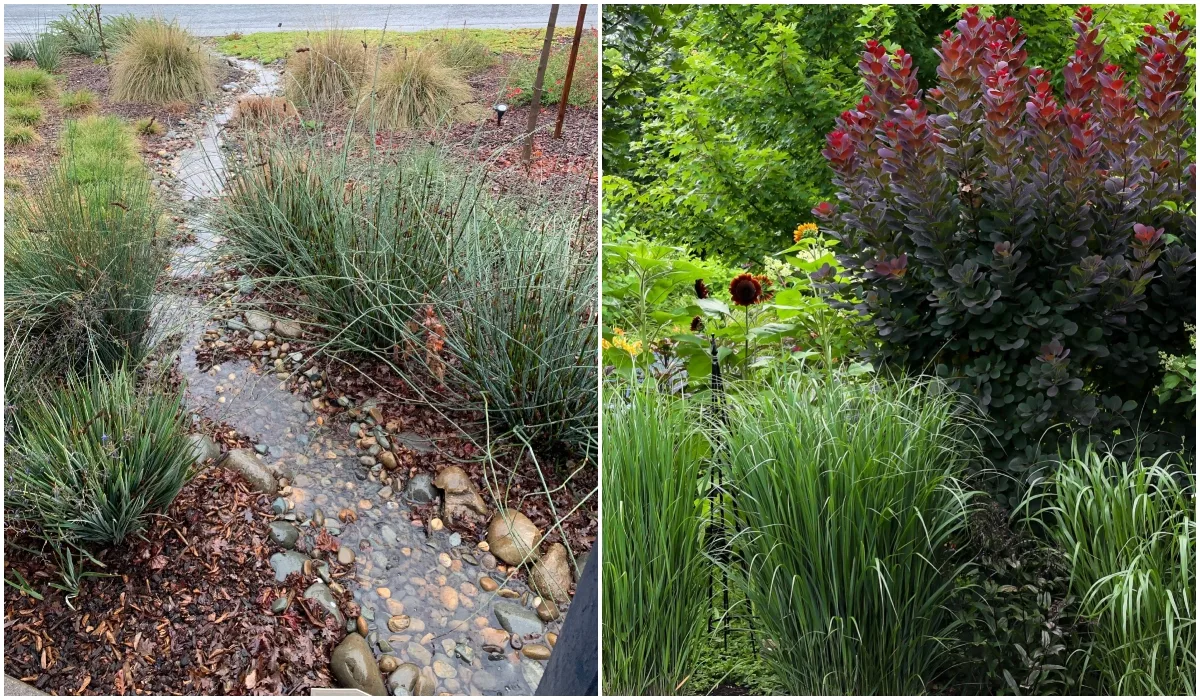
When it rains, it pours. So much so that heavy rainfall flows quickly off of roofs and onto some form of paved surface, occasionally with unintended consequences.
With the installation of a rain garden in the right place, you can reduce runoff from your property in a natural way. Besides, a well-maintained rain garden has curb appeal too, so it’s a bonus for any homeowner.
A rain garden can also become a shelter for birds or a paradise for pollinators. With the proper selection of plants, you can even help to filter out pollutants as the water flows on its way.
Sound good? Keep reading as you scroll through this article on where and how you can design a rain garden in your own back- or front yard.
What Is A Rain Garden?
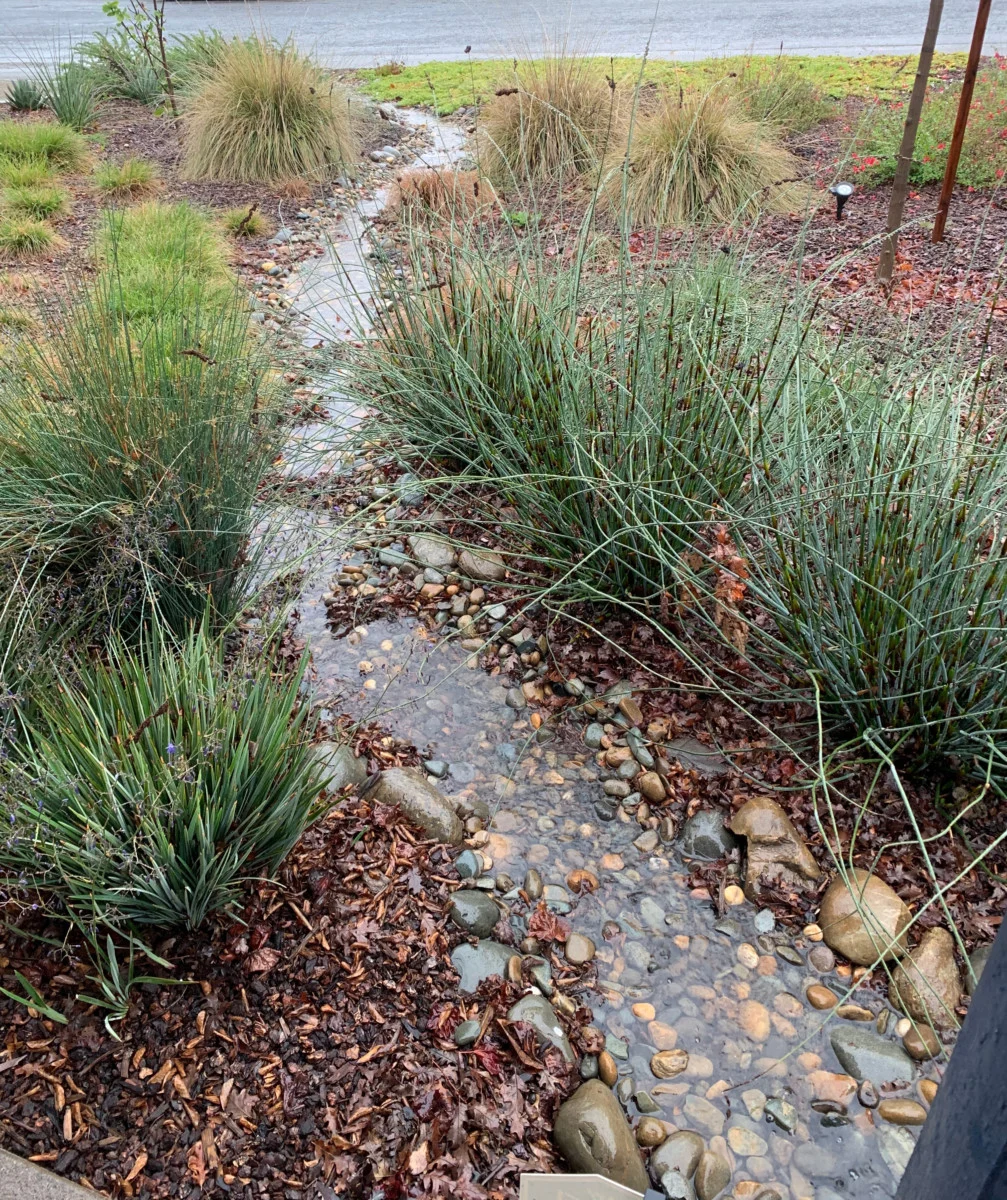
A rain garden is a collection of shrubs, perennials, grasses and flowers which are generally planted in a small depression. They are specially designed to soak in extra rainwater runoff from hard surfaces such as roofs, patios or driveways.
You might think that having to do with rain, your garden may be wet. That’s not the case at all. Quite contrarily, rain gardens are dry most of the time. Unlike a water garden, there will be no standing water in the form of a pond. Though there are 13 good reasons to install a pond or water feature if you have the space for it.
So, there is no need to worry about mosquitoes at all.
The purpose of a rain garden is for nature to fill it (little to no irrigation should be needed) with a few inches of rain after a storm.
This water will then slowly filter into the soil rather than sploshing its way to a storm drain.
Compared to a green patch of lawn, a rain garden allows about 30% more water to be filtered through the soil.
Think about a clear-cut patch of missing forest versus a standing lot of mature trees. In a storm, you know where the landslides are more likely to occur; in the former.
Everywhere erosion is a factor, trees and ground covers should be planted. Even in areas where erosion is less likely, the ground still finds a way to be covered. Best of all is when you get to choose the plants that go in it.
A rain garden is similar to a bioswale in that it works with excess rainwater. However, a bioswale is specifically designed to slow down rainwater by using low-lying land and encouraging that water to follow a curved or linear path. Whereas a rain garden is designed to capture and store excess water in a basin.
Benefits of a rain garden:
- rainfall doesn’t head directly into storm drains; instead, part of it is filtered back into the ground, replenishing local water sources and aquifers along the way.
- gives an upgrade to the exterior of your home, at the same time bringing more beauty to the entire neighborhood.
- helps to protect people downhill from being flooded.
- rain gardens also help to protect creeks, ponds and larger bodies of water, such as lakes, from toxic “urban” stormwater. Think about all the chemicals that get washed away with the rain: lawn fertilizers and garden pesticides, an array of pollutants from motor vehicles and a slew of other modern and harmful substances.
While it may not feel as if your single backyard effort is enough, it is a great contribution. Especially when combined with the efforts of others, working collectively to enhance environmental benefits for everyone.
You might also be wondering if it is expensive or if it requires a fair share of maintenance.
Let me quell your fears on both accounts.
A rain garden takes minimal maintenance once it’s established. At first, there is planting. Then comes watering and weeding. These chores will quickly taper down to regular yearly maintenance.
As far as costs are concerned, it will cost as much to install as you put into it. The largest price will be the purchase of plants. However, you may be able to find some plants for free, or you could relocate native plants from friends and neighbors.
How Big Should a Rain Garden Be?
A typical rain garden measures from 100 to 300 square feet.
If it’s smaller than that, you lose out on plant diversity.
To make it any larger is not only costly but also entails a lot more digging. It all depends on the size of your property and how it fits into the landscape.
Where To Install a Rain Garden?
Rain gardens usually feature in one of two places: right next to the house-garage-driveway or at the edge of the lawn on the lowest-lying side of your property.
Here are a few tips to help find the best placement for your rain garden:
- avoid placing it over a functioning septic system.
- refrain from placing it where water already accumulates, this is showing you where drainage is already slow.
- give a wide berth to large trees, preferably placing your rain garden in full sun. Partial shade is tolerable but less than ideal.
- install a rain garden several feet from the house, at least 10′, so as not to disturb the foundation.
- next to a patio or an often-used outdoor space is ideal.
Once you’ve discovered the best location, think about the shape of the rain garden. Ovals, crescent and kidney shapes are preferred over rectangles and squares. They are longer than they are wide and are positioned perpendicular to the slope of the land to catch the maximum amount of water falling from the sky.
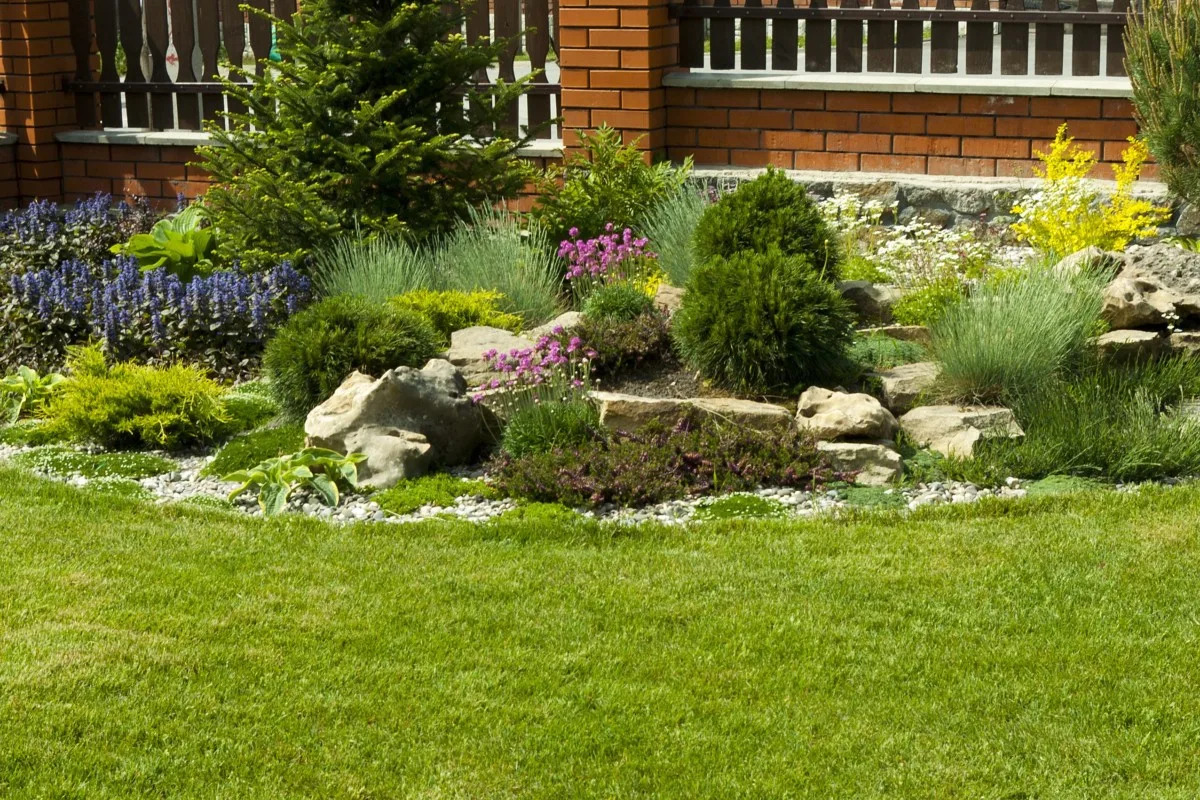
Next comes calculating how deep your rain garden should be.
Calculating the Deepness of a Rain Garden
Here’s where the design process starts to get a bit more complex. To help you out, I’ve discovered a downloadable PDF from the Department of Natural Resources in Wisconsin that can help you with all the finer details. Find the Rain Gardens Guide here. It includes plenty of photos if you’re more of a visual person.
In short, you’ll want your rain garden to be between four and eight inches deep.
No matter how deep you dig, the edges around it must remain level from the uphill to the downhill side. A slope of 4-11% is ideal. Any more than a 12% slope and you may want to find a different site for your rain garden.
As a guideline, for a slope of less than 4%, you’ll only need to dig 3-5″ deep.
For a slope of 5-7%, your rain garden should be dug 6-7″ deep. And for a slope of greater than 8%, that will require about 8″ of digging.
In addition to the math you’ll be doing, it’s also good to know what kind of soil you are working with. Is it sandy, silty, or slippery clay?
Sandy soils are naturally draining, making them ideal for a rain garden, whereas heavy clay soils will need some modification to make them more effective.
Digging Your Rain Garden
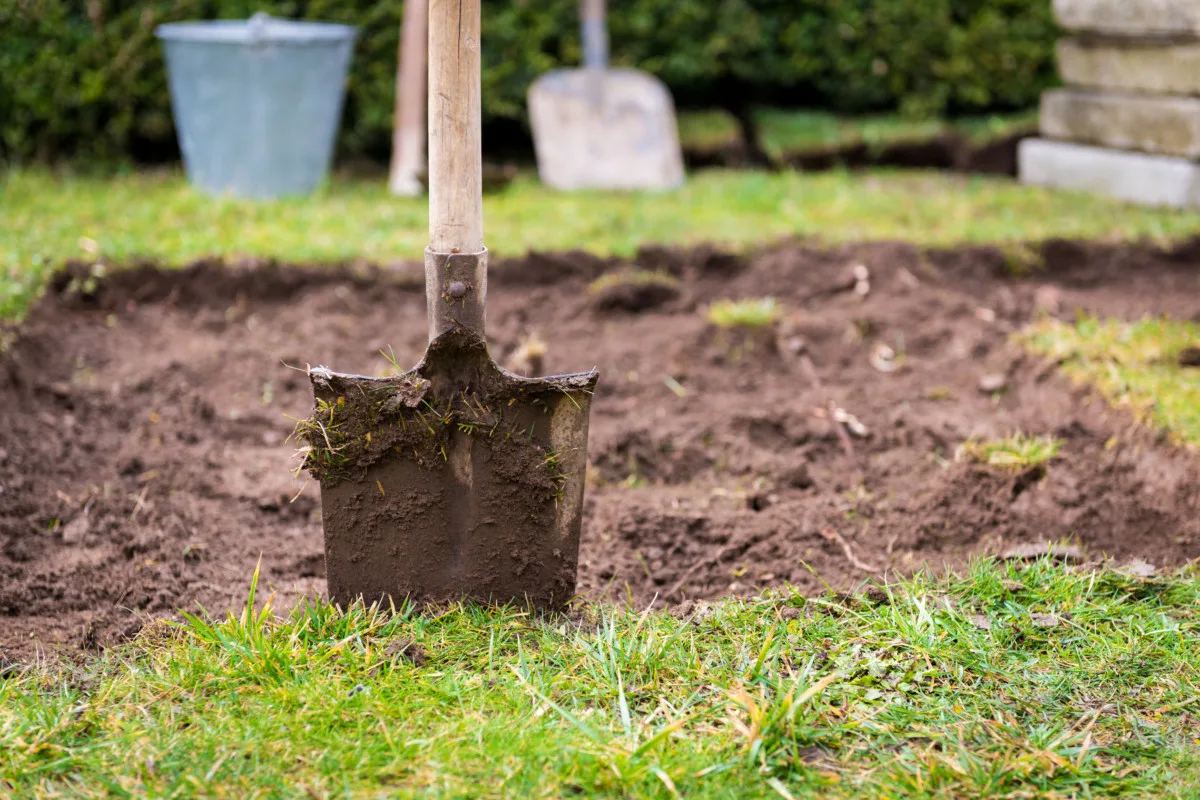
Before digging, you need to make sure that the site is not situated over any utilities. Take responsibility and always contact a local diggers hotline before moving a shovelful of soil around.
What you want to achieve with your rain garden is a “ponding” area that is completely level on the bottom. This needs to take into account the slope of the land.
For simplicity’s sake, take a string and multiple stakes to mark the outside of your rain garden, taking note that the berm will be outside the marked area. You should always start digging on the uphill side of the plot, digging down to the correct number of inches you calculated above. Use that excess soil to create a berm on the outside of the string.
Try to make the bottom as level as possible, raking it smooth when necessary but never compressing it.
Adding a berm to your rain garden.
The sole purpose of a berm is to keep the excess rainwater in the ponding area until it can permeate into the ground.
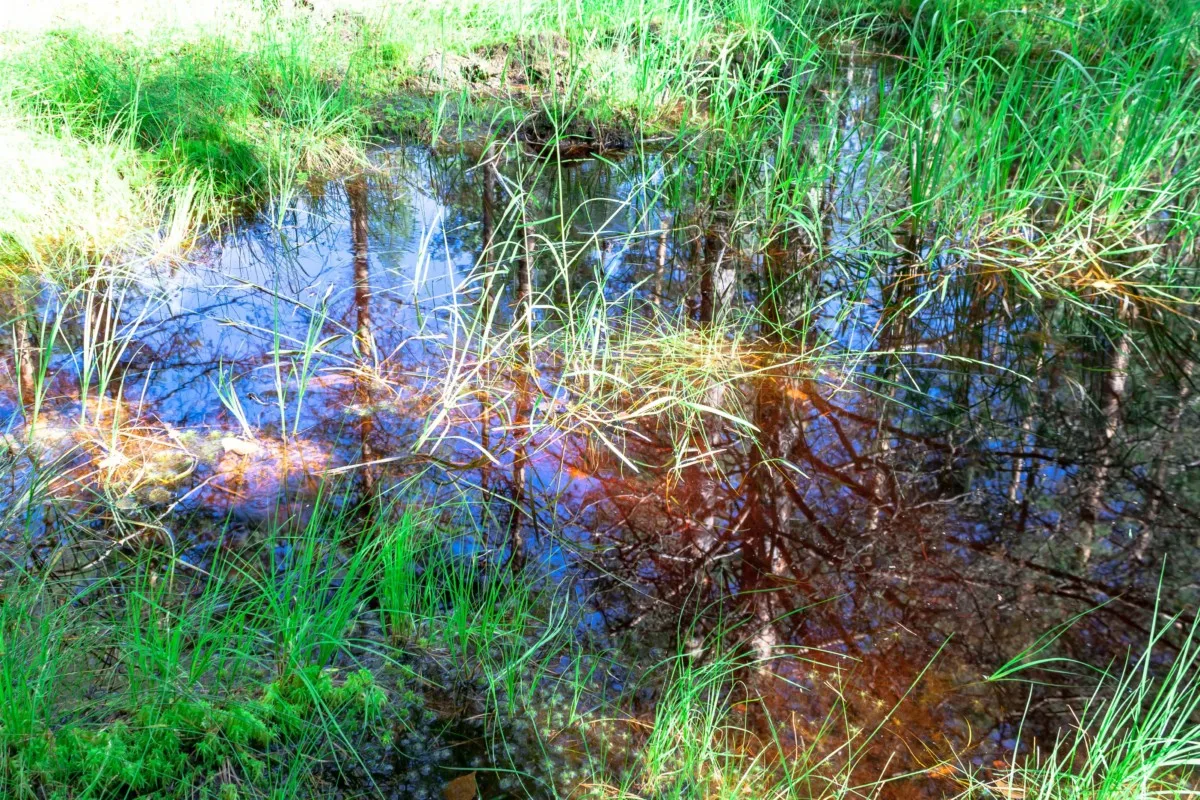
If you are creating a rain garden on a flatter surface, you’ll probably have enough soil from digging your garden to form a berm. However, larger rain gardens with steeper slopes may require soil to be brought in to finish the job.
Think of the berm as a dam, which helps retain the water. In most cases, it needn’t be more than a foot wide, extending the length of the lower part of the garden. You’ll also want to bring some of it uphill on the slope to contain runoff from the sides.
As you construct this, be sure it is well compacted to help ward off erosion.
Very steep slopes may entail the use of stones to prevent erosion.
Plants That Thrive In a Rain Garden
Form and function are both essential features of your backyard. It goes without saying then that if your garden is pretty, you’ll spend more time in or around it. The same rings true for your vegetable garden.
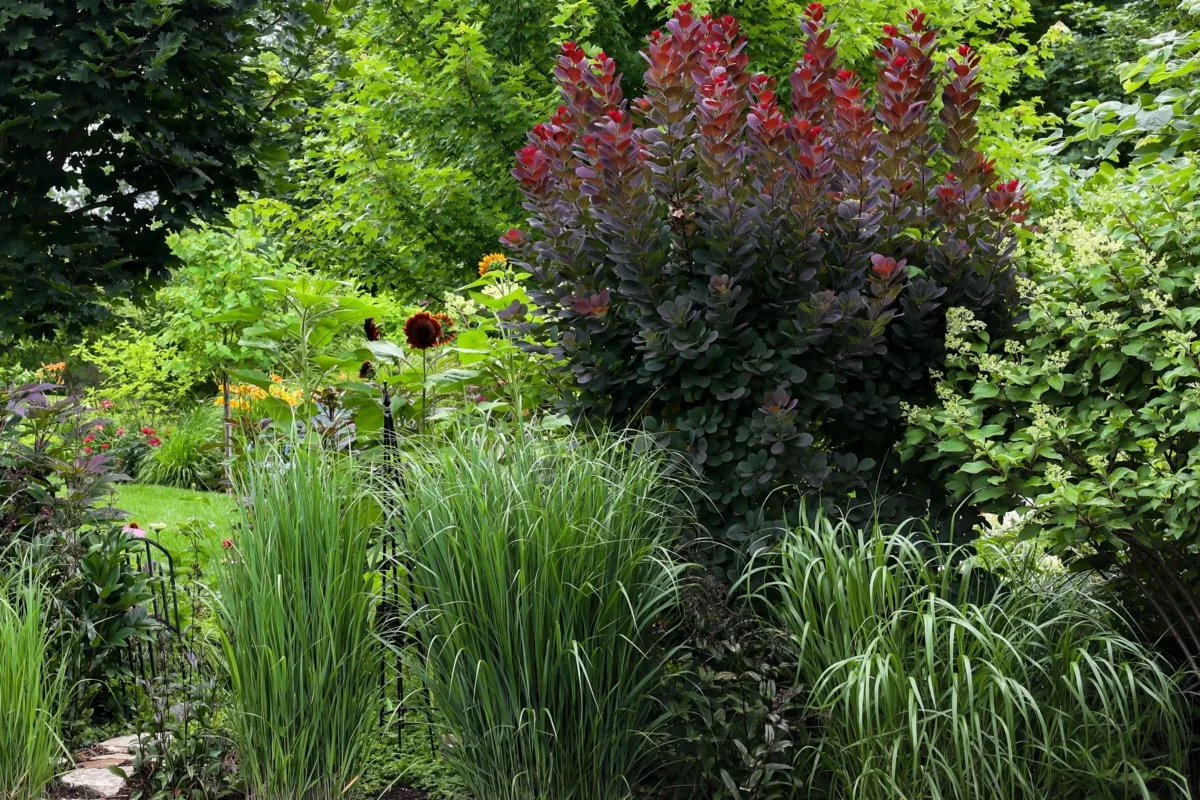
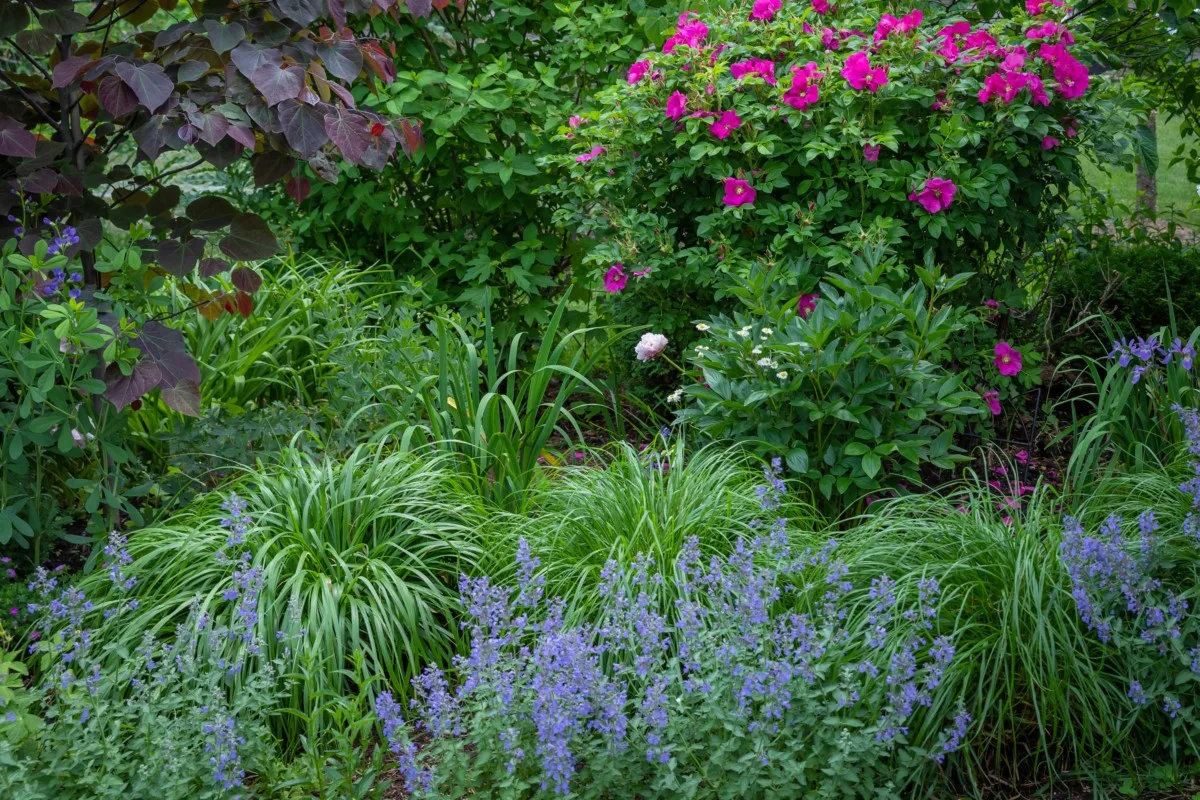
So, in order to have a beautiful rain garden, you’ll want to include plants that you find pleasing to your eye.
Here are a few tips on making an appealing rain garden that not only functions but adds beauty as well:
- select a variety of native plants which bloom at different times, as well as have diverse textures and shapes.
- add wetland sedges and grasses for visual interest.
- use landscaping design to your advantage; plant in clumps of three to seven.
- don’t plant too close together; allow room for each species to come to maturity.
- make sure that each plant you select has its sunlight requirements fulfilled.
Native plants are among the best choices for rain gardens because they are naturally hardier than exotics. They can withstand harsher growing conditions, are more drought tolerant and tend to have a deeper root system (enhances soil infiltration), which is, of course, a great benefit to a rain garden.
Local nurseries and landscaping companies may already have a list of native plants on hand. It’s worth an ask and a look around to get that information to find out what’s native in your area.
A good starter selection of plants for your rain garden:
1. Bee Balm or Bergamot (Monarda)
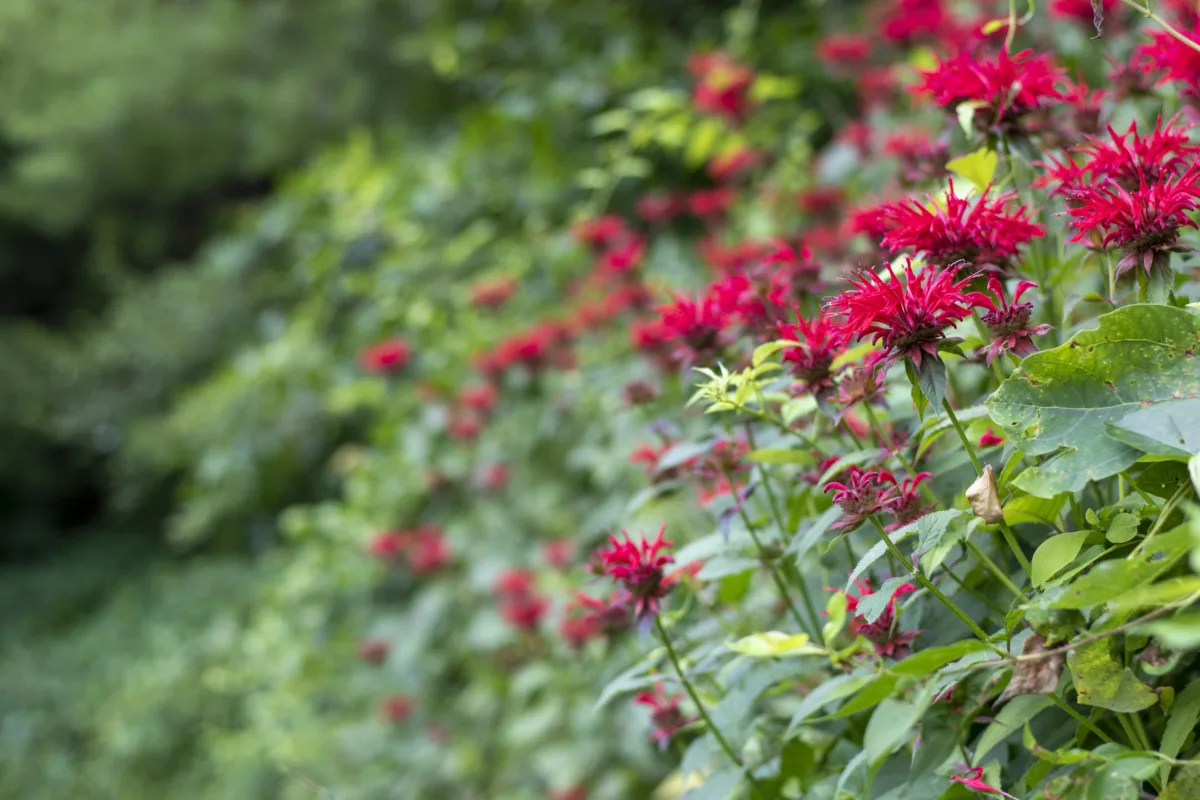
A beautiful member of the mint family that grows from 2 to 4 feet tall. Can be grown for privacy, for pollinators or for a nourishing herbal tea.
2. Big Bluestem (Andropogon gerardii)
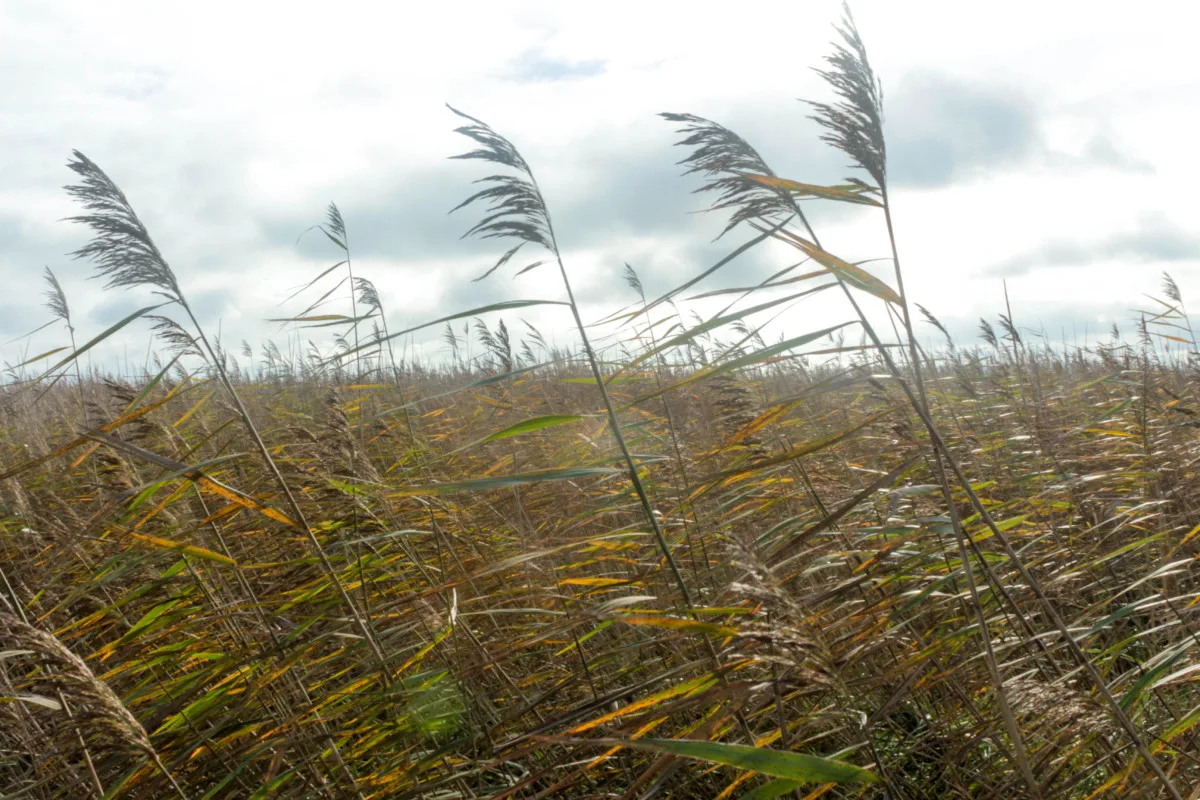
Native grasses are an essential part of a rain garden, given that their roots reach deep into the soil. Big bluestem roots may reach a depth of 5-8 feet, plus they provide winter interest in the landscape.
3. Blue Vervain (Verbena hastata)
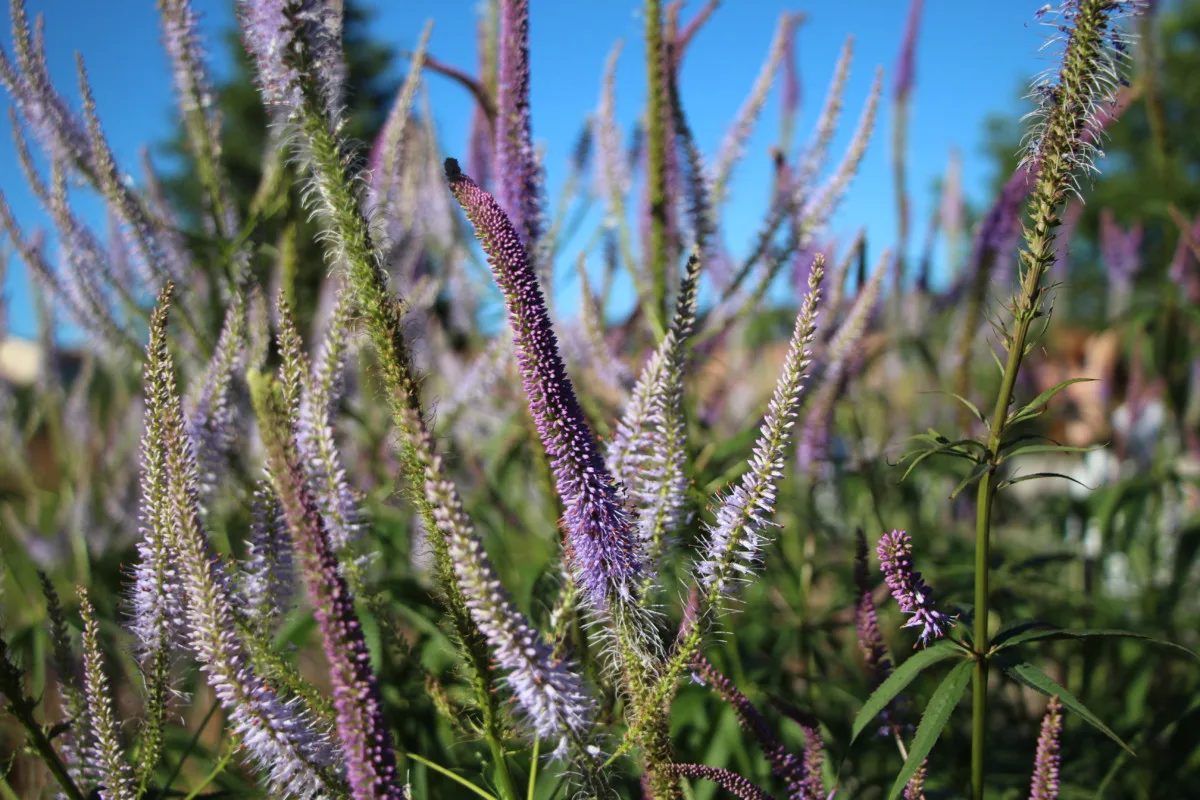
Plants in a rain garden need to tolerate wet soil; blue vervain is one of them; it’s also an important source of food for birds and pollinators later in the season.
4. Bottlebrush Sedge (Carex comosa)
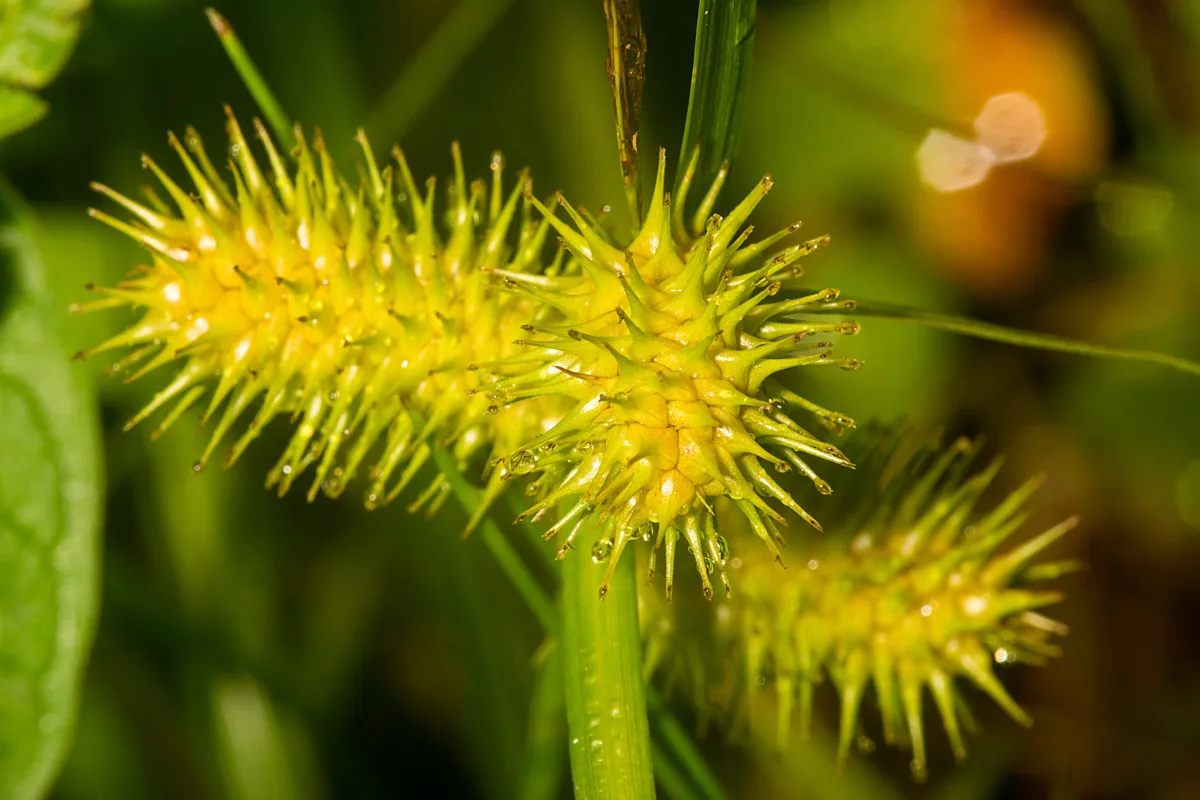
Sedges are known for their ability to tolerate moist soil, this one is perfect for both rain and water gardens.
5. Fireweed (Epilobium angustifolium)
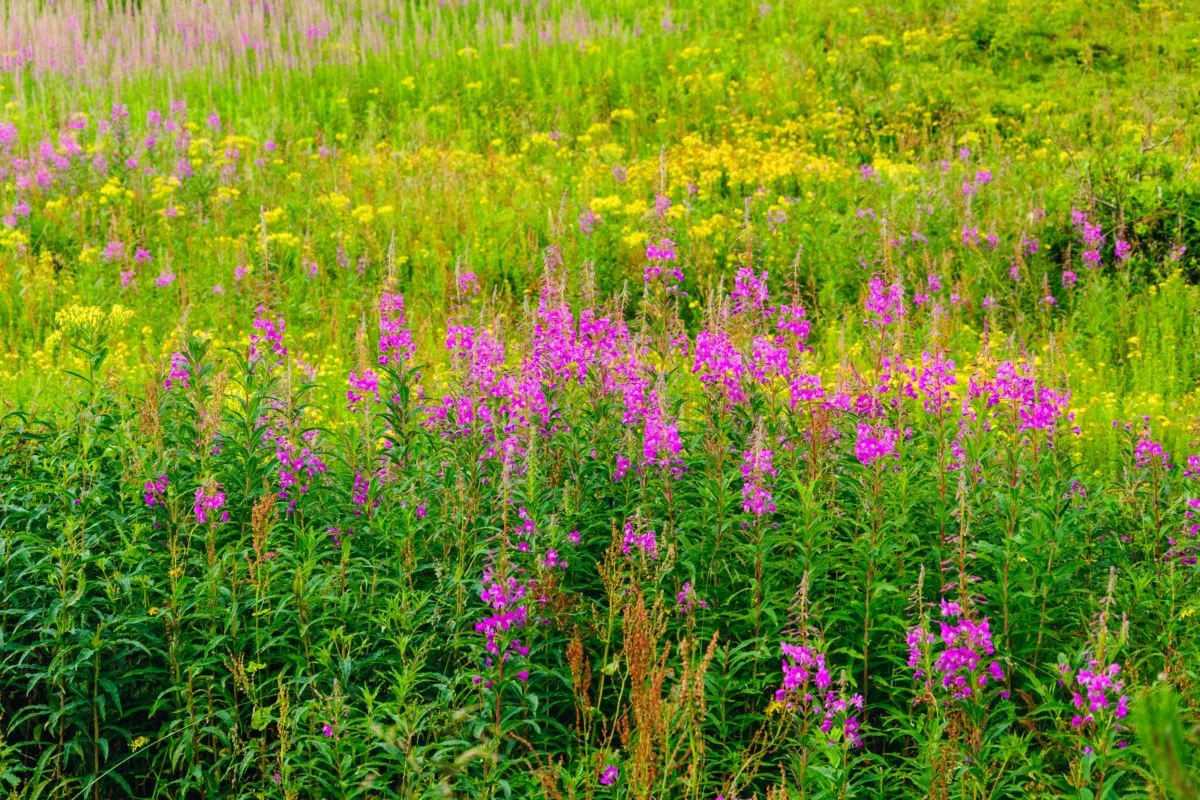
A great plant for sandy soil (dislikes clay soils), which grows tall (up to six feet) in a sunny location. It can be persistent in the garden. However, it’s a beautiful host plant for several moth species.
6. Little Bluestem (Schizachyrium scoparium)
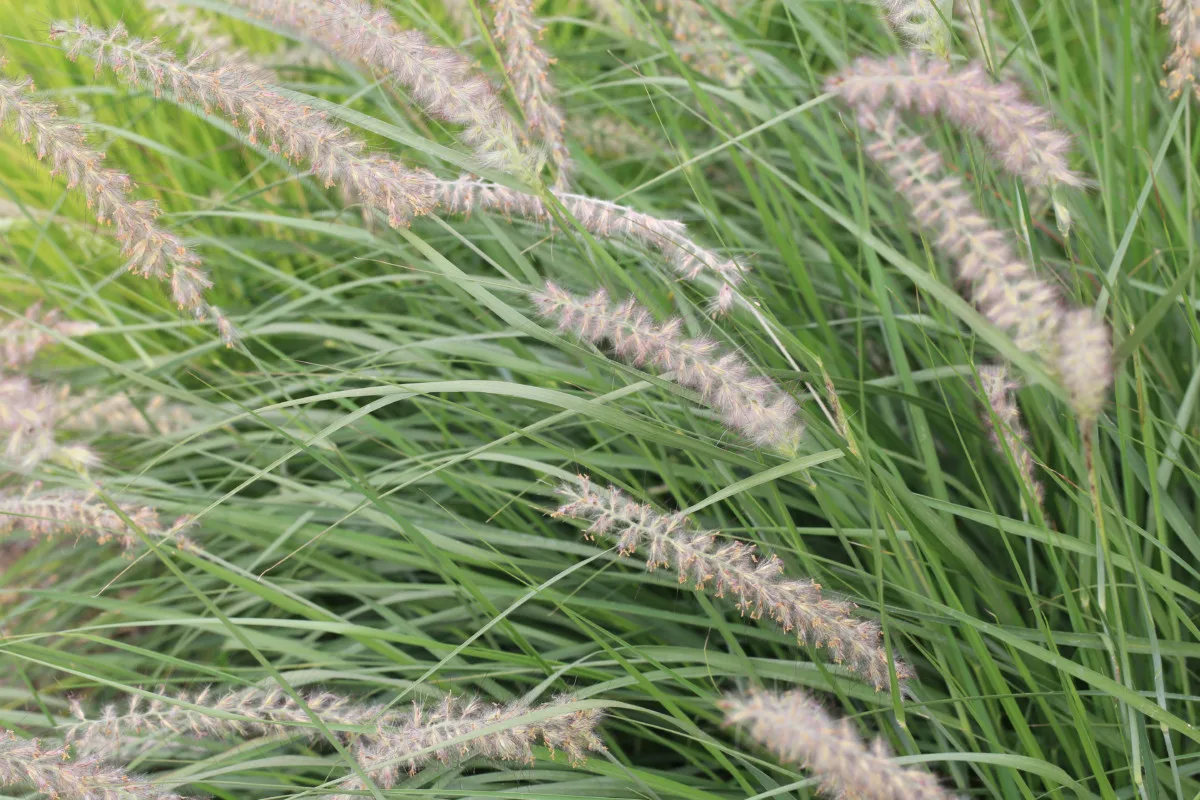
An easy-to-grow indigenous species of grass with roots reaching five feet into the soil makes it a prime candidate for a rain garden.
7. Meadow Blazing Star (Liatris ligulistylis)
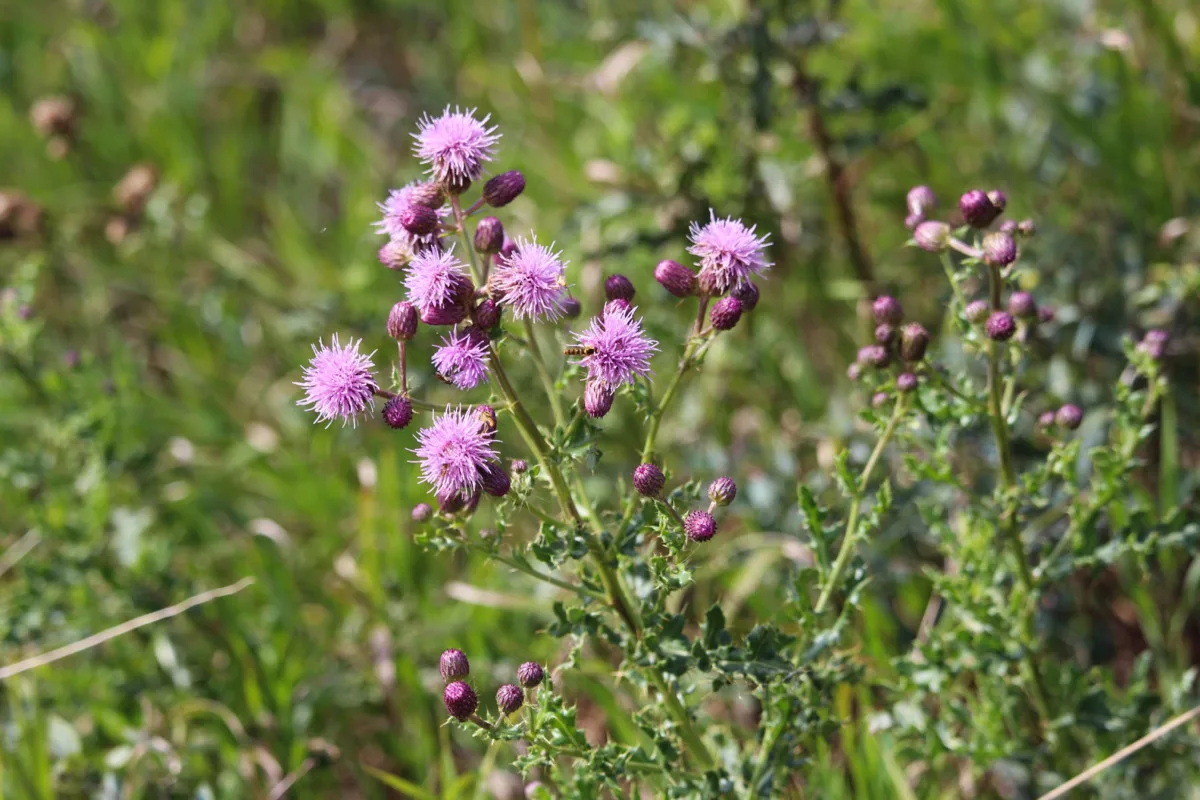
Whereas milkweed is an important host plant for eggs and caterpillars of the Monarch kind, meadow blazing stars provide nectar during the fall migration.
8. Prairie Dropseed (Sporobolus heterolepis)
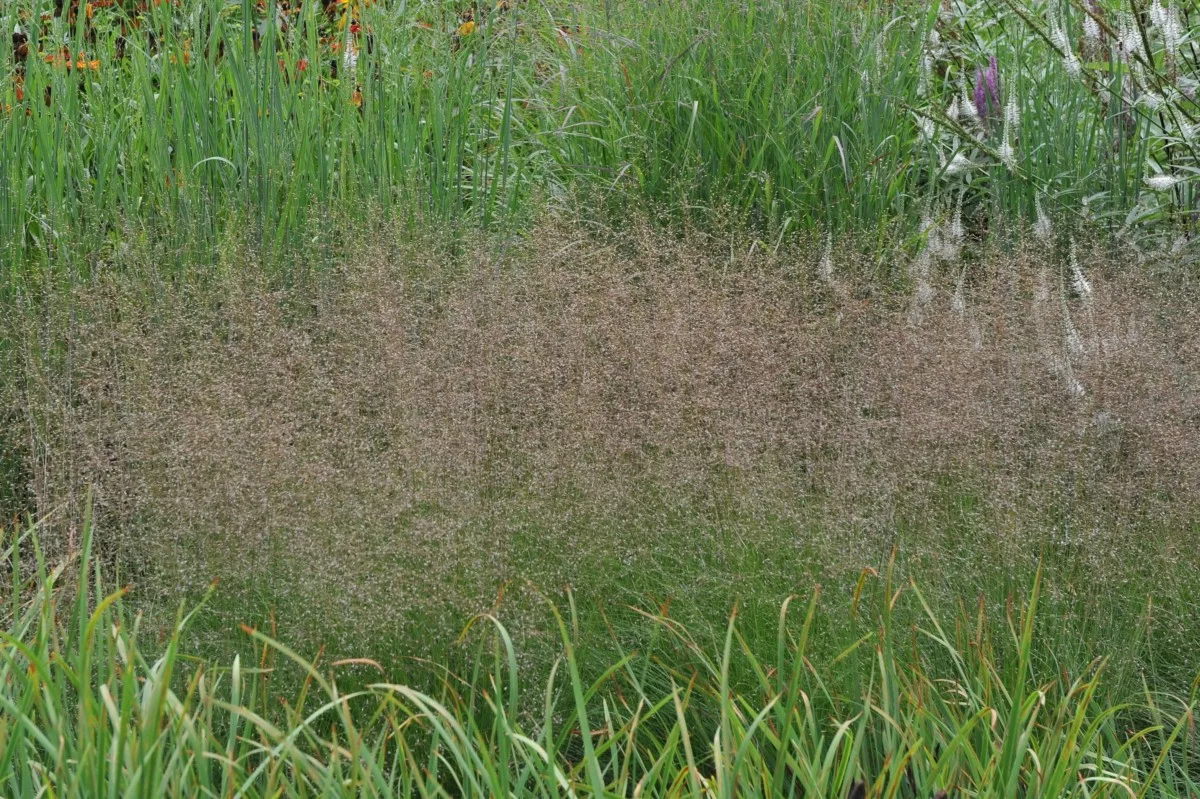
Works best on the sunny side and upper edges of a rain garden. Makes wonderful companion plants with coneflowers, black-eyed susan and phlox.
9. Purple Coneflower (Echinacea purpurea)
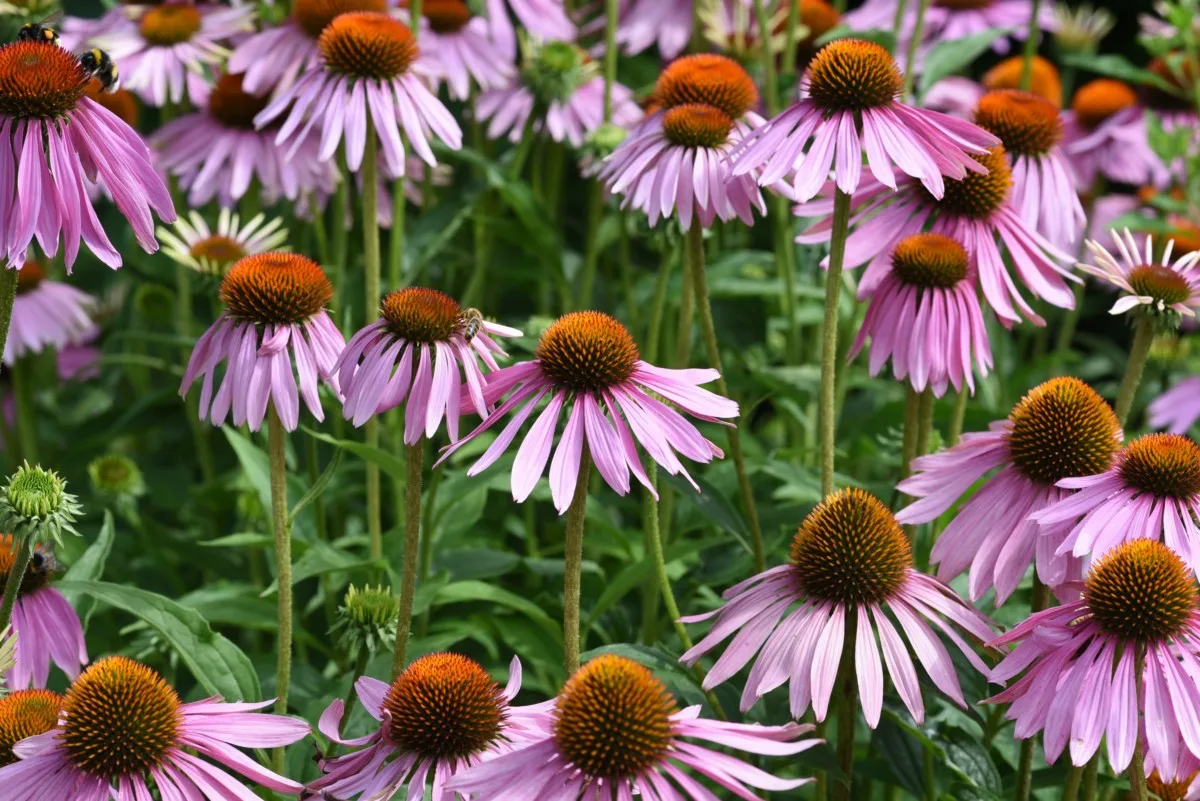
For the slopes of a rain garden, look no further than purple coneflowers; besides being attractive, they also thrive in poor soils.
10. Red Columbine (Aquilegia canadensis)
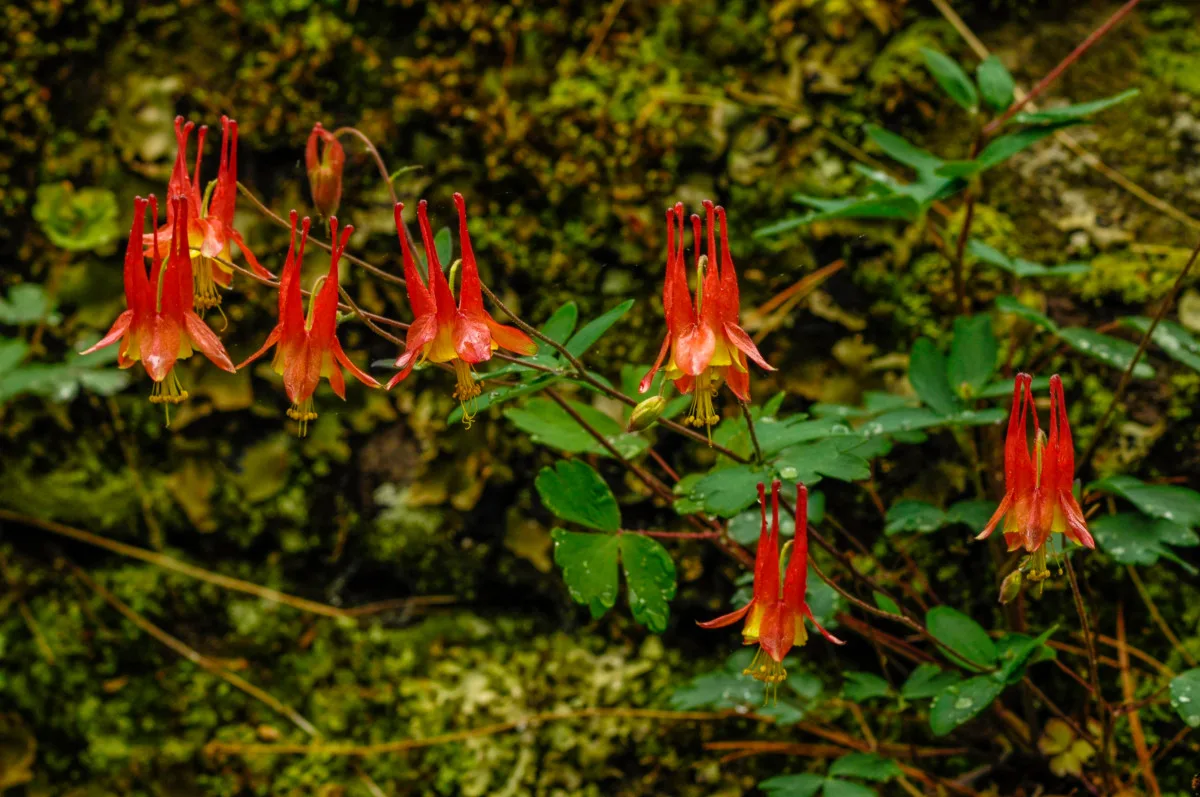
Perhaps the most spectacular flower in your garden will be this one, which also attracts pollinators such as hummingbirds, butterflies and hawk moths.
11. Solomon’s Seal (Polygonatum biflorum)
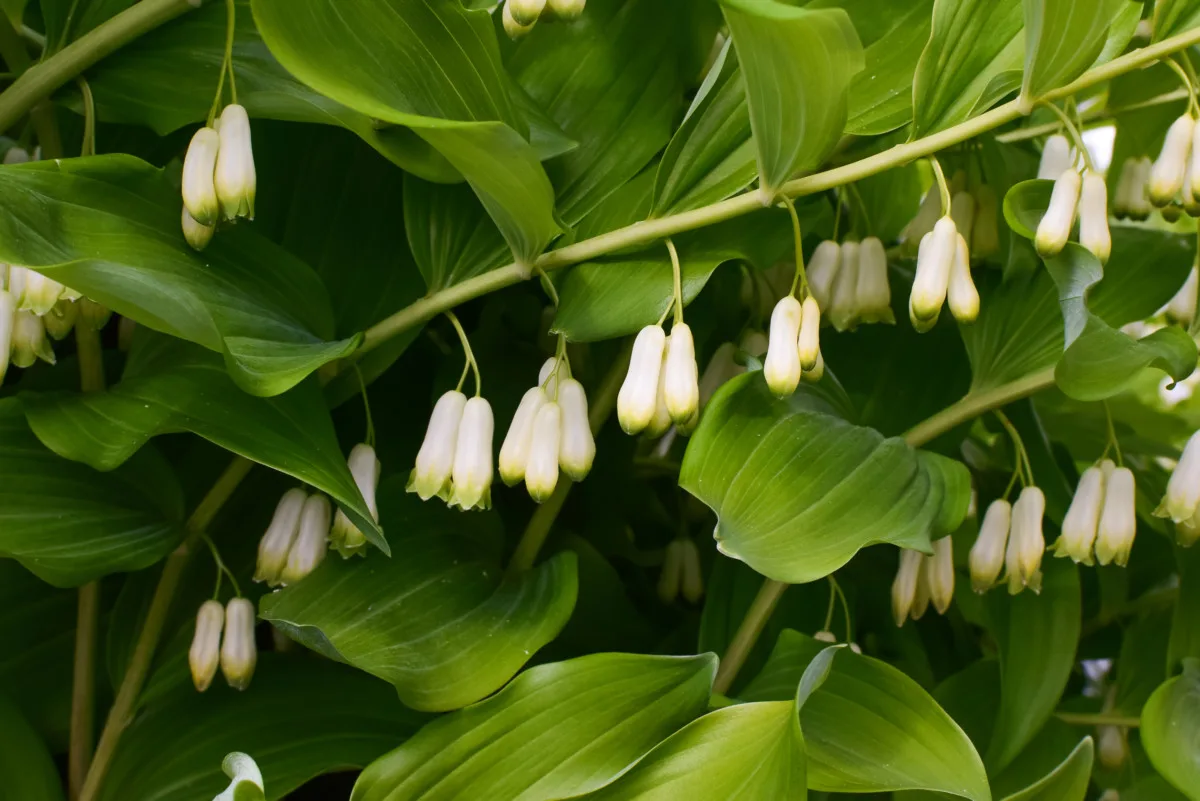
If your rain garden has some shade, there are a few plants for that too. Bonus points for this one tolerating wet soils.
12. Smooth Blue Aster (Symphyotrichum laeve)
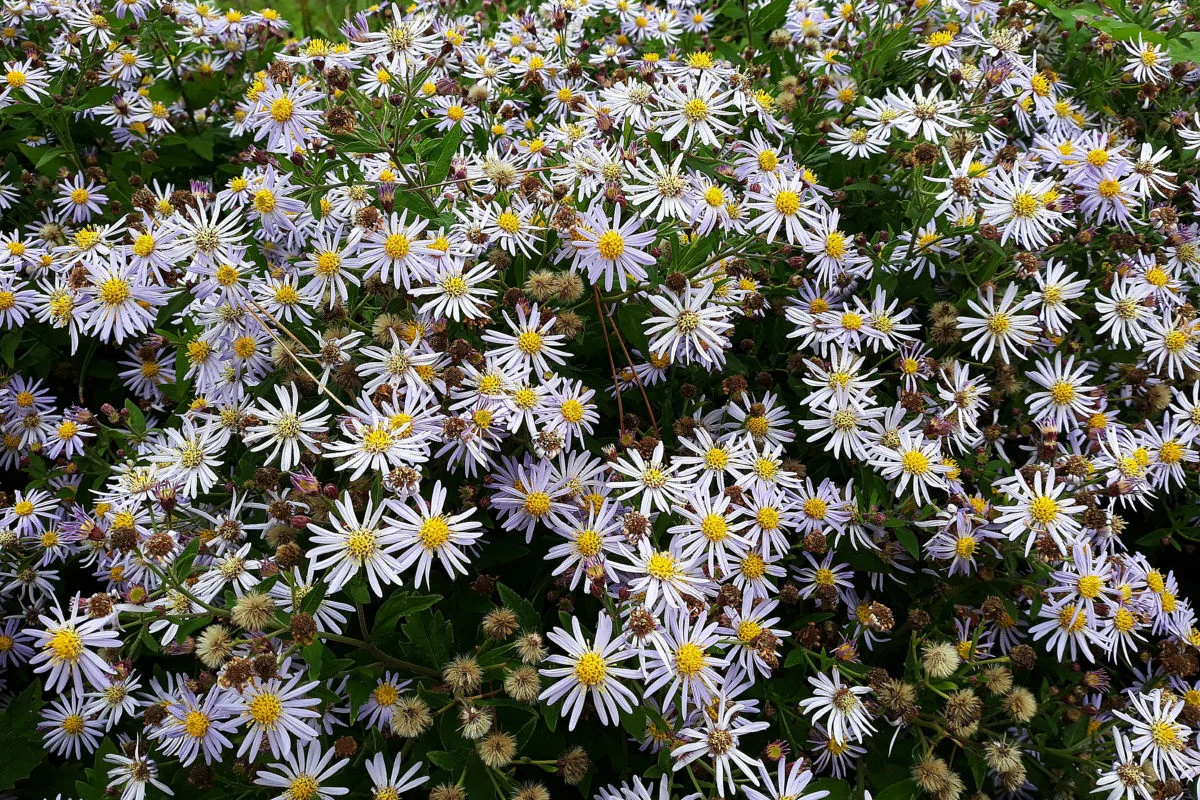
Flowers with a later bloom time are often added to rain gardens for visual appeal. Blue asters produce showy flowers from August to October. They are a host plant for the pearl crescent butterfly.
13. Switchgrass (Panicum virgatum)
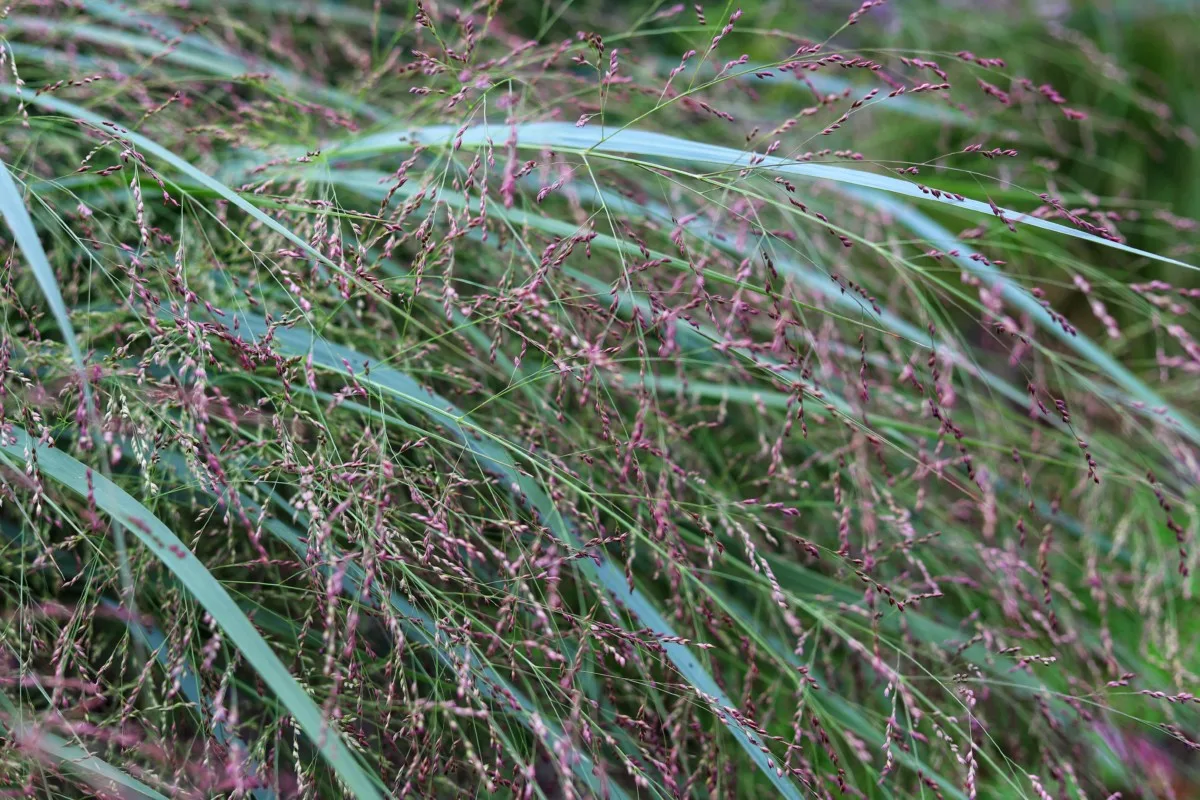
Switchgrass is a perennial warm-season bunchgrass capable of withstanding long periods of drought. It’s resistant to many pests and diseases.
14. Wild Geranium (Geranium maculatum)
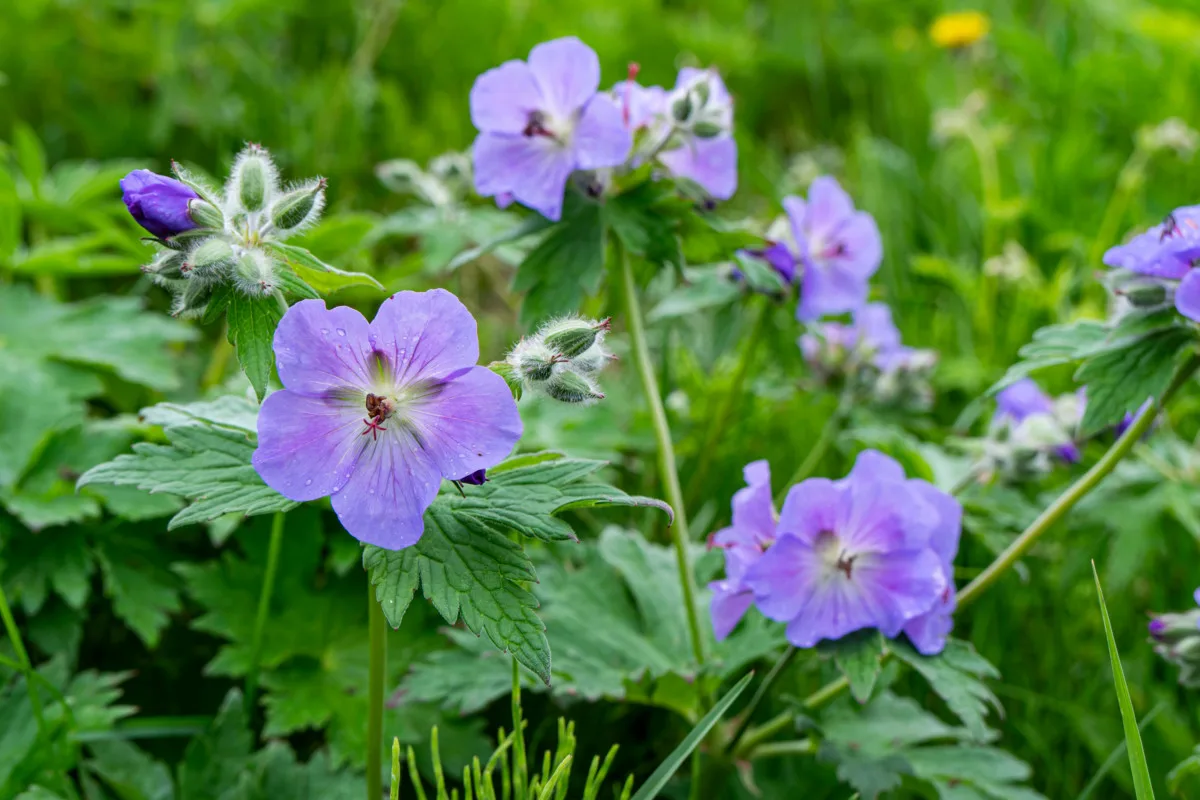
Combines well with other shade-loving perennials such as Solomon’s seal, ferns, common mayapple and woodland phlox.
This list is short, so don’t limit your rain garden to this list of plants alone. Do some more research and find out what’s native in your neck of the woods.
Related reading: 20 Plants To Grow In Your Easy-to-Manage Wildflower Garden
Winter Maintenance of Your Rain Garden
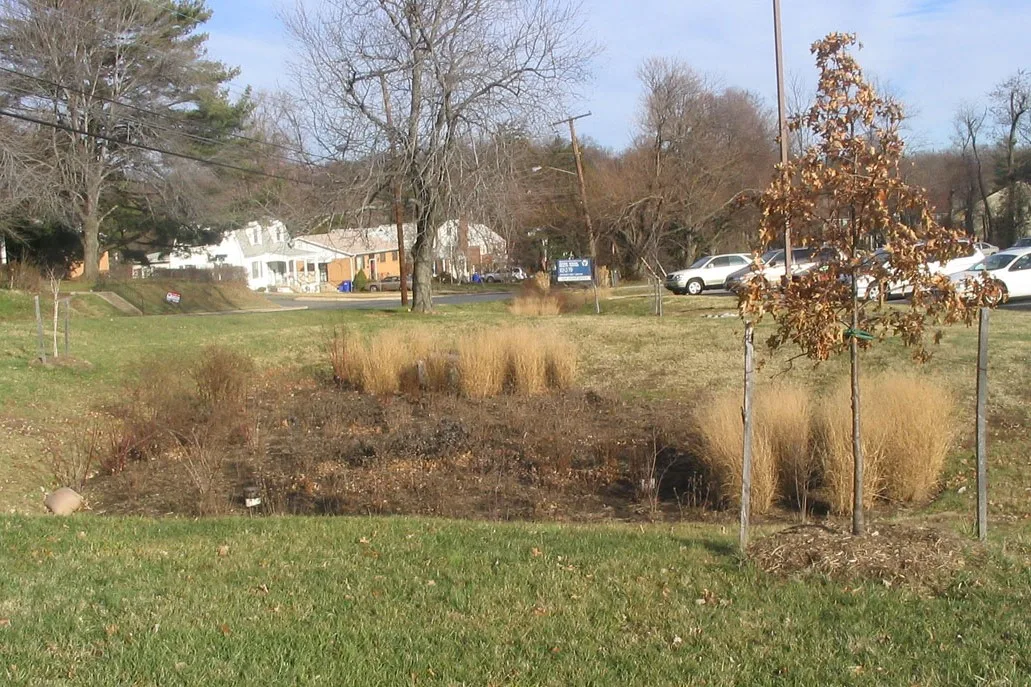
When colder weather comes around, it’s time to make sure that your rain garden is ready for a much-deserved rest.
For the most part, it’s like taking care of any other backyard space. You’ll want to pull up any stubborn weeds, at the same time, check for gaps in the mulch. While it may be tempting to put your pruners to work, it’s best at this time to only snip off dead or diseased branches. Save the pruning for the deeper cold of winter.
Make sure to give your rain garden a little extra attention from late October through early December.
- adjust mulch depth to approximately 3″ for the best water retention.
- prune back and divide perennials if needed, and share extra plants with friends and neighbors.
- leave the seeds on native plants till spring – they may be a winter source of food for wildlife.
- remove leaves from the ponding area, making a leaf mold further away.
- check for potential erosion, correcting that if necessary.
Other than that, all your garden needs is some patience on your part to allow it to become established. Give it two years or more to turn into a fantastic rainwater filtering garden. You’ll be glad you did.
If you have other goals, such as being able to save that precious rainwater, you won’t want to miss out on this article: How to Set Up a Rainwater Collection System & 8 DIY Ideas

Get the famous Rural Sprout newsletter delivered to your inbox.
Including Sunday musings from our editor, Tracey, as well as “What’s Up Wednesday” our roundup of what’s in season and new article updates and alerts.


