Note: This article was first published on January 25th 2023 and included ten plants. It proved incredibly popular and has now been updated to include fifteen plants that need a winter pruning.

I’ve come to realize that January feels to me, as a gardener, very much like that week between Christmas and New Year’s Eve. The first part of the celebration is over – all the pruning and bulb planting in the fall. Yet I don’t know what to do with myself until the next one begins – spring and all the seed planting.
But as soon as the end of January slowly rolls around, I give into the temptation to go out in the garden. It’s too early for seed planting, but one chore that I can get done is winter pruning. As necessary as it is, I still consider pruning a chore.
Let’s get a few things straight about winter pruning before I talk about what we can cut back during dormant season.
I do most of my winter pruning in late January and February. Just in case the word “winter” sends a shiver up and down your spine. Or if you’re imagining you need to be out there wielding a saw while the rest of the family are tucking into Christmas dinner.
Where I live and garden, winters have been getting milder and warmer. There’s very little chance of snow in February. I wouldn’t recommend you dig a trench through a snow bank just for the sake of pruning a couple of vines.
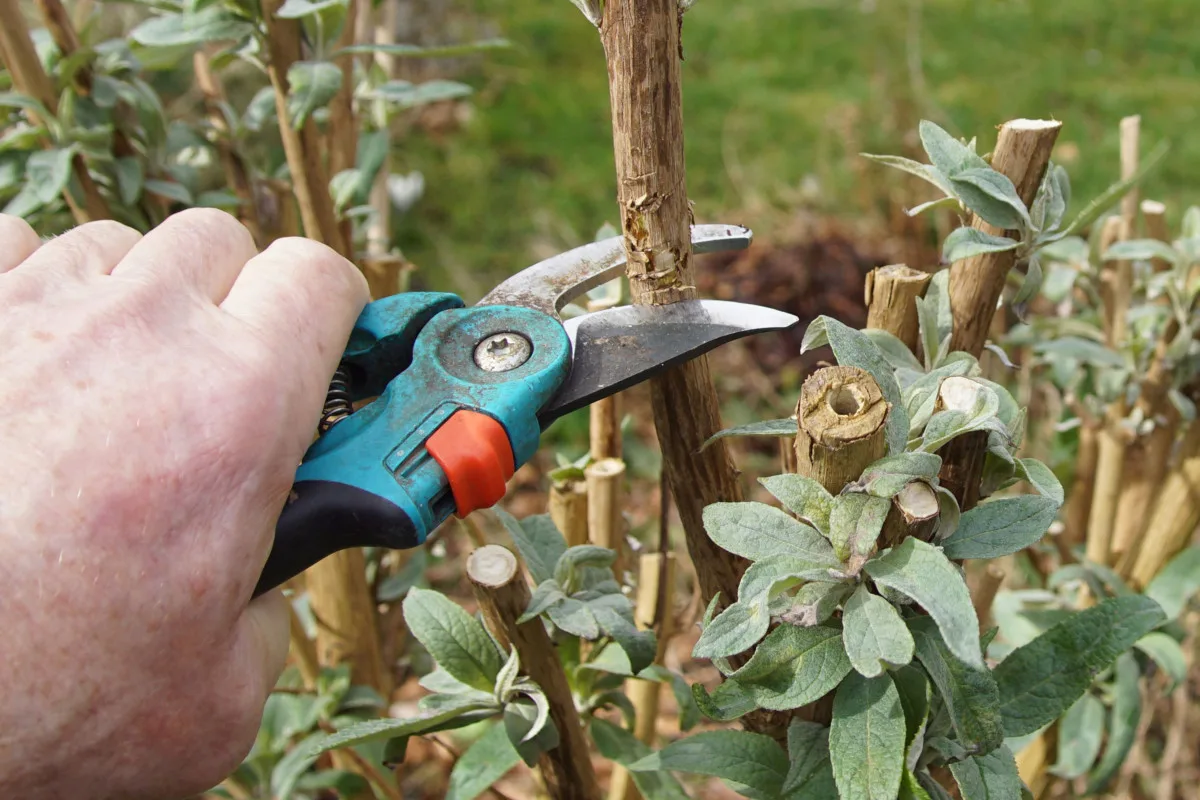
Also, I wait for a few dry days in a row to do my winter pruning. Exposing plant tissue to weeks of rain and dampness is a recipe for disaster. So patience is a virtue in this case; and so is constantly checking the weather app.
3 Reasons Why Some Plants Benefit from Winter Pruning
I think of winter pruning as “high stakes, high rewards.” That’s because I’m trimming back big-ticket items: fruit bushes, roses and large ornamental vines. Getting the pruning right this time of year will result in higher yields and richer flower displays.
Generally, we prune in the winter for three different reasons:
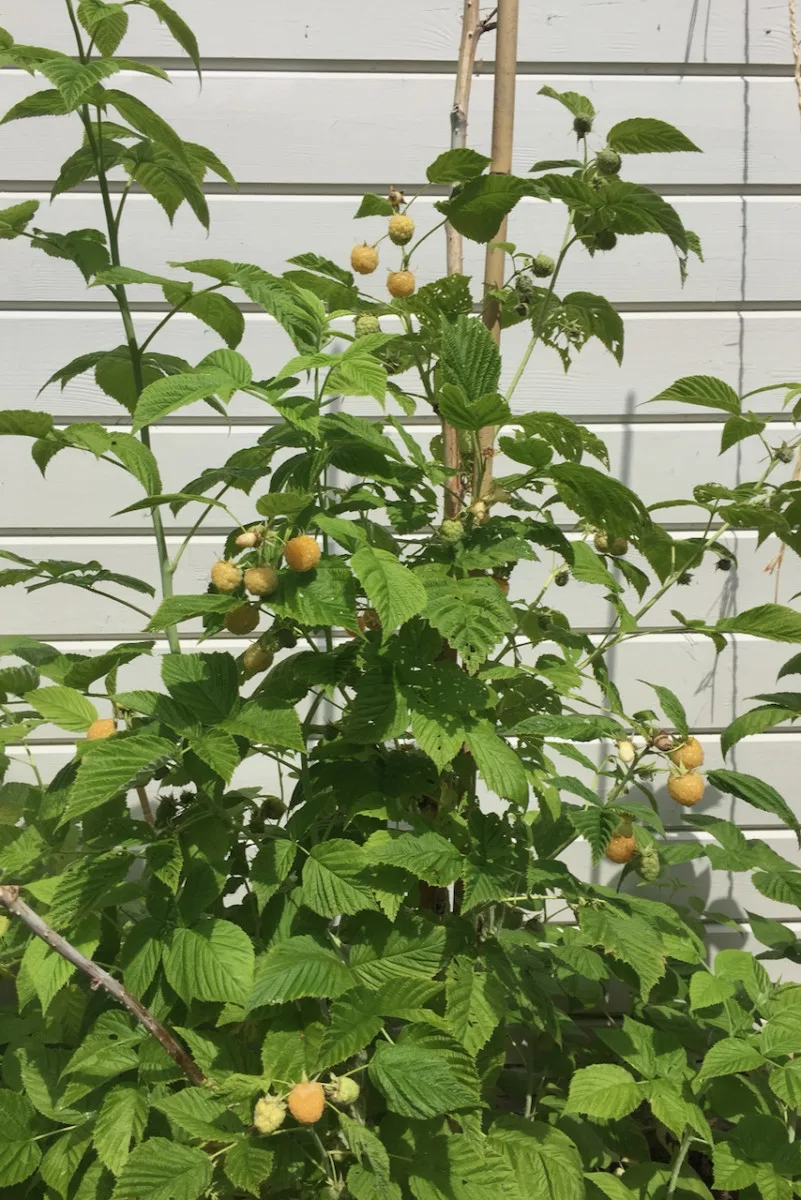
- For higher productivity and vigor, especially for plants that bear edible fruit, such as grapevines, raspberries, currants and gooseberries.
- To reshape the plant. This applies to ornamental vines and shrubs that have grown too large or look lopsided and need a quick tidy-up.
- To prevent overgrowth – think of what would happen if we let super-grower perennials such as wisteria and buddleia grow unchecked. They would take over any structure that had the bad luck of standing in their way.
Based on these three pruning principles, here are fifteen plants that you should consider pruning in winter.
1. Fall-bearing raspberries
Winter is the best time to prune back raspberry bushes that bear fruit in late summer and early fall. The key is trimming back once all the leaves have fallen off (in my garden, they were still hanging on in mid-November), but before new growth has a chance to emerge.
These raspberries flower and fruit on new canes, so removing older canes down to a stump will not negatively affect the plant’s yield. New canes will emerge from the ground in spring ready to bear fruit.
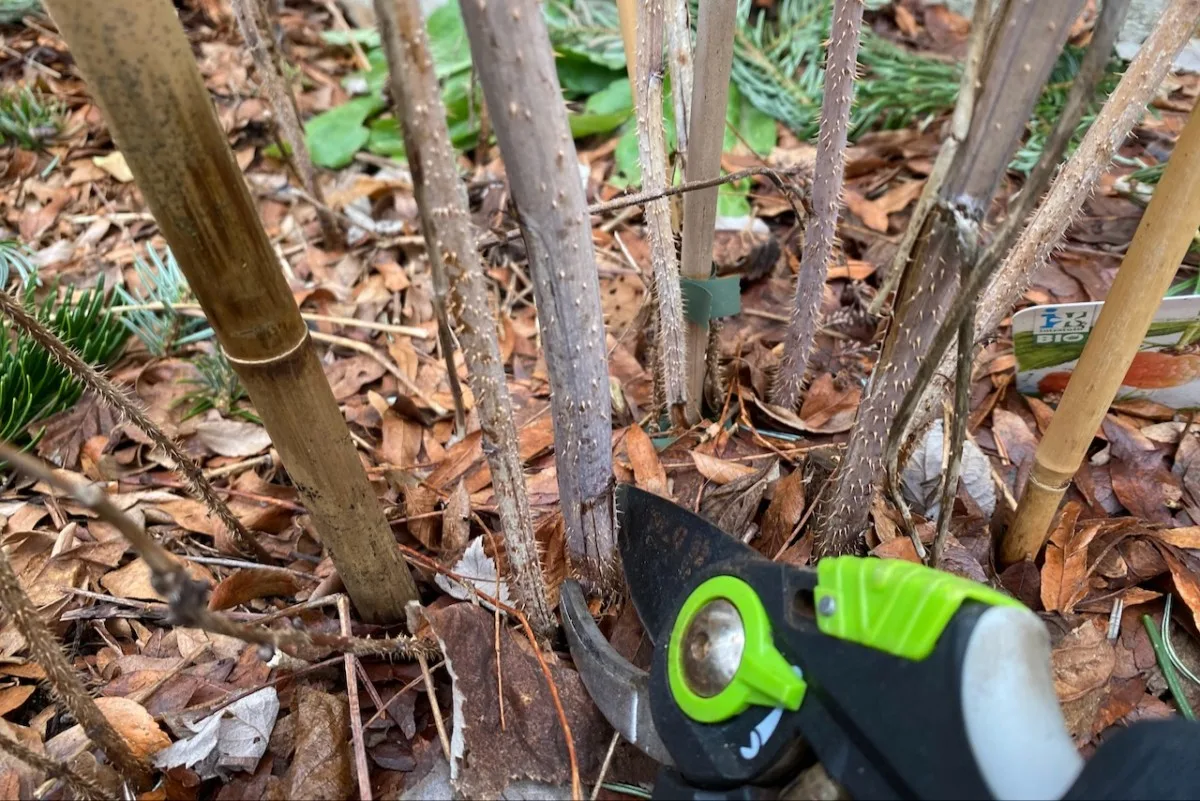
Fall-bearing raspberries are much easier to prune than their summer-fruiting counterparts, so I recommend you start with fall-bearing if you’re new to growing raspberries.
I consider the canes that I take off as an extra bonus. They may be useless for bearing fruit, but once I let them dry in the summer sun for a few weeks, they make excellent stakes for my peppers and other slim plants. As long as I remember to polish them a bit and remove the spikes, that is.
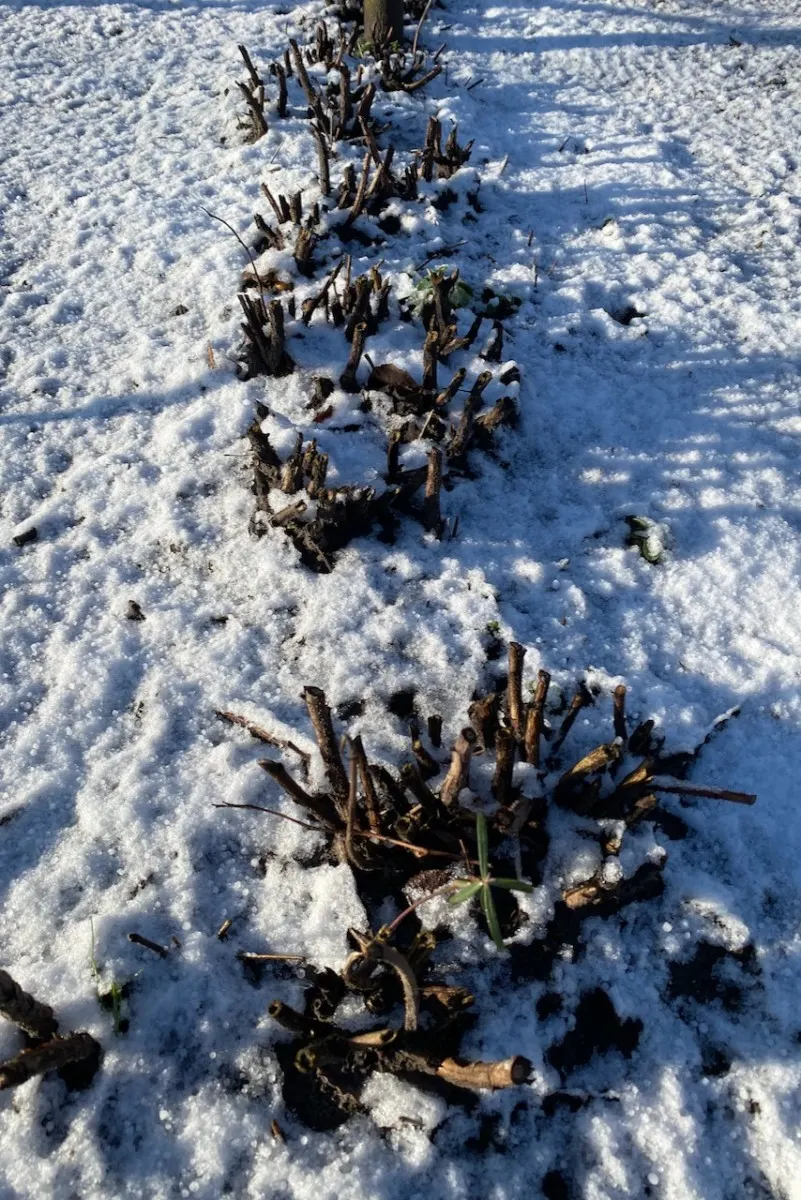
At my local community garden, raspberries get an even harder prune. My neighbors cut them down to a stump knowing that the enormous root structures will send up plenty of new growth. But keep in mind that these raspberries are very old (10+ years is my guess) and very established, so they will bounce back much faster and richer than a raspberry plant that’s only a few years old.
Elizabeth wrote an excellent comprehensive guide on how to prune raspberries. Have a look for more in-depth advice (including how to make the most of runners).
2. Late-summer clematis (Group 3 clematis)
Another late-summer beauty that could do with some winter pruning is the clematis. Clematis are divided into three groups, according to when they flower and when they need to be pruned. It doesn’t matter if you don’t know which group your clematis is, as long as you remember when in the year it blooms.
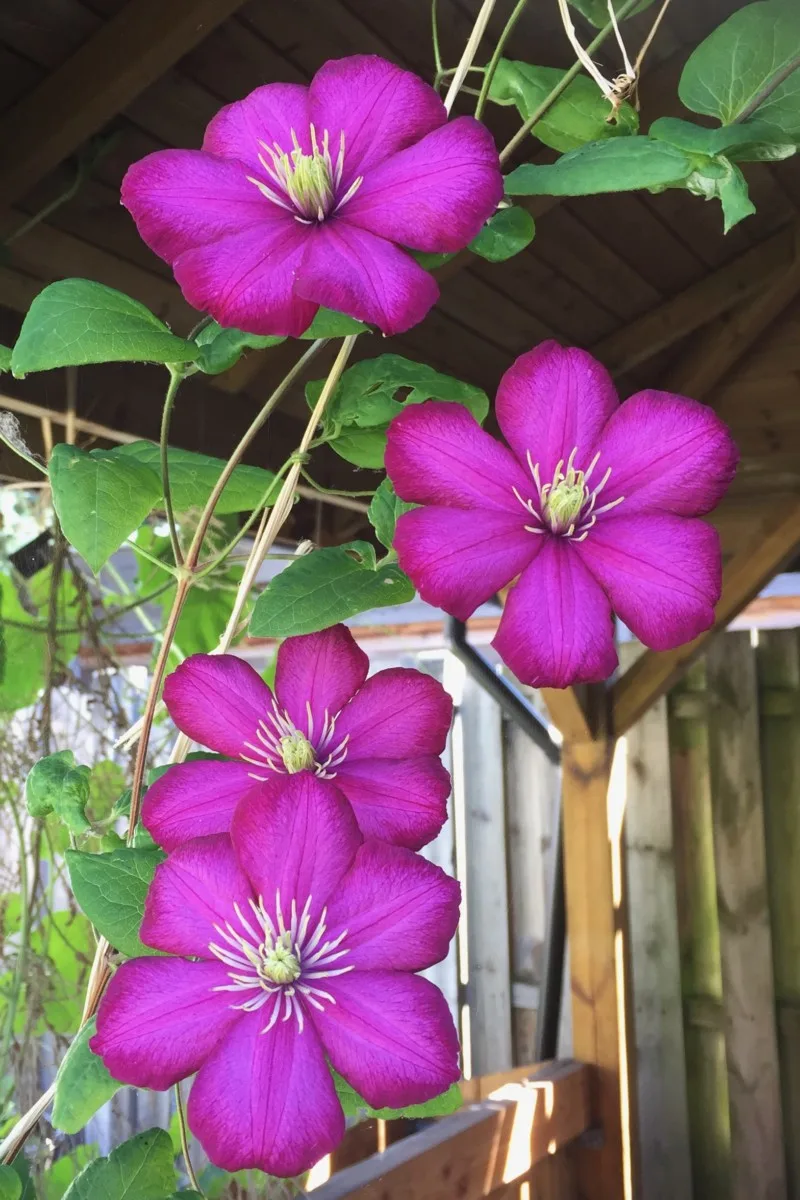
If your clematis takes its sweet time to bloom and only fills up in late summer, then chances are that you have a Group 3 clematis. This means it blooms on new stock (this year’s stock). So pruning it in the winter will encourage it to grow vigorously and produce large flowers.
If you still have the label that came with the plant, you’ll find it often specifies the correct group.
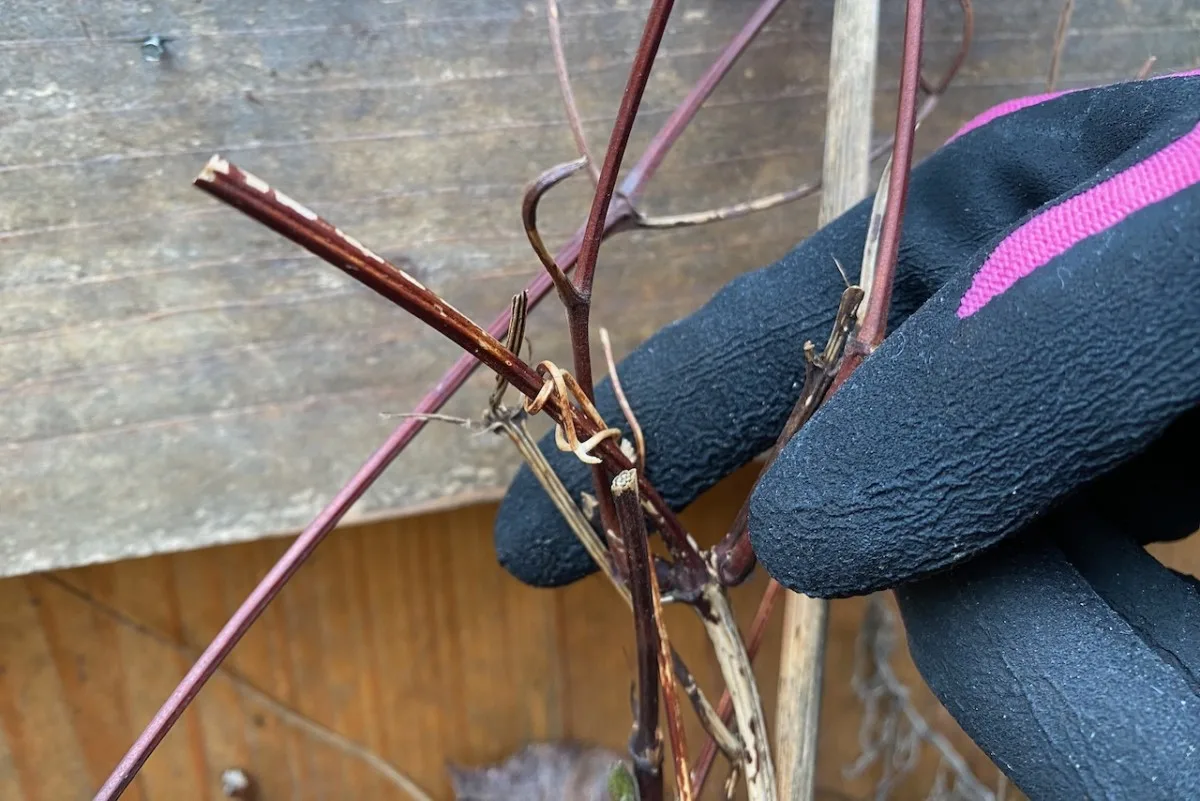
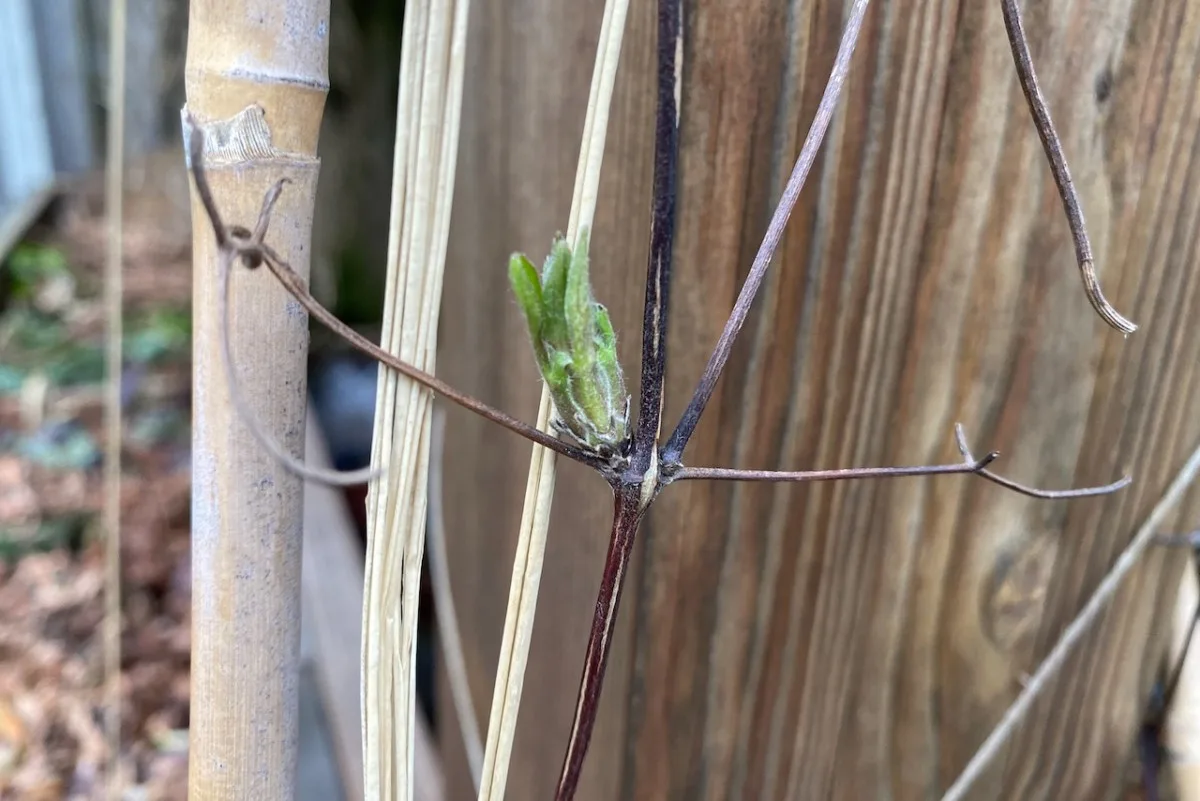
You can cut Group 3 clematis down to about 10 inches from the base (about 25 cm) to stimulate vigorous regrowth and avoid growing spindly leggy plants. Go back to a leaf node and cut right above it.
However, if your clematis blooms in the first part of the year (in June or earlier), that means it’s producing flowers on old stock. Winter is not the time to prune these plants, because you’ll be taking the new buds down with it. In the wise words of Monty Don, “if it flowers before June, don’t prune.”
3. Shrub roses and bush roses
When it comes to roses, you should be a bit more rigorous about getting the timing right. In some gardening zones, you can prune roses in February. In other areas that can get hard frost as late as April, it’s better to wait before cutting back your shrub roses.
The thing with roses is that they are usually overachievers. So they tend to push out new growth soon after being cut back. Hard frost late into the spring will affect these new shoots.
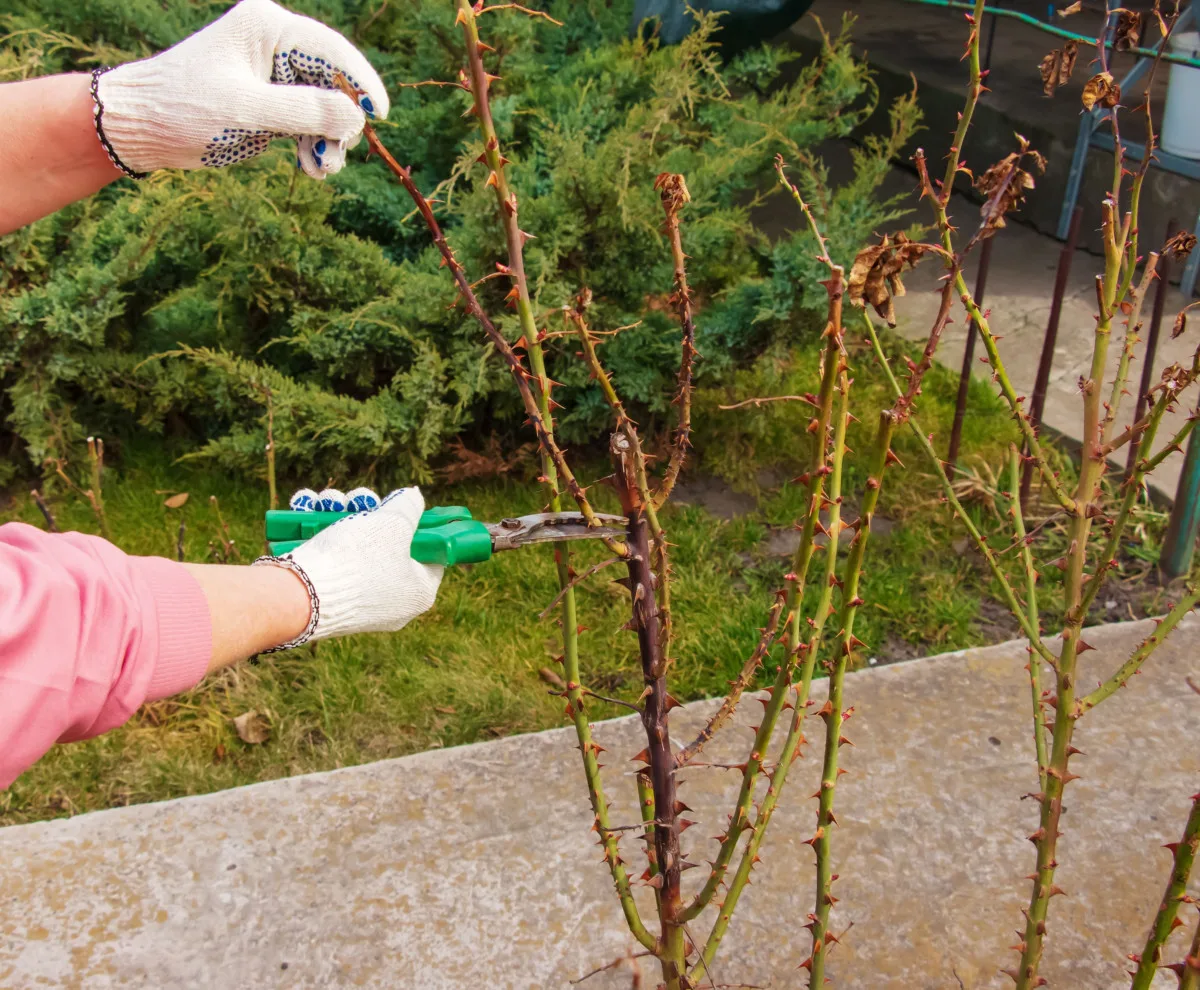
If you prune back your rose shrub by about one third, it will come back even bushier, topped with a mass of rich growth. If you miss pruning one winter, the rose will still flower, but the blooms will be fewer in number and smaller in size.
The following acronym helps me when I’m about to chicken out of pruning my roses too hard: take down the DDC. This means that, in addition to pruning down the top third, I can also remove branches that are:
- dead;
- diseased;
- crossing.
Whenever you prune roses, cut just above an outward-facing bud.
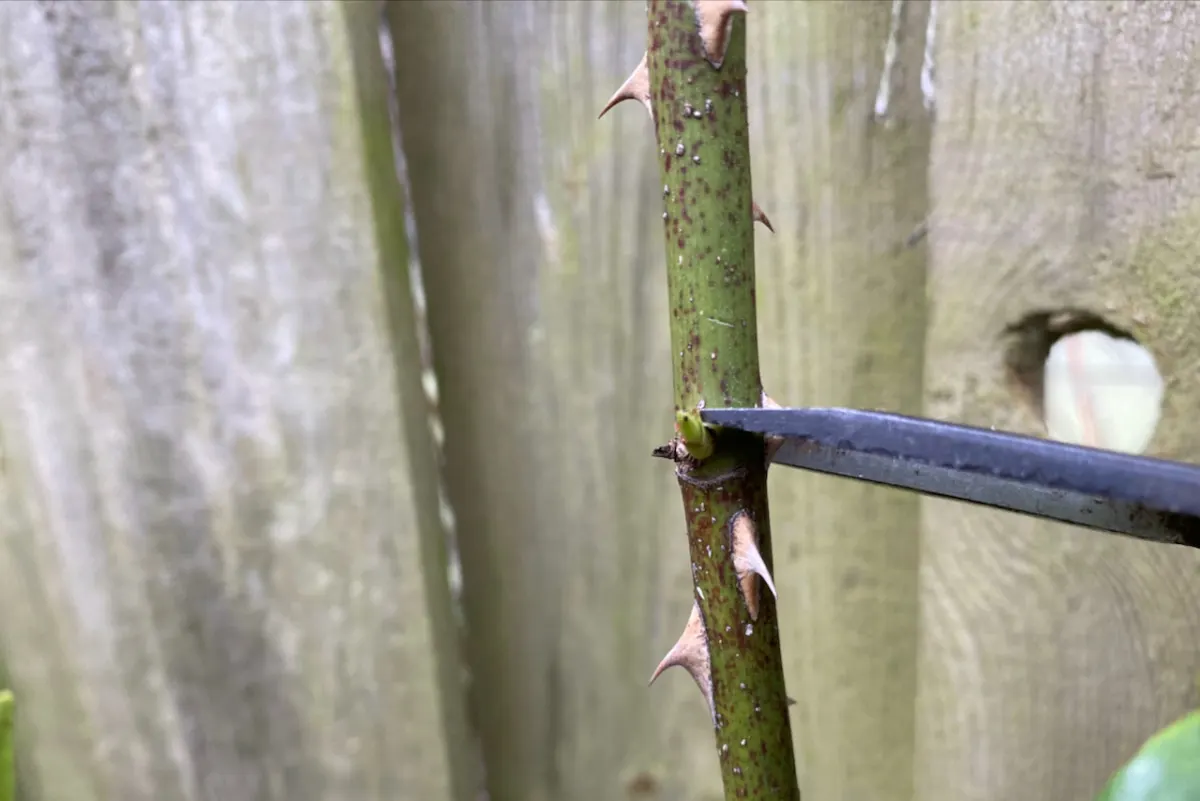
Always cut at an angle in order to prevent water from pooling on the newly exposed plant tissue. If there are any leaves left from last year’s growth, now is the time to snip them off. And to lower the risk of blackspot spores carrying over to a new season, make sure you also tidy up any fallen leaves that may have lingered around from last fall.
My colleague, Cheryl, wrote an excellent step-by-step tutorial on how to prune roses, complete with photos and a lot of extra tips for lush plants come summer.
4. Gooseberries and currants (Ribes)
Much like pruning raspberries, the aim with gooseberries is to increase yield. And very much like raspberries, if left unpruned, gooseberries will quickly grow into a tangled mess.
This not only makes the fruiting sparser, but it makes it harder to reach; because of the thickness of the plant, there will be a labyrinth of thorns you have to navigate through just to get your hands on a juicy gooseberry.
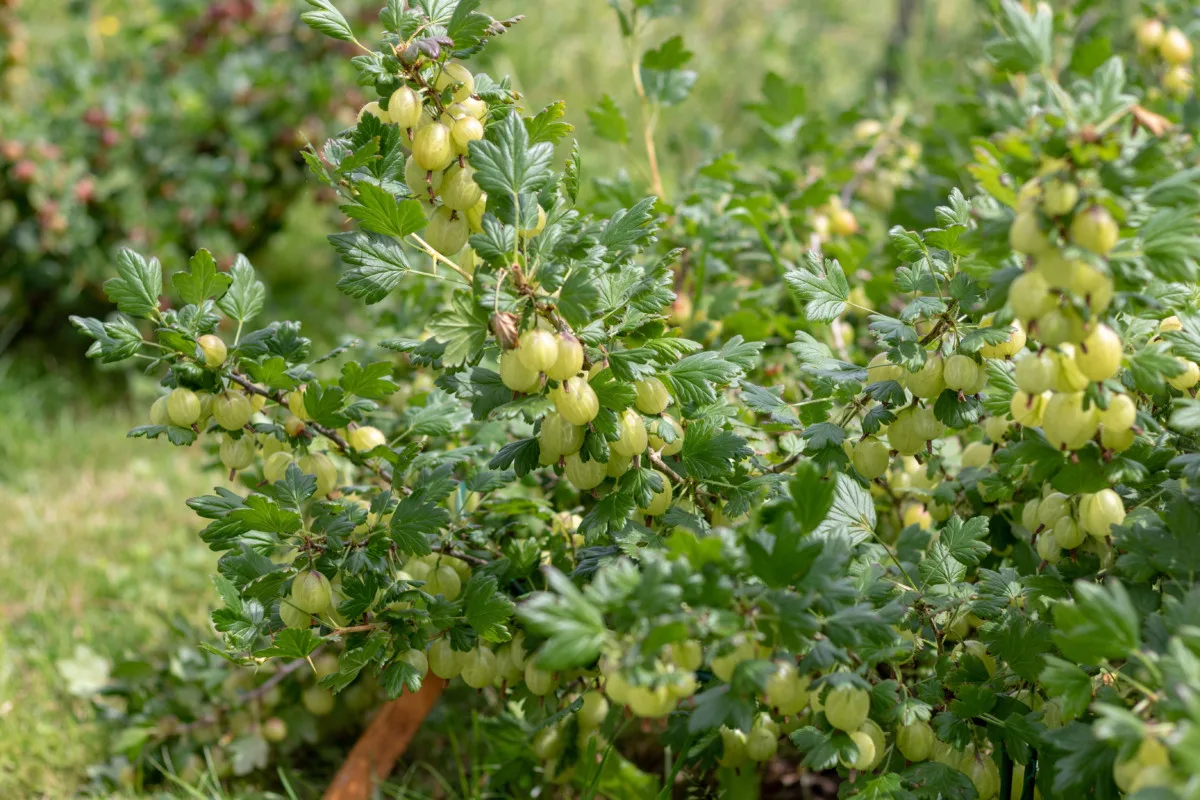
With gooseberries and other fruiting bushes in the Ribes genus (such as red, black and white currants and jostaberries), the older a cane is, the lower its productivity.
So first, start by cutting the oldest canes, all the way down to the ground. If you’ve just planted your shrubs in the last couple of years, skip this part. The most abundant production is on spurs that are two to three years old, according to the University of Maryland Extension. But if the canes have hit their fourth- or fifth-year mark, it’s time for them to go.
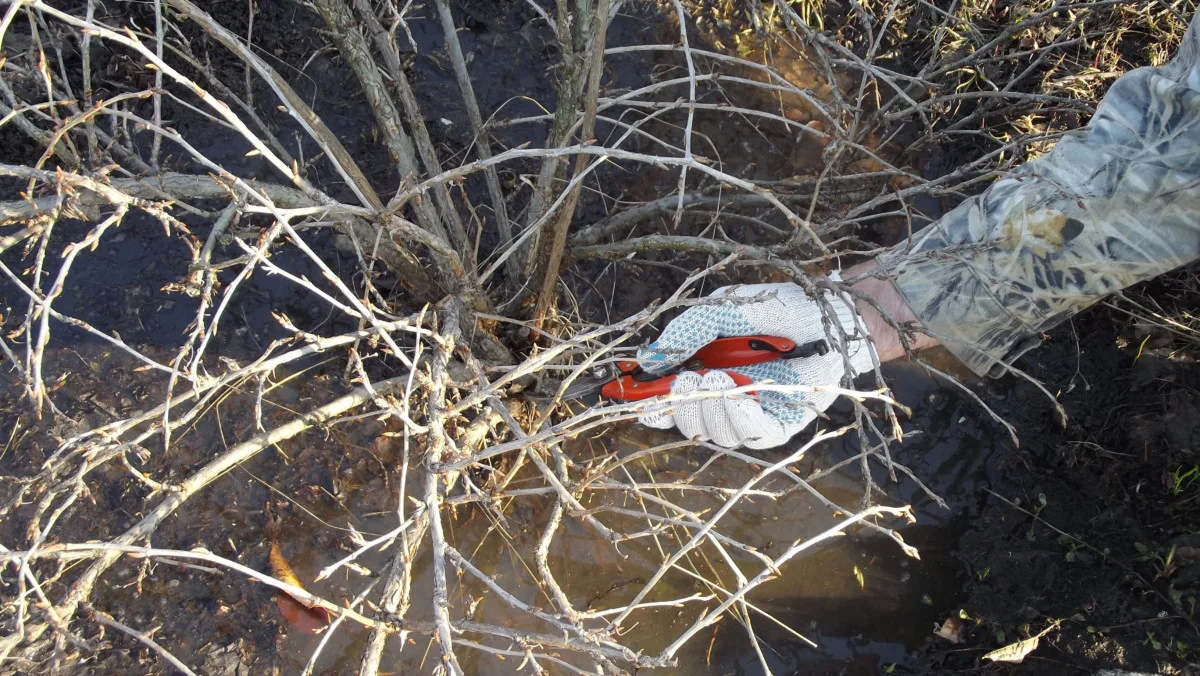
Once that’s done, you can trim back the leader branches (the young branches that have grown from old branches from previous pruning) to an outward-facing bud. Just like with roses, cut back any branches that are crossing or rubbing against each other in order to achieve a bowl shape. (You’ll sometimes see this called ‘goblet pruning.’)
If there are any branches hanging close to the ground, you can remove them as well. Once the weight of the fruit is added, these lower branches will sag even more. And you don’t want to be eating fruit off the ground.
5. Butterfly bush (Buddleja davidii)
This is a vigorous shrub that gets quite a lot of bad rap. So if you don’t already have this one in your garden, you might want to consider some alternatives before you introduce it into your growing space. In any case, check your local university’s agricultural extension for lists of invasive plants in your area before you commit to any buddleia bush or any of its replacements.
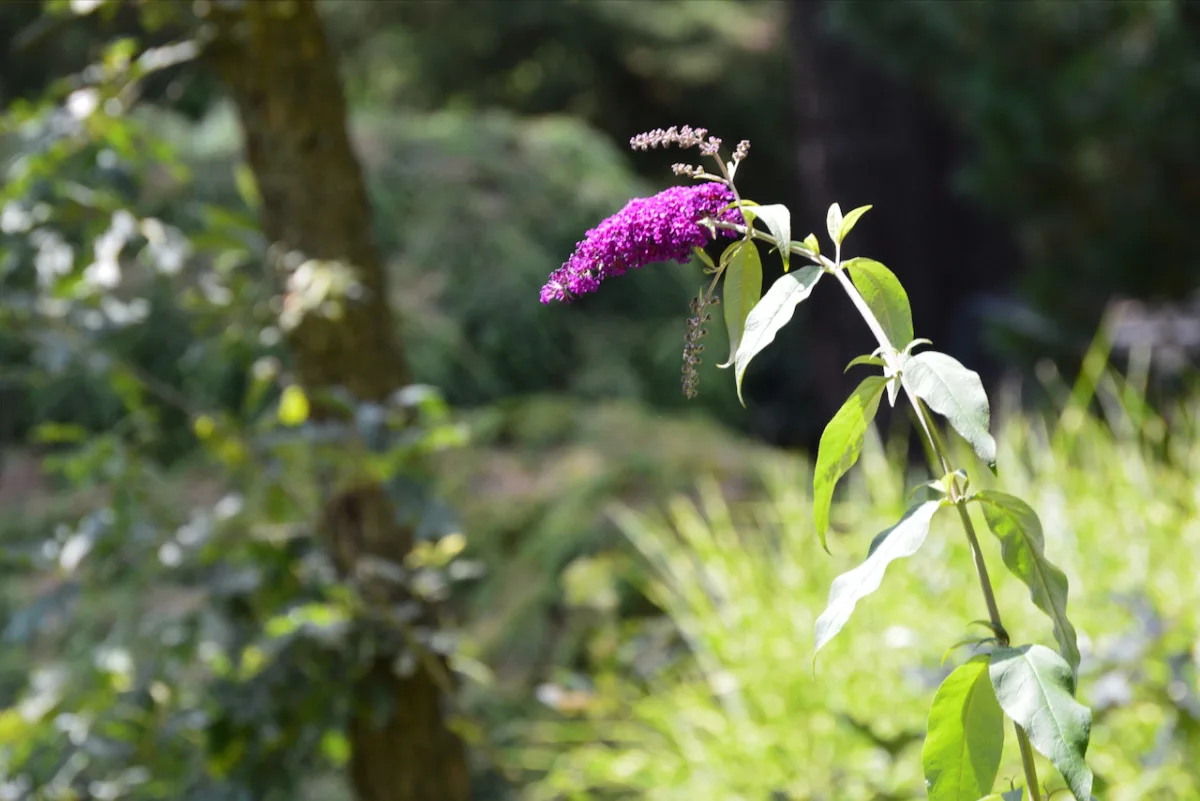
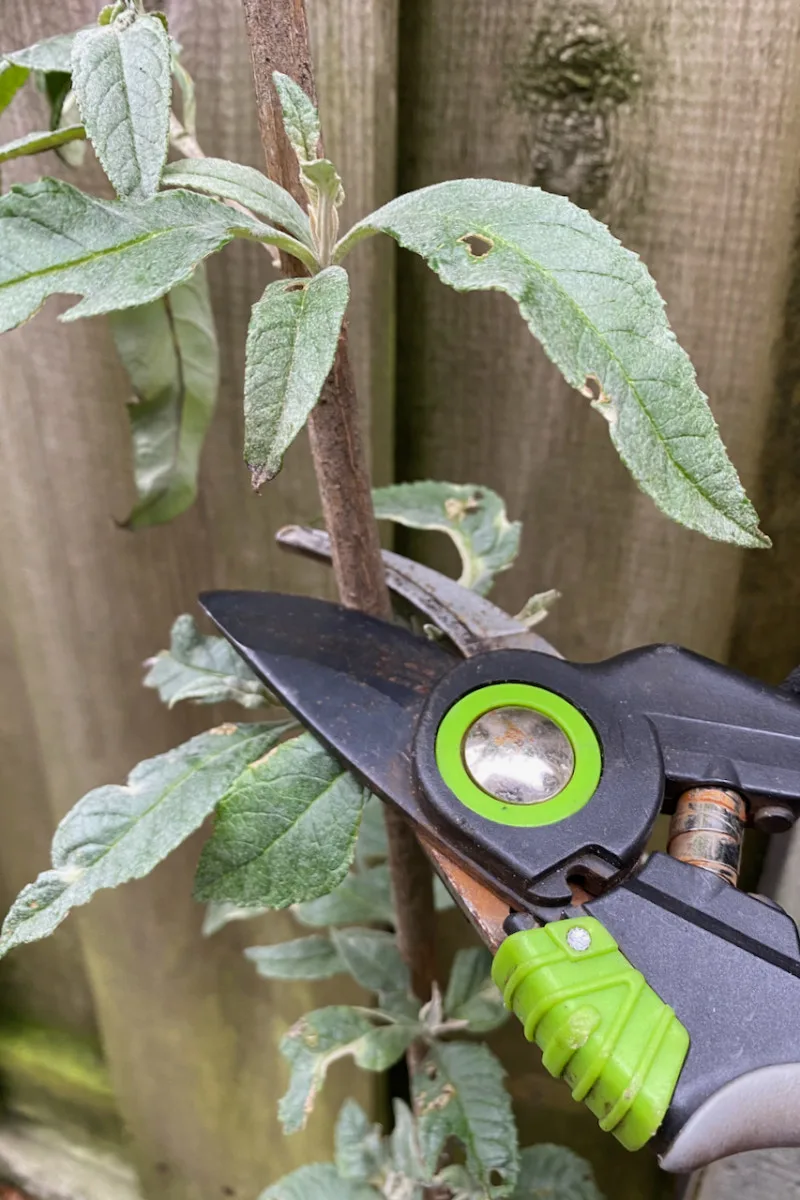
But if you’ve already been enjoying the fragrance of these colorful flower clusters, you should keep the plant in check by cutting it down in the winter. Butterfly bush flowers on new growth, so you can give it a hard trim to about 25-30 inches (about 60-75 cm) tall.
If possible (and visible), cut just above a growing shoot or bud. Depending on how old your butterfly bush is, you might need a pruning saw or a pair of loppers to cut back the thickest branches.
Keep in mind that this pruning advice only applies to Buddleja davidii, not to the other two popular types of buddleia, Buddleja alternifolia (the fountain butterfly bush) and Buddleja globosa (the orange-ball tree) which bloom on the previous year’s growth.
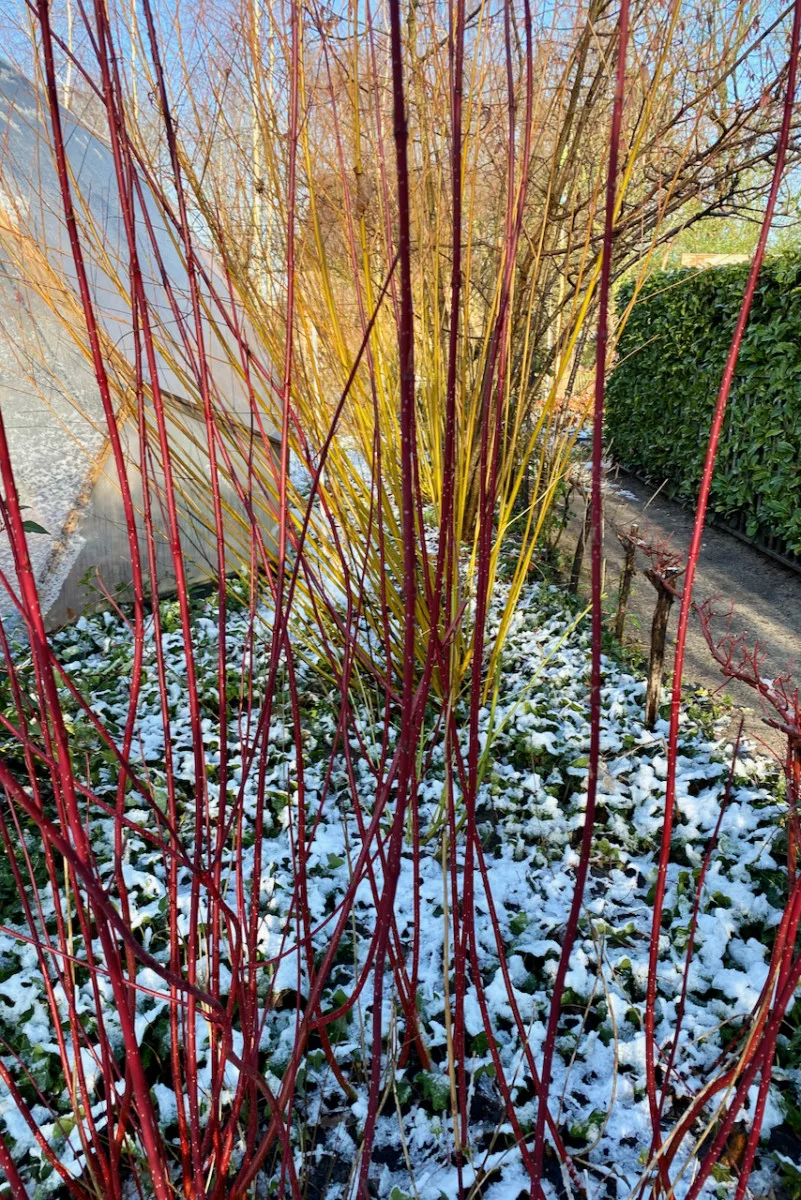
6. Dogwood shrubs (Cornus)
Not all dogwoods need to be pruned in winter. But if you’re growing dogwood shrubs for their colorful stems (a sight for sore eyes in winter), you should take your secateurs to them now.
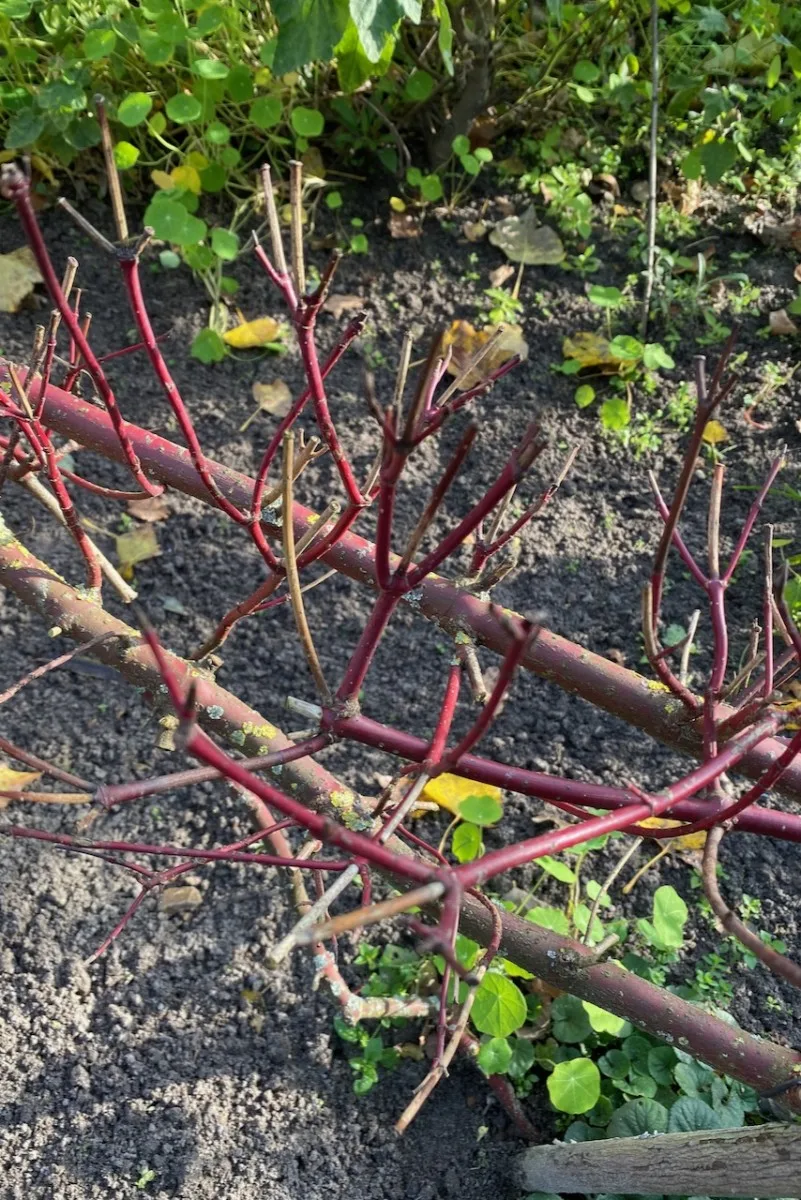
The colorful branches are just new branches. But as they mature, they’ll change their color from a bright red, yellow or orange to a regular dull brown. Nothing wrong with that, again, IF you’re not growing Cornus for their winter appeal.
But if you want the warm hues in your garden next winter, you should prune your dogwood hard this late winter. Trim down all the stems to around 12 inches (30 cm) from the ground before bud break.
However, if you’ve planted your dogwood for the purpose of delineating an area or creating a privacy screen from your neighbors or the road, you don’t have to prune back that low.
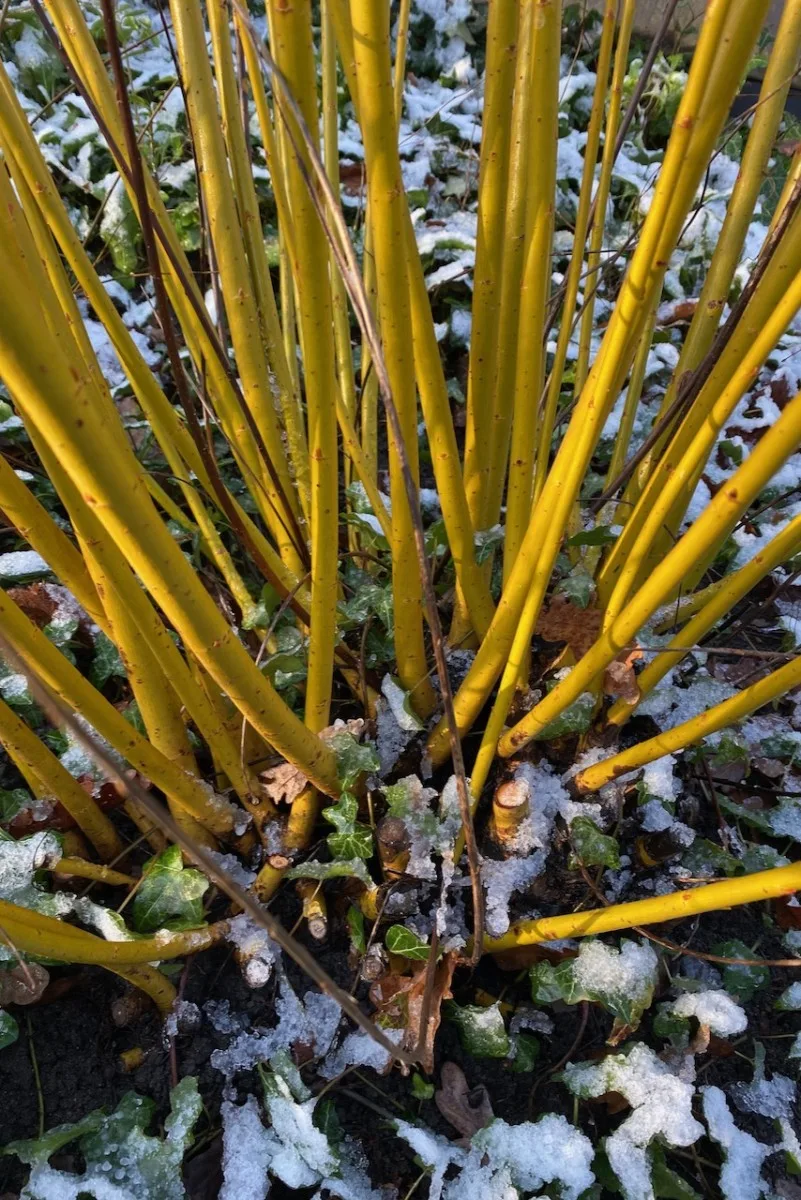
You can either cut back one in three stems or simply cut everything back, but much higher. You can keep dogwood shrubs at around 4 feet (1.2 meters) tall and still get the benefit of winter pruning. This will retain some of the height while also encouraging some new colorful growth.
7. Grapevines
For most of the plants on this list, when you prune in winter doesn’t make much of a difference. But with grapevines, timely pruning is essential. If you wait too long to prune grapevines, the cuts will release a lot of sap. This may weaken the entire plant, not to mention it will turn into a very messy pruning job.
Grapevines form fruit on new growth. And if you’ve seen a neglected grapevine, you will have noticed how small and tattered the grape bunches are. That’s why we have to give grapevines the hard prune treatment. The vine will produce less fruit, but of higher quality.
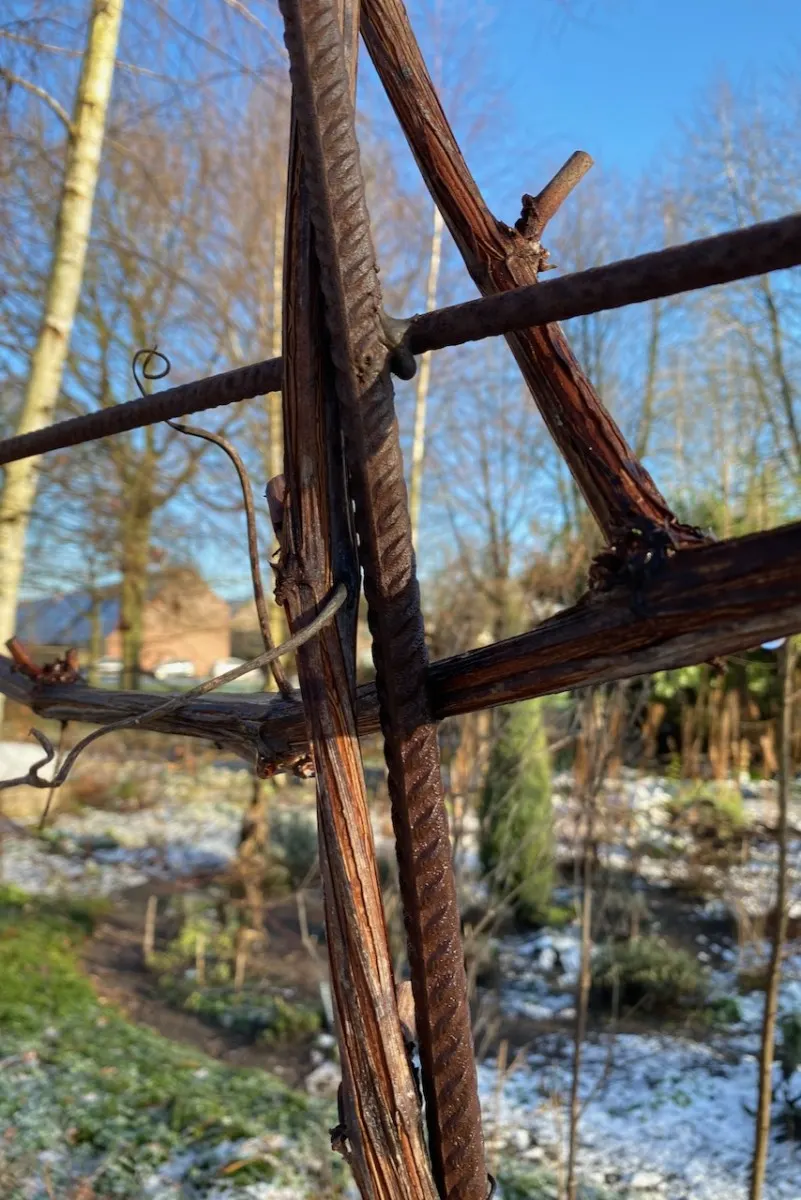
Going back to basics is the name of the game with pruning grapevines. That means cutting back most of last season’s growth once the leaves have fallen and the vine has entered winter dormancy.
There are many methods of pruning grapevines, depending on how you train them, your climate and how old the vine is.
Tip: If in doubt, use the Guyot Method for grapevine pruning.
The Guyot method is a very popular method that originates from commercial growing. Because it’s easy to understand, it has made its way into backyard growing as well. If you’re training your grapevine along a trellis, this is the most common way to prune it.
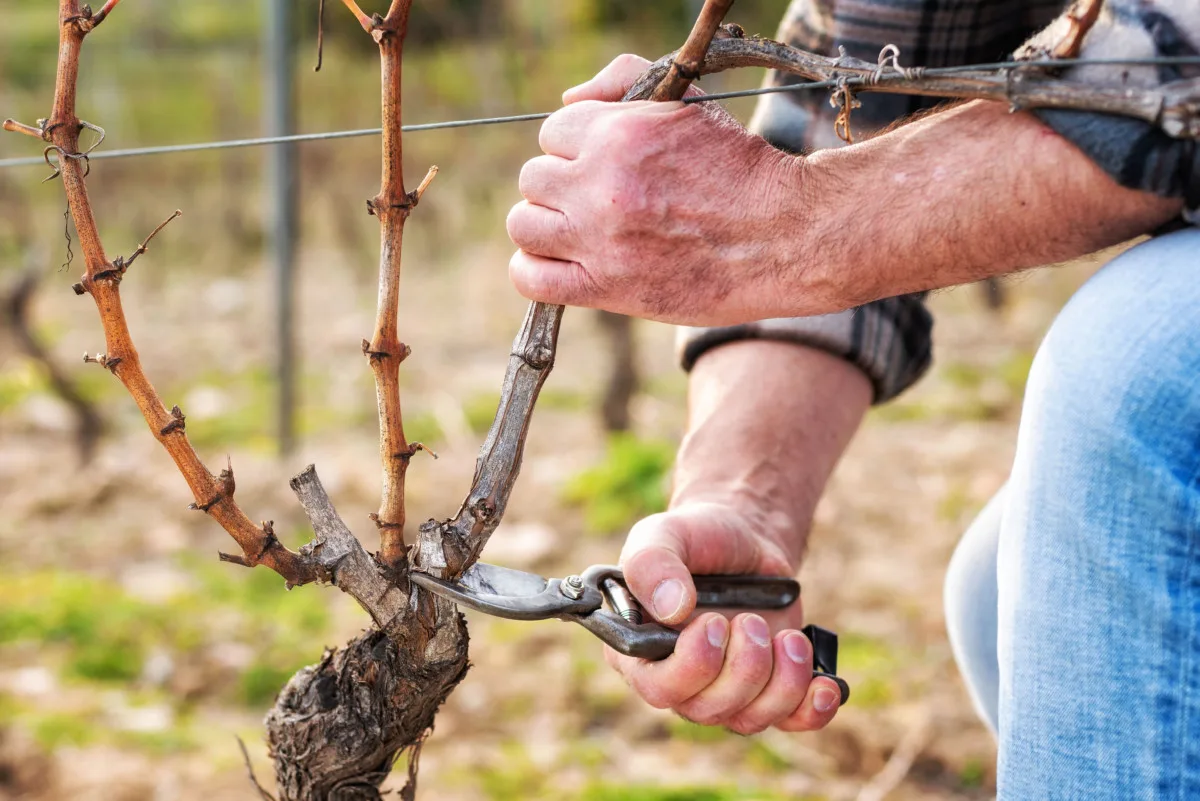
With this method, you cut back everything but two or three new fruiting canes per trunk. If you’re growing in a very tight space, leaving only one cane per trunk will also work.
These canes will bear fruit, and will also act as a framework for your vines. The canes should originate from the foot of the vine. You’ll need to bend them and tie them along the trellis at a ninety-degree angle.
When you’re selecting these canes, have a look at the distance between the internodes. I’ve been following a rule that I learned from a pruning tutorial from Oregon State University. It states that the ideal internode spacing is between three and five internodes per foot (30 cm). Ideally, you’re looking for four internodes, but that’s not always possible.
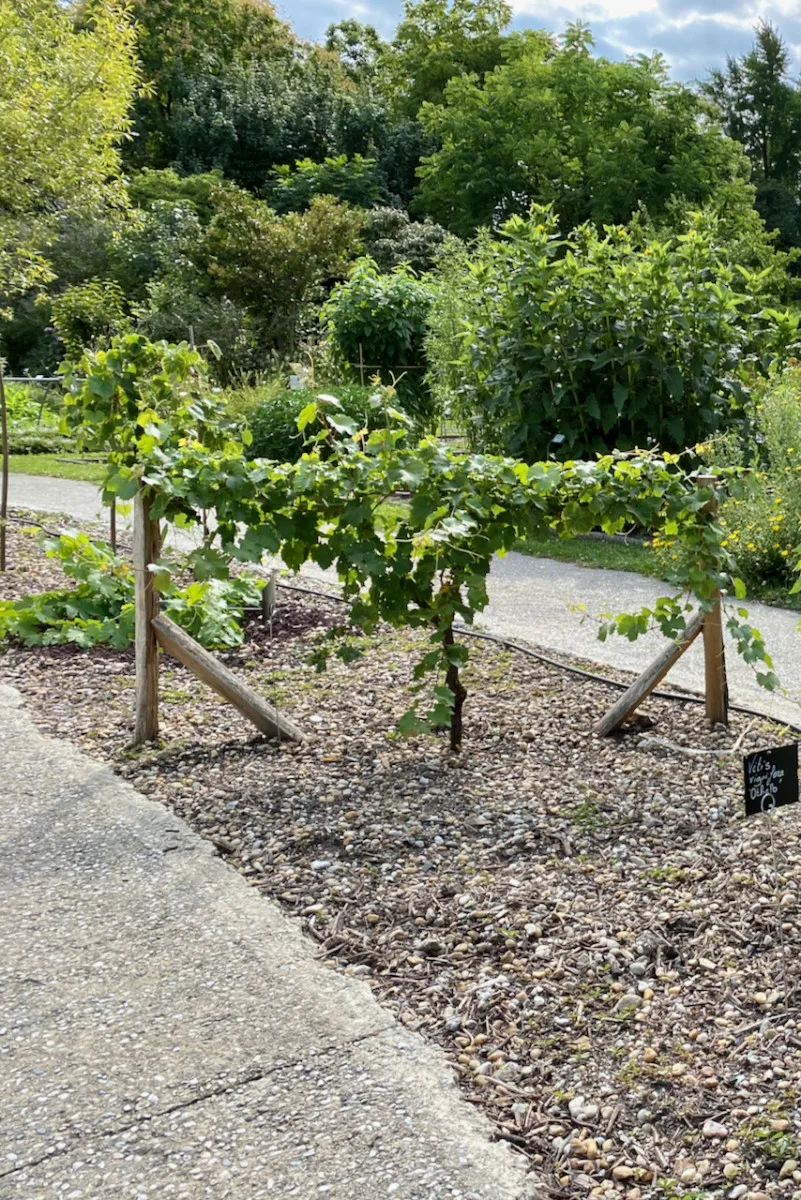
If you don’t know where to start with trellising, have a look at Cheryl’s great tutorial on how to trellis grapevines and why you should.
8. Wisteria
We have slowly crossed into “prune this or it will take over your life” territory. Winter is prime time to prune your wisteria because you can easily see its structure and how it attaches to the supports you’re using.
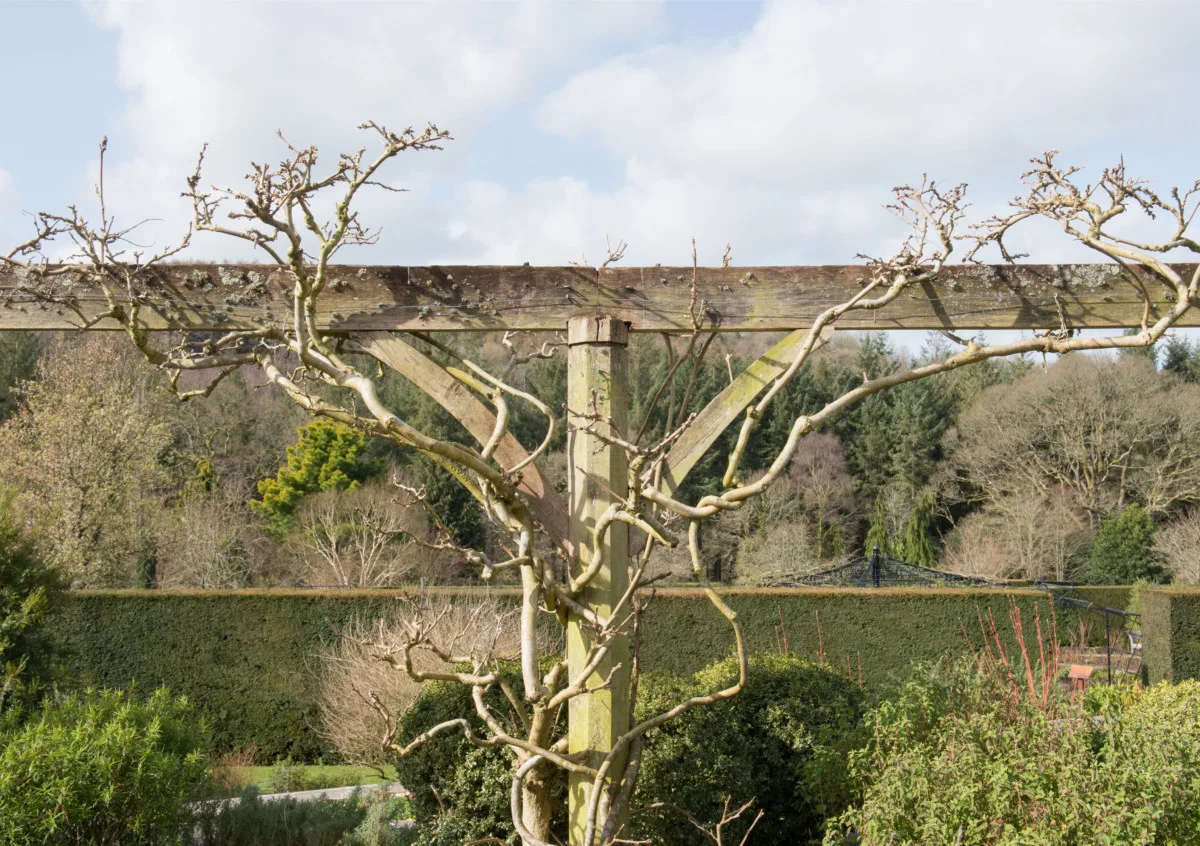
Wisteria also produces a lot of sap. As spring approaches, the sap travels to the branches to provide energy for a new season of leafing. So it’s better to prune wisteria in winter, before this sap flow happens.
Start by identifying the different types of shoots: the leaf shoots have flattened buds. Prune back the longest side shoots to about three buds from the framework. The flower buds are closer together and look more swollen. Don’t touch the shorter shoots because they’re the ones that will carry the flowers this year.
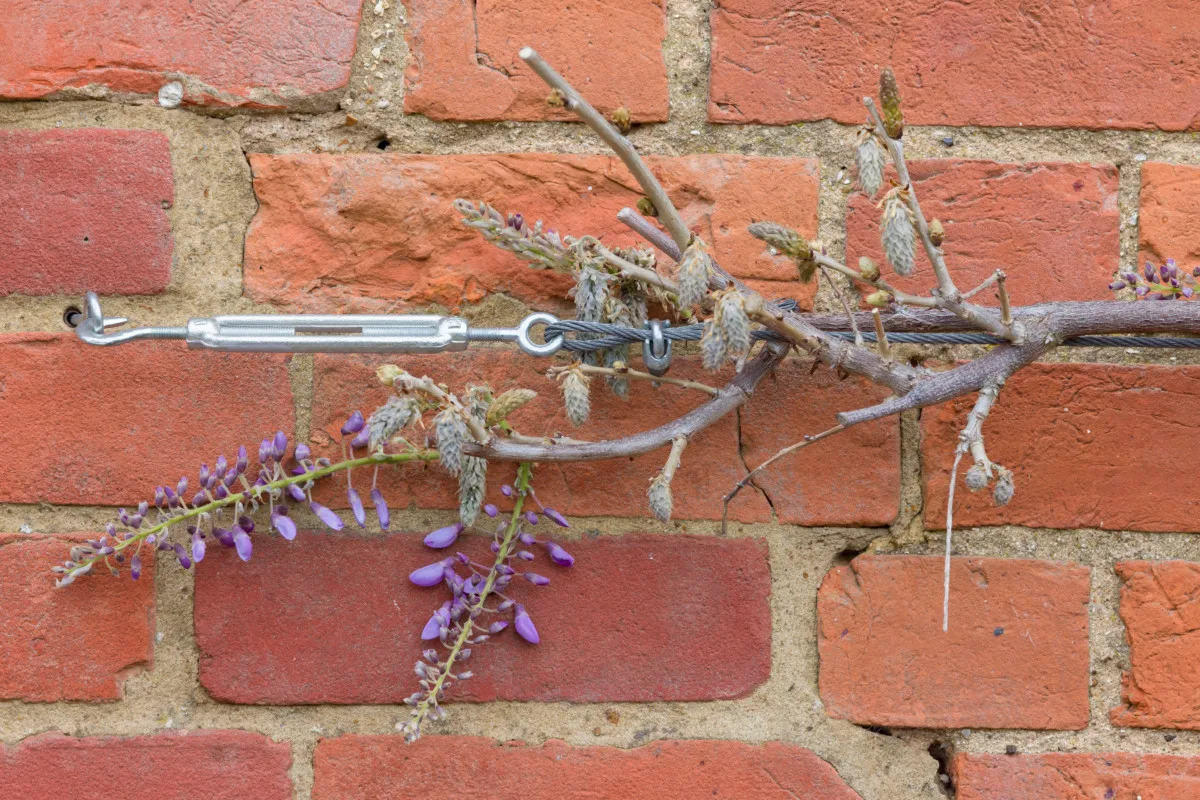
However, you can cut any of the thinner leaf shoots that grow above the flower buds. This will ensure that the foliage doesn’t obscure the flowers when they both open up at the same time.
9. Honeysuckle (Lonicera)
Before you grab your secateurs – or grab the keyboard to tell me that honeysuckle doesn’t need pruning – please let me explain. Your honeysuckle doesn’t need regular once-a-year pruning the way wisteria does. But sometimes a vine has been growing very vigorously and has become very woody and top-heavy. That’s when a good winter prune every four or five years will fix the problem.
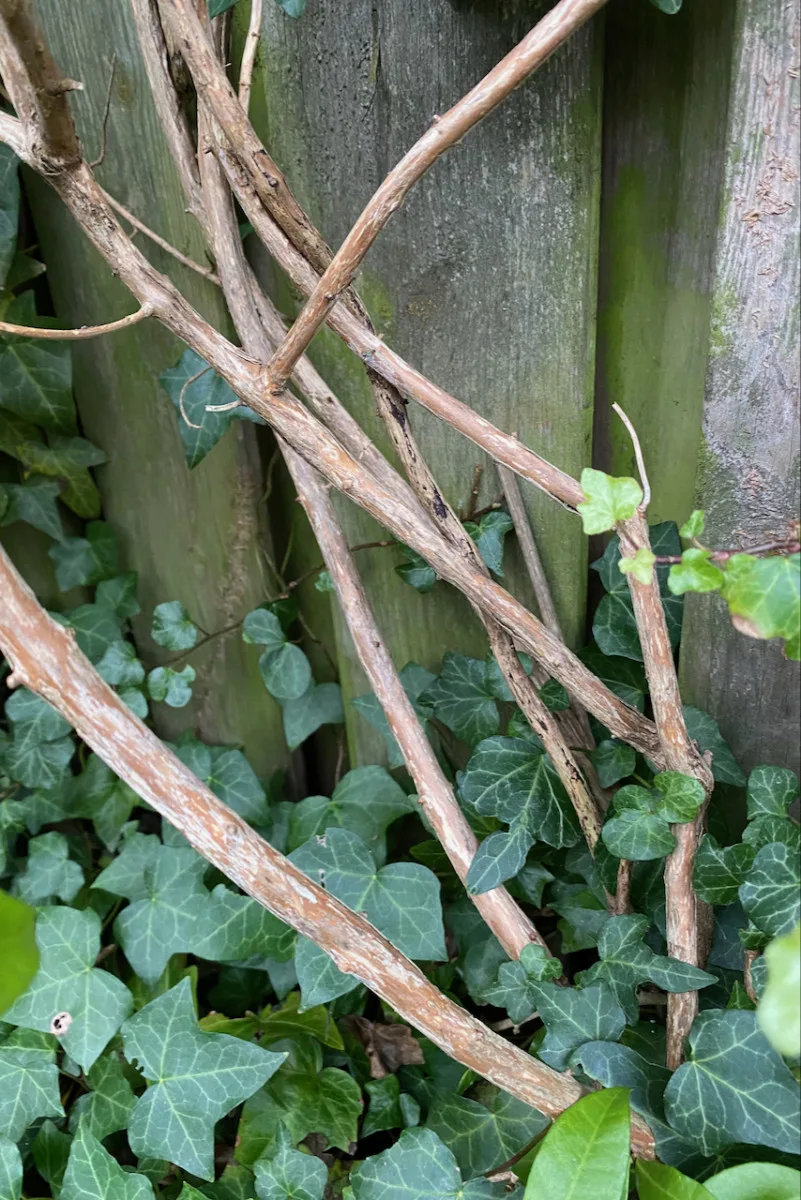
If you still want it to flower this year, take off about a third of the top of the vine. You can also cut back any other branches that may have become unruly. If you do a staggered pruning over a couple of years, and leave some of the older branches in place this time, you’ll get to enjoy beautiful flowers this summer.
However, if you’ve made your peace with not having the scented honeysuckle blooms around for one season, you can cut back more severely. You can even get away with pruning some of the larger and older stems down to ground level.
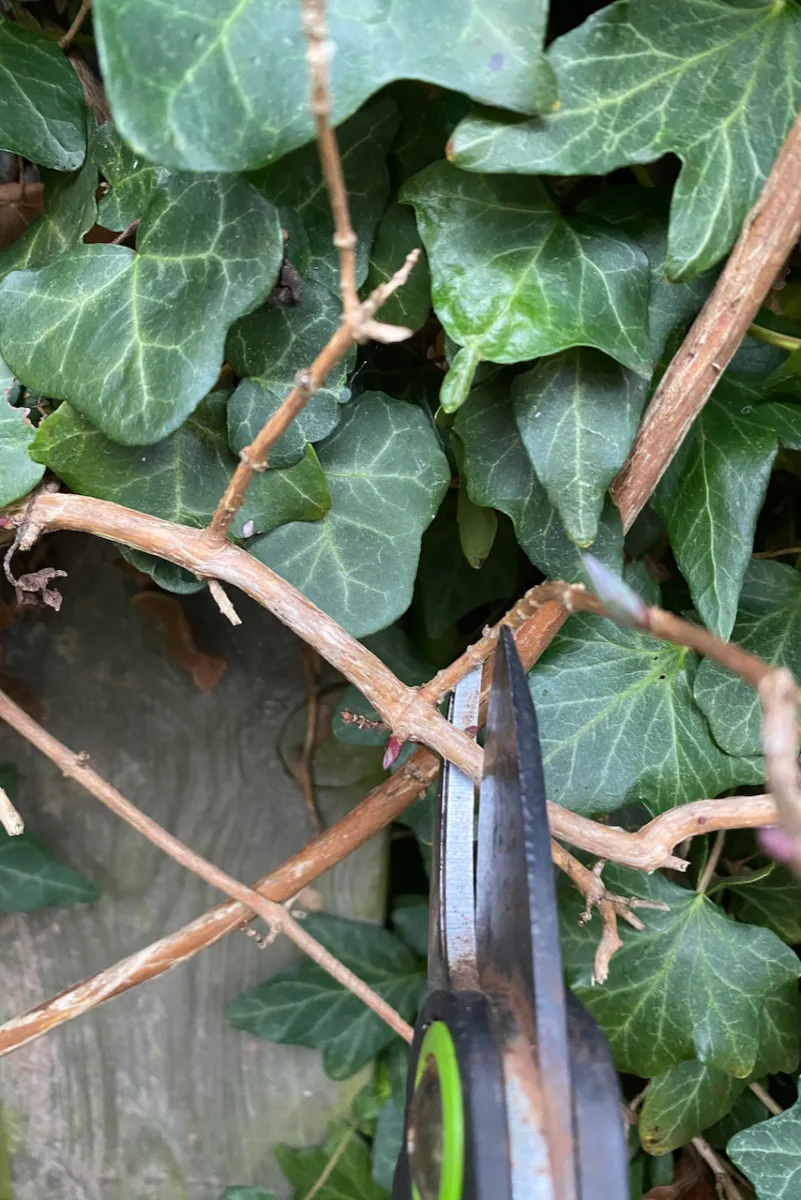
If that sounds like too much, you can prune them down to lower (and younger) side branches. Basically taking out the old wood will stimulate the plant into putting out new growth once it exits dormancy.
10. Trumpet vine (Campsis)
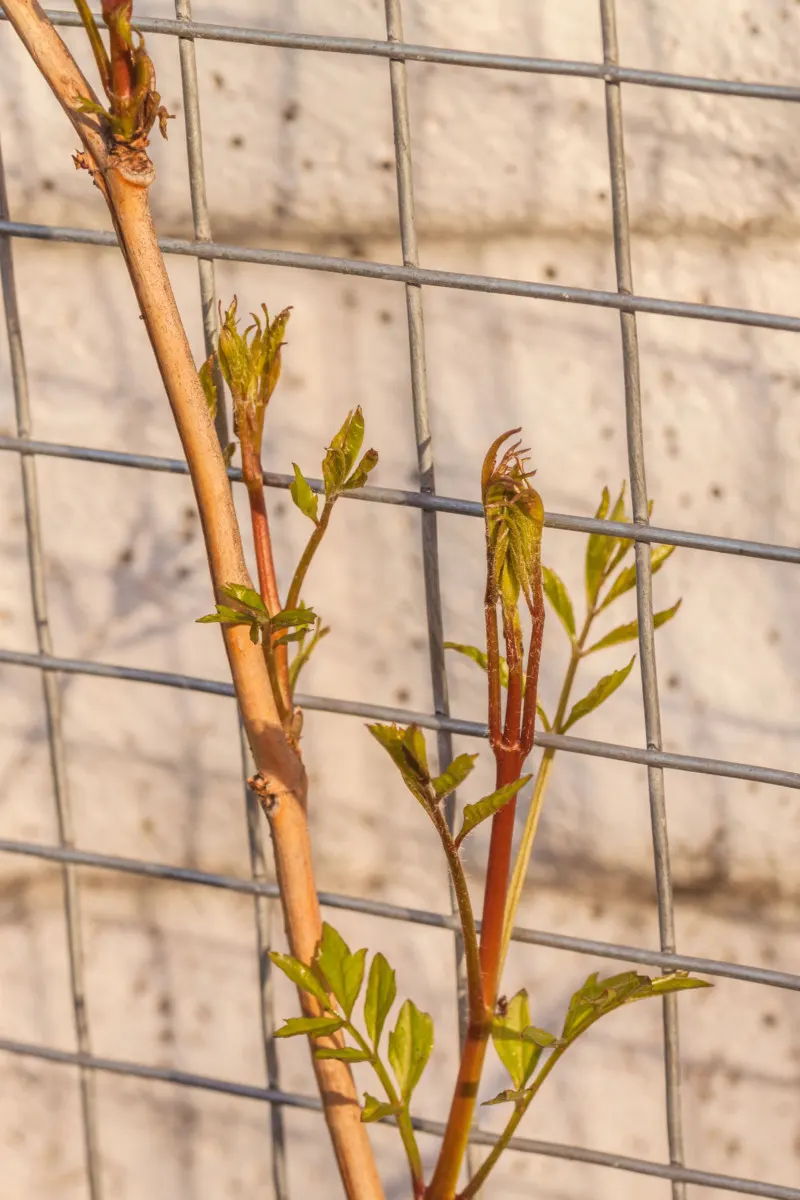
Campsis is what I like to call a supergrower. It will twist and tangle and overgrow any structure you’ve put in place to corral it.
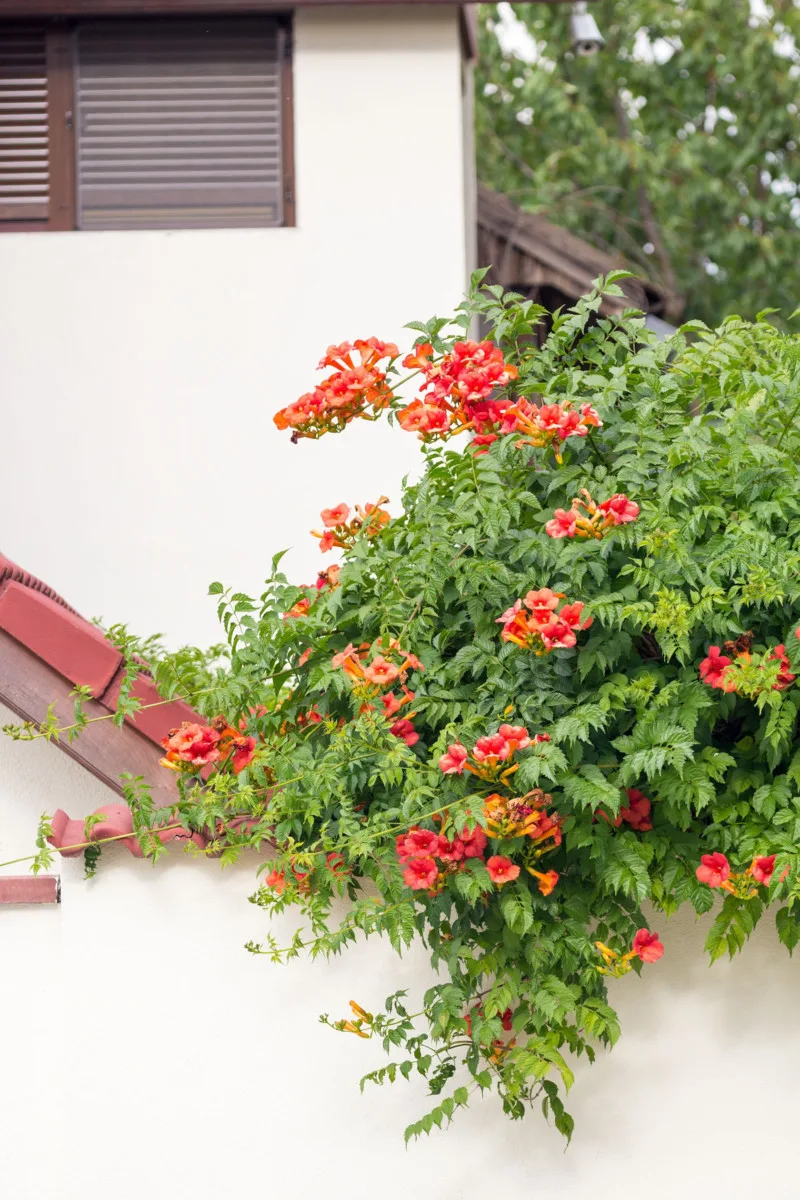
So I recommend cutting it back once every few years, depending on how fast yours grows. Vines growing in full sun and plenty of heat will shoot up much faster than those that have to contend with cold and shady sites.
If you already have a frame in place, such as the trellis or pergola that it’s climbing on, prune the vine back as close to the structure as possible. This will encourage low flowering and stop the vine from becoming too large and top heavy.
11. The smoke bush (Cotinus)
A smoke bush is the perfect addition if you want to add both color and texture to your garden. The color comes from the smoke bush’s dark-plum leaves, while the texture is all due to the champagne-hued frothy flowers. Depending on which of these characteristics you want to prioritize, there are two ways of pruning Cotinus.
If you care about the flowers more than you care about the foliage, light pruning is enough. Just trim back the branches that are crossing in order to open up the shrub structure. You can cut back any other branches that are growing erratically to maintain the shape of the bush.
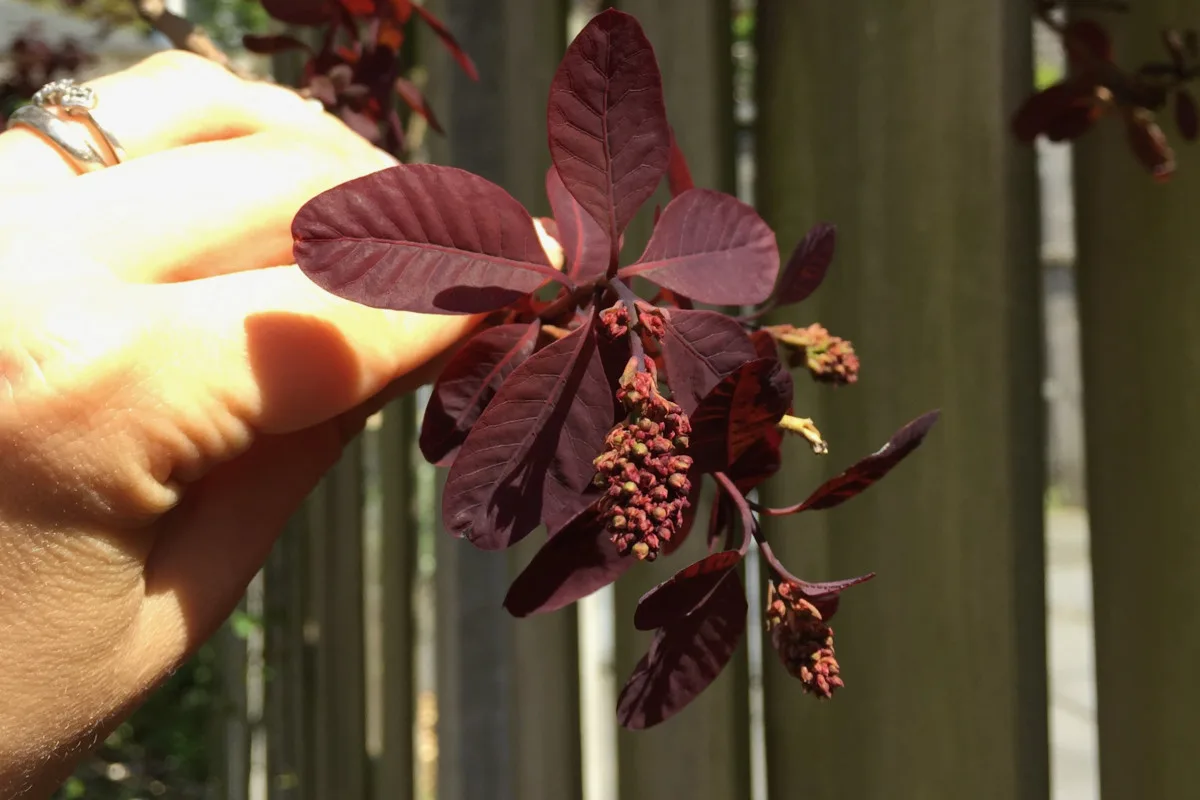
I personally prefer this method of pruning because I want to keep as many of the flowers as possible. Not only do they look really cute – when they’re fully open, the bush looks like it’s surrounded by a blanket of peachy smoke – but it’s also a matter of feeding the pollinators. The flowers of the smoke bush attract hoverflies to my garden. And you know what hoverflies feed on? Aphids, leaf hoppers and thrips!
So the hover flies brought in by the smoke bush serve as a sort of biological control for the rest of my crops. You bet I’m prioritizing getting as much bloom as possible.
And perhaps just as important, for about a month (starting in mid-May), the flowers of the smoke bush make my backyard smell heavenly.
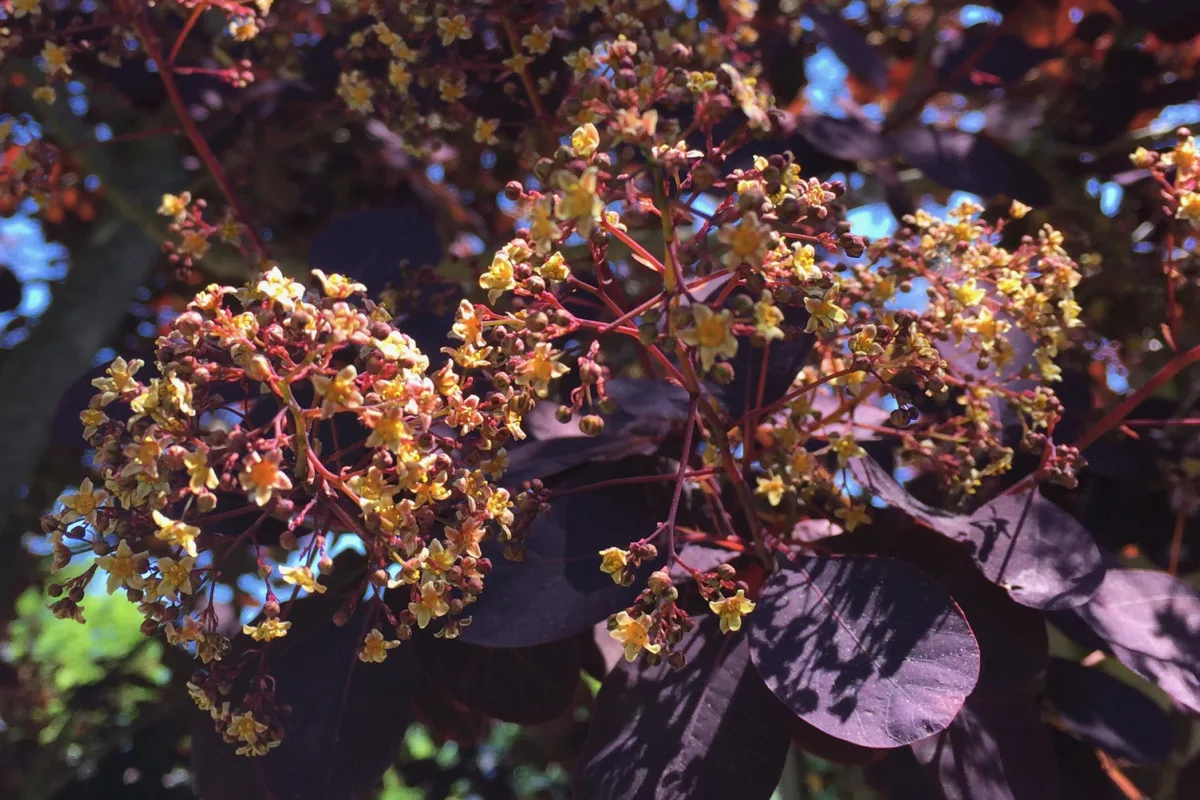
On the other hand, if you’re more interested in encouraging larger leaves, then you’ll have to do some hard pruning. But keep in mind that the smoke bush flowers on old stems, so the more old growth you prune down, the fewer flowers you’ll get.
If you’re one of the gardeners who prefers to grow the smoke bush only for color, you can cut back the branches down to about 6-8 inches (15-20 cm) in late winter. Trim back at an angle right above an outward facing bud. Luckily, with the smoke tree the maroon buds are easily visible, even in the winter. Most of the buds that you leave on will turn into new growth.
12. Winter heather (Erica carnea)
If I had to recommend only one plant for winter interest, it would be heather. It brightens up drab winter gardens, does well in containers and spreads slowly without being invasive.
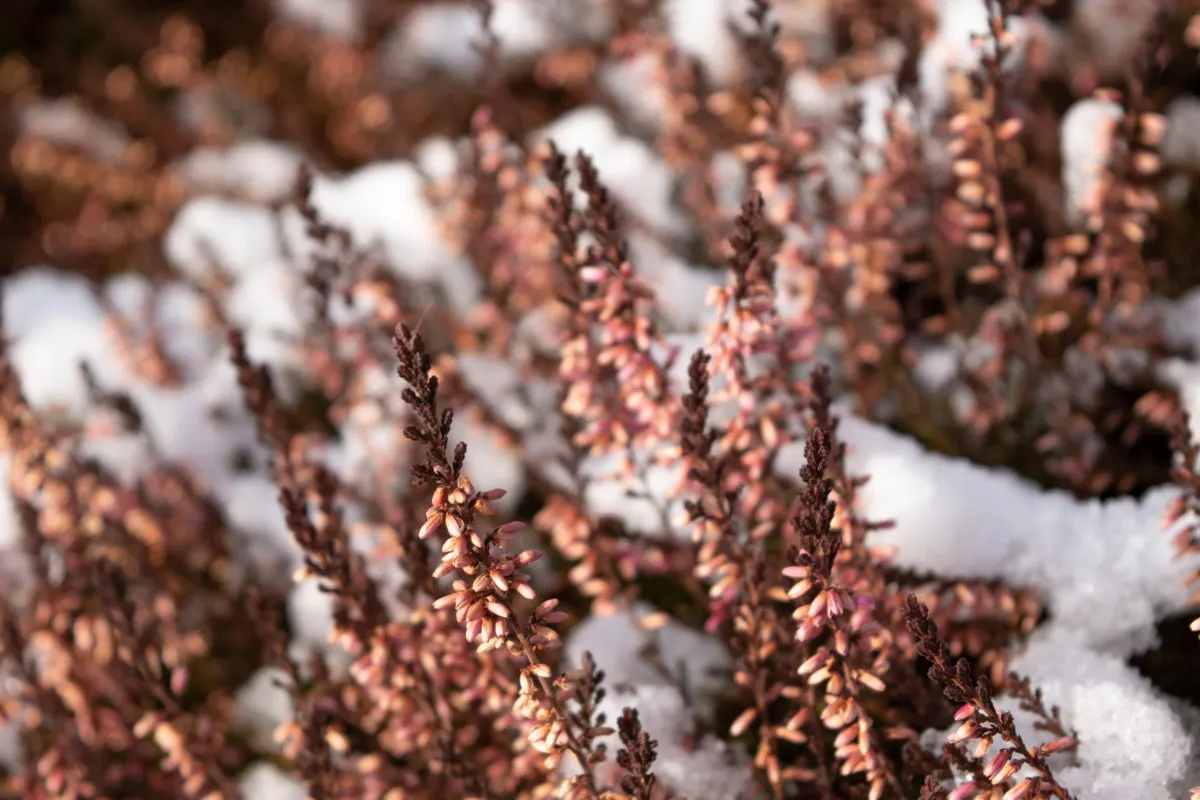
For most of the plants on this list, we prune in the winter to encourage new vigorous growth. But for the winter heather, which has been growing and blooming all winter, we prune mostly to remove the die-back and tidy up the plant.
If your winter heather is still flowering, I would suggest you let it be for now. There are very few sources of food for pollinators this time of year, when they’re just awakening from the winter slumber. And until the spring bulbs start blooming, pollinating insects need as much help as they can get.
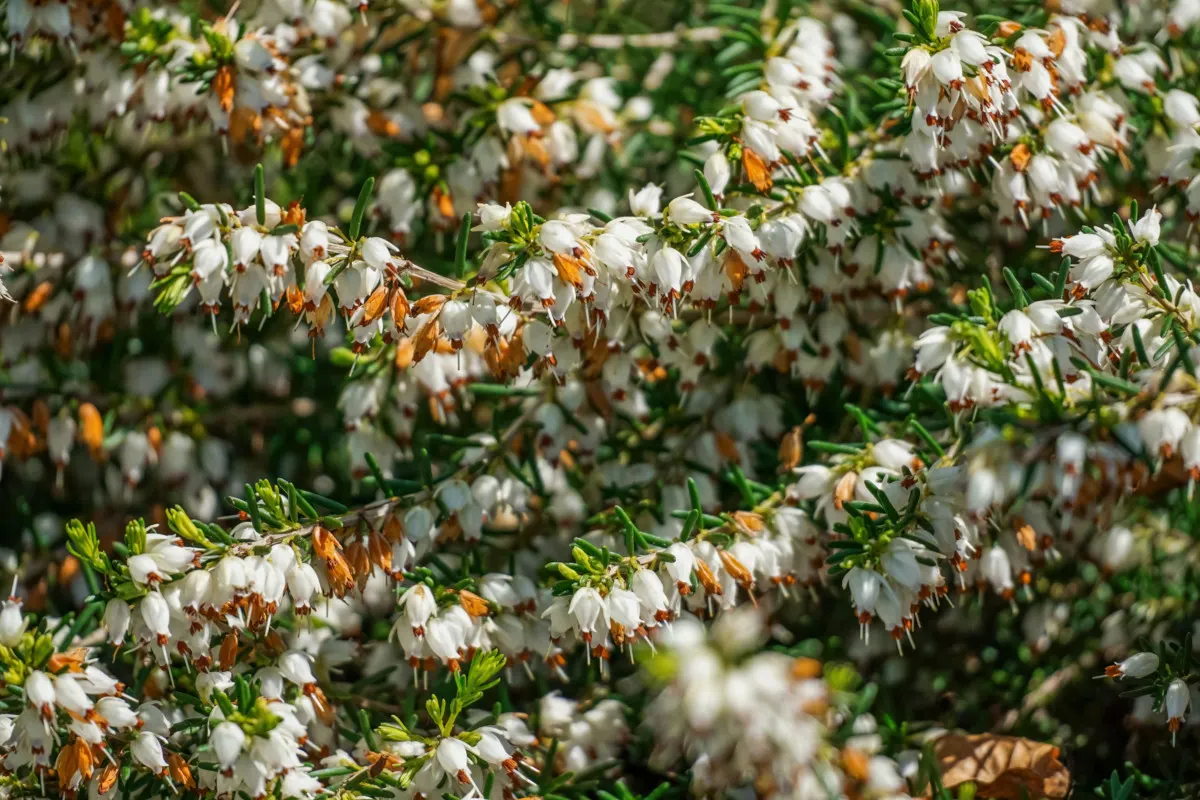
But once the flowers start turning brown, it’s time to cut them back. Deadheading every cluster of flowers can be time-consuming; so a better option is to take your hedge shears and trim the top off the mound. Don’t cut too far back into the woody stems though. Insects are still overwintering in the thickness of the heather.
Once you’re done pruning, run your hand over the top and scoop up any of the trimmings left behind.
13. Deciduous grasses
In this article on plants that you shouldn’t prune in the fall, I advised our readers to allow ornamental grasses to winter in place. Pruning them in the fall opens up the sheaths to too much moisture during the cold, damp season ahead.
Another reason to let them overwinter intact is because the top acts as mulch for the crown. Plus, they just give much-needed texture and height to the winter garden.
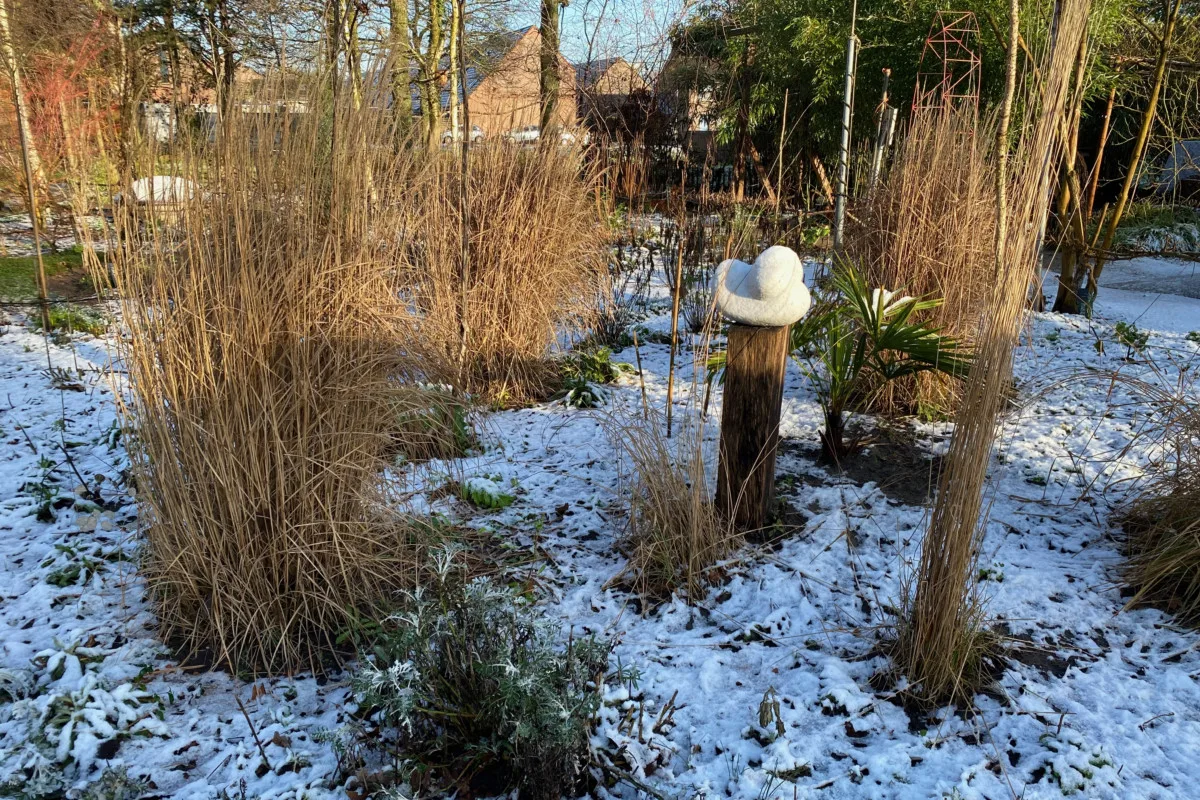
But now that the new growth is ready to pop out in spring, it’s time to clear off the dead material. You can simply shear off the dead grass down to just above crown level, leaving about 6-8 inches (15-20 cm) in place. You can cut it even lower, but I find that cutting lower is much harder unless I’m using a power tool. I prefer to stick to hedging shears for now.
If you have large ornamental grasses that need pruning, and no one volunteering to help, you can tie the whole clump of grass together using some twine (or a sheath of grass, for the obvious low-waste option). Wrap the tie around all or part of the clump, pull it together tighter, then cut right above the tie.
I found that even though this method requires a bit more prep time, I make up for it by not having to do too much cleanup. Since the grass is already bunched together nicely, it’s much easier to remove.
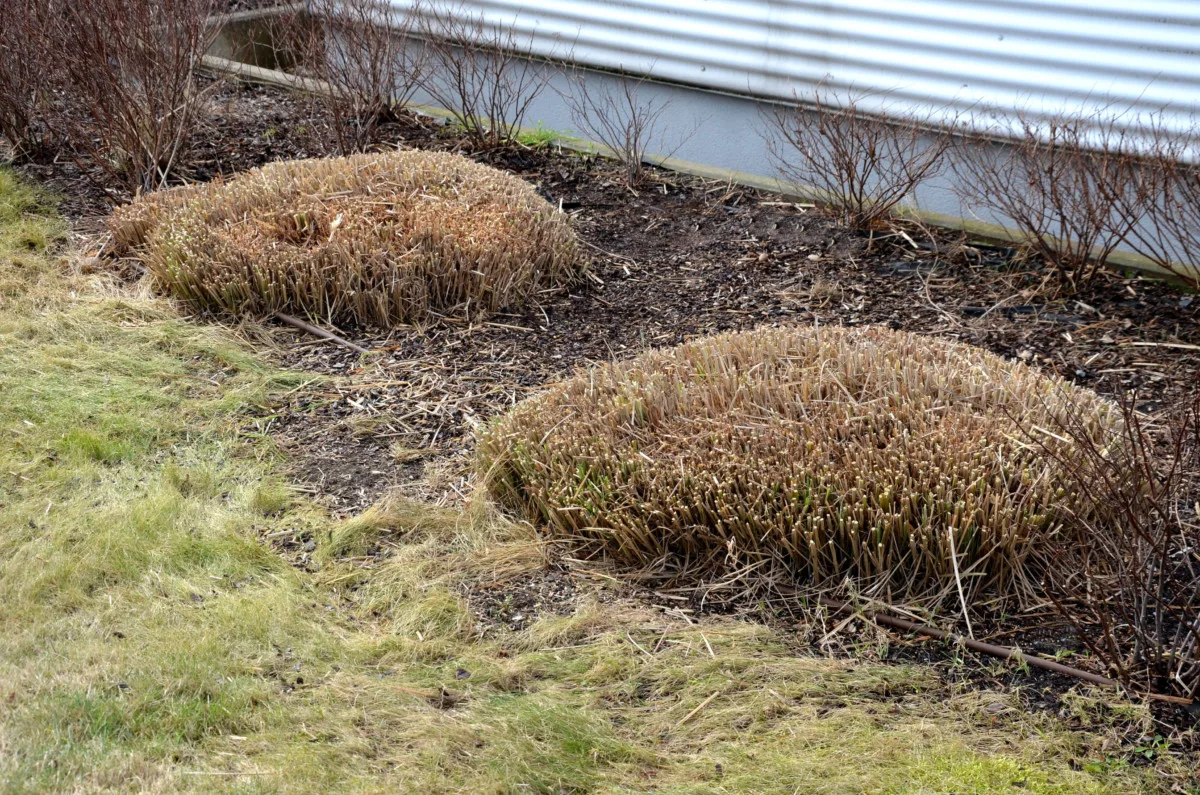
Just a reminder that dry grass is very scratchy, so wear long sleeves and thick gardening gloves when you prune it down. I also advise wearing goggles, especially if you’re working with cultivars that will send dry seeds exploding everywhere.
14. Hardy fuchsia (Fuchsia magellanica)
Let’s get one thing clear: I’m only talking about pruning hardy fuchsia (Fuchsia magellanica), not its more tender counterparts that should currently be overwintering in greenhouses. And even this hardy one doesn’t require annual pruning.
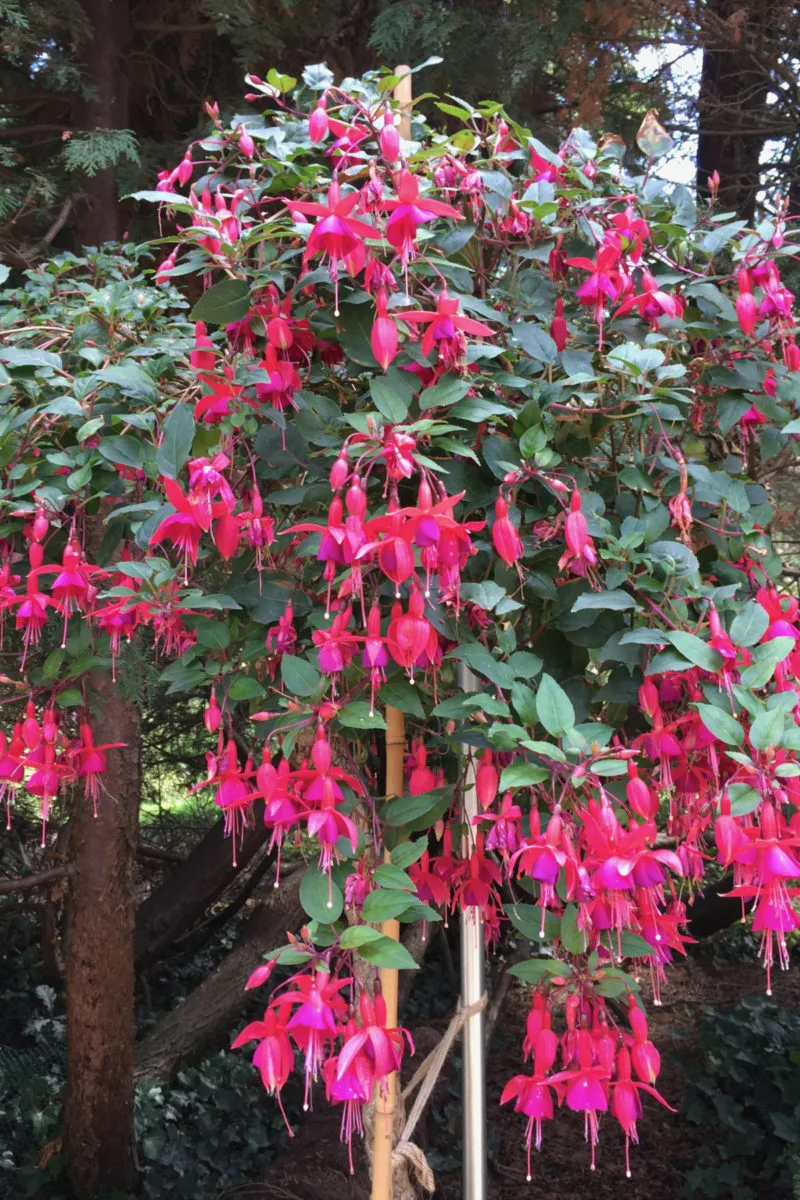
If your fuchsia is just getting established (or if it’s relatively young), definitely don’t prune it back. But if your fuchsia is in need of a bit of rejuvenation, cutting back the old growth every five years or so won’t damage it.
Fuchsia blooms on new wood, so trimming it back early in the year won’t hurt this year’s flowering display. In fact, you may even see shoots coming up at the base of the shrub when you’re removing the old ones.
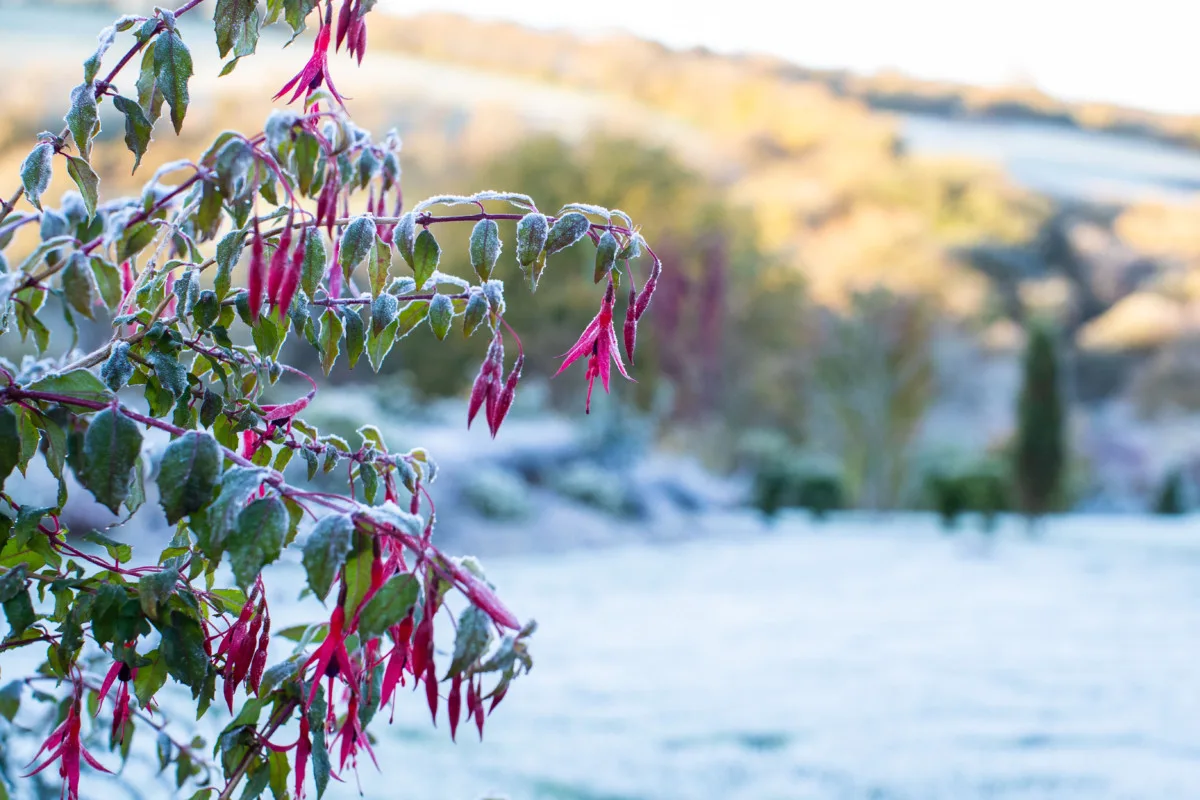
If you want to keep your hardy fuchsia as a smaller shrub, you can cut the old growth down to the stub to encourage new, more compact branches. However, if you have more space to fill and prefer a larger shrub, just cut back the top third of the plant.
Waiting until the end of winter to prune might bring more clarity as to what has died back on its own. Don’t fret, die back is common even for hardy fuchsia, especially in zones that get very cold winters.
15. Deciduous barberry (Berberis thunbergii)
The timing of pruning barberries can be tricky to get right, depending on which kind of Berberis you’re growing. In fact, I’ve just added this shrub to an article on plants you shouldn’t prune in spring. So how come you can prune it in the winter? See, we’re specifically talking about deciduous barberries here.
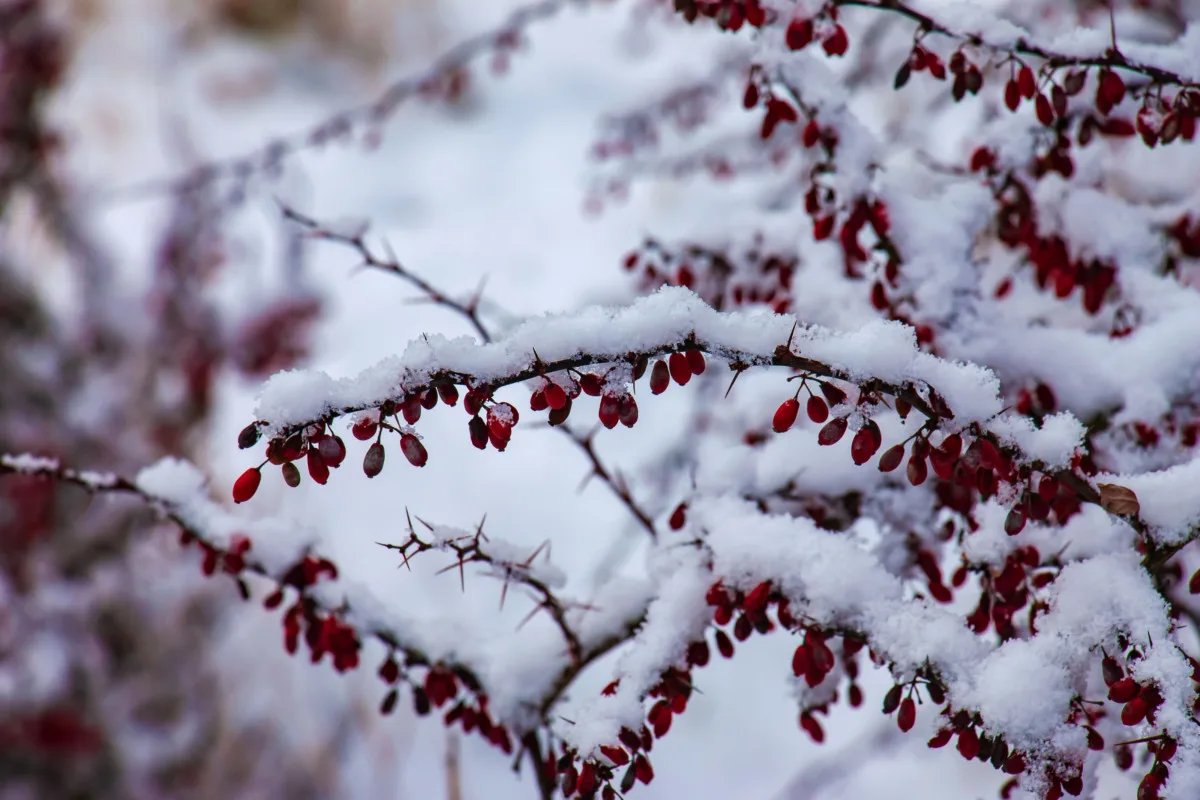
Unlike its evergreen counterpart, which is full of flowers and leaves in the middle of February, the deciduous barberry is all but a pile of bare sticks. If you’re lucky (and if you pruned it right last year), you may still have some berries hanging on. But since the new growth is just about ready to shoot out, now’s the perfect time to give this type of barberry a good trim.
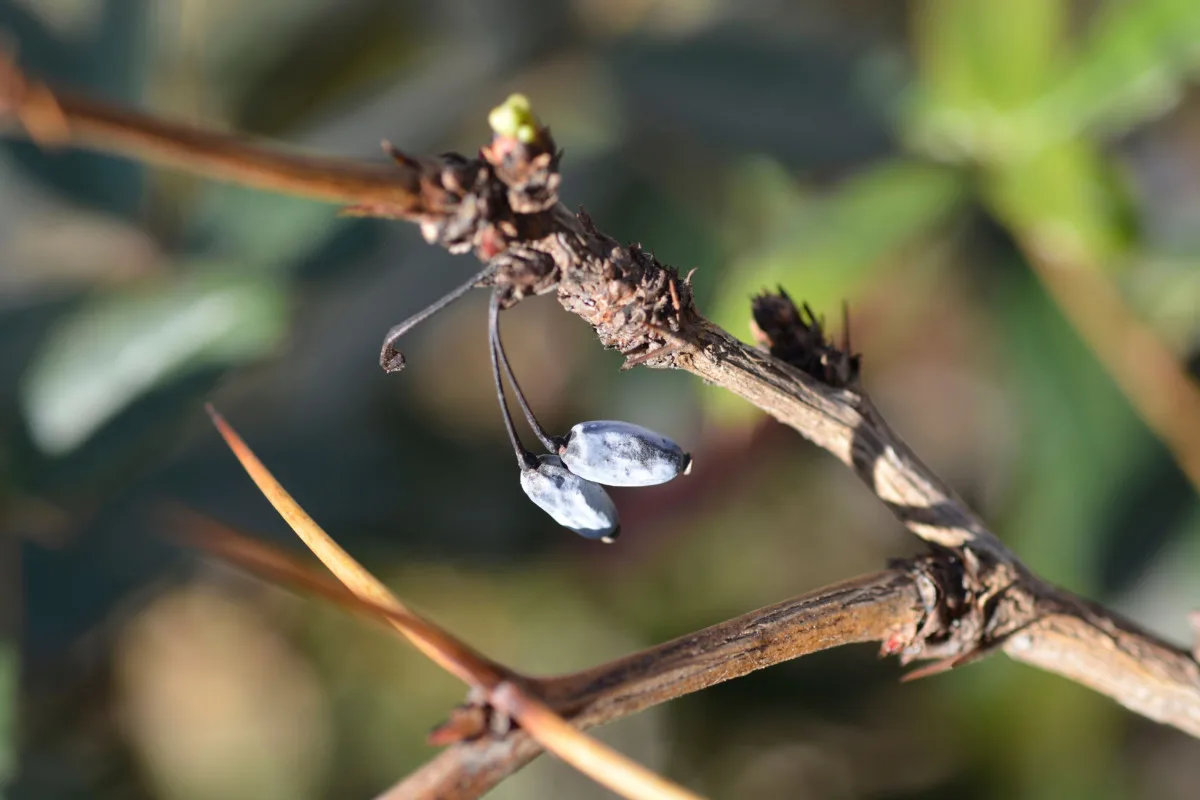
You don’t need to prune back Berberis thunbergii every year. But a light trim to remove the errant shoots is more than welcome.
You can also thin out a few of the old branches to open up the shrub for new growth. The new growth will have brighter foliage and more colorful stems, especially if you’re growing a variegated cultivar.
I’ll confess that winter pruning is my least favorite type of gardening job. But in the very gray January and February, two months that seem to last forever, pottering around in the garden does wonders for my mental health. And if it gets me better yield and healthier plants, I’m all for it. I just need to remember to bundle up properly.

Get the famous Rural Sprout newsletter delivered to your inbox.
Including Sunday musings from our editor, Tracey, as well as “What’s Up Wednesday” our roundup of what’s in season and new article updates and alerts.


