


I did not receive these raised beds for free from Vego Garden. I bought them myself because, after several weeks of research, they were the brand I liked most. I’m writing this up as a courtesy to our readers who asked which raised beds I chose and why. Rural Sprout is an Amazon affiliate, so we may receive a small percentage of each sale, which does not affect your price.
I recently decided to switch to raised bed gardening. Of course, that meant choosing whether to make or buy them, which is even harder than deciding to give up the fight with our terrible soil. In the end, I went with Vego Garden’s 9-in-1 Modular Raised Bed system. Let me walk you through setting one up and why I chose this particular raised bed.
I Give Up
I’m a firm believer in the power of regenerative gardening. I think no-dig gardening is a practice more of us need to look into. However, sometimes you need to do something different.
I’ve been trying to garden out at my sweetie’s house for a decade. The soil there is notoriously filled with clay; it’s poor draining, rocky and generally a nightmare to work with. Over the years, I’ve dumped cubic yard after cubic yard of compost into that plot. I went no-dig several years ago. While I will admit there have been some improvements, they just aren’t happening fast enough.
And that’s the problem. I need to be able to grow vegetables now, not five or ten years from now. So, this past fall, after another horrible growing season, I gave up. I decided it was time to consider raised beds.
To Make or Buy?
I spent way too much time watching YouTube videos showing how to make raised beds out of everything from cedar wood to cement board. After compiling materials lists and costs, it dawned on me that I didn’t really want to spend the time making raised beds, especially when, for roughly the same cost, I could buy nice ones.
As I’ve gotten older, my time has become my most precious resource. And while I could make raised beds, I just wanted to get them in and be done with it so I could get back to gardening.
Why Vego Garden?


I know that raised beds have a big carbon footprint, so I wanted something that was going to last. In the end, I chose to go with metal rather than wood, knowing it would last longer. I started looking at metal raised beds online. And as most everyone can attest, once you start searching for something on the internet, the ads will follow. Ads for raised bed kits popped up everywhere, but one name kept showing up over and over again, especially in my Instagram feed – Vego Garden.
I loved the idea that with just one kit, I could make nine different sizes or shapes. If I want a 5’x5’ square to grow squash – I can do that. If I want a long 8’x2’ row, I can do that, too. Heck, watching some of these folks on Instagram, you can even create different shapes if you buy several kits and attach them, such as an L shape or a C shape.
They looked easy to put together, and the finished bed looked good.
They come in different colors, too, which was a big draw for me.
I appreciated that the beds seemed to be varying lengths with a consistent width of 3.5’ or shorter. I like not having to struggle to reach into the middle of a row, or in this case, a bed. This width is perfect!
And in comparison to how much it would cost me to build sturdy raised beds out of wood, buying these was roughly the same price for a product I don’t have to build and that will last longer than wood beds.
The biggest factor in my decision, though, came from driving past a neighbor’s house for the past four years and admiring his raised beds. They’re beautiful, and he always has huge tomatoes, eggplants and peppers in them. It dawned on me one afternoon that they were the very raised beds I had been looking at online (only he has the 36” tall version, which is a great option if you have mobility issues). He loves them and they look brand new four years later!
Well, you can’t beat a recommendation from a neighbor.
Shipping
I ordered eight of the 9-in-1 modular raised bed kits in the olive-green color. The shipping was quite fast, although they didn’t all arrive at the same time. So, if you buy several, keep that in mind.
Unpacking


One thing I like in this day and age is minimal packaging. I already felt guilty about buying prefab-raised beds, so I was pleased to see that they came well-packaged in recyclable cardboard. (However, don’t recycle it, hang on to it, you’ll need it later.)


My one gripe about the packaging is that each metal panel comes with a protective layer of plastic film on both sides. You need to peel each of these off before you put the bed together. Granted, you can recycle it, but still, plastic is plastic.
Putting it Together


Oh my gosh, it was so easy. My daughter and I put one together in one of the largest configurations – 6.5’x3.5’ – and it took us all of fifteen minutes. It took me longer to pull the plastic film off than it did to assemble it.


Each bed comes with a length of black edging to cover the top exposed edge of the assembled bed. (Which wasn’t all that sharp, but still appreciated.) I will warn you: it looks just like a black snake lying on the ground, so don’t walk around the corner of your house and see it sitting there and jump out of your skin like me.
Filling the Bed
One of the things I liked was that in the instructions, each of the nine different configurations also showed how much soil it would take to fill it. Their website even has a soil calculator if you choose to do the Hugelkultur Method, which I did. This makes the cost of filling your raised beds much less.


Vego Garden suggests that you put down flattened cardboard inside the bed before filling it. This will prevent weeds from growing and slowly break down over time.
I also added pieces of wood from a way-past-seasoned firewood pile.


This will slowly break down in the soil, and because the wood has mushrooms growing on it, it will help to jumpstart the soil microbiome in the bed.

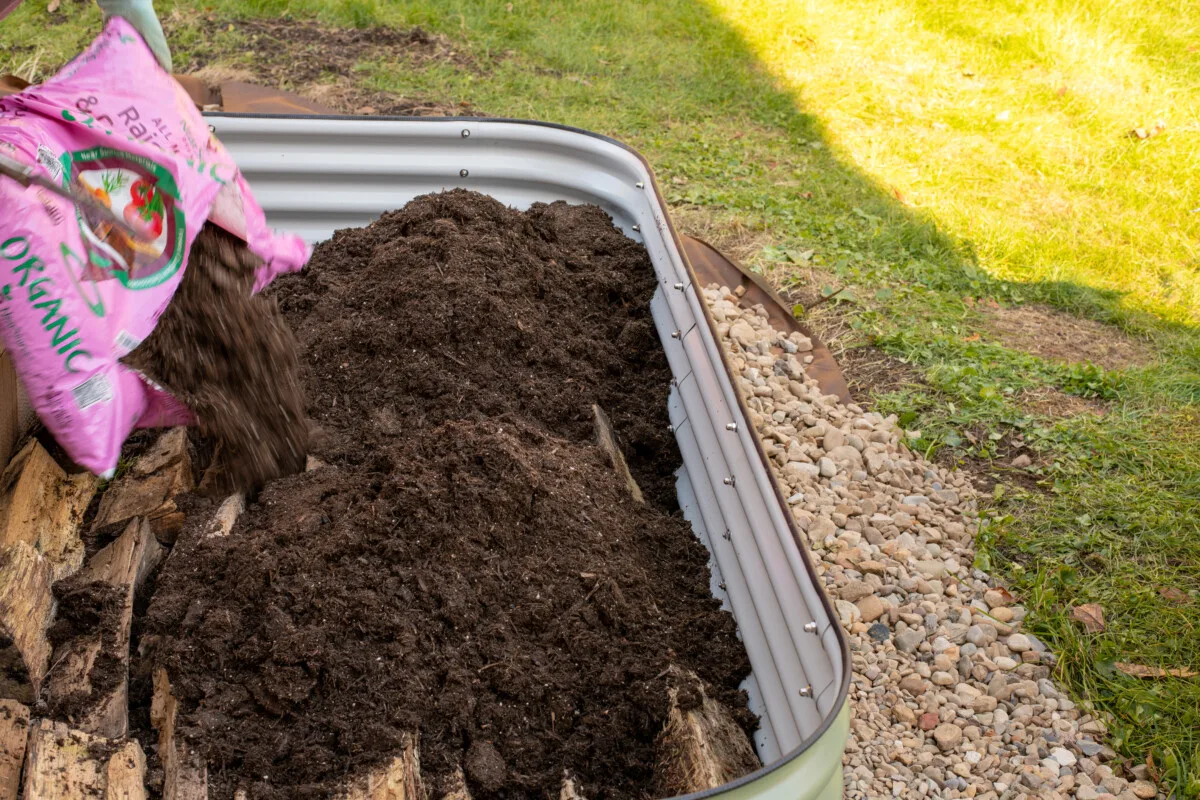
Then it was bag after bag after bag (you get the idea) of raised bed container soil and some well-composted cow manure. For the 6.5’x3.5’ configuration, I used 10 – 1.5 cubic foot bags of raised bed soil and four bags of cow manure. I think I’ll put in two more bags of raised bed soil as it tends to settle.
All in all, the whole process was pretty average as far as a day in the garden goes – hard work, but well worth it when the sun began to set. I’m going to hold off putting together the rest until spring, but I wanted to get this one up and running so I could grow cold-weather crops under a polytunnel this winter. Next year, this raised bed will be my kitchen garden, as it’s right by my back door.


So far, I really like the Vego Garden raised beds. I’ll keep you posted as I grow in them.

Get the famous Rural Sprout newsletter delivered to your inbox.
Including Sunday musings from our editor, Tracey, as well as “What’s Up Wednesday” our roundup of what’s in season and new article updates and alerts.