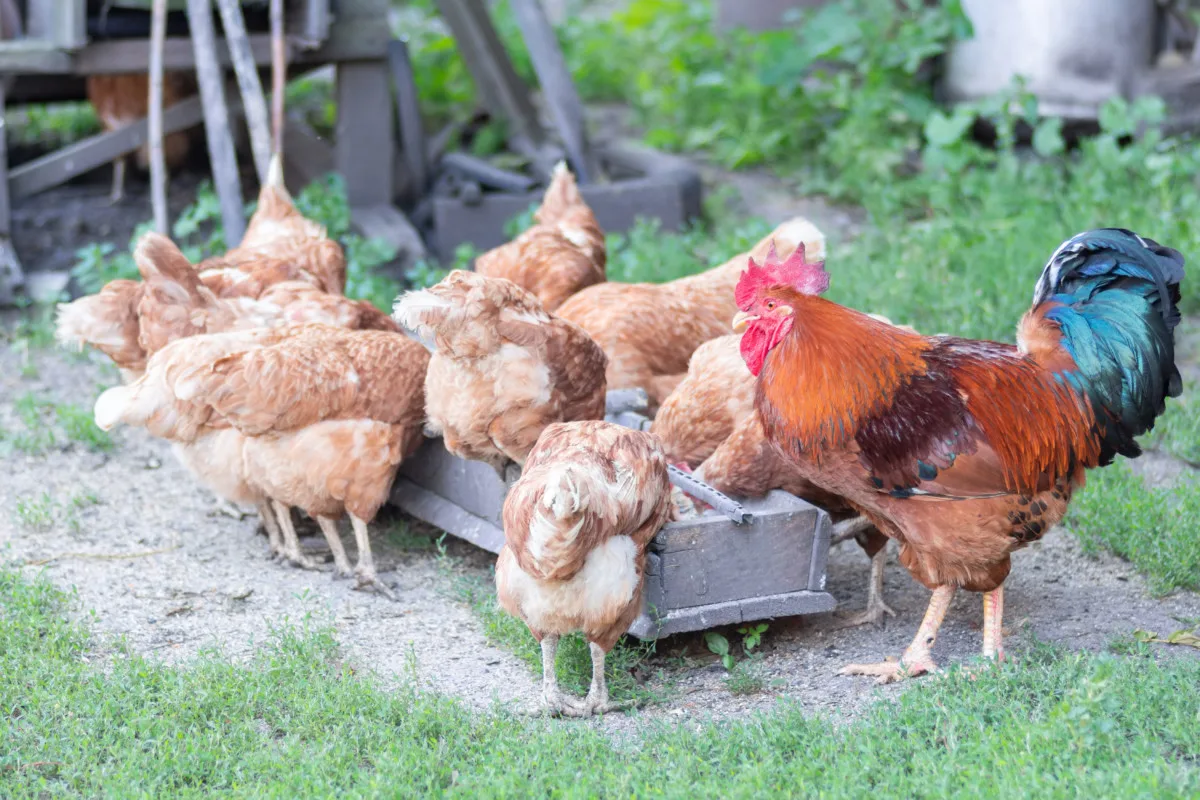
Because chickens have a narrow intestinal tract, they like to eat often but in small portions. This means that chickens are almost always hungry and food obsessed. Keep them well-fed with a DIY chicken feeder.
Egg-laying hens require a balanced diet that includes energy, protein, and calcium. The best egg production occurs when chickens receive at least 16% protein in their feeds, as well as access to fresh, clean water at all times.
Egg production stops or slows when hens run out of feed or water for several hours at a time. The amount of decline in egg-making is directly related to the amount of time the flock went without.
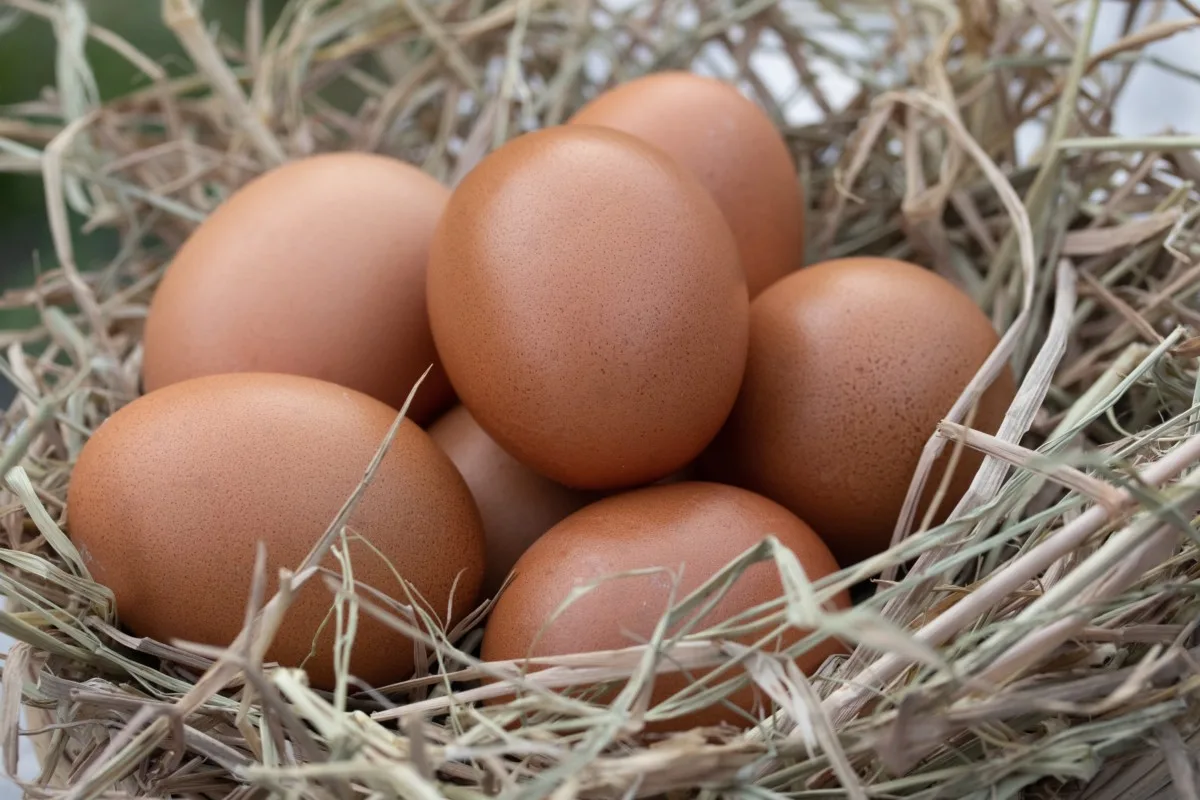
Clearly, keeping your hens well-fed and watered is vital for healthy, happy, and productive chickens!
Considerations When Choosing a Chicken Feeder Design
Not all chicken feeders are created equal and should be adapted to fit your coop’s specific needs.
Before committing to a design, consider:
The Flock
How many chickens you keep will determine the size of the chicken feeder you build. Each egg-laying hen needs roughly ¾ of a cup of food per day, or about a ¼ pound.
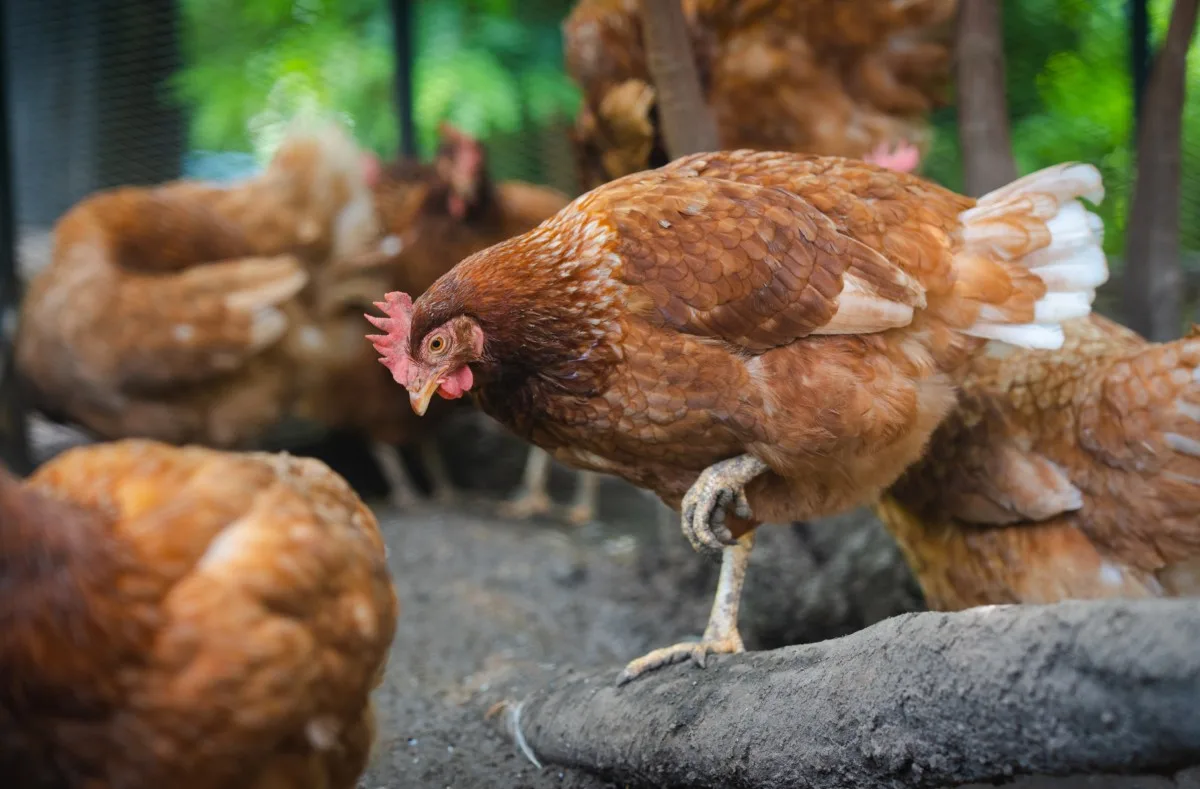
The size of the feeding vessel(s) should hold enough food for all your chickens. It should be large enough not to need constant refilling, but small enough that the feed doesn’t spoil before it has a chance to be eaten.
Another thing to bear in mind is how the chickens access the feed. As a very general guideline, each chicken should have about 2 inches of feeding space.
The character of your hens will have an impact on the size and style of the chicken feeder too. Dominant birds may prevent those lower in the pecking order from feeding, curious hens may knock over the container, and some chickens just like to make a mess of the whole thing.
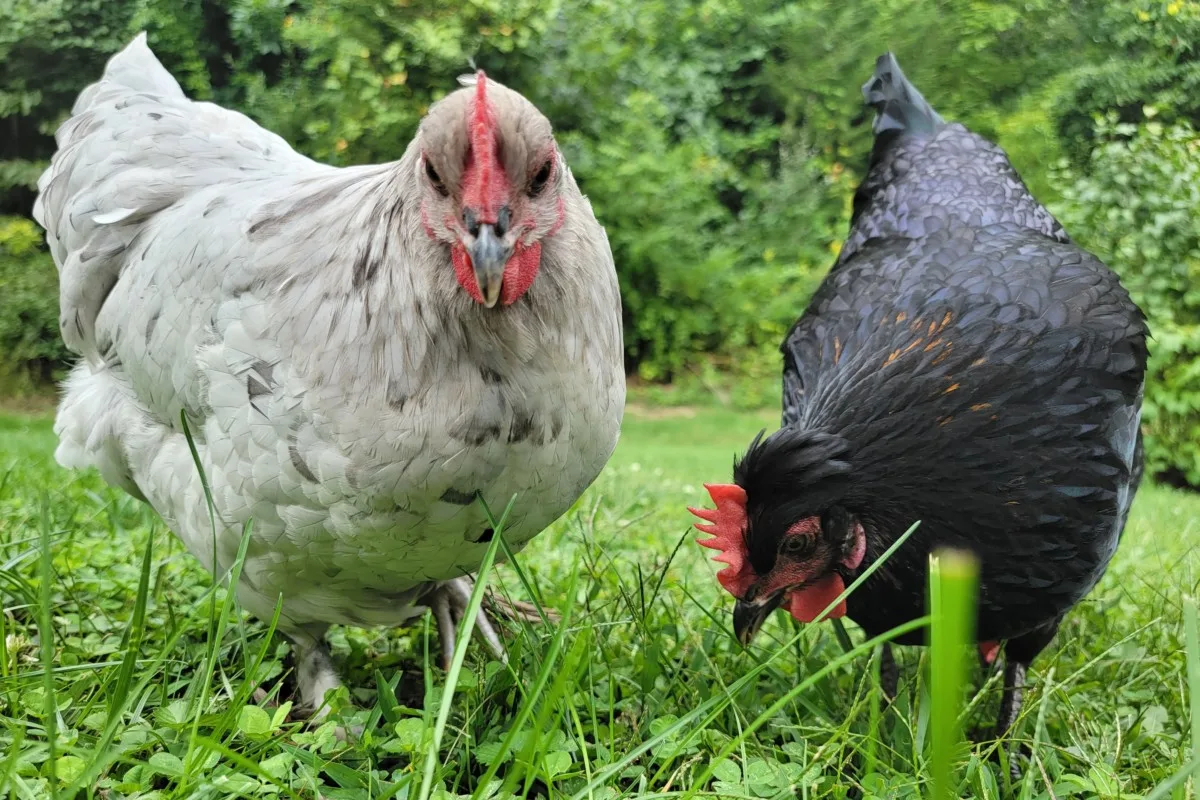
An unruly or large flock would benefit from two or more medium-sized feeders to ensure all chickens get their due.
Observe your hens at feeding times after introducing a new feeder system to the brood. If some chickens aren’t receiving enough food, add more chicken feeders to the coop.
Chicken Feeder Placement
Do you plan on keeping the chicken feeder inside the coop or outside in the run? Each has its advantages and drawbacks, and the design of the feeder should be planned accordingly.
Indoor feeders have the benefit of keeping the food dry in rainy or snowy conditions. Wet feed will become moldy and spoil quickly.
However, if your coop is on the smaller side, an indoor chicken feeder takes up precious space. It also encourages your chickens to spend less time outdoors, which means the litter in the coop will need to be cleaned more often.
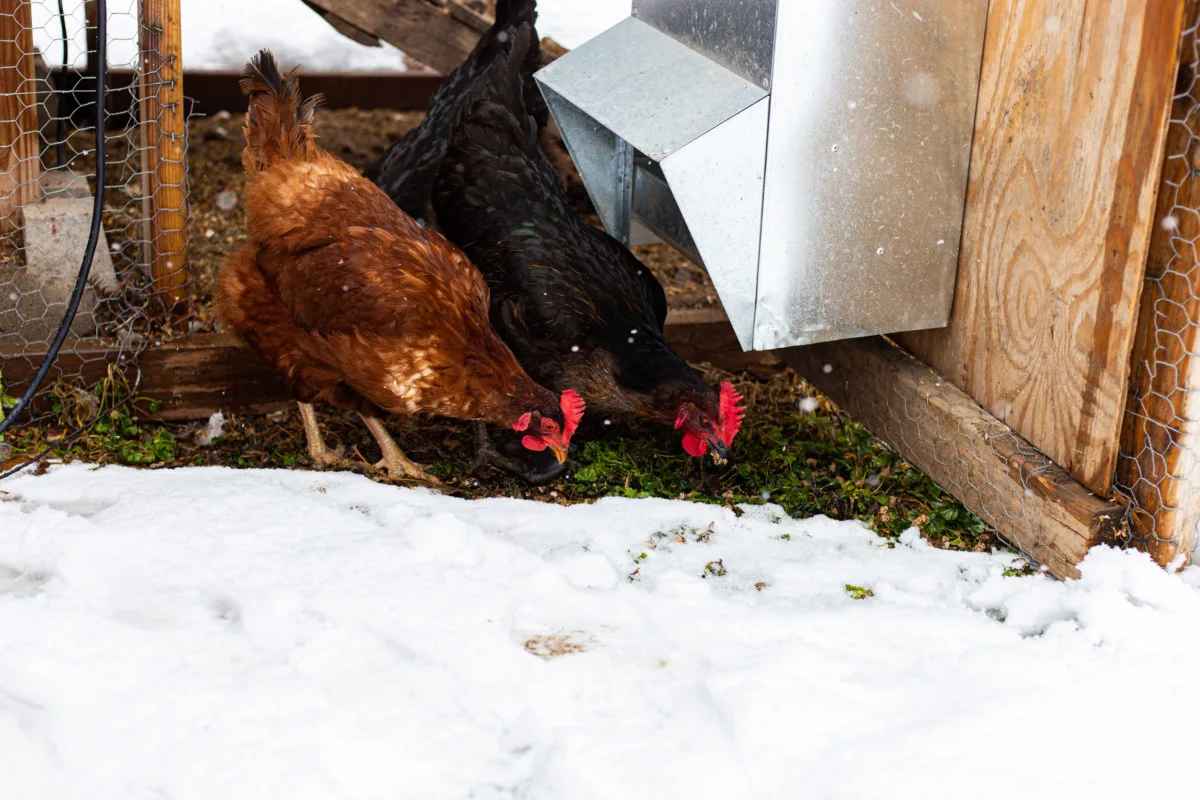
Outdoor feeders free up space in the coop and get the hens outside and into the fresh air. And free-range chickens produce the tastiest, most nutritious eggs.
But outdoor feeders need to be waterproofed or otherwise sheltered from the elements. Chicken feed kept outside is also more prone to pilfering by birds and rodents, and can even attract poultry predators like raccoons and weasels.
Some chicken keepers prefer to place feeders indoors for more control, while others build a sheltered spot with a dedicated run for outdoor feeding. Another option is to move chicken feeders indoors overnight and place them back outside during the day.
Chicken Feeder Capacity
The size of the chicken feeder should reflect the amount of time and commitment you have for your birds.
A chicken feeder that holds enough feed for 24 hours will require the hopper to be refilled each day. This can be a welcome chore as daily check-ins with your flock means you’ll be able to better monitor them, bond with them, and keep up with the latest pecking order drama.
A larger feeder capacity will reduce some of the upkeep and allow you to take a weekend away without worrying about feeding the hens. It is generally recommended to keep the capacity to an absolute maximum of 10 days – any longer than that increases the likelihood of food spoiling or the feeder itself becoming clogged.
15 DIY Chicken Feeders
1. 5-Gallon Bucket Chicken Feeder
A thrifty project for the frugal chicken keeper, this automatic feeder requires a couple of 90-degree PVC elbows, aluminum rivets, and a 5-gallon bucket.
One is perfect for smaller flocks, or make a few for larger broods. It’s easily transportable around the enclosure too.
2. 5-Gallon Bucket Chicken Waterer
With a few drilled holes, a 5-gallon bucket can also become an automatic waterer – in just five minutes!
3. PVC Chicken Feeder
Here are three really simple ways to turn a PVC pipe and fittings into gravity-fed chicken feeders.
4. No Drill PVC Chicken Feeder
There’s no need for drills or other tools in this DIY – PVC pipes are simply screwed together into a J-shape. Easy to disassemble and easy to clean, the feeding holes can be capped off each night with a cleanout plug. Zip-tie them to a fence to keep them upright.
Get the tutorial here.
5. Outdoor Chicken Feeder
Made entirely from PVC pipe, this automatic feeder design isn’t difficult to put together thanks to the in-depth instructions. It has so many neat features: a hood for water resistance, a spill guard to avoid wastage, and it can be capped off at night to keep rats and mice out.
Get the tutorial here.
6. No Waste Chicken Feeder
This automatic feeder is made with a large storage bin that is fitted with numerous PVC elbows as “feeding holes”. Designed to prevent chickens from scratching their feed out, it reduces waste since hens need to stick their heads pretty far into the hole to eat.
Get the tutorial here.
7. Treadle Chicken Feeder
A treadle feeder is essentially a feeding box with a platform mechanism that chickens stand on to open the lid and access the feed. Since the lid remains shut when hens aren’t feeding, it protects the food from rain and rodents. This treadle DIY is made from plywood and costs less than $40 to make.
Get the tutorial here.
8. Zero Waste Chicken Feeder
Another zero-waste woodworking project, this gravity-fed feeder features a long opening along the bottom so that several birds can eat at once. It also has a little roof over the trough that helps keep rain and snow out.
9. Hanging Chicken Feeder
All that’s needed to make this suspended chicken feeder is a bucket with a handle and tight-fitting lid, a stainless steel eye bolt, and a small square scrap of untreated wood. Drill a hole in the bottom of the bucket, insert the eye bolt, and screw on the wood piece so it’s dangling outside the bottom. This acts as a toggle to release feed when pecked.
10. Trough Chicken Feeder
For a feeder that will provide for many birds at once, this simple, trough-style DIY is constructed from various lengths of wood to create a rectangular feeding box. Add some wire mesh over the top to designate individual pecking zones.
11. Vinyl Gutter Chicken Feeder
This cheap and super easy project costs less than $25 to build and will create about 200 inches of feeding space. You’ll need two 10-foot long gutters, 4 cinder blocks, and optional end caps for the gutters to keep feed from spilling out of the sides.
Get the tutorial here.
12. Garbage Can Chicken Feeder
Larger flocks would do well with a garbage can feeder that can hold up to 150 pounds of feed. The bottom of the bin can be drilled with up to 4 feeding holes made from PVC pipe. Scratch-proof and low waste, the feeding holes can be plugged up each night with tin cans to keep out rodents. The locking lid makes this setup pretty weather-resistant, even in heavy rain.
13. Metal Duct Chicken Feeder
Made with 7-inch metal air ducting, this automatic chicken feeder can hold many pounds of feed. It’s designed so that feed is dropped into a container inside the chicken coop, while the input for filling is outside the coop – a great option when the chicken enclosure has a low ceiling and is difficult to human-sized bodies to enter.
Get the tutorial here.
14. Baby Chick Feeder and Waterer
An itty bitty feeder and waterer for your baby chicks, this tutorial repurposes old plastic food containers (like a clean and empty peanut butter jar) for a quick and cheap DIY. Using the powers of gravity, all you need to do is cut holes in the bottom of the container and set it in a larger dish (in this case, a lid), and fill it up with feed or water.
Get the tutorial here.
15. Suspended Baby Chick Feeder
Similarly, this hanging chick feeder is made from upcycled plastic bottles. The bottom of a 2-liter bottle becomes a tray and the top half of a 500 ml bottle becomes a hopper. Add holes to the smaller bottle and glue both pieces together. After filling with feed, it can be strung up and suspended over the enclosure so it can’t be knocked over.
Get the tutorial here.

Get the famous Rural Sprout newsletter delivered to your inbox.
Including Sunday musings from our editor, Tracey, as well as “What’s Up Wednesday” our roundup of what’s in season and new article updates and alerts.

