I have three large aloe vera plants, two that are pups from the main plant.
They all share a big terra cotta bowl on the end of a coffee table, in my living room. I’ve had this particular plant for five years, and it’s provided many a friend with aloe plants.
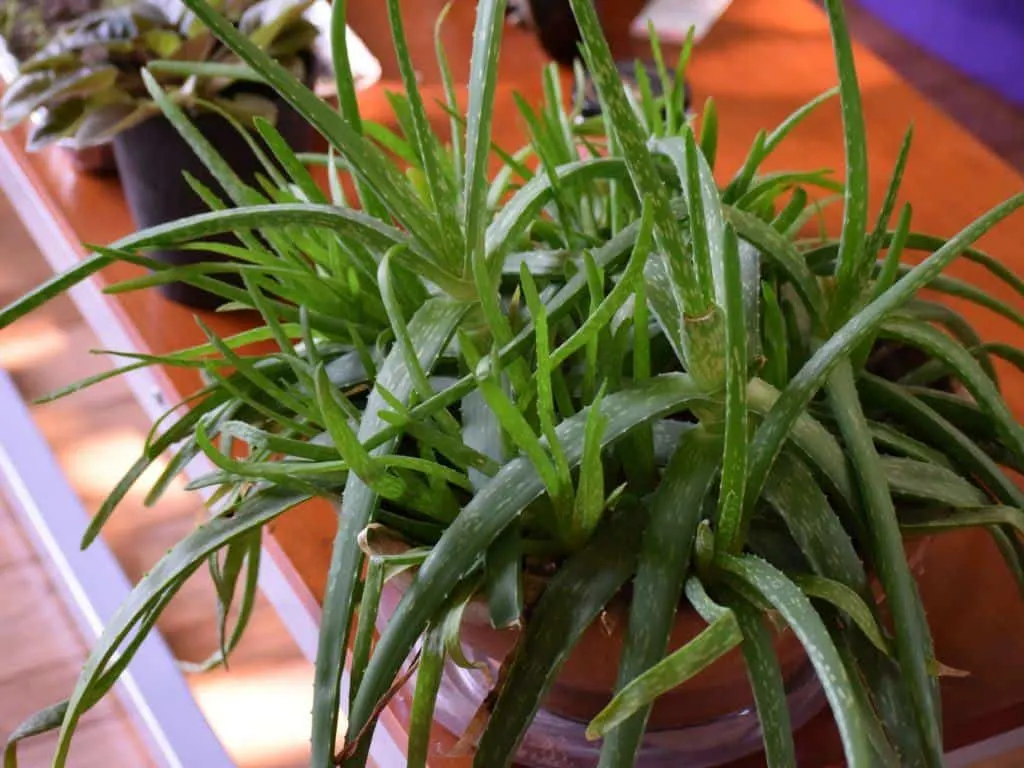
The smaller plants that grow off of the base, known as pups, were starting to get crowded, so it was time to give them each their own homes.
In this article, I’m going to teach you how to repot aloe pups.
Aloe vera is one of the easiest succulents to grow as well as one of the most useful.
Aloe is incredibly prolific too. If you have a large and healthy aloe plant, it won’t be long until you see tiny offspring, shooting up from the base. Or a dozen or so if you ignore it long enough.
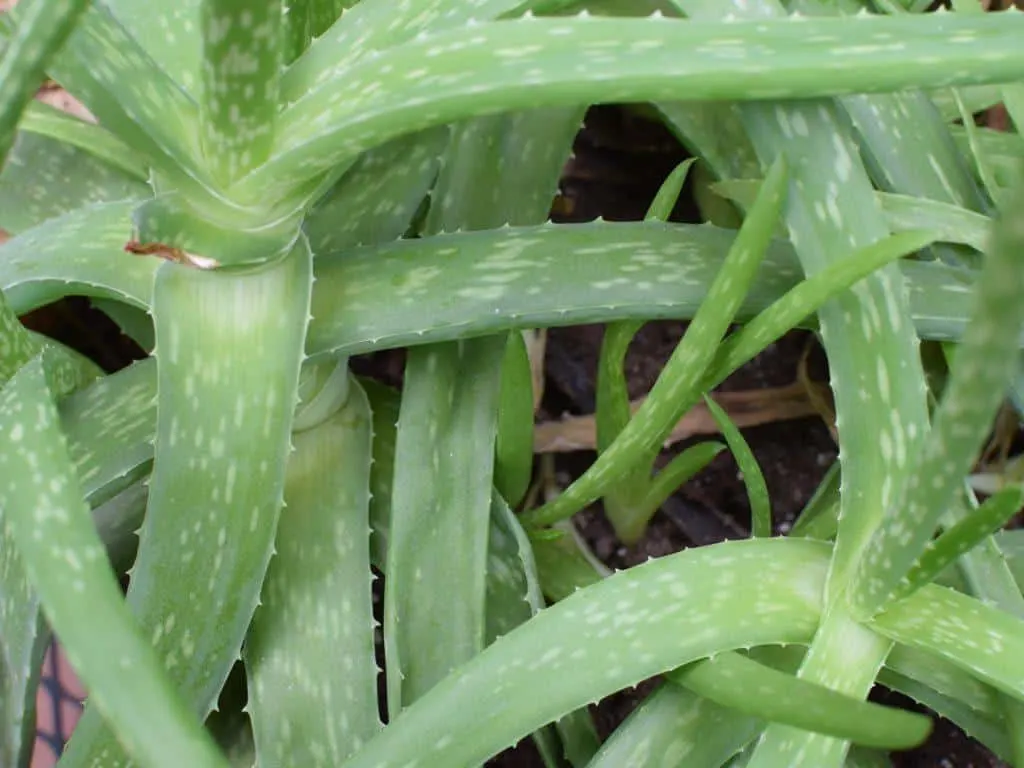
If you want you can pull them out of the soil when they are small and toss them in a smoothie. Or to get new aloe plants, wait until they are around 3-4” tall and then pull them and re-pot them.
A quick note: there are many varieties of aloe vera, the plant I am repotting here is the most common: Aloe Barbadensis Miller.
Repotting these baby aloes is quite easy and keeps the main plant healthy. Plus, it keeps you in fresh aloe!
It’s best to do this outside, or if you plan to do it inside put down some old newspaper on your work area.
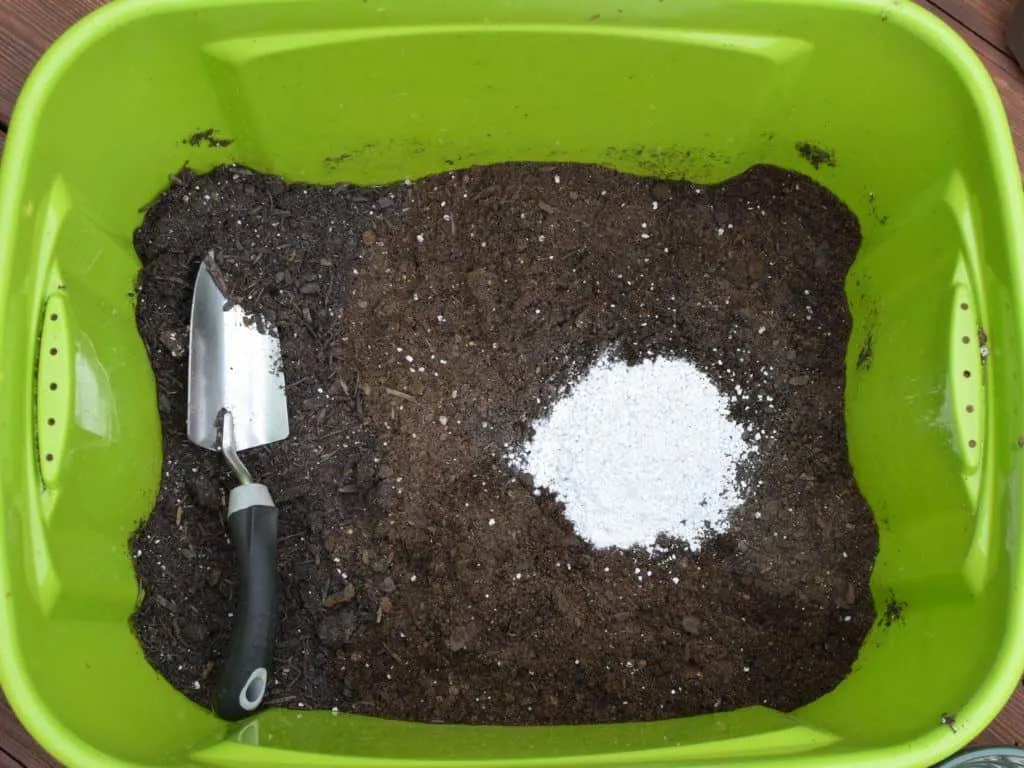
Aloe is a desert plant and prefers well-drained soil, so be sure to choose a potting soil that’s specifically for succulents.
I’ve always had good results from the Miracle-Gro brand, but any good cactus/succulent mix will do. Even with using a cactus potting soil mix, I still add about a one-cup scoop of perlite to the full 8-quart bag and mix it all in well.
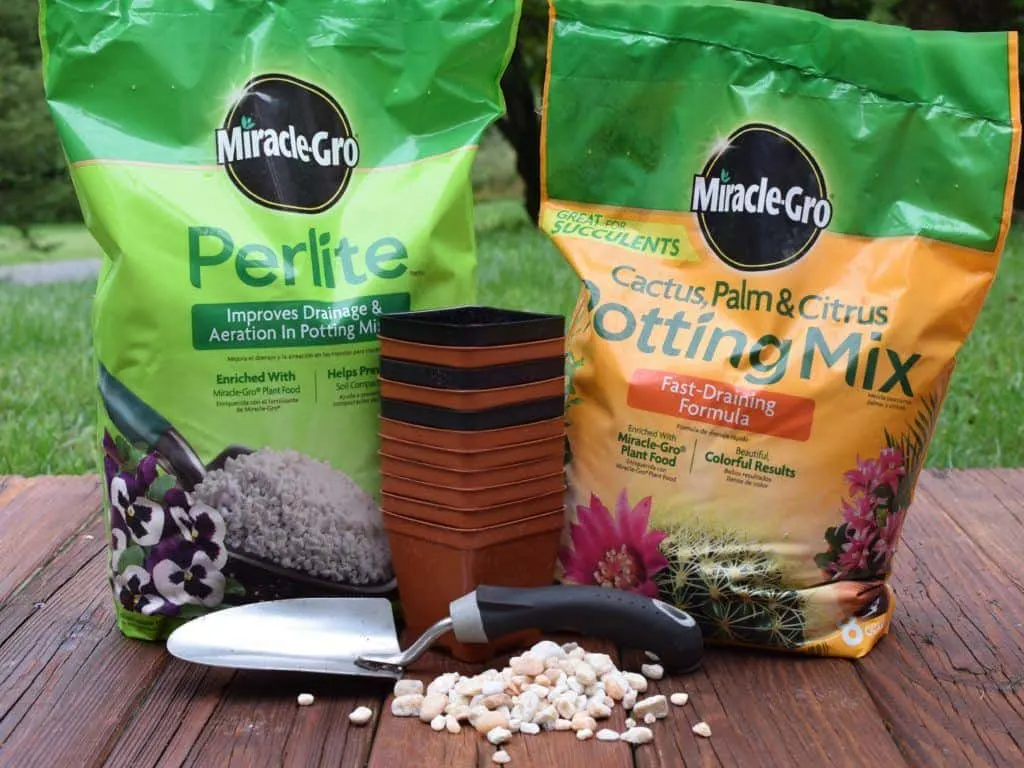
I have a large plastic tote that I dump my potting soil mix into.
This way, I can mix in any additives and fill new pots right in the tote without making a huge mess.
(I don’t know about you folks, but I’m somewhat messy.)
You’re going to want to put each new pup in its own container. A good rule of thumb when choosing pots is to pick one that is the same diameter as the new aloe plant’s height.
Hint: If you buy starter plants at a nursery each season for your garden, save the little plastic pots they come in for repotting aloe pups.
Now, it’s time to separate the pups from mama.
Often you can pull the pups out of the dirt without disturbing the mother plant. Simply grasp them as close to the soil as possible and gently pull them out.
However, if it’s been a while, you may want to re-pot the mother plant too. If you plan to re-pot the mother plant, pull the entire mass out of the pot. Again, grasp the pups firmly at their base and pull them away from the main plant. You can cut them with a knife or a pair of scissors if the roots are good and tangled.
Be sure to use a clean knife/scissors as you don’t want to introduce contaminants that could infect your plants.
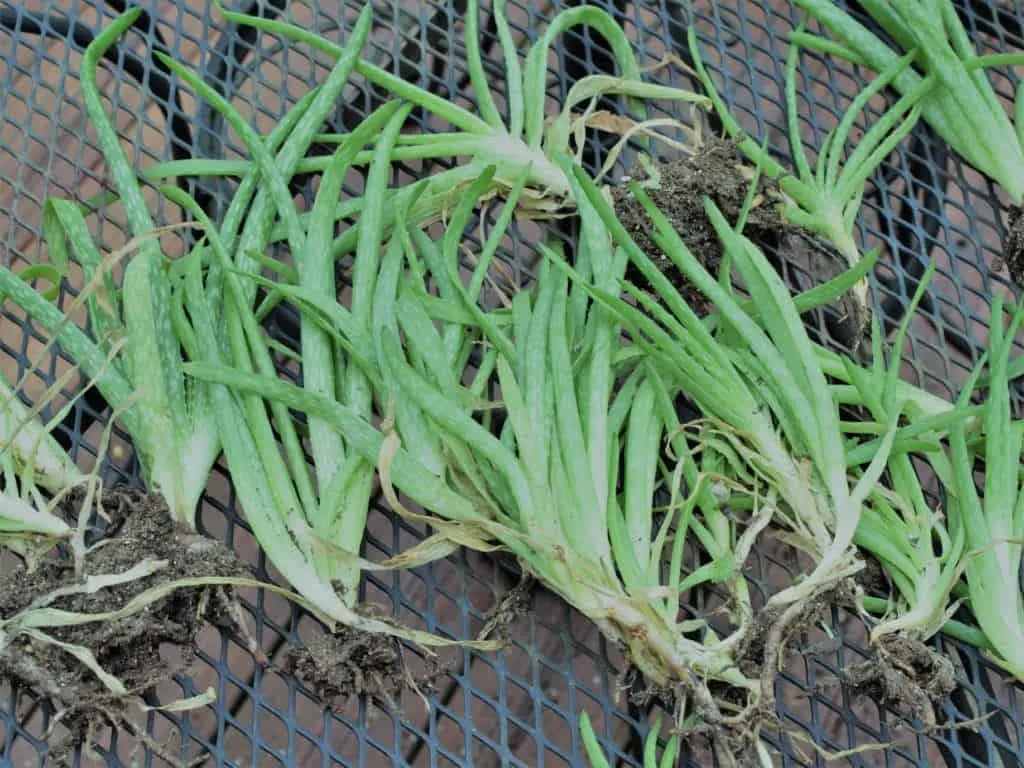
Take a moment to separate each clump into individual pups. They should be easy to pull apart now. Pull off or snip off any dried out leaves.
You don’t want to re-pot them immediately.
Succulents need a chance to grow a callous over their root system.
Give them a day or two to rest so the roots can heal over. The new aloe pups will be fine unpotted for about a week before they start to go downhill. That being said, I’ve replanted a few that I forgot about for two weeks, and they did just fine. Just keep an eye on them if you can’t get to them right away.
If any of the pups you pulled don’t have roots, you won’t be able to repot them right away. Give these little guys a full week to form a callous. You can get them to root by putting them into a succulent nursery and misting them every few days. You don’t want to fully water them or they will rot.
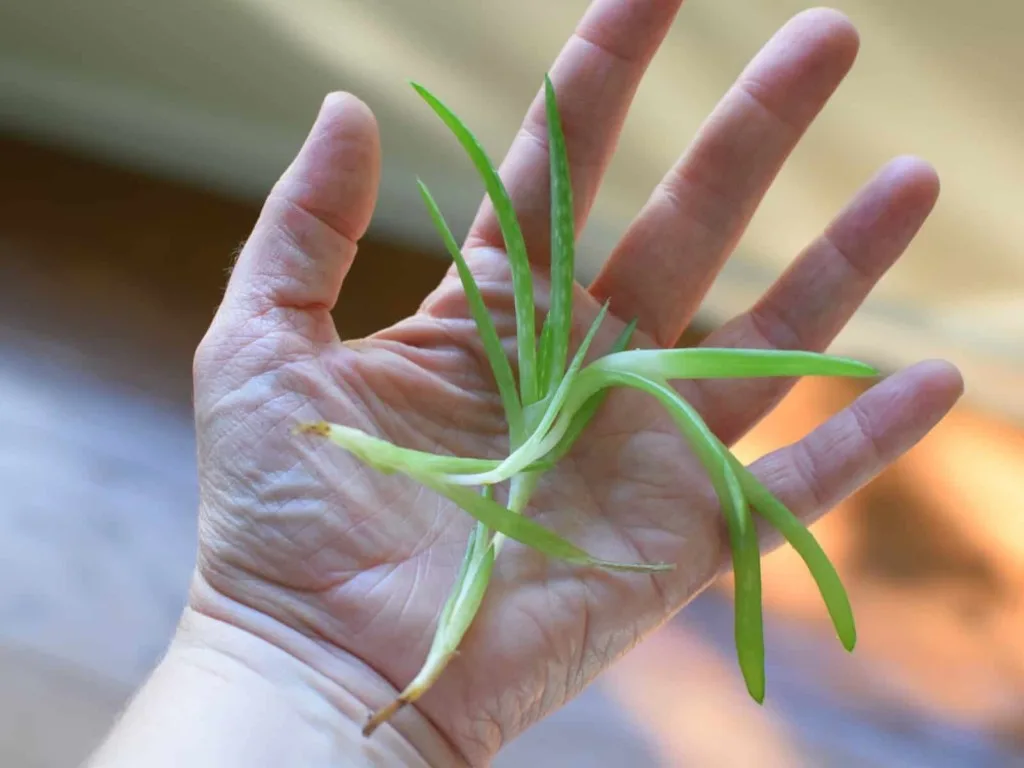
These little guys can take three to four months to grow roots, so be patient.
I am not patient, so again, I just throw them in a smoothie.
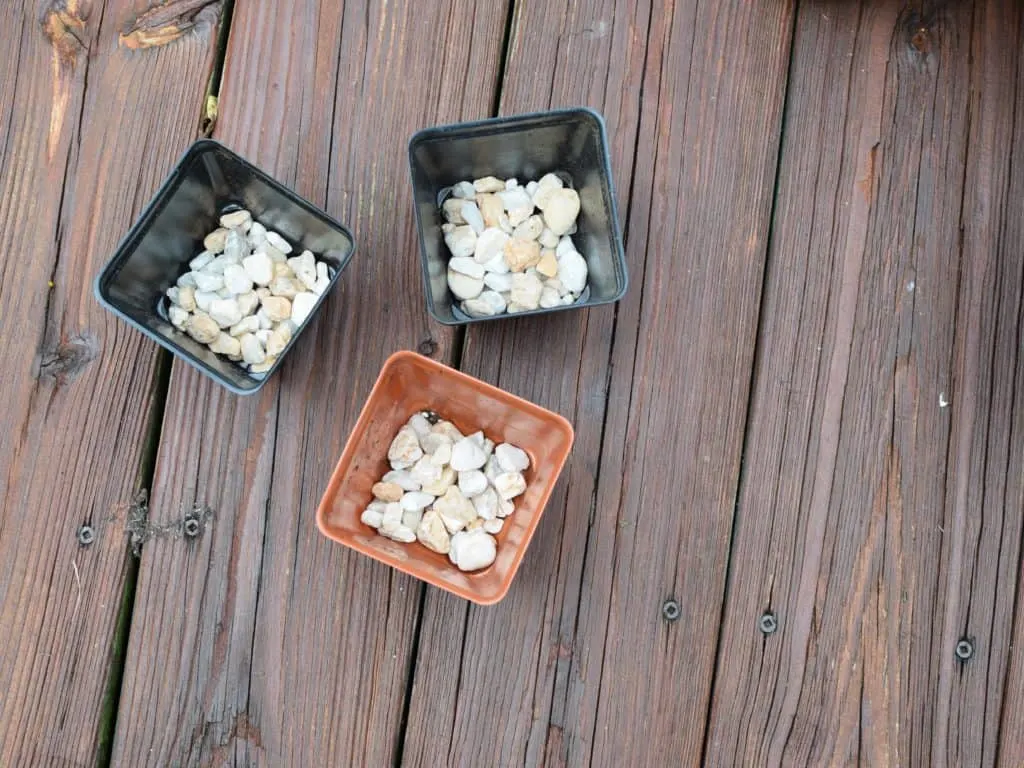
Be sure to put a small handful of gravel in the bottom of each pot to help with drainage. Last summer, I finally got smart and grabbed a bag of pea gravel at the local garden center for this purpose.
Fill your pot right up to the top with soil.
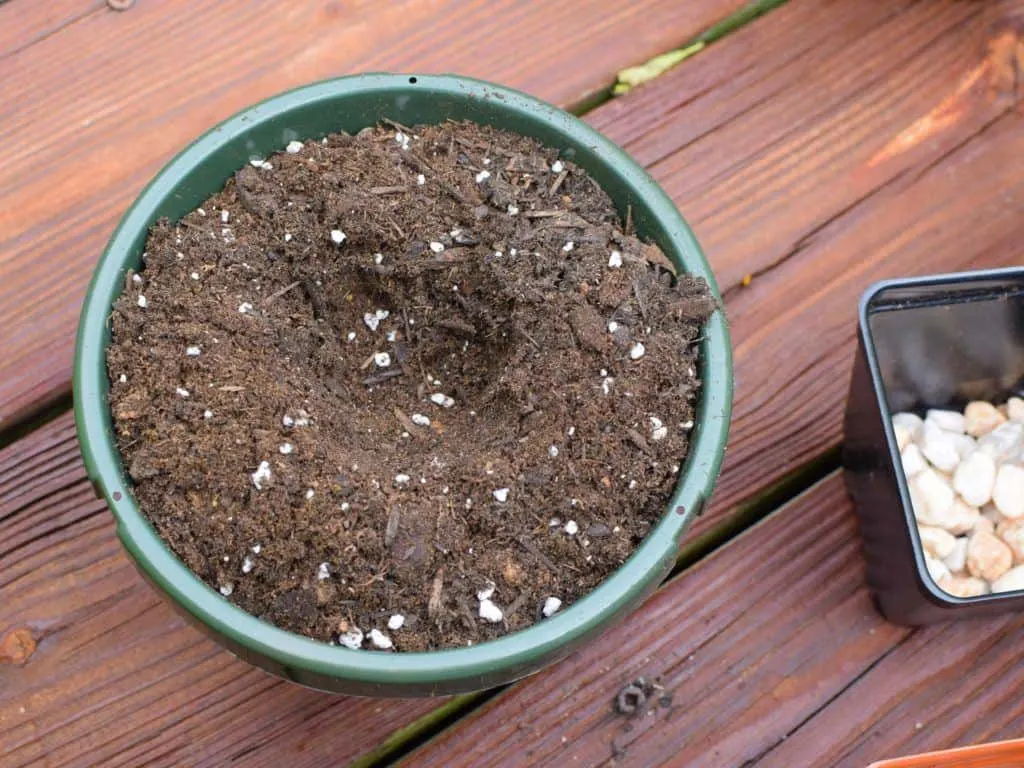
Then you’ll push aside some of the dirt in the middle and wiggle your pup down into it. The pup shouldn’t be further down in the potting mix than where it was on the original plant.
Push the dirt down around the base of the aloe plant firmly; it’s okay to be a little heavy-handed here as it will take a few days for the new roots to grab hold.
Don’t water newly planted aloe right away.
Again, you want to give the plant a few days to settle in and grab hold.
For regular waterings, only water when the soil is completely dry. Stick your fingertip in the dirt to test if it’s still damp. Allow your aloe vera to dry out between waterings. I find my aloe plants need to be watered less frequently in the winter.
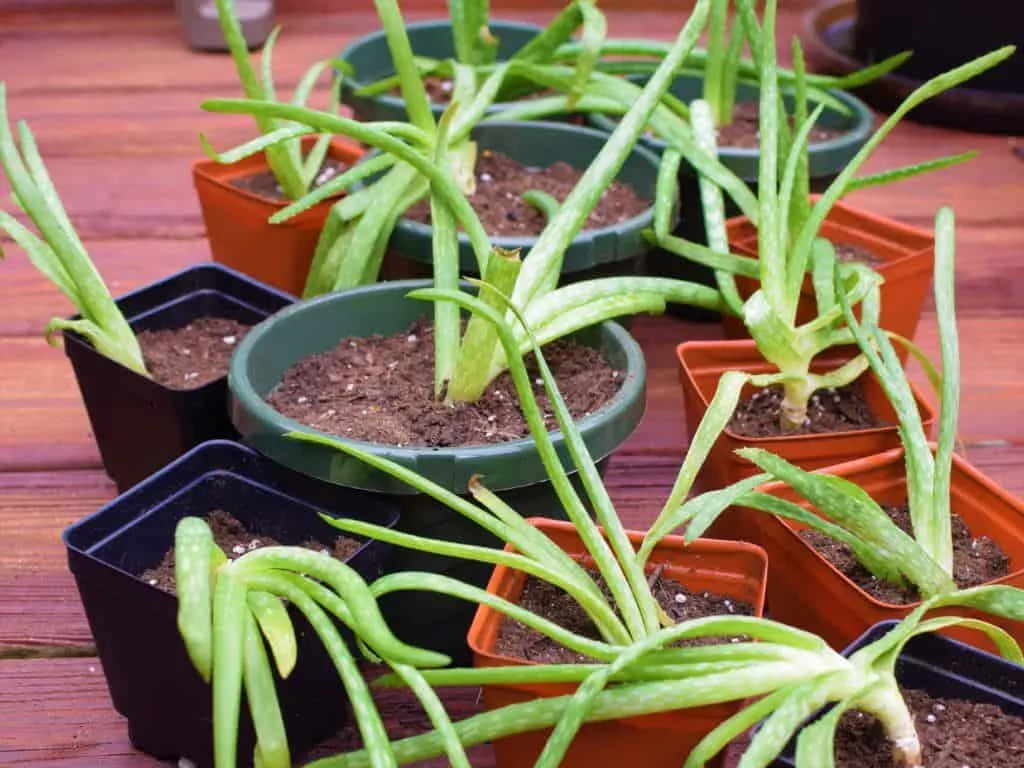
Put your new pups in a bright, sunny window, and in a week or two they will be perky and ready to share with friends and family. If you are hoping to use aloe around the house for its many health benefits be sure to save a few for yourself.
Aloe is prolific but slow-growing and can take up to 4-6 years to reach the size where you can regularly take cuttings from the stalks.
Before you know it, you will be repotting new aloe pups from the pups you just planted.
And speaking of prolific succulents, why not propagate your jade plant too? Did you know you can also trick a jade plant into flowering as well?
Pin This To Save For Later
Read Next: How To Grow Hoya – The Most Beautiful Houseplant You Can Grow

Get the famous Rural Sprout newsletter delivered to your inbox.
Including Sunday musings from our editor, Tracey, as well as “What’s Up Wednesday” our roundup of what’s in season and new article updates and alerts.


