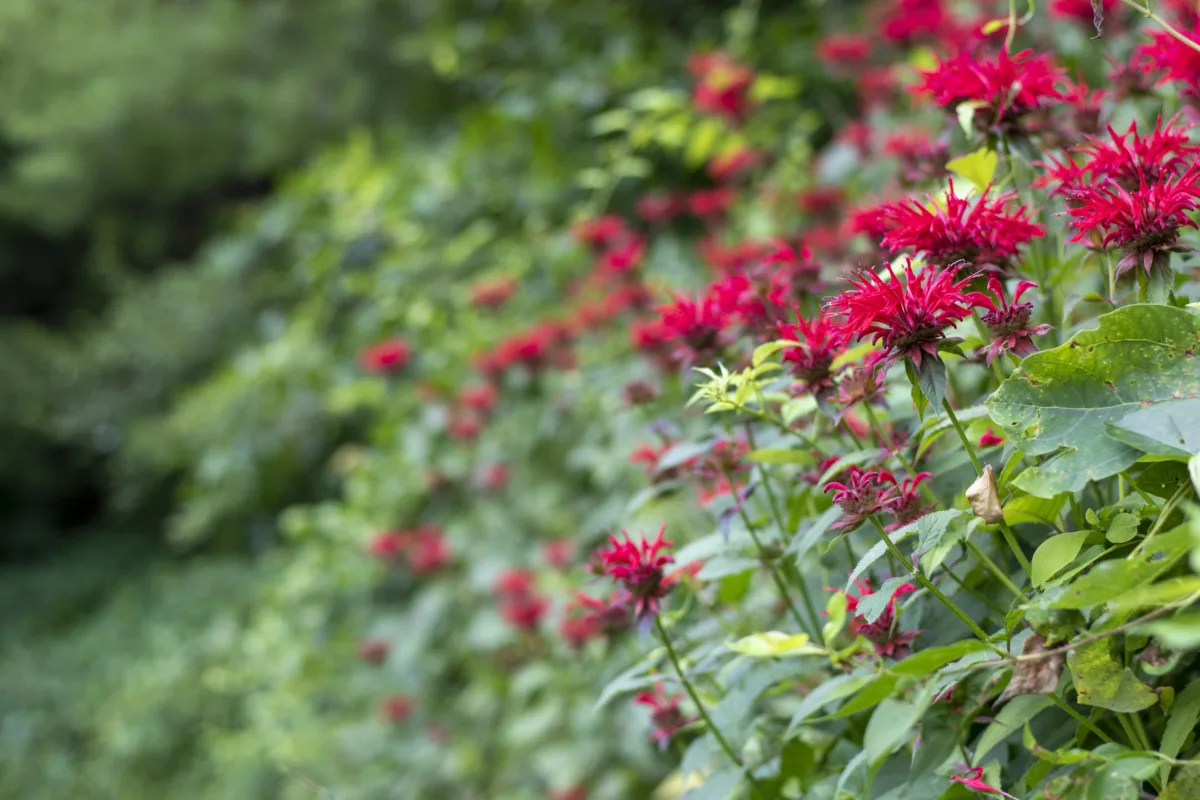
I’m going to go out on a limb here and make a rather bold claim. Bee balm needs to be in everyone’s backyard. Yup, if you grow flowering plants, bee balm should be among them. With its royal-looking bloom, this flower has more than looks going for it.
Bee balm, Monarda, is a wildflower native to North America and a member of the mint family.
You can find it growing alongside the road or in rocky wooded areas, and even in your neighbor’s well-groomed landscape. Its blooms range in color from deep burgundy and fuchsia to pale purple, sitting atop a long stem studded with emerald green leaves.
They’re relatively tall plants, growing anywhere from 2-4 feet tall. Although, there are plenty of hybrids between 1 and 2 feet tall. These perennials come back each year, growing in thick, lush stands of dark green foliage with tall, stately flowers. And their blooms last for weeks each summer, rather than days.
The flowers of bee balm have a sweet citrusy scent reminiscent of a bergamot orange. This is, of course, how they came to be called wild bergamot. People often (mistakenly) assume that it’s this plant that lends its flavor to Earl Grey tea. However, that comes from the oil of the bergamot orange rind.
Bee balm is also known as horsemint, and Oswego tea, the latter coming from its Native American use as an herbal tea.
I stand by my claim that everyone should grow bee balm; it’s the perfect option for the gardener looking to optimize their flowerbeds with hardworking beauties. Bee balm even made our list of flowers that are as useful as they are pretty. But how about I back up my stance with a few reasons why I think it’s such a great plant.
Why Grow Bee Balm?
A Pollinator Favorite
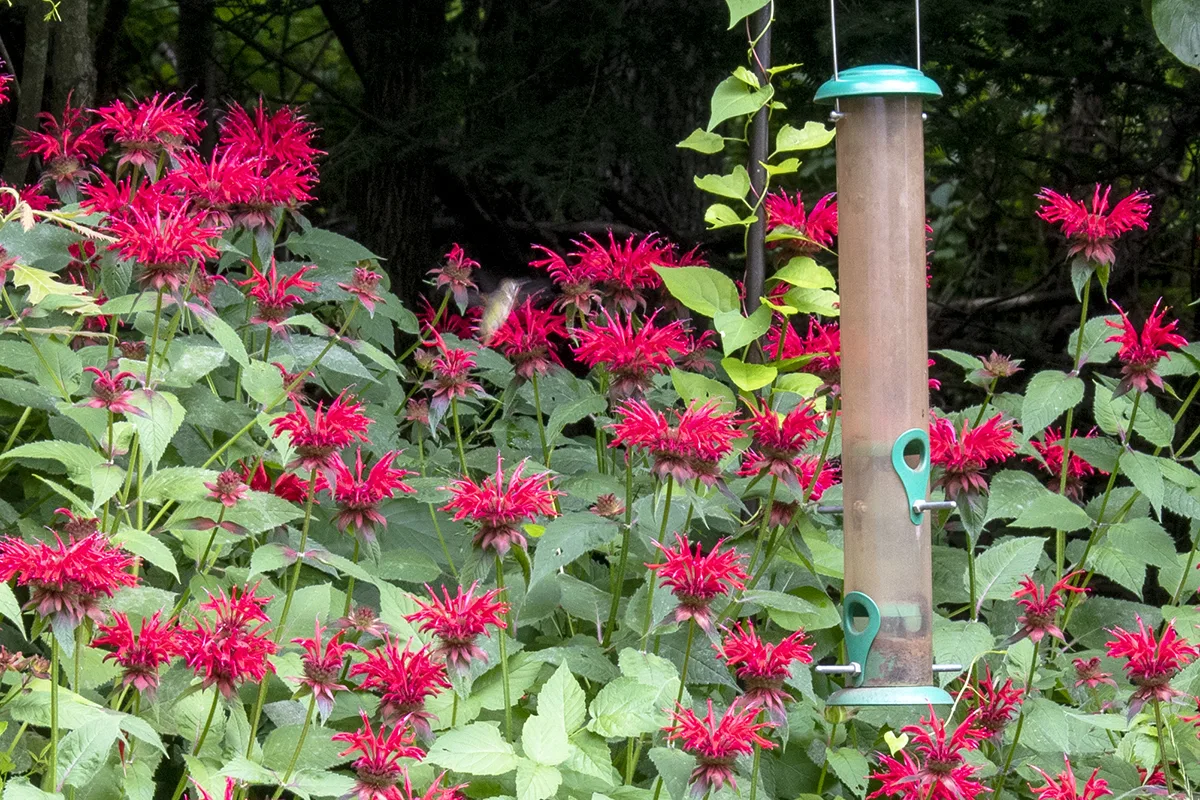
If you’re a fan of hummingbirds and want to attract them to your yard, then you’ll want a stand (or several) of bee balm. The colorful, crown-like blooms are a favorite among these tiny winged gems.
Bee balm isn’t only attractive to hummingbirds, though; it’s also a favorite among bees and butterflies for its sweet nectar. If you’re concerned about the global decrease in pollinators, consider planting bee balm, a food source, in your backyard.
Bee Balm is Easy to Grow
If you’re looking for ways to cut down garden maintenance time, this plant should be at the top of your list. Bee balm comes out a winner in looks and being dead-easy to grow.
It doesn’t need to be fertilized; it has a scent that naturally repels pests (but is still pleasing to us); you don’t need to do anything to get it to flower, it will self-seed and fill in an area on its own, and at the end of the season you can mow it down and call it a day.
A Stunning Privacy Screen
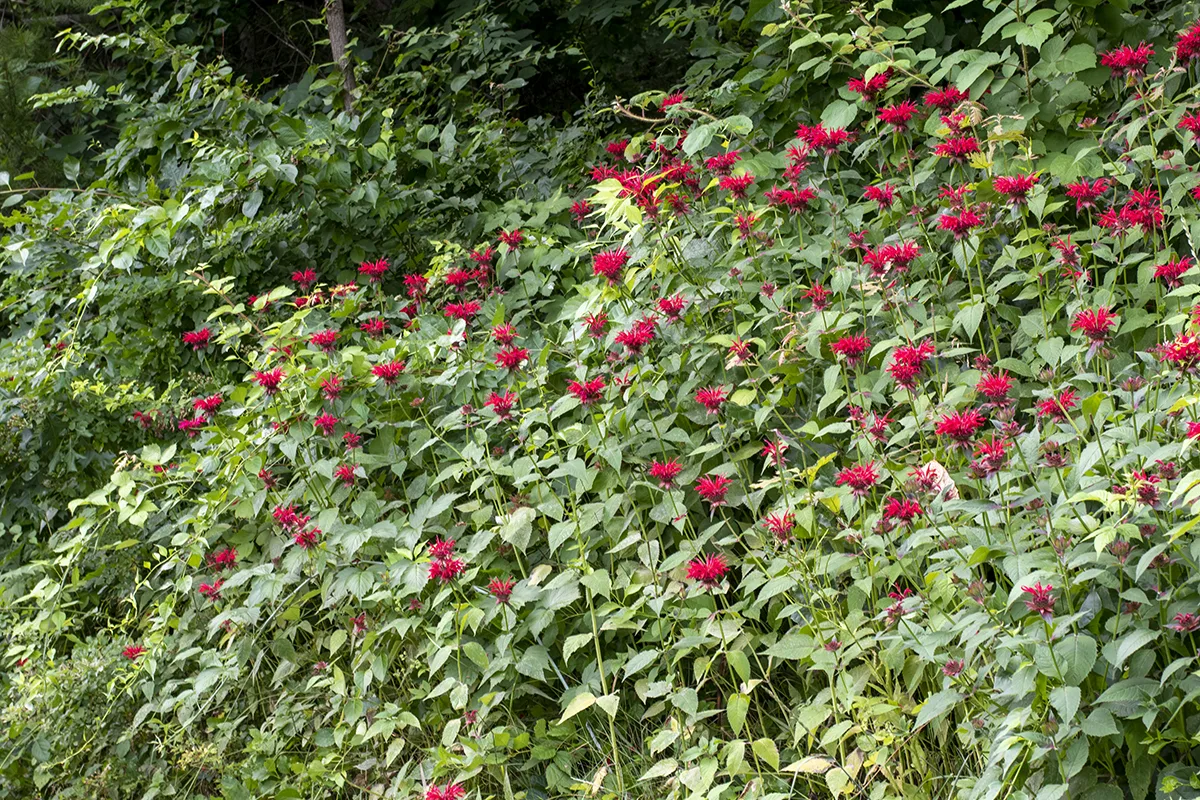
If you have an area of yard you would like to shield for a bit more privacy, consider planting a border of bee balm. Many varieties grow to be 3-4 feet tall, making them an ideal mid-height privacy screen. When you consider that bee balm’s scent naturally repels most insects, it becomes a prime candidate to plant around your porch or patio.
Bee Balm is Useful
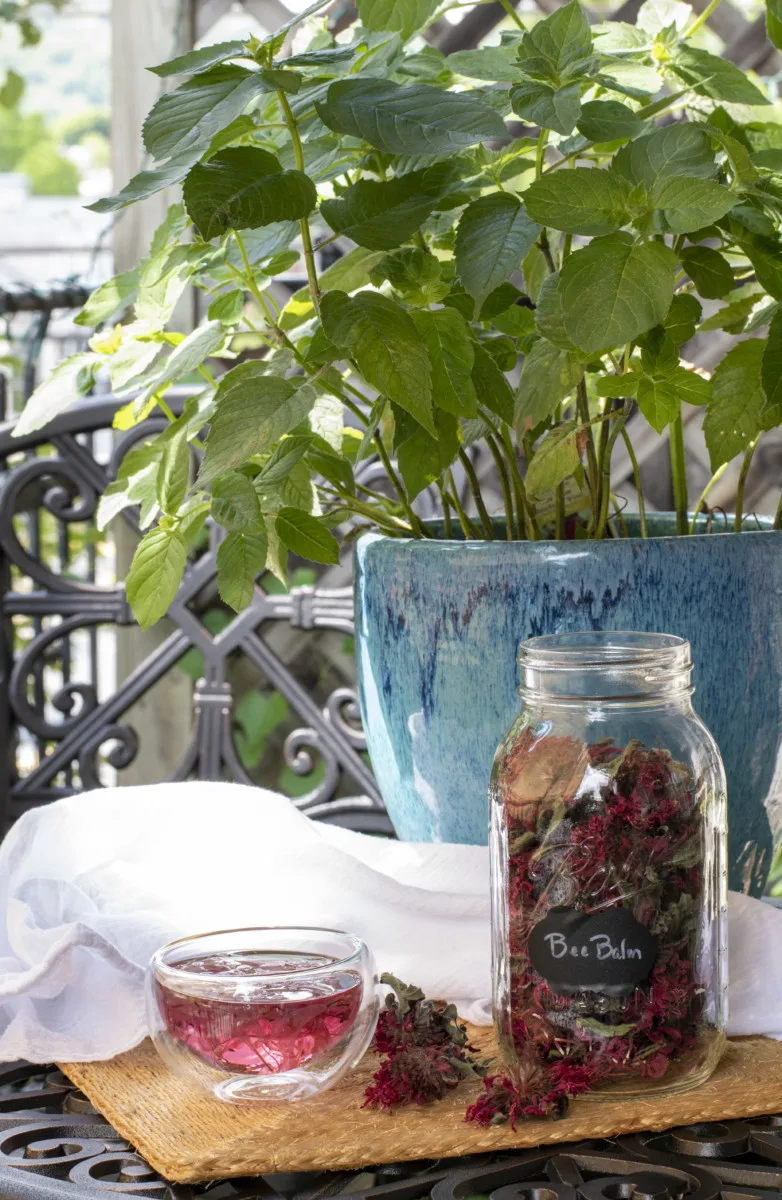
The leaves and flowers are edible and make a delicious (and healthy) tea and popular folk remedies. Even if you don’t care to eat them, the impressive flowers, with their long, sturdy stems, are an obvious choice in cut-flower arrangements. Their sweet, citrusy scent is a bonus.
Growing Bee Balm
Bee balm grows easily in USDA hardiness zones 4-9. The plant prefers rich, moist soil but needs good airflow among its leaves. It will flourish in full sun and does well in partial shade. If you have a shaded area of your lawn for a portion of the day, bee balm will be quite happy there.
As far as pH, bee balm prefers neutral to slightly acidic soil. It rarely requires amended soil to do well; however, if your soil is especially poor, you can always add compost when you plant bee balm. Like most wildflowers, bee balm has no special fertilizing needs. It takes very little work to get this plant to grow and flower and it’s one plant that thrives in poor quality soil.
When watering bee balm, keep the water at the base, whether you grow it in the ground or a container, as it is quite susceptible to powdery mildew.
How to Grow
There are plenty of varieties of bee balm to choose from, although most sold in large nurseries are a hybrid of popular species, bred to be more resistant to powdery mildew or for the color of their blooms.
Some popular species are:
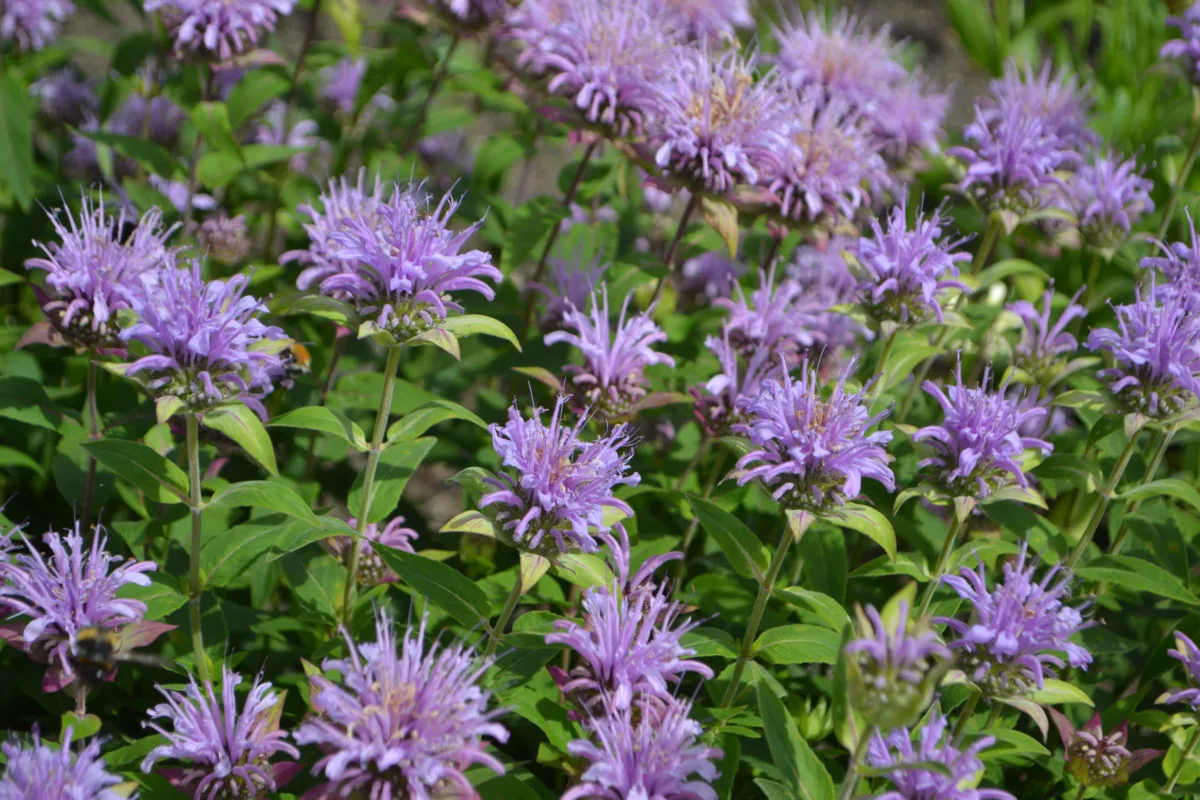
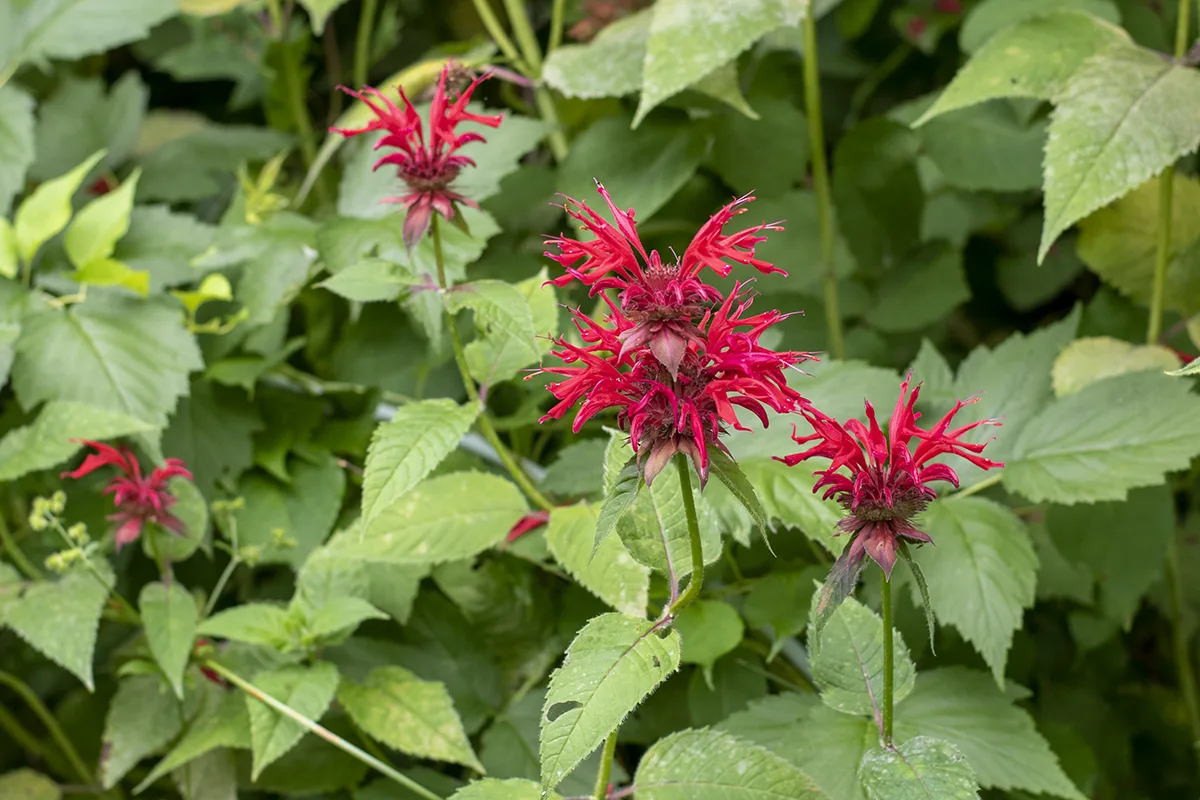
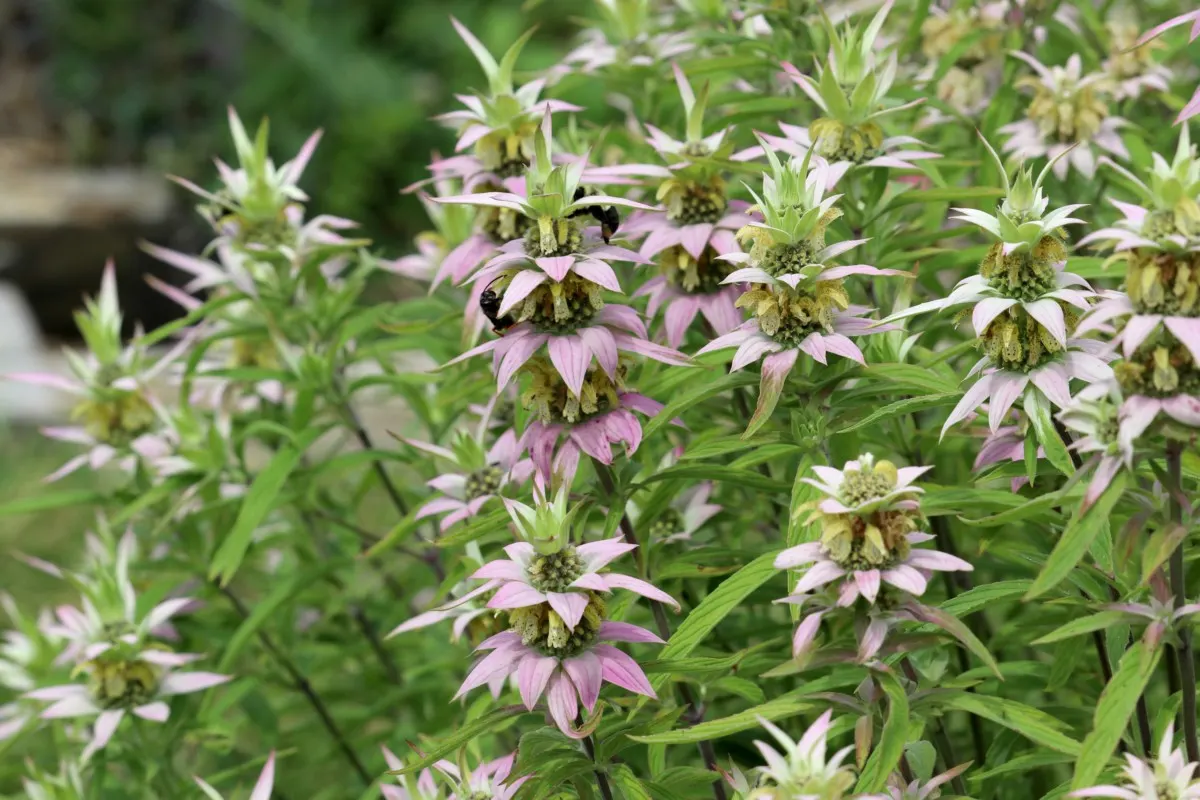

Plant bee balm in the spring after all danger of frost has passed. It will need to be watered weekly until the plant is established. Bee balm grows quickly and will usually flower in the first year, but not always.
The blooms last for nearly eight weeks, and if you deadhead the old blossoms, you can usually expect a second batch of flowers later in the summer or early fall.
As your bee balm grows, it will spread via its creeping rhizomes underground.
With age, the center of the plant becomes tough and woody and is less likely to flower. So, for continuous blooms, dividing the plant every three or four years is necessary.
Shortly after the plant starts to put out shoots for the season in the early spring is the best time to divide your plants. Dig up a large portion being careful to keep the root system intact. Divide the plant into clumps with at least 3-4 strong sheets a piece and replant right away. If you can’t replant them or intend to give them away, wrap the roots in a damp paper bag or paper towel.
Pests & Problems
Because of its natural scent, bee balm is rarely bothered by pests, and generally, it’s a pretty hardy plant. Powdery mildew is the most common bee balm issue. However, this is easily prevented by planting it somewhere it will receive good air circulation and thinning large patches every few years. Watering the plant at the ground level will also help to prevent powdery mildew.
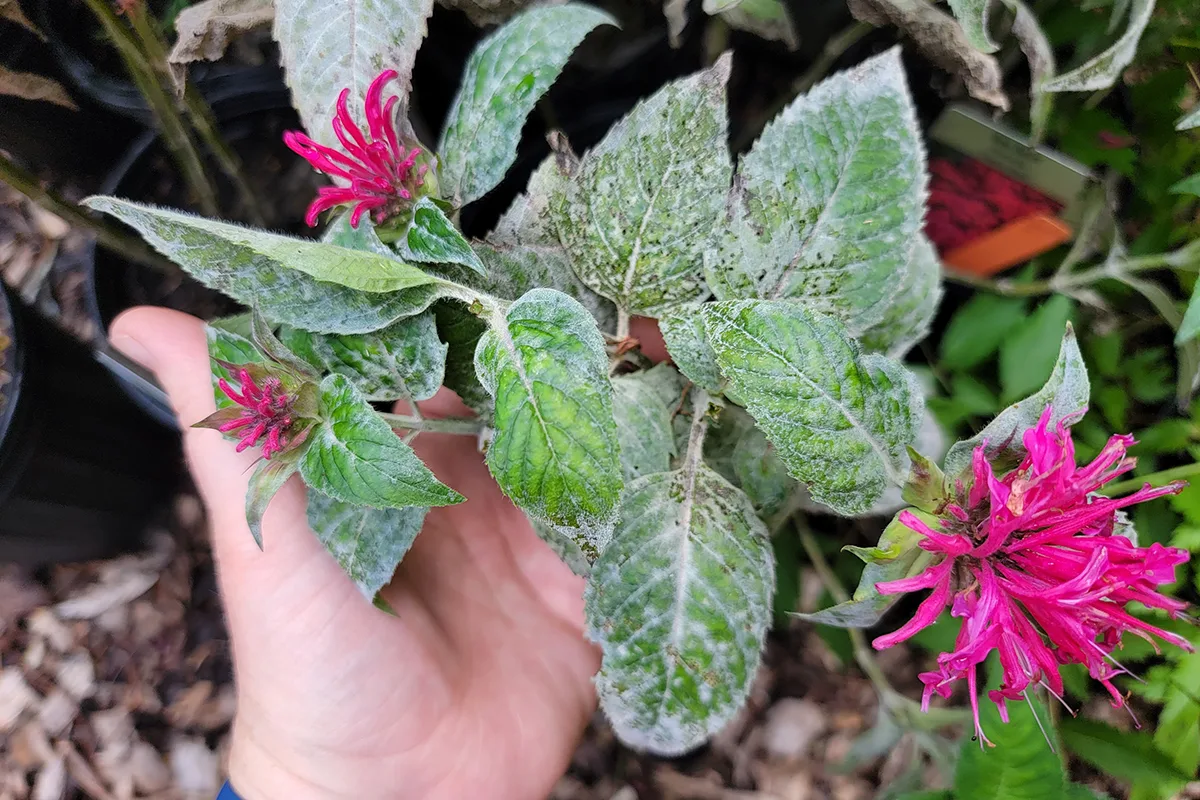
Of course, even with the best layout, you’ll get a year with lots of rain, and the leaves will be inundated with powdery mildew. You can choose to let it go and mow your bee balm back for the year once the flowers have faded. Or you can choose to spray the leaves down with neem oil.
If you choose to use neem, be sure to spray the plant in the evening while pollinator activity is low, and keep the neem oil well away from the flowers. The powdery mildew usually only affects the lower portion of the plant anyway.
If you plan on using the leaves, pick ones that don’t have powdery mildew.
At the end of the season, once the blooms have faded, you can save some seeds (more on that later) or mow the stand of bee balm down. It will come back as soon as the winter begins to thaw and warmer weather returns.
Growing Bee Balm in Containers
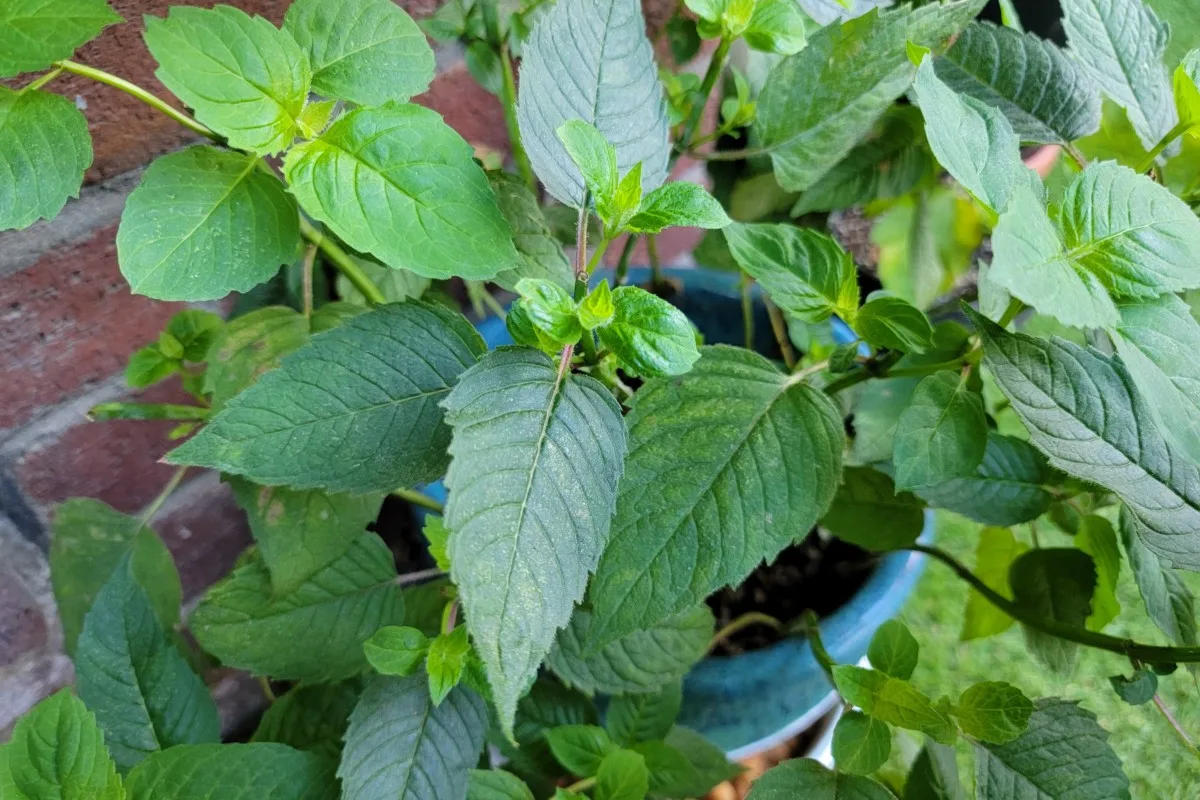
Growing bee balm in containers is nearly the same as growing it in the ground; however, you’ll have to pot it up more frequently, as it does grow quite a bit each year. Choose a nice sunny location for the container to avoid powdery mildew and always water below rather than above.
At the end of the growing season, simply trim it back and move the location somewhere sheltered outside. The plant will go dormant but will spring back to life next year.
Harvesting & Saving Bee Balm
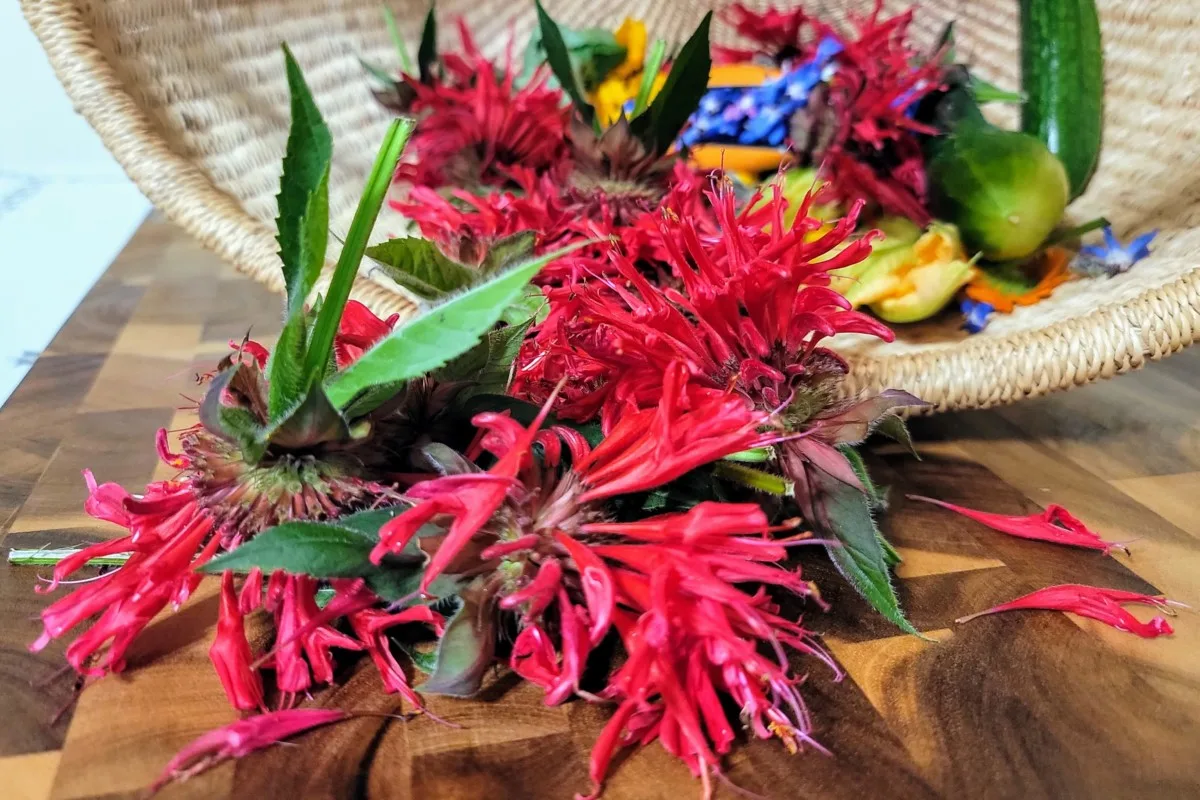
The vibrant blooms of bee balm can be picked and used for many things, from cut-flower arrangements to dried tea. Cutting the flowers will also encourage new growth in the leaves, which will grow and bloom again in late summer.
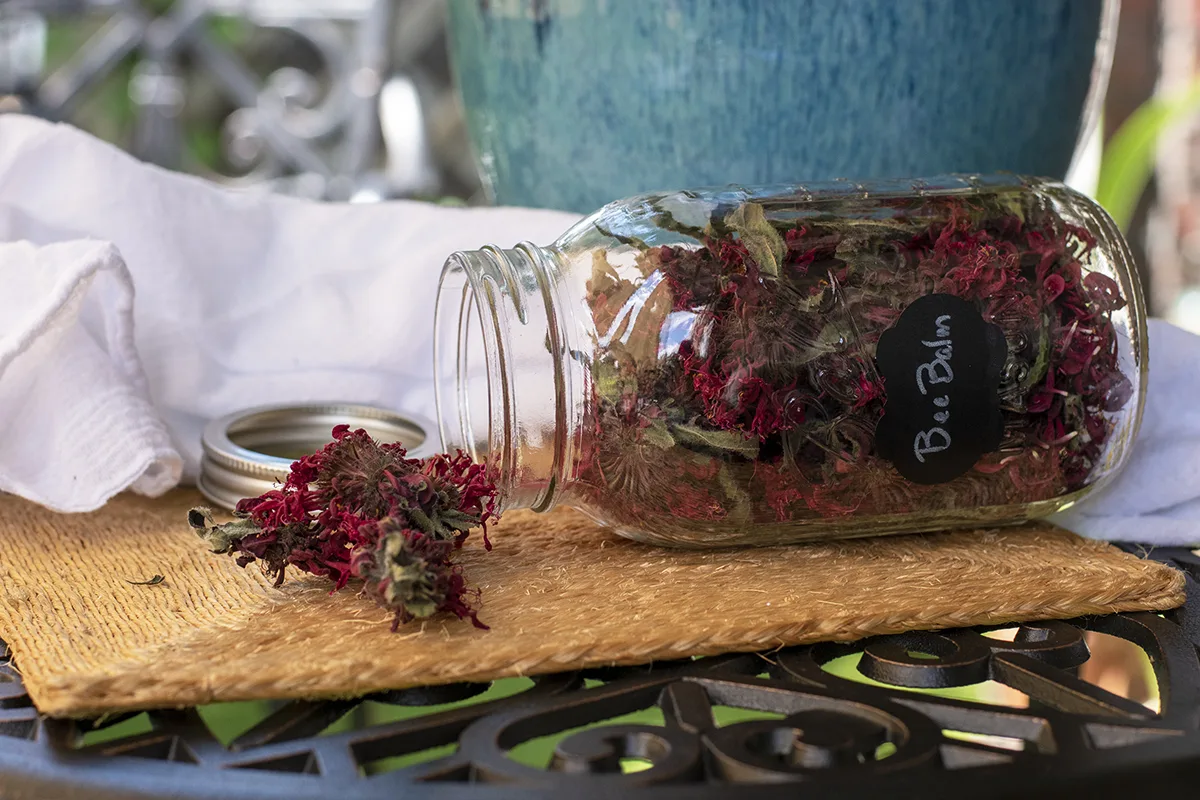
The leaves and flowers can be air-dried on a simple herb drying rack. You can also use a food dehydrator to dry them. Set the dehydrator to 100F and dry for 6-8 hours or until crispy. Store the dried bee balm in an airtight jar in a cool, dark place.
Spread the Bee Balm Love
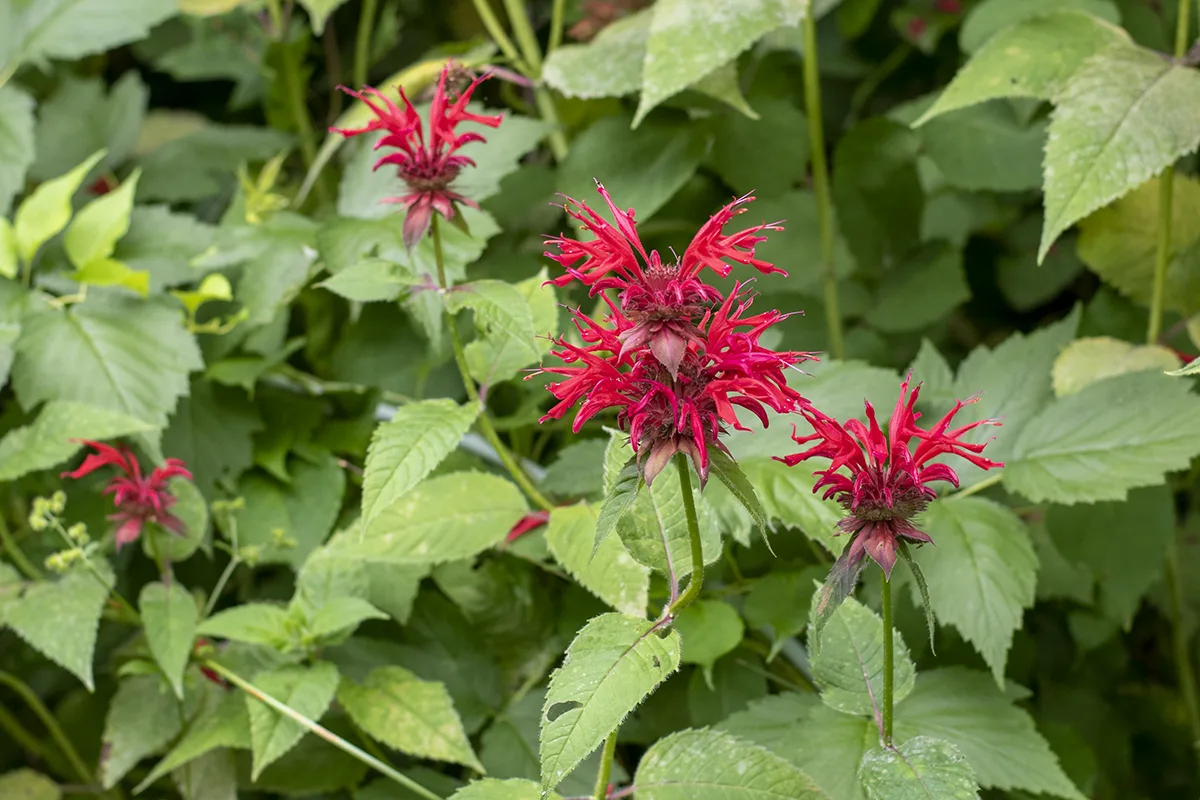
This perennial is easy to share with friends and family or spread around your yard. There are two ways to get more bee balm from your existing plants.
Division
The easiest way to get more bee balm is to divide the plants. Because bee balm is a perennial, it will continue to spread each year through its rhizomes. You can dig up portions of the plant in the spring shortly after it appears and cut the clumps apart at the base of the roots. Make sure each new clump has at least three to four new stems and a decent root system. Plant these new cuttings or wrap them in a slightly damp paper towel to give to others.
Dividing your plant every few years in this way will keep your bee balm healthy and full of blooms.
Saving Seed
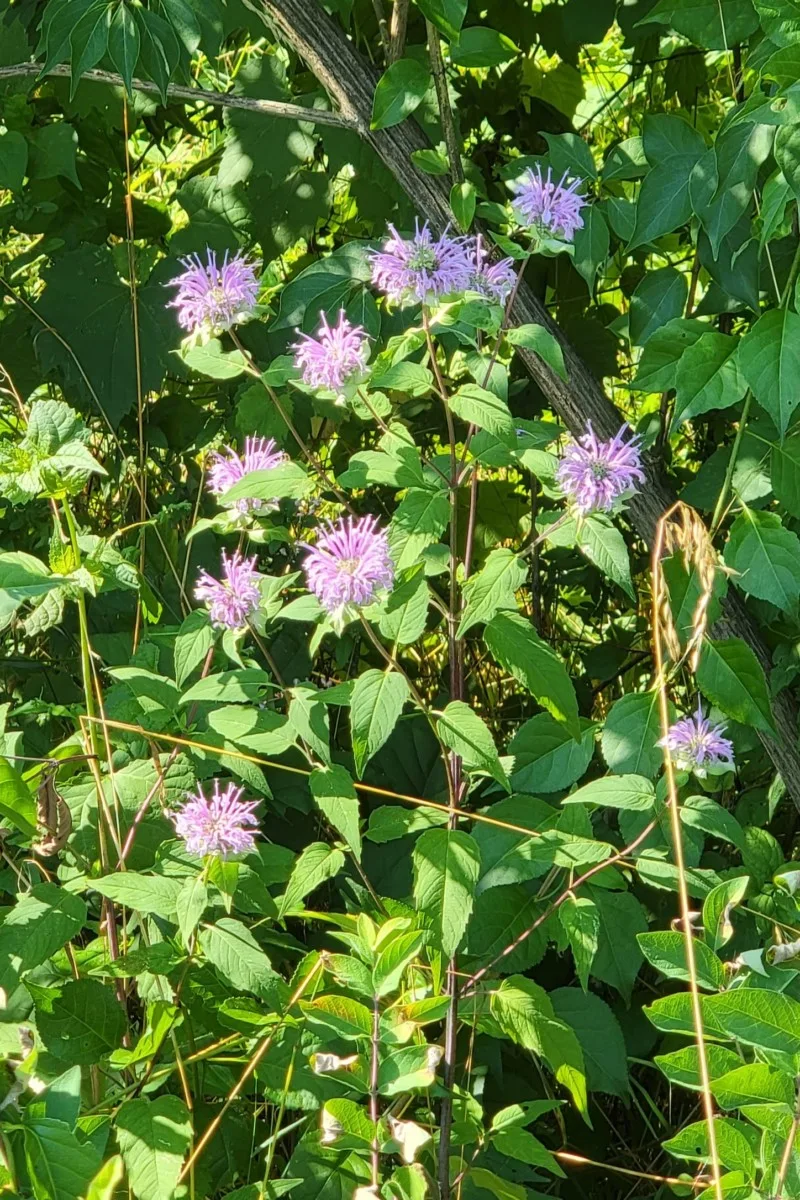
Once you have an established patch of bee balm, you can easily save the seeds to grow more and share with others. However, remember that most nursery varieties are hybrids, and the seed won’t be the same as the parent plant.
Keep an eye on the flowers, specifically when they begin to fade, and the petals drop off. You’ll be left with a brown, spiny seed head.
Snip a few of these seed heads off and store them to dry in a brown paper bag. Because the seeds are so small, they are easily and quickly dispersed by wind, rain and critters. So, collecting them as soon as the petals drop is important. Let the heads dry for a week or two, then give the bag a good shake to separate the seeds from the chaff.
Pour the mix onto a piece of parchment or wax paper and gently separate the chaff from the seeds. When most of the chaff is removed, pour your seeds into an envelope or small glass jar. Adding a little wood ash will help to preserve the seeds and keep them dry. Store the seeds in a dark, dry and cool place. Seeds should be viable for a couple of years.
What to do with Bee Balm
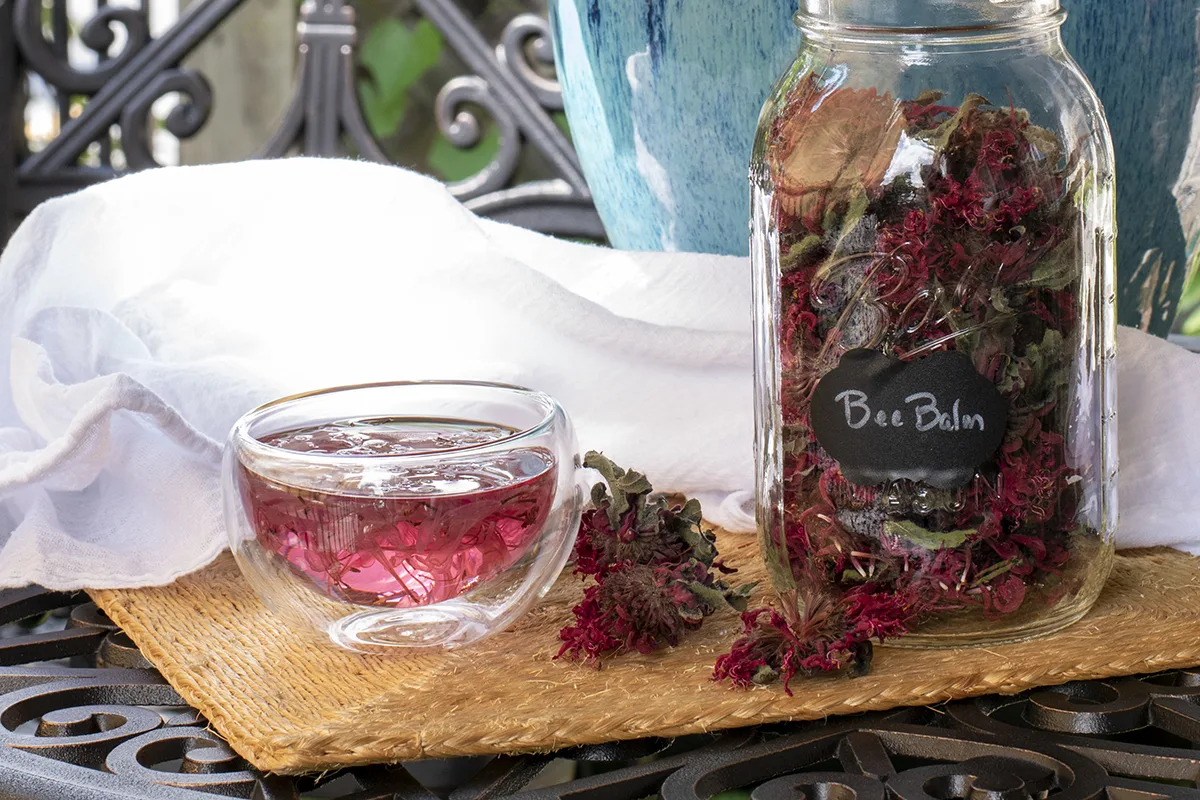
If you want to do more than smell your flowers, consider using fresh or dried bee balm to make any of these homemade treats, starting with a cup of bee balm tea.
- Bee Balm Tea
- How about a nice bee balm hand salve to soothe hardworking hands?
- Bee balm tincture can be used to help clear up a cold or aid in digestion.
- Or bake up a batch of bee balm shortbread to serve alongside your tea.

Get the famous Rural Sprout newsletter delivered to your inbox.
Including Sunday musings from our editor, Tracey, as well as “What’s Up Wednesday” our roundup of what’s in season and new article updates and alerts.

