While bees and their remarkable raw honey generally get a lot of buzzingly good press, we often lose sight of the other amazing gifts they have to offer.
Beeswax is an age-old, renewable material that will never go out of style or out of use.
You don’t need a huge amount of beeswax to work with, for example, in order to make an herbal healing salve. In some cases a mere tablespoon of melted beeswax is enough when combined with other ingredients.
The most amazing part of the hexagonal-shaped honey comb (besides the way in which beeswax is produced) is the many ways that it comes into use – in the kitchen, home and garden.
Beeswax as an eco-friendly alternative
On your journey to discovering a sustainable life, you will find at some point the many joys of using beeswax in your natural home cleaning routines, as well as in your desire to obtain chemical-free body products.
Beeswax makes for a wonderful zero-waste option (especially when arriving in unwrapped, solid form) that can be put to use in many ways that promote health in and around your home.
If you are searching for plastic-free alternatives in your life, know that beeswax has its sustainable promises and benefits which we will list below.
All of these items can be made at home with few ingredients, but first you need to obtain some quality beeswax. Either from a local beekeeper, or from a trusted source online.
Benefits of beeswax
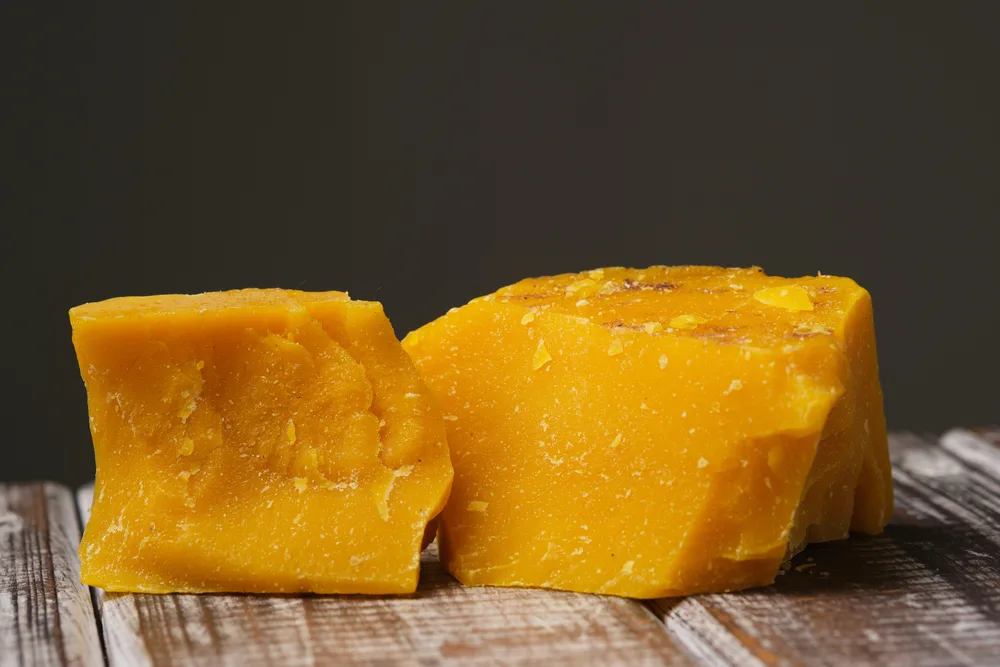
You may have already noticed by looking at pictures, or considering buying bars or pellets, that beeswax ranges in color from white to bright yellow.
The color change is dependent on pollen sources, as well as levels of refinement.
More important, however, is that using beeswax does not harm the bees – that is, if you are supporting ethical beekeepers. As with searching for any sustainable products, be sure to source your beeswax from farms where diversity and environmental ethics reign.
In the meantime, know why you are about to choose beeswax over its chemical/synthetic alternatives in the first place.
Beeswax – the world’s first plastic – is beneficial in so many ways, and not just for moisturizing your skin:
- anti-inflammatory – soothes irritated skin
- anti-bacterial
- beeswax contains vitamin A – which helps to protect the skin from UV radiation, improves healing of wounds and reduces wrinkles
- naturally free of toxins
- promotes a chemical-free, sustainable lifestyle
- beeswax hardens (or thickens) homemade cosmetics – this, in turn, makes them more shelf-stable and easier to apply
- water-repellent – a suitable feature for making beeswax wraps to replace plastic cling film
With all these beeswax benefits in mind, it is easy to see why it has been used for what feels like an eternity, in cosmetics, as a lubricant, in lost-wax casting and more.
Before you get started…
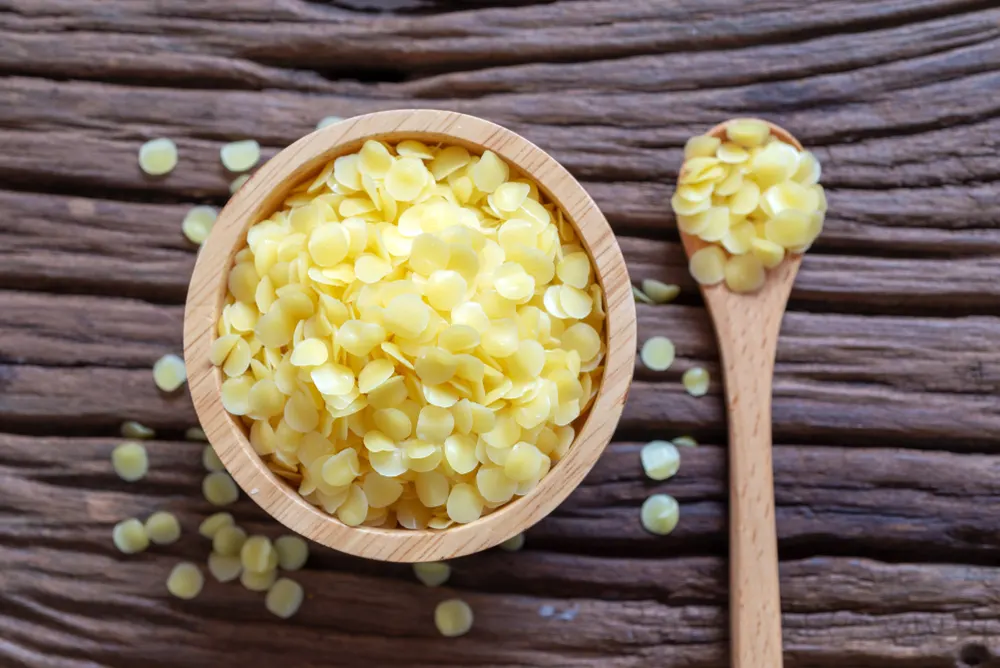
We previously mentioned that beeswax ranges in color from white to bright yellow.
The wax you purchase should reflect the project which you aim to carry out. If you are going to be making lip balm, or lipstick, it is better to stick to white beeswax. This way, your carrier color can shine through.
If you are in fact going to be dipping beeswax candles, the classic yellow beeswax will suit you just fine.
Tips for melting beeswax
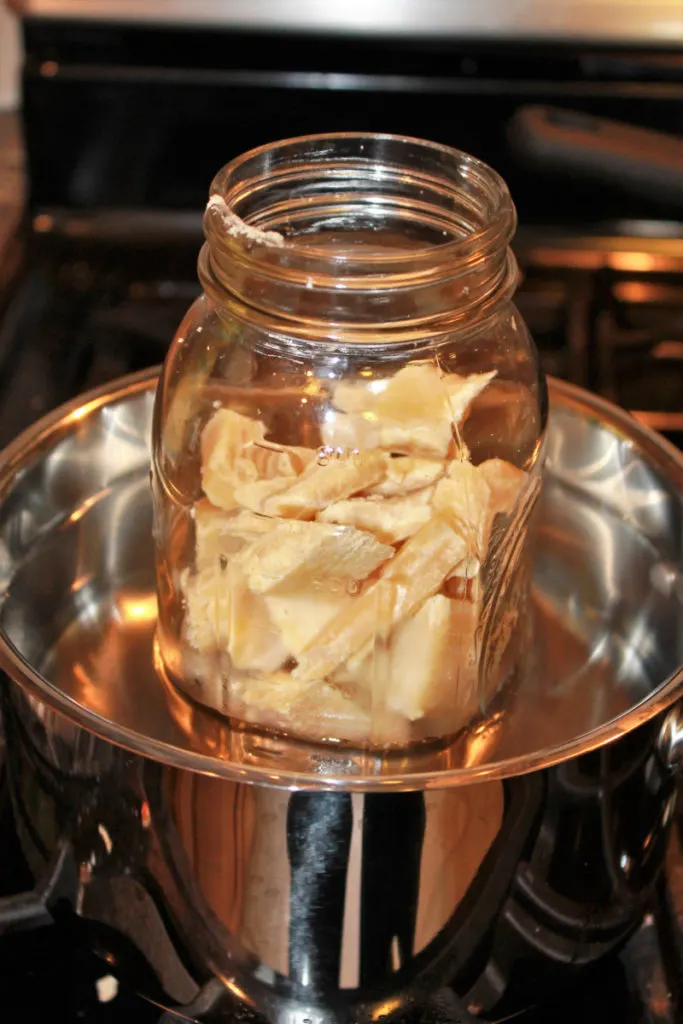
Melting beeswax requires a few tools. Choose your pots and pans carefully, as they may just remain waxy forever!
Also, be ready with a double boiler.
Beeswax has a low boiling point which comes to its advantage, particularly when making cosmetics, but you do need to watch the temperature to which the beeswax is being heated. A thermometer comes in handy for this purpose.
Beeswax has a melting point range of 62 to 64 °C (144 to 147 °F). At 85 °C (185 °F), discoloration can occur.
At 204.4 °C (400 °F), you better watch out, for this is the flash point of burning beeswax.
Slow and steady heating is the trick to turn your solid beeswax into a pourable version.
If you buy beeswax in large blocks, be forewarned that you will often need to use a sturdy grater in order to obtain the quantity you need for a particular project. To avoid this hard work, pay extra for pellets.
Uses for beeswax in the kitchen
I’ve watched videos of chefs cooking fish in hot, melted beeswax. Though we won’t be going there today.
Instead we will stick to more practical options, along with a French recipe for canelés with a beeswax and butter mold coating, because cooking with beeswax is a novelty we should all assume at least once in our lives.
1. DIY beeswax wraps
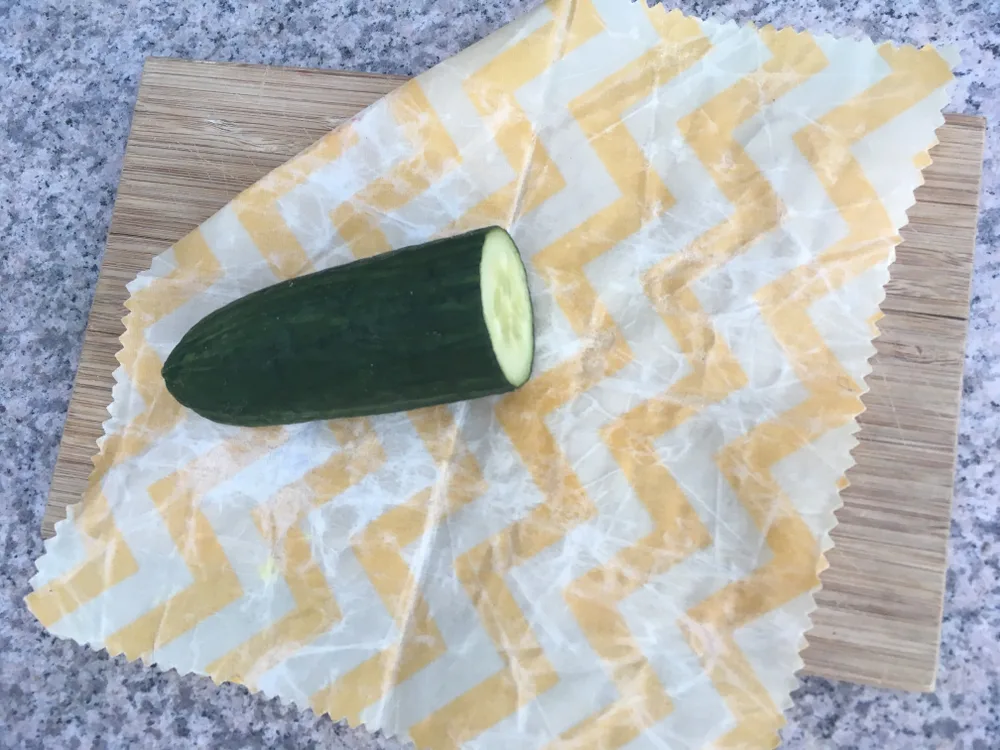
The first thing that comes to mind when thinking about beeswax (outside of aromatic candles) is beeswax wraps.
You can buy them online or make them on your own. One thing is for sure, using beeswax wraps will greatly cut down on your use of cling film and aluminum foil, helping you to become a zero-waste, or low-waste, household.
If you ask the Earth, that is a wonderful thing. Beeswax wraps are good for you, your kids and the planet. What’s not to love about that?
So, how to get started?
Grab some clean cotton fabric, preferably organic, then cut it into the sizes you need for your pots, bowls and pans.
You get to customize your wraps, so make them fit the first time around.
Order your organic beeswax pellets, pine resin and organic jojoba oil and get to work, covering your fruits, veggies, snacks and breads in eco-style.
Here are some wonderful beeswax wraps tutorials to get you started:
How to Make Beeswax Wraps (Reusable Food Wrap) @ Mommypotamus
How to Make Your Own Reusable Food Wrap @ Apartment Therapy
How to Make Reusable Beeswax Wraps @ Zero Waste Wisdom
2. Canelés
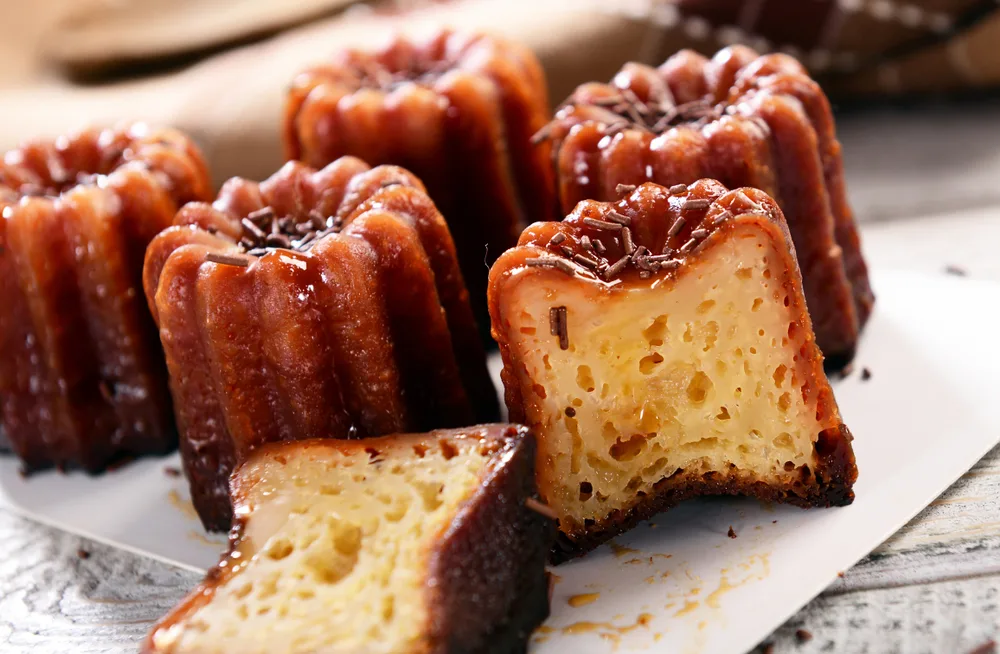
Seriously, who wants to eat fish baked in beeswax when you can munch on a beeswax coated canelé?
Not that I’ve ever had that experience, yet.
Though I’ve seen and heard beautiful things about them, how rich and scrumptious they are, about their distinct crackle as you bite into the caramelized shell, followed by sweetness of the custardy deliciousness inside.
If you have amazing kitchen skills, or are looking to develop them, perfect canelés are definitely worth a try.
3. Condition your wood cutting boards and wooden spoons with beeswax
Now, that you know how to cover your food with beeswax wraps and you are resisting the temptation to try canelés, it is the perfect time to take care of your cutting boards and essential wooden spoons. They need a little moisturizer too!
How to Make Wooden Spoon Butter @ My Frugal Home
4. Greasing your cookie sheets
With a clean block of beeswax, you can simply rub it over a clean cookie sheet to create a natural non-stick pan.
For the most even results, warm up the baking sheet/pan for a minute or two in the oven, then rub on the wax.
Alternatively, you can first melt the wax and pour it on, though it tends go on thicker – and may even drip in the oven, causing a potential kitchen disaster.
Warning: Use this option of coating your cookie sheets with discretion and care.
Even though beeswax is perfectly edible, keep in mind that the flash point of beeswax is 204.4 °C (400 °F). So you definitely shouldn’t be baking anything at those temperatures!
5. Cheese waxing
Before plastic, came beeswax.
Cheesemakers discovered early on, that a thin layer of beeswax is all that is needed to prevent the growth of undesired mold. At the same time, it allows the cheese to retain moisture while aging, adding to the flavor and complexity of the finished product.
While it may seem difficult at first (most everything is that you’ve never tried before), it is a true sustainable option for curing your cheese that does not involve paraffin.
If you are seeking enlightenment in naturally waxed cheeses, read this article before putting your plan into action:
How to Naturally Wax Cheese With Beeswax @ Reformation Acres
6. Season cast iron with beeswax
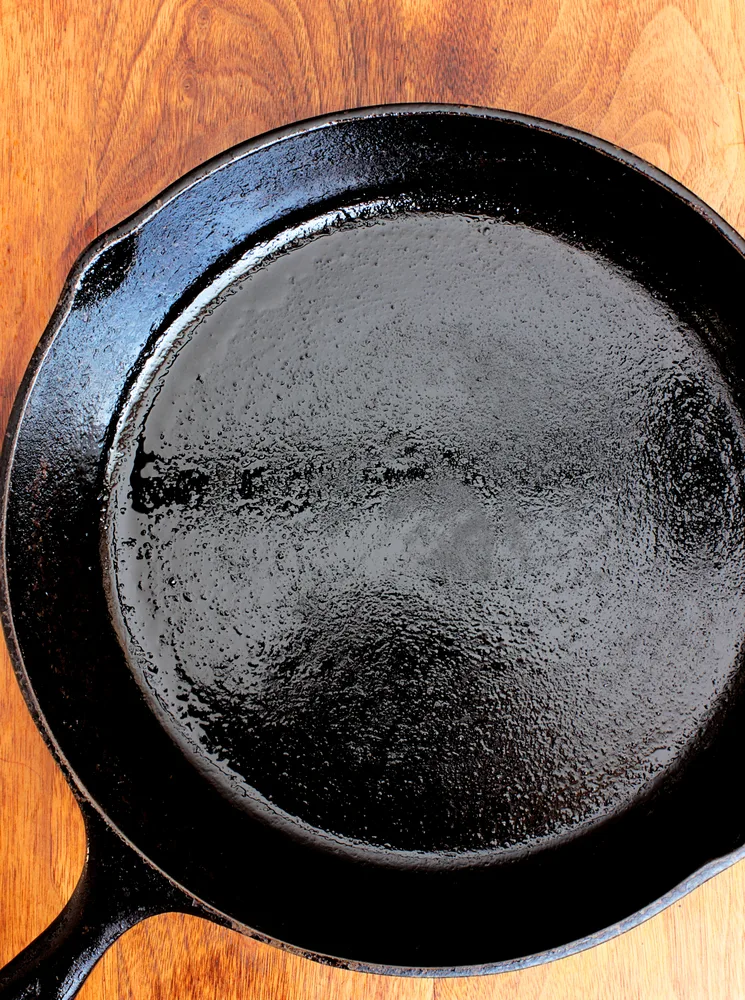
If you have a set of cast iron pans that get used regularly, they will need some extra care from time to time. Seasoning them is the key to their longevity.
But, how about when someone mistakenly introduces acidic food, like tomato sauce, to your favorite skillet? And leaves it to sit overnight. Ouch. That hurts in a way that only cast-iron users can understand.
Outside of using shortening, vegetable oil, coconut oil or home-rendered lard to season your cast iron pans, did you know that seasoning with beeswax is an option as well?
Now you know, and here is how you can try it on your own cast iron pans.
Uses for beeswax around the home and garden
Out of the kitchen and into other areas of the home, you will find that beeswax comes of even more use.
7. Natural furniture polish
I grew up with the smell of Pledge furniture polish, but let’s be honest, the harmful ingredients do not exactly fit in a toxin-free category.
In an effort to eliminate, or to reduce, the amount of chemicals in your home, you will want to dive immediately into the world of DIY cleaners.
Here are the basic ingredients you need for a naturally clean home:
- baking soda
- vinegar
- essential oils
- castile soap
- salt
- lemons
- and beeswax
Keeping your quality wood furniture in excellent condition not only requires occasional dusting, it demands polishing too.
To do that with 100% natural ingredients, is completely achievable. A homemade furniture polish with beeswax is extremely easy to make as well.
Here are the 3 (or optionally 4) ingredients needed to make an eco-friendly furniture polish that not only saves you money, it also prevents the buildup of toxic chemicals in your home and in the air:
- beeswax
- olive oil
- grapefruit seed extract
- essential oils (such as lavender, lemon or grapefruit) are optional
That’s all there is to it.
Several recipes abound, here are two to get you started:
How to Make Natural Beeswax Furniture Polish @ Lovely Greens
2 Ingredient Non-Toxic Wood Polish @ Savory Lotus (can also use it on wood cutting boards, wooden spoons, etc.)
8. Beeswax to lubricate wood
As a child I remember the wood-framed windows always getting stuck in the humid summers. Dresser drawers creaked and groaned too, swollen with the moisture in the air.
It is hard not to get frustrated with things that “stick”, yet that is the nature of wood.
One quick solution to unstick your problems, is to rub a bit of beeswax on the difficult areas, then slide them back and forth with ease, drawers and windows included
Beeswax can also be used to loosen rusted nuts, to whip frayed rope, to polish concrete counters and to waterproof leather.
Always keep a block of beeswax on hand for small DIY home repairs.
9. Beeswax for DIY repairs
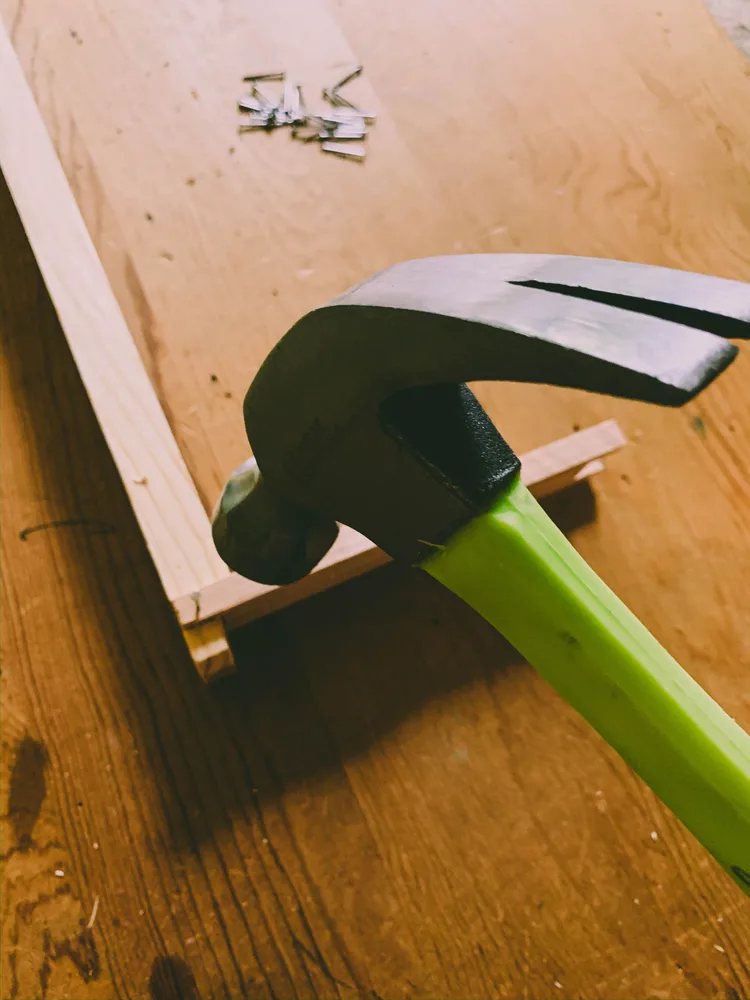
You know how wood has the tendency to splinter when you pound a nail into it?
It’s one thing while you are working outside on a fence where rustic charm has its advantages, yet if you are making repairs to a dining room chair, you won’t always want to take your chances.
By coating nails or screws with beeswax before hammering them into wood, you can complete a “job well done” the first time around.
10. Naturally waterproof your shoes
No one likes to have wet shoes, that is why we often go barefoot out in the rain! Life is just easier that way.
If you must be out in the wet grass or in your lush garden, chances are good that you want to protect your feet. Rubber boots are always an option, but it isn’t always pleasant to wear them for extended periods of time.
In that case, take some time to waterproof your shoes and hiking boots, without synthetic materials. After all, what goes on your shoes, also rubs off in the garden, and where your chickens, goats and cows graze.
How long will the waterproofing last? Not forever. Though you have to remember to reapply chemical waterproofing too…
DIY Waxed Canvas Shoes @ Instructables
11. DIY beeswax shoe polish
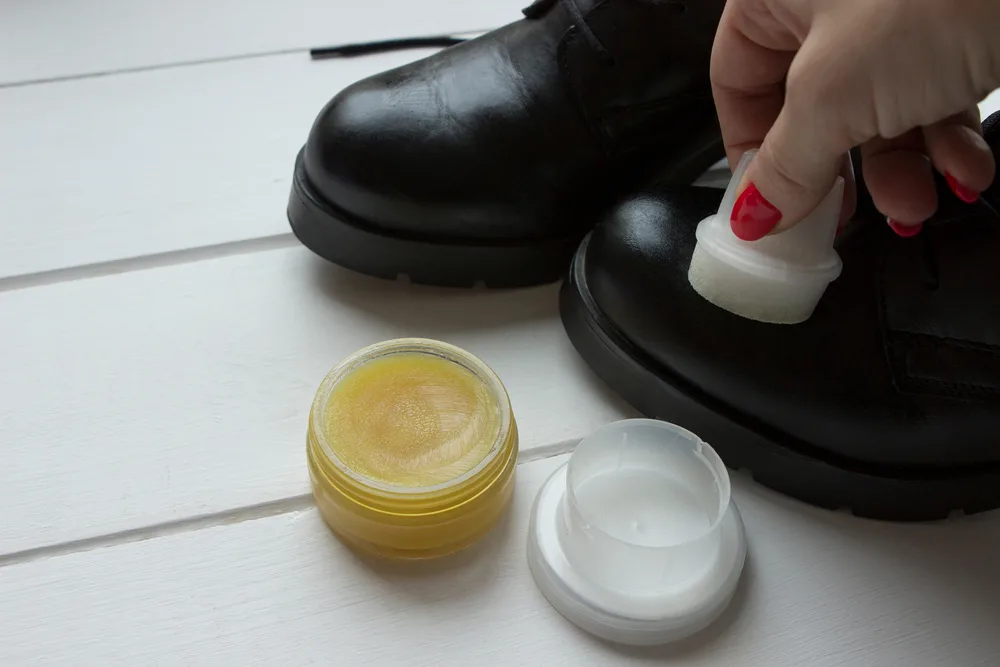
Setting the notion of waterproofing aside, how about making your leather shoes a little shinier? Without the use of a name brand shoe polish, of course.
Again, you need just a few ingredients.
- white beeswax
- olive oil
- oxide pigment powder (if adding color to your DIY shoe polish)
- a small jar or tin for storage
Here is the easiest way to make your own beeswax boot polish, to keep your shoes shiny all throughout the year.
12. Beeswax for rust prevention on garden tools
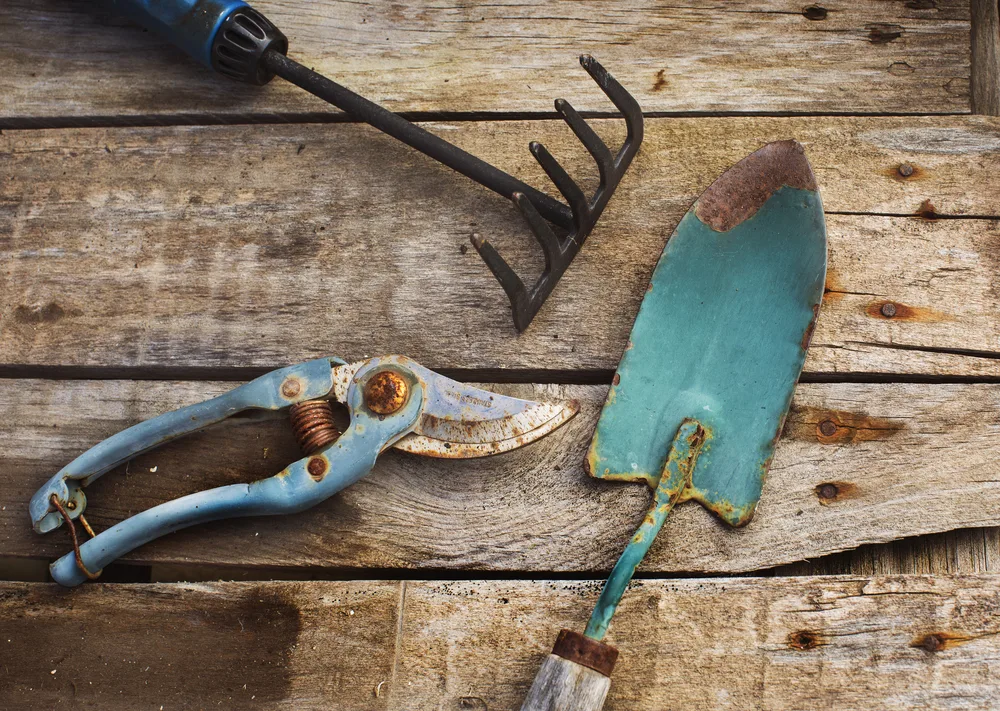
Garden tools get rusty.
While it is easy to tolerate this oxidation by just allowing it to happen, we can also take a simple action – applying beeswax – to prevent it.
One of your jobs is to prepare your garden tools before winter and to clean them before storage.
After washing and sharpening your tools, simply rub beeswax over the metal parts. You can also use it to condition the wood handles too.
13. Using beeswax when sewing
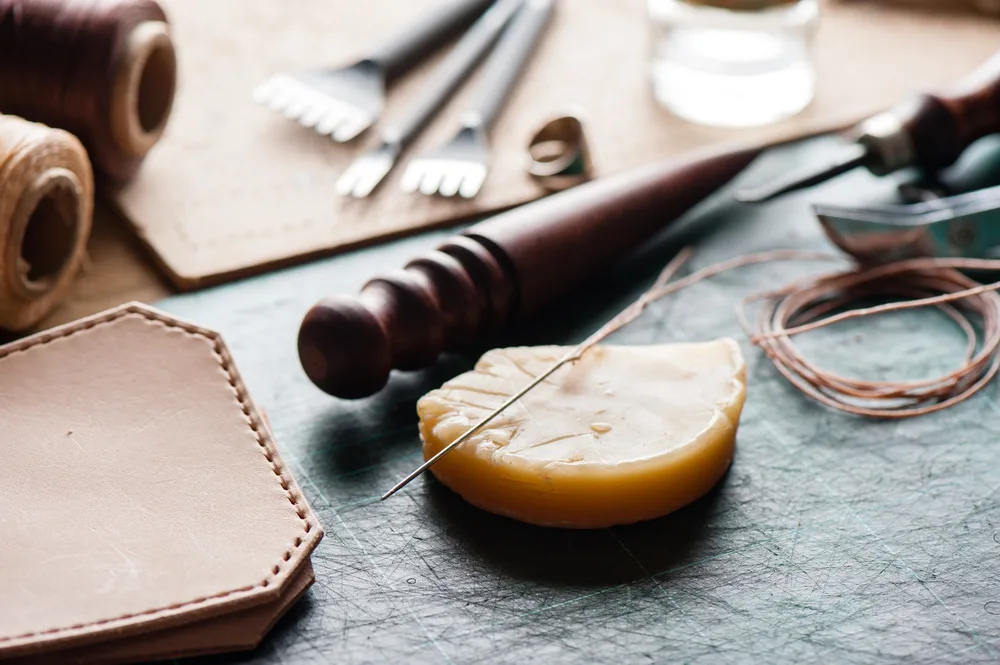
If you have ever had the joy of hand sewing leather, then you know that pulling the thread through leather multiple times causes plenty of friction. This, in turn, leads to frayed threads that break easily.
To avoid the frustration and disappointment of broken threads, it is best to run your thread along a bar of wax before sewing.
It slides easier and is less prone to breaking.
In some magical way it also helps to seal the holes with a natural waterproofing agent – beeswax.
14. Envelope seal
Handwriting may have temporarily gone out of fashion, though it can come back if (and when) enough people rediscover the joyful emotions that can be better expressed with letters written by hand, rather than typed.
Now, imagine adding a very personal touch to your letters sent by mail (not arriving to an inbox), in the form of a wax seal.
Everyone would love to receive such a gift!
In the Middle Ages, before envelopes took precedence, beeswax was the sealant material of choice – it was dyed with extracts of the European Larch. Later, beeswax was dyed red with vermilion.
Even if sealing letter with beeswax won’t make an outstanding comeback, you can still take history into your own hands and seal away!
15. Grafting wax for fruit trees
If you are planning on establishing an orchard, one of the best (and least expensive) ways to propagate fruit trees is to graft them.
Grafting wax comes into play, as you will want to protect the grafted scion from drying out.
To make your own grafting wax, you will need:
- resin
- beeswax
- tallow
Melt the appropriate amounts of all three ingredients together, then store in a repurposed jar.
How to Make a Grafting Wax Compound @ Hunker
16. Beeswax to seal your mushroom plugs
Just as with grafting trees, your mushroom plugs can also benefit from a bit of sealing with pure, melted beeswax.
The wax will protect the spawn from dying out and enhance your chances of fungi success.
Typically food-grade paraffin is used to seal mushroom plugs, though if you are avoiding synthetic materials, it is far better to use non-toxic beeswax.
Beeswax for homemade cosmetics
Take a closer look at ingredients and you will find that beeswax is used in a variety of cosmetics, ranging from lipstick to nail- and skincare products, from hair conditioners to healing salves.
Beeswax increases the thickness of oils (lipids), which gives structure to beauty products. It also has the unique ability to stiffen, but not harden – allowing for plasticity/flexibility of creams and body butters.
It comes as no surprise that you will find beeswax in many of your favorite DIY cosmetics.
As always, if you have the choice, be sure to support organic beekeeping practices and use only as much as you need.
17. Beeswax lip balm
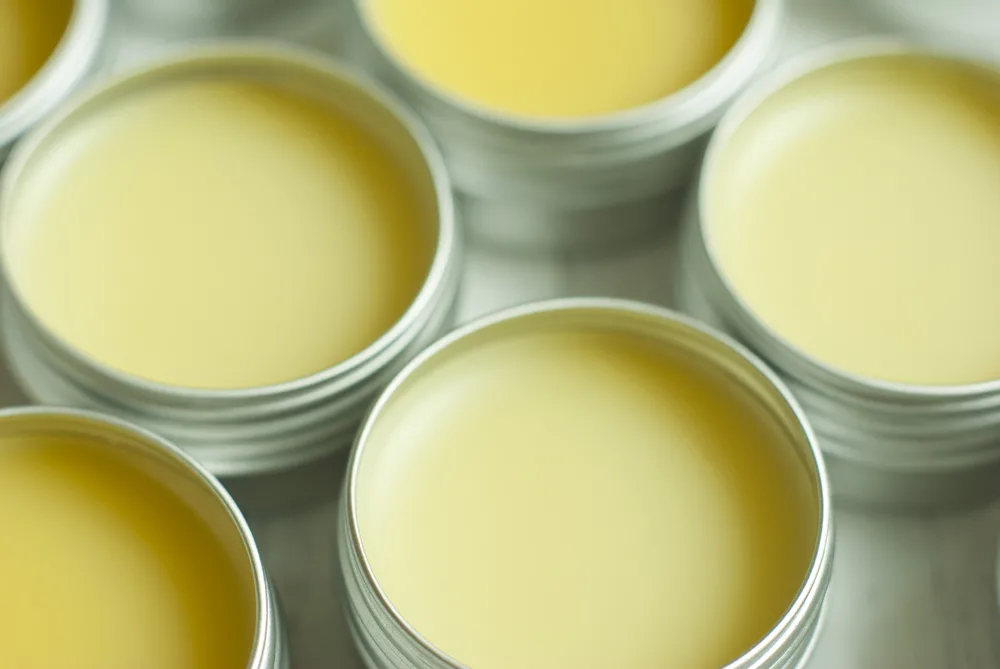
If you are going to make one item from this list of natural cosmetics containing beeswax, make it this one.
Come winter, you will be wishing you had just one reusable tube more – it makes for a beautiful and practical natural gift too!
What ingredients do you need to make beeswax lip balm happen?
- white beeswax pastilles
- shea butter
- coconut oil
- essential oils (peppermint or tangerine) – leave them out if you prefer unscented lip balm
- metal lip balm containers
Using a double boiler, melt all ingredients together, stirring in the essential oils once the pot is off the heat. Pour into tubes or containers, sit and wait until capping half an hour later.
Set them aside and resist the urge to try out your lip balm for a day or two. In the meantime, experiment with another beeswax cosmetic and see which one you like better.
Homemade Beeswax Lip Balm (All-Natural and Toxin Free!) + 5 Ingredients to Avoid in Store-Bought Lip Balm @ What Great Grandma Ate
18. Beeswax lipstick
If you are into wearing lipstick, something with a pop of natural color, it is no harder than making lip balm.
The same 3 ingredients apply: beeswax pastilles, shea butter and coconut oil.
Now all you need to do is decide on the color. Organic cocoa powder creates brown and tan hues. For reds, choose beet powder or a natural red food coloring without additives.
How to Make Homemade Lipstick @ Wellness Mama
DIY Lipstick Made With Essential Oils @ Natural Living Family
19. Beeswax eyeliner
Have you ever taken the time to read the ingredients in your favorite eyeliner? There is some scary stuff in there!
That alone should give you good reason to seek out natural alternatives. After all, we are talking about makeup that is applied right next to the eyes. Especially if you are avoiding chemicals, for health or allergy reasons, it is good to know that it is easy to make your own.
To achieve a deep black color, all you need is activated charcoal, along with beeswax, coconut oil and distilled water.
Learn How to Make Your Own Natural Eyeliner @ DIY Natural
20. Beeswax body butter
As you work outside in the garden, or accomplish other homesteading tasks day after day, the weather and the hard work can take a toll on your skin.
Of course, it is of utmost importance to stay hydrated under the summer sun with refreshing drinks, switchel being one of them.
In winter, it is the cold and the wind that drys our skin out.
The DIY remedy is simple. A nourishing body butter with beeswax, which also happens to be a wonderful alternative to lotion.
In case you are new to using body butter and wonder what is the difference between that and lotion, here is the quick answer: lotion is made with water and oil, while body butter has a thicker consistency being made from oils alone.
Without water, it can last far longer than lotions, making it an essential item in your natural medicine cabinet.
Lavender Honey Scented Body Butter @ Keeping Backyard Bees
21. Beeswax pomade
If you have short hair, or a fantastic style that takes maintenance, pomade may just be the thing you are looking for to hold down those flyaway hairs as you add a little texture to your coiffure.
It is completely chemical-free with just 4 ingredients:
- organic beeswax
- shea butter
- jojoba oil
- essential oils
Just about anything goes as far as fragrances are concerned.
Peppermint, rosemary, clary sage, patchouli, lime, chamomile, lemongrass, sandalwood – you get to choose your favorite essential oils or blends.
Here is a recipe that both men and women can share:
DIY Hair Pomade (Sculpting Wax) @ Mommypotamus
22. Hard lotion bars
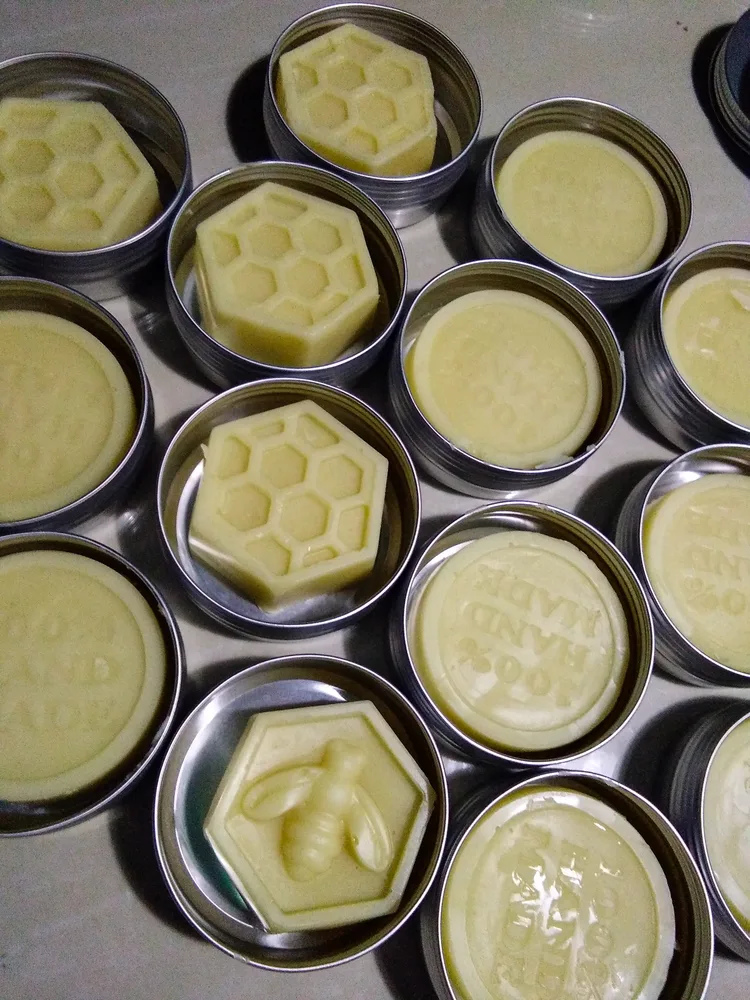
If your hands (feet or knees!) tend to get dry and cracked, it is about time for you to try a handmade lotion bar.
It is the absolute best replacement for petroleum jelly – just in case you were looking for one.
With the following recipe, you will see that it follows along with the ingredients of other DIY cosmetics: beeswax, cocoa butter or shea butter, and coconut oil or olive oil.
It is a common trio – make sure you always have those common natural ingredients on hand, for you never know which recipe you’ll want to try next.
Lotion Bar Recipe – Easy To Make With Just 3 Ingredients! @ Common Sense Home
23. Beeswax bug bite and sting balm
You can try everything in your power to repel mosquitoes, from making non-toxic mosquito luminaries to planting certain herbs such as marigolds, geraniums and pennyroyal around your outdoor spaces.
Yet, sometimes there is no way to avoid getting bit by mosquitoes and other flying insects.
Rather than itching that bite, however, you should embrace something more gentle and soothing, which also happens to be all natural and suitable for kids too.
Just be sure to have some calendula oil ready and waiting before the biting-season descends from the sky.
How to Make a Super Soothing Bug Bite Balm @ Hello Glow
24. Mustache wax
For all the men out there newly sporting a beard or a mustache, it is wise to know that you can maintain that natural look with all natural ingredients.
Forget about the expensive solutions from the hairdresser. All it takes is equal parts of beeswax and coconut oil, heated up together in the same pot. Pour it into a small container and let it cool. Now you are ready to tame your wild side, working a little bit of the beeswax mustache wax into your hair and combing it for your desired look.
For bearded and mustached men only:
DIY Mustache Wax Recipe @ Beardoholic
25. Beeswax scar salve
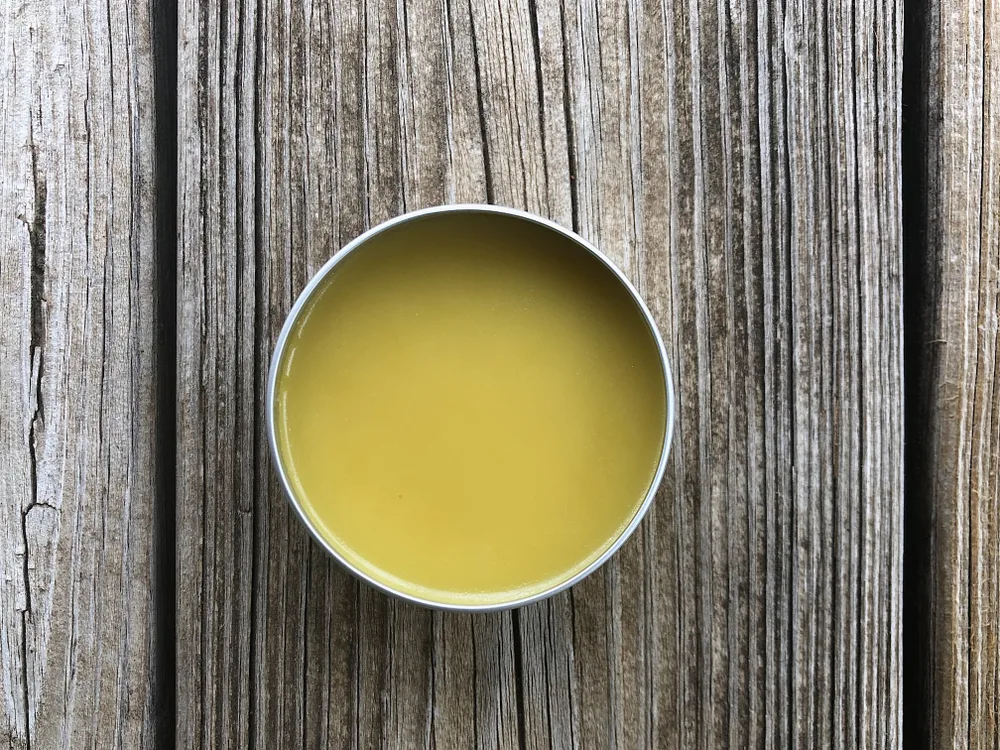
Homesteading, gardening and raising small animals all come with minor cuts, scrapes and bruises from time to time.
It is also important to heal quickly and get on with your chores.
Learning how to use herbs, is one of the best ways to nurture yourself as you develop an affinity for the land and the diversity of medicinal plants on it.
The recipe we are about to share uses healing herbs that you may even grow in your garden, as well as wild herbs that can be foraged for in your own backyard:
- calendula
- plantain
- lavender
- German chamomile
Mix these herbs with olive oil, coconut oil, beeswax, essential oils and vitamin E, and you can gift yourself a small pot of healing cream.
Nourishing Homemade Skin Salve @ Academy of Culinary Nutrition
26. Paw Wax
Four-legged creatures deserve some all natural pampering from time to time too.
Think about it.
Animals go about their daily lives without shoes, walking on hot pavement, stepping on rough rocks or playing in the snow.
How would your feet feel after a day, or several weeks in a row, without socks and shoes? Probably a tad rough and a little tender.
Here is how you can help take care of paws too:
How to Make an All-Natural Protective Paw Wax for Dogs & Cats @ Frugally Sustainable
Getting crafty with beeswax
If you have been thinking of using beeswax more for crafty purposes, rather than for luscious lotions or practical uses, here are six ways to start stretching your imagination.
27. Beeswax crayons
So far, there haven’t been too many options involving beeswax for kids. Not as if adults should get to have all the fun!
How about some all-natural crayons without paraffin or artificial colors to create works of art?
With natural pigments (of vegetable or earth origin) us adults could be entertained for hours as well. Plus, they make for an all-around, eco-friendly gift.
Here is how you can make your own:
Beeswax Crayons and Pastels @ Keeping Backyard Bees
28. DIY beeswax modeling clay
On warm summer days we head down to the creek to harvest clay directly from the creek bed. It is always fun to play with, but the color is always the same bluish grey.
It is better suited for natural building or making a clay oven, not so great for modeling.
A good alternative is to make your own beeswax clay with wax, olive oil and lanolin. Of course, you can color it as you like.
How to Make Modeling Beeswax @ Crafting a Green World
29. Beeswax pinecone fire starters
If crafty and practical is your thing (it is definitely mine!) you might want to make some beeswax pinecone fire starters for the winter months. They make starting the fire less of a chore and more of an event.
Pinecone fire starters are super easy to make and they just so happen to be incredibly beautiful too.
30. Beeswax ornaments
Once you have your beeswax melted for making candles, you may as well make some ornaments to remind you of summer days gone by – or winter holidays to come.
With a series of clay molds, you can quickly make as many beeswax ornaments as you need, with plenty to spare for gifts.
DIY Beeswax Ornaments @ Carolina Honeybees
31. Beeswax bowls
While hand-dipped beeswax candles are necessary to have around, in case of a power outage, or the need for a candlelight dinner, beeswax bowls are a simple luxury.
If you happen to have dried flowers, they will be even more special. Without going into details, here is the tutorial you didn’t even know you were searching for:
How to Make Beeswax Bowls @ Empress of Dirt
32. Beeswax coated autumn leaves
Last year we coated colorful leaves in beeswax from our pear tree, in fall, with the intention to hang them in the window. Instead they sat in the windowsill among other items collected from nature for an undetermined amount of time. It just felt right, and it smelled wonderful too.
Hand dipping leaves is a simple way to extend the beauty of autumn, preserving the shapes and colors for years to comes.
33. Beeswax candles
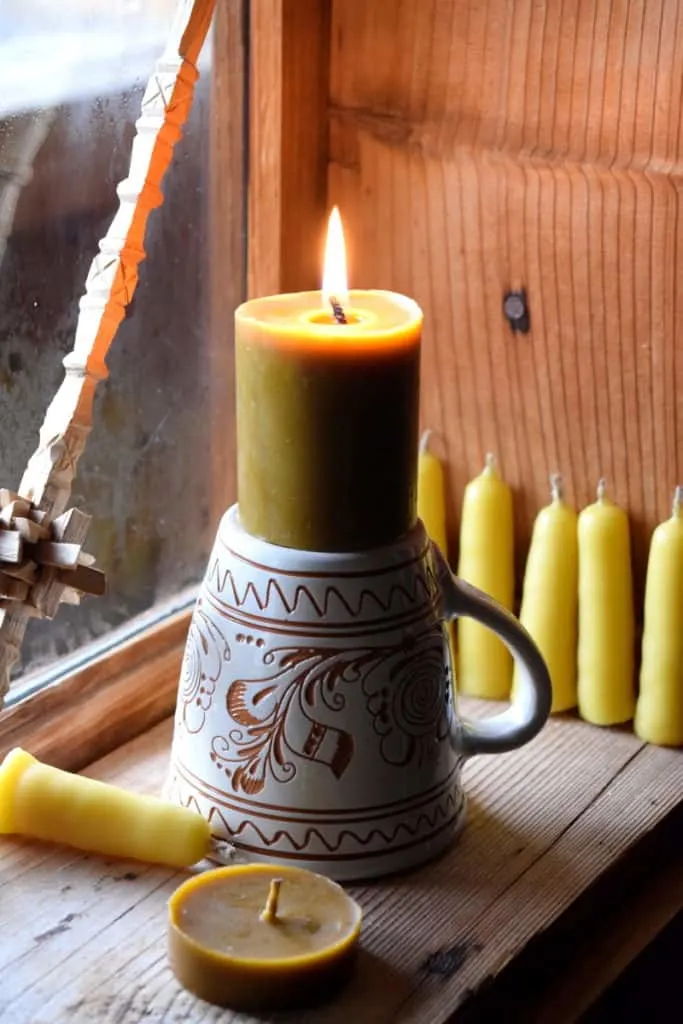
This list promised to “go beyond beeswax candles” and we have, but you can’t have a uses for beeswax list without mentioning beeswax candles.
Take a look at our hand dipped beeswax candle tutorial here.
How many of these uses for beeswax have you tried? What will you experiment with next?

Get the famous Rural Sprout newsletter delivered to your inbox.
Including Sunday musings from our editor, Tracey, as well as “What’s Up Wednesday” our roundup of what’s in season and new article updates and alerts.


