You want the best garden soil possible, and sometimes that means using a little creativity when it comes to sourcing soil amendments.
If you’ve been questioning how to use bone meal in the garden, then it’s time to learn whether this substance can help you grow healthier, more productive plants.
Let’s look at the pros and cons of bone meal so you can decide whether it makes sense for your growing strategy.
What is Bone Meal?
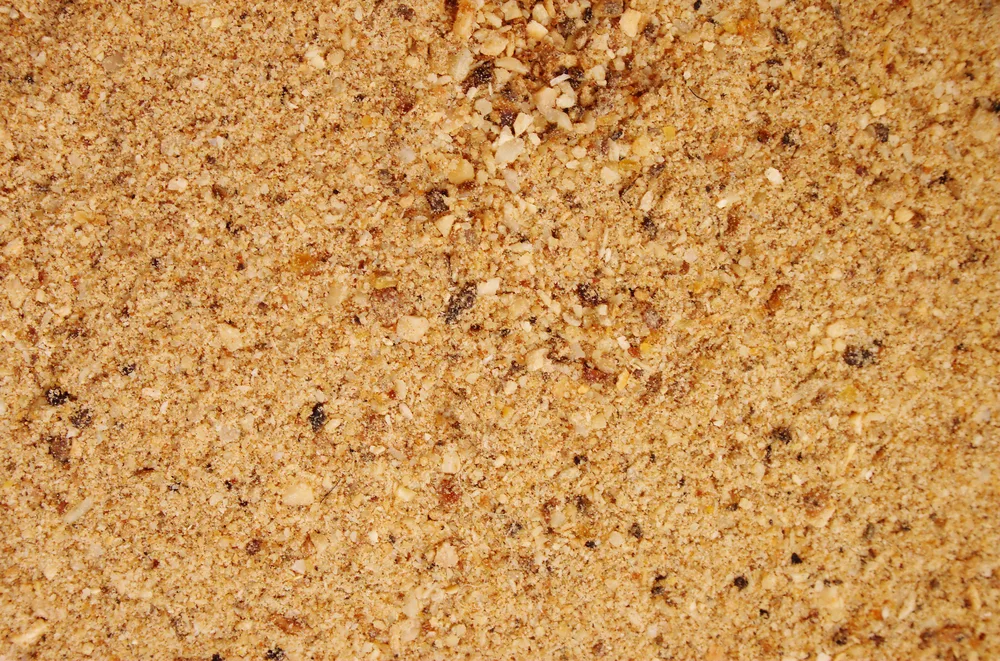
As the name implies, bone meal is a fine powder made from animal bones that have been boiled or steamed, then pulverized. The resulting powder is rich in nutrients, which makes it an excellent garden fertilizer.
Most commercially available bone meal comes from beef cattle, though any bone will work.
While this sounds like a foolproof strategy for better plants, not all soil will benefit from bone meal.
Learning the facts about when it’s useful (and when you’re better off avoiding it) might make all the difference in your garden this year.
7 Benefits of Using Bone Meal in the Garden
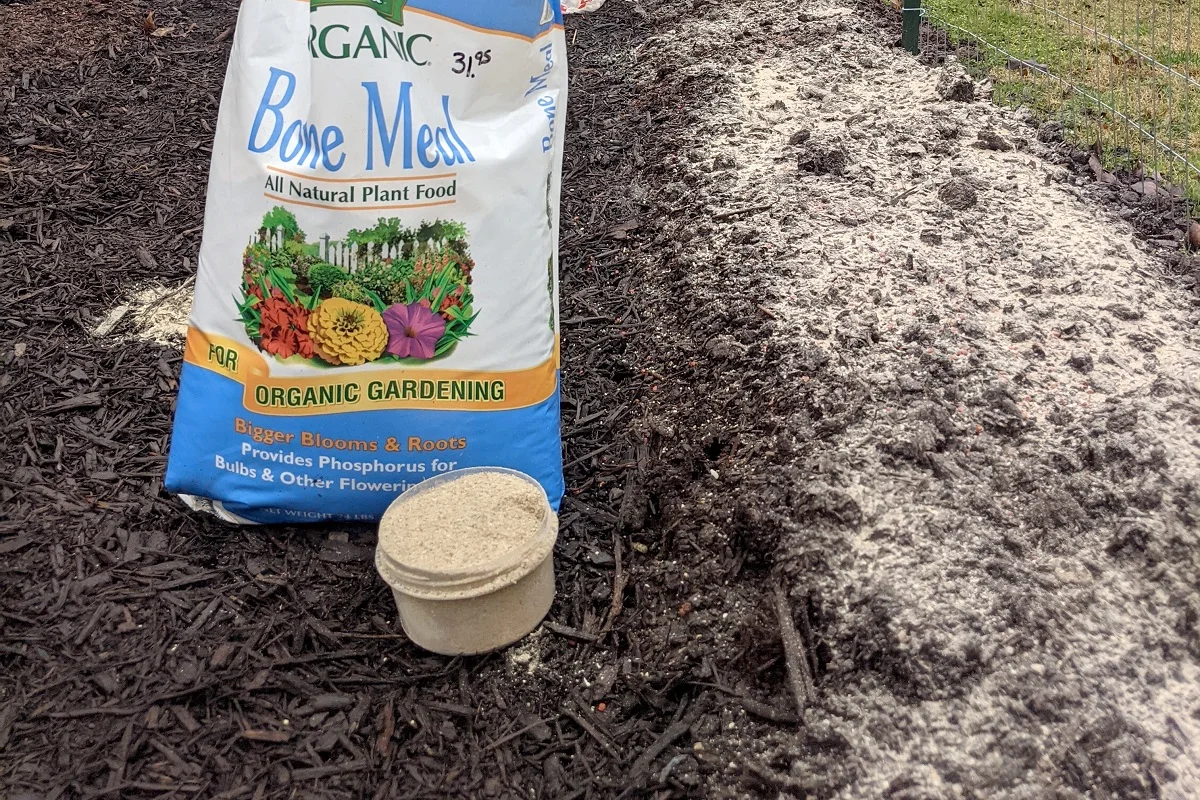
There’s a lot to like about bone meal in the garden. Below are some of the most significant benefits for your plants and soil.
1. Great Source of Phosphorus
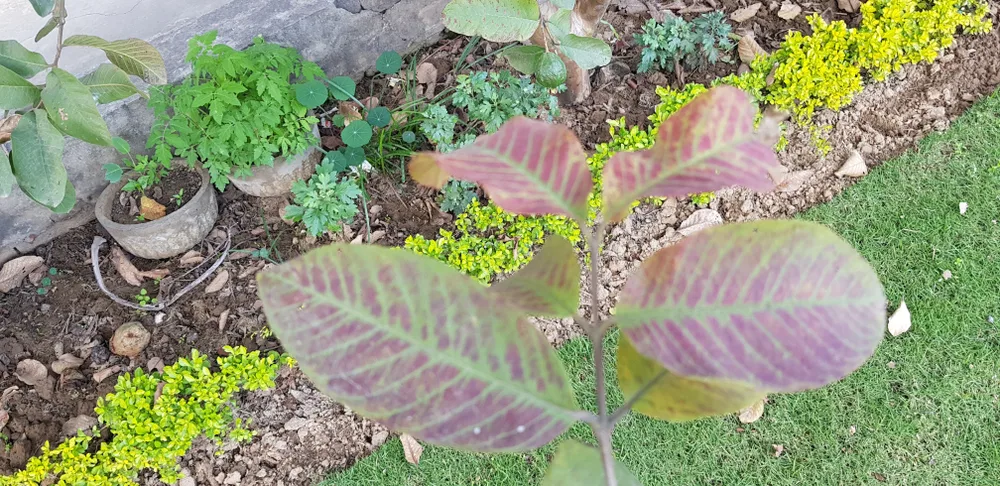
Most people who add bone meal to their soil do so to boost the levels of this critical nutrient. Bone meal is approximately 15% phosphorus, and it comes in a form that’s especially easy for plants to utilize.
This benefits root growth, cell division, seed growth, and prevents your plants from becoming stunted.
Beyond using a soil test, you can tell whether your plants need phosphorus by their coloring around the stems. Purple is an indication of deficiency.
2. Contains Calcium
Calcium is an essential component of healthy bones, which means that bone meal contains plenty for the benefit of your plants.
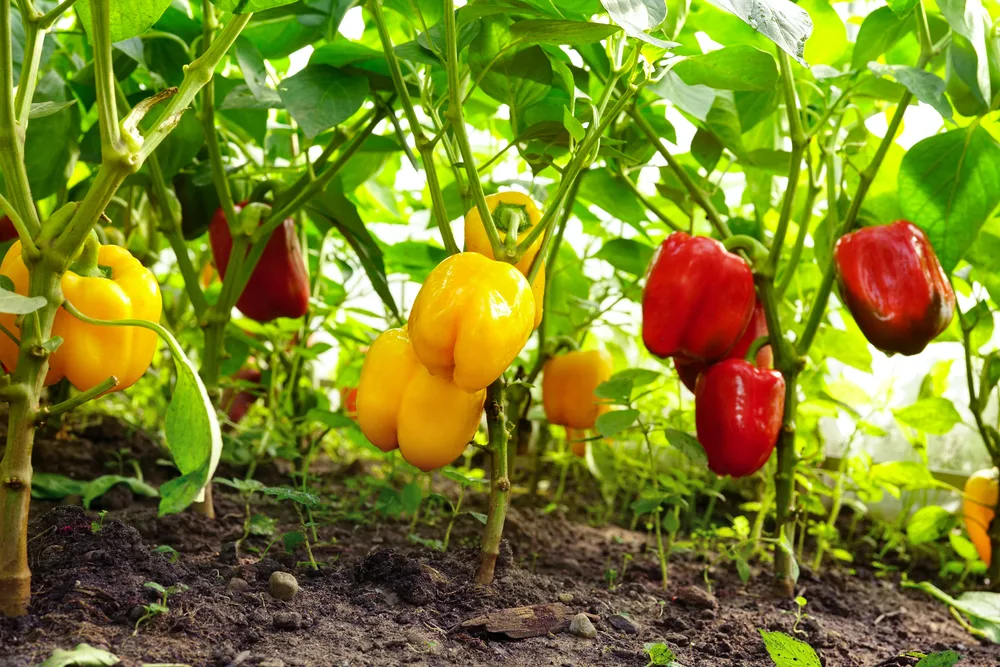
Adding calcium to your garden through bone meal and other forms can give you better tomato, zucchini, and pepper yields by preventing blossom end rot.
This critical mineral also promotes new growth in roots and stems to keep your plants healthy for the full growing season.
3. May Contain Nitrogen
Natural bone meal contains only trace amounts of nitrogen, usually about 0.7 to 4 percent. However, if you buy pre-made bone meal, it’s likely to have nitrogen added to it.
This gives your plants a nutritional boost from a well-rounded soil amendment.
4. Balances Out Other Amendments
Most common garden amendments like compost and manure are high in nitrogen but low in other critical nutrients like potassium or phosphorus.
Adding bone meal to the soil balances out these inequalities without you overpowering your soil with any one compound.
5. Suitable for Organic Growing
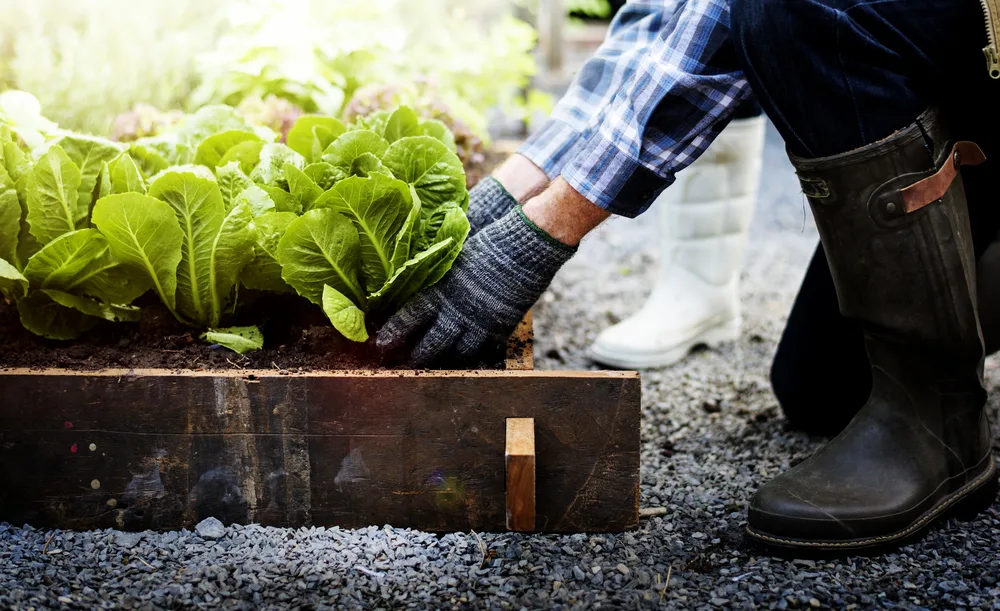
Bone meal is an exceptional garden amendment from an organic gardening perspective. That’s because it improves the soil structure by increasing the concentration of beneficial soil microbes.
These microbes, in turn, make soil nutrients more accessible to plant roots, which in turn leads to faster growth, a better root system, and fewer days to maturity.
6. Acts as a Slow Release Fertilizer
Bone meal takes a long time to break down, which means it gives your plants consistent access to phosphorus throughout the growing season.
This means you can apply it once and get it off your mind until you begin next year’s garden.
7. Boosts Health of Flowering Plants

Plants need phosphorus to flower, which is why gardeners commonly use bone meal for ornamentals like roses and bulbs.
An infusion around the plant’s base early in the growing season should lead to bigger, more plentiful blooms, and it also helps onions form bulbs.
Some gardeners also apply bone meal to the base of their plants just as they are blossoming to help them set fruit.
Are there Any Bone Meal Cons?
That’s not to say that bone meal is the perfect soil amendment.
Not all soil types will benefit from it, as a facts sheet from Colorado State University showed that the phosphorus it contains only benefits plants that grow in a pH level below 7.0.
This means you might be wasting your time if you use bone meal without taking a soil test first.
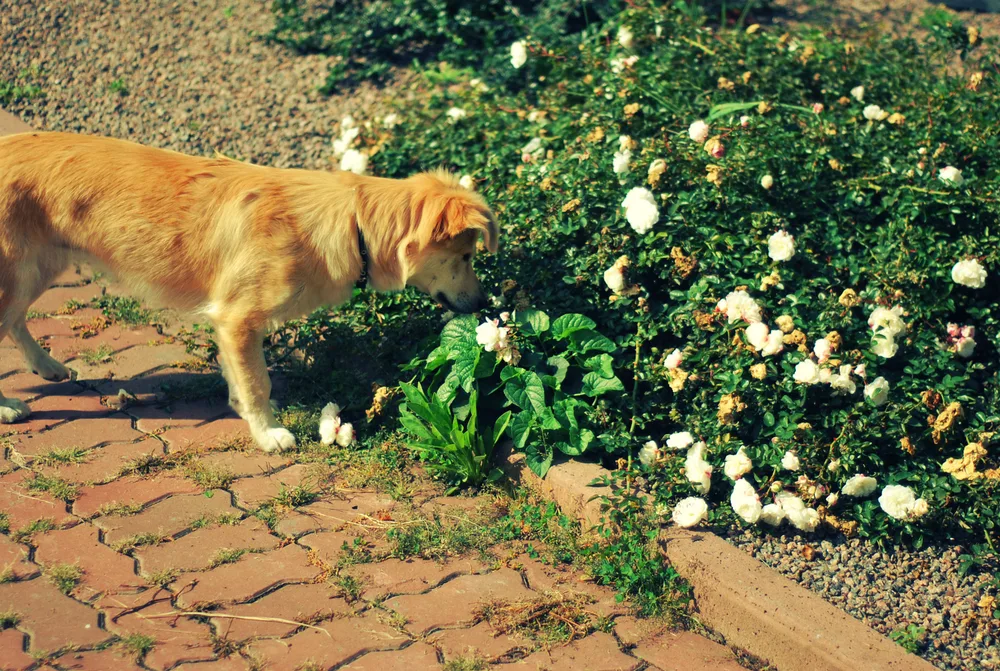
Likewise, using bone meal in the garden brings up some safety concerns for kids and pets if they ingest it. In fact, the ASPCA reports that pets getting sick from ingesting garden products is one of the top ten emergencies reported to Pet Poison Control.
Dogs are often attracted to the animal scent of bone meal, but if they consume too much, it can create a cement-like ball in their bellies that may block digestion.
The best way to keep everyone safe is to thoroughly blend the bone meal into the soil, so it doesn’t clump and secure any extra far away from kids and canines.
There’s another reason to ensure you use bone meal correctly—too much rain can cause this phosphorous-rich fertilizer to run into water systems and trigger an algae bloom.
The good news is that the risk is low when you use natural bone meal because it doesn’t leach like other kinds of fertilizer, but it’s still worth monitoring your use.
Finally, because of bone meal’s connection with beef cattle, some people question whether it’s possible to get Mad Cow Disease (Bovine spongiform encephalopathy) from touching the powder.
Thankfully, the odds of this happening are slim to none because all commercially-available bone meal undergoes rigorous testing before processing.
Any animal infected with Mad Cow would never make it through.
Should You Add Bone Meal To Your Garden?
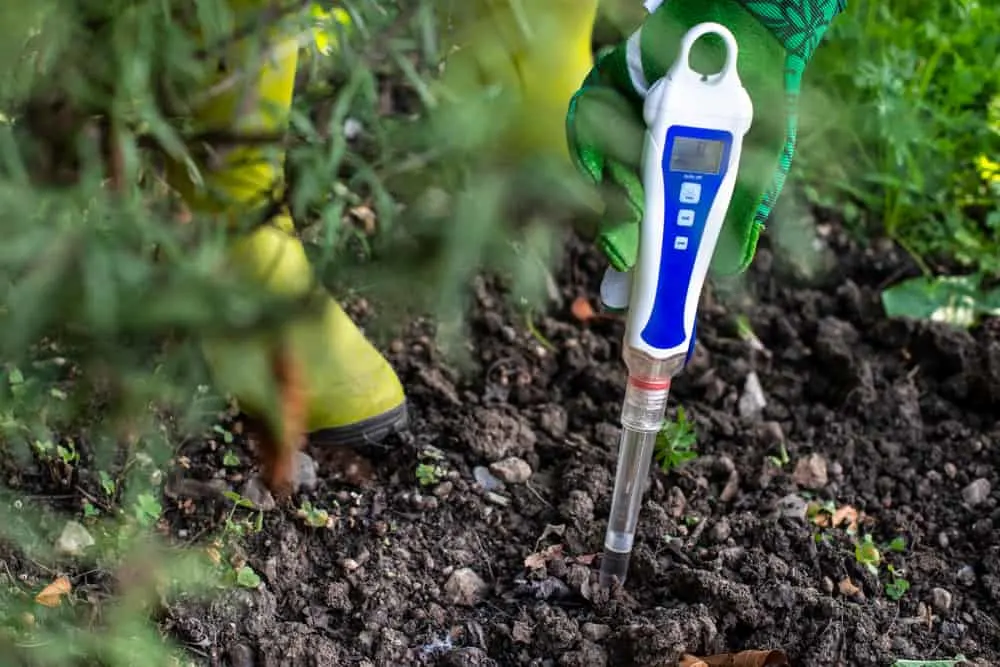
Before reaching for a bag of bone meal, you’ll need to determine whether your soil needs it in the first place.
The first step is to conduct a soil test.
This will show you your garden’s current phosphorus levels. Compare that information to the recommended phosphorous levels for your preferred vegetables, and you’ll see whether you need to make up the difference.
For example, potatoes are heavy phosphorus feeders while leafy greens and nitrogen-fixing plants like legumes need much more nitrogen.
As a general rule, sandy soil requires more phosphorus than loam or clay does.
It’s best not to guess whether your soil needs phosphorus, as too much can lead to problems. For instance, excess phosphorus might impair chlorophyll production, which leads to yellowing leaves.
How to Use Bone Meal In the Garden
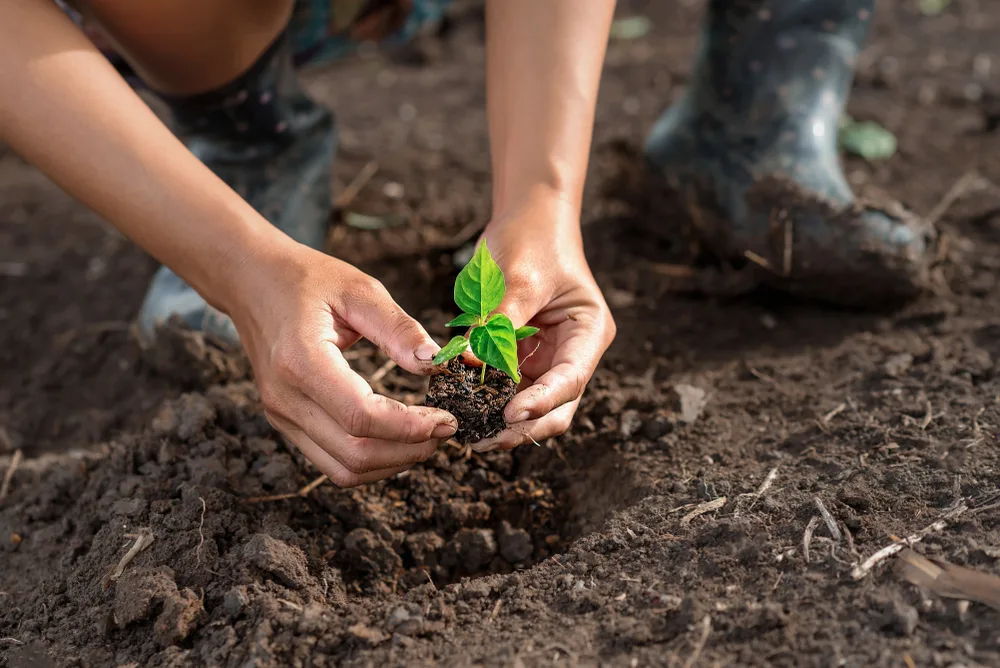
If you’ve done your due diligence and determined your soil can benefit from bone meal, then it’s time to learn to apply it.
If you want to use it within your entire garden, the general guideline is 10 pounds per hundred feet of soil or one tablespoon per planting hole for transplants.
Alternatively, add ½ cup per cubic foot of potting soil or apply one pound per inches of trunk diameter for trees, spread evenly from the trunk.
Keep in mind that your requirements might be different, so you’ll need to look at your soil test results carefully.
As you apply the bone meal, take care to thoroughly mix it in your soil rather than top dressing it. This dilutes the scent so that you’re less likely to attract scavengers that may otherwise dig up your garden beds.
Once applied, bone meal breaks down in the soil for approximately four months. This creates a consistent food supply for the soil microbes that benefit your plants.
Refrain from reapplying during that period so that you don’t over-concentrate it.
Bonus: How to Make Your Own Bone Meal Fertilizer
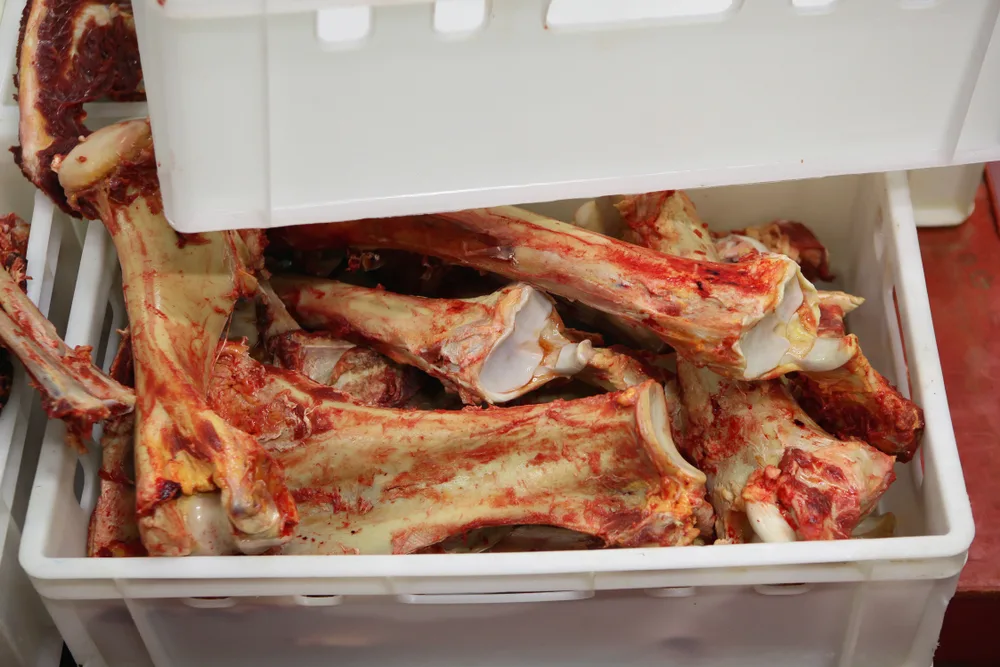
While it’s possible to buy high-quality bone meal, many homesteaders find value from making their own.
Homemade bone meal lets you put one more part of your livestock to use after eating them and potentially uses their pelts or hide.
Likewise, making homemade bone meal gives you complete control over the origins of every ingredient, so you don’t need to question what’s winding up in your soil.
To start, you’ll need to choose your bone type. Beef bones work best because of their density (it takes a lot of strength to keep a cow upright!), but turkey, chicken, and pork bones will also work.
It’s best to start stockpiling bones in the freezer so that you have a ready supply when it’s time to make bone meal.
Once you’ve amassed enough bones, the first step is to soften them through boiling. Using electric pressure cookers like the Instant Pot is an excellent way to make homemade bone meal.
They create ultra-soft bones that can be smushed between your fingers, which is excellent news for the blades on your food processor!
Best of all, you can first follow a recipe for instant pot bone broth so that you get double the benefit from your bones.
As soon as your broth is finished and the bones are softened up, drain them by squeezing the fragments through cheesecloth and add them to the bowl of a food processor.
Pulse it until the bones are fragmented into roughly equal-sized pieces. The smaller the better, as small pieces will dry out faster.
Next, thinly spread the mixture onto the sheets of a dehydrator. You’ll want to put it on drying trays designed for making fruit rolls or jerky so that the bone meal doesn’t fall through the cracks.
Dehydrate at close to 160 degrees for several hours, or until the bones are thoroughly dried.
You can test their progress by crumbling a bit between your fingers. If it leaves white dust behind, you know it’s done.
At this point the bone meal should be easy to crumble into a fine powder.
You can re-blend it with your food processor to further smooth out the texture. Use immediately or store in a cool, dry place in tightly sealed containers.
The meal should last long until you’re ready to use it.
Use Bone Meal for Better Garden Soil
Learning how to use bone meal in the garden is a smart way to improve the quality of your soil.
So long as you take the time to determine whether your growing practices can benefit from it, adding some bone meal in the spring will give you plants in bigger blooms and better root systems throughout the growing season.
You can make your own bone meal as described above, but if you’d rather purchase high quality bone meal then this Organic Traditions Bone Meal is a good choice.
Pin This To Save For Later

Get the famous Rural Sprout newsletter delivered to your inbox.
Including Sunday musings from our editor, Tracey, as well as “What’s Up Wednesday” our roundup of what’s in season and new article updates and alerts.


