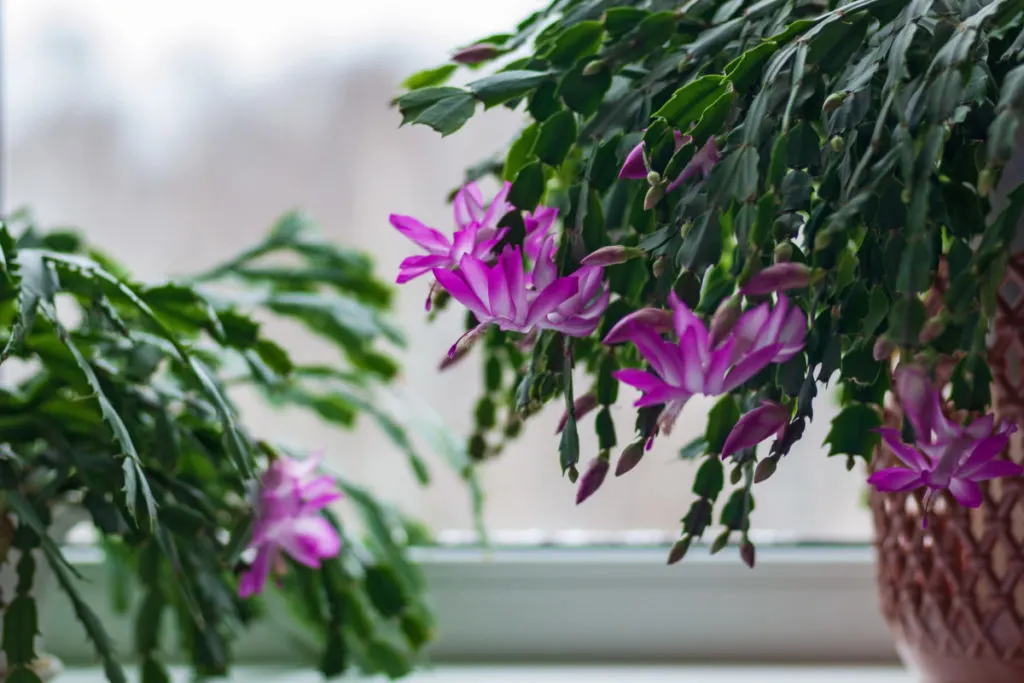
The Christmas cactus, or any of the holiday cactuses in the Schlumbergera family, have earned a reputation for being finicky plants. But most of that frustration comes from not understanding the plant’s native environment or lifecycle.
Knowing a little bit more about these beautiful plants can ensure that yours grows large, healthy, and covered in colorful blooms year after year.
For more on successfully growing Christmas cactus, take a look at our Christmas Cactus Care Guide which also includes help with identifying your holiday cactus.
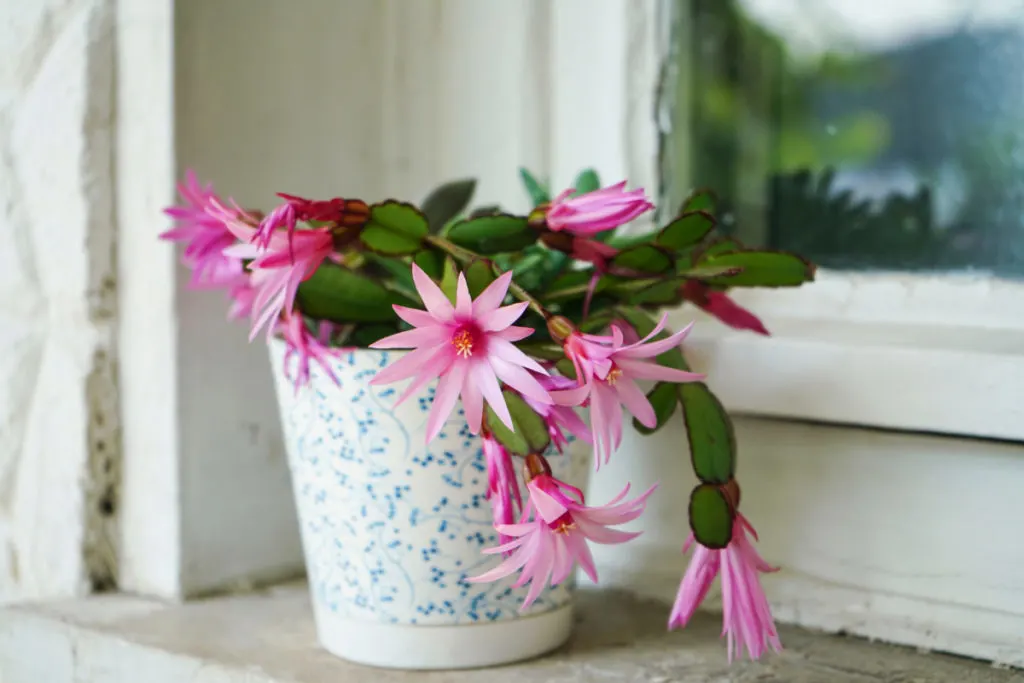
While we’re going to be discussing Christmas cacti here, this information also applies to Thanksgiving and Easter holiday cactus as well.
Why are Christmas cactus so finicky?
Well, my friends, the biggest reason is that we’re growing them in an environment wholly unlike their native home; especially, if you purchase a greenhouse-grown plant that has spent its life in a controlled environment that mimics its native habitat.
When we take them home, these poor little guys often go into shock, and that’s when the problems start.
Christmas cactus isn’t really a cactus at all; they’re succulents in the Schlumbergera family, native to Brazil.
In the wild, Christmas cactus are scrappy little plants growing in the hot, humid and mountainous tropical forests of coastal Brazil.
They’re epiphytes, meaning they have adapted to grow on another plant, but don’t worry, they aren’t a parasite.
This means they get most of their water and nutrients from the air and rain without contact with the soil.
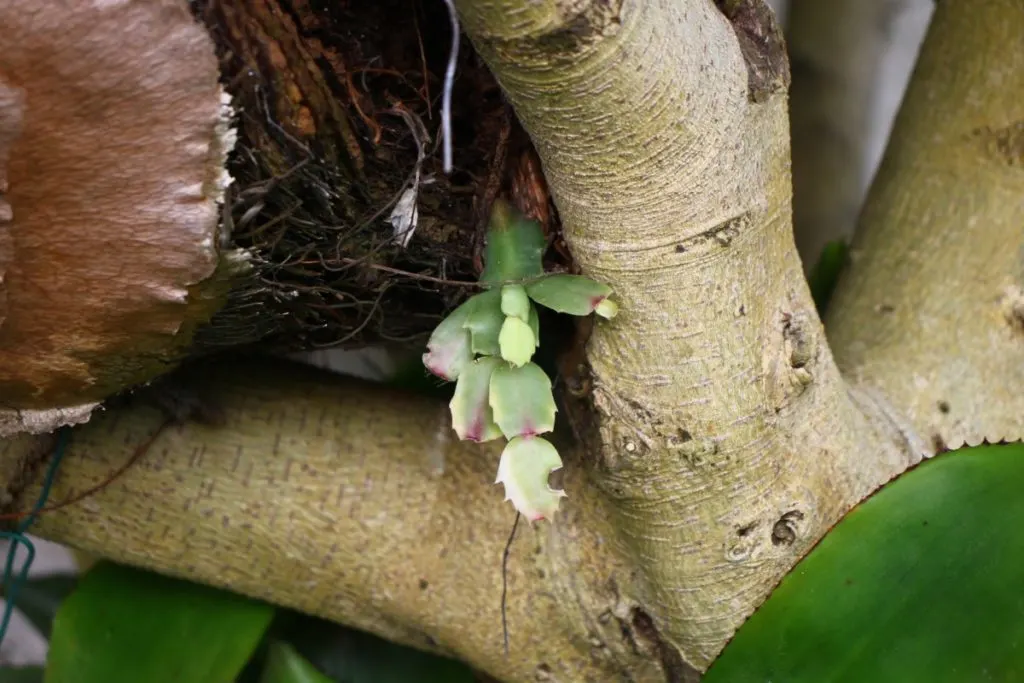
They pop up in crevices at the base of a tree or where a branch connects to the trunk. You can find them growing off of rocks in pockets where dirt and debris have collected. Basically, they will grow anywhere in these moist jungles where enough organic matter has accumulated for their roots to grab hold.
It’s no wonder they pitch a fit when we bring them into our dry homes and plunk them in a pot of common potting soil.
But today, we’re going to cover thirteen of the most common issues you’ll run into growing Christmas cactus, and hopefully, you’ll be able to head them off before they become a problem.
1. Why isn’t my Christmas cactus blooming?
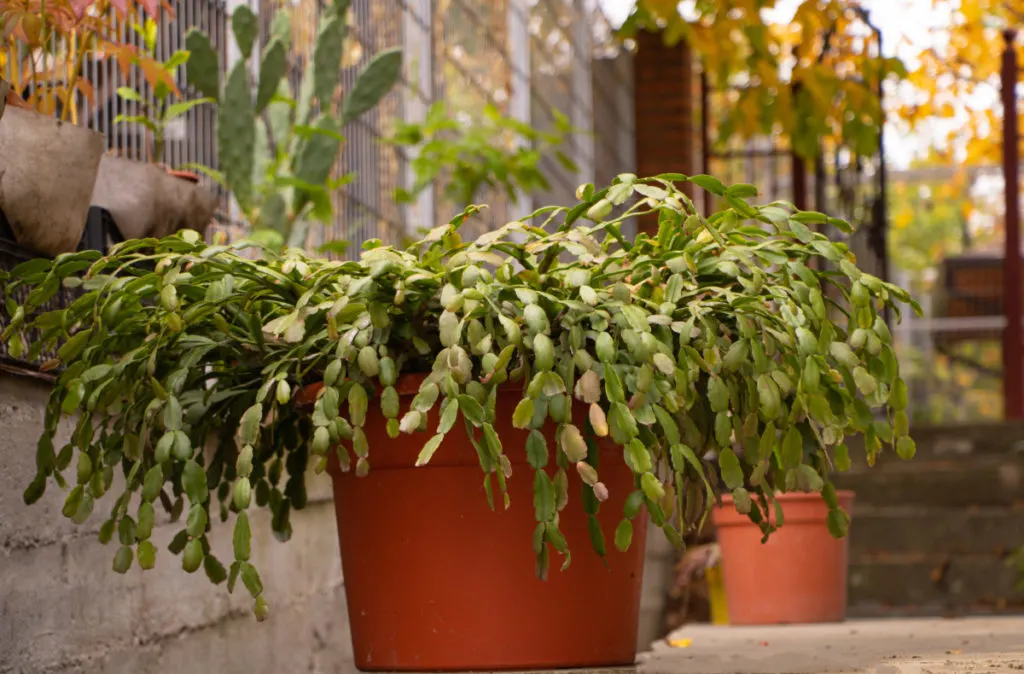
This is by far the most common complaint when it comes to Christmas and holiday cactuses. And it’s a pretty easy problem to solve.
Before these plants bloom in the wild, the natural seasonal changes in Brazil cause a period of dormancy. As the nights grow longer and the temperatures drop, the plants slow their growth and begin conserving energy to produce blooms.
All it takes is a little planning to mimic these conditions in your own home.
Beginning in September, stop fertilizing your plant. You’ll need to place it somewhere cool (around 50-55 degrees F) and dark for 14 hours a day, then ensure it receives bright indirect light for the other 10 hours of the day.
This is great if you have a room that meets these requirements.
However, if you don’t have a room in your house like that, you may need to move the plant from room to room each day to accommodate these factors until it sets buds.
Once the plant has begun to set buds, you can discontinue this regimen and leave the plant in a warm room with plenty of indirect sunlight.
My mother always placed her Christmas cactus on top of the chest freezer in the pantry in September. It was cool and got enough light from the backdoor to mimic the long nights and short days. After Thanksgiving, she would put it back on its plant stand in the living room. Her Christmas cactus never failed to put on a colorful display of flowers all December long.
2. Why is my Christmas cactus blooming in November?
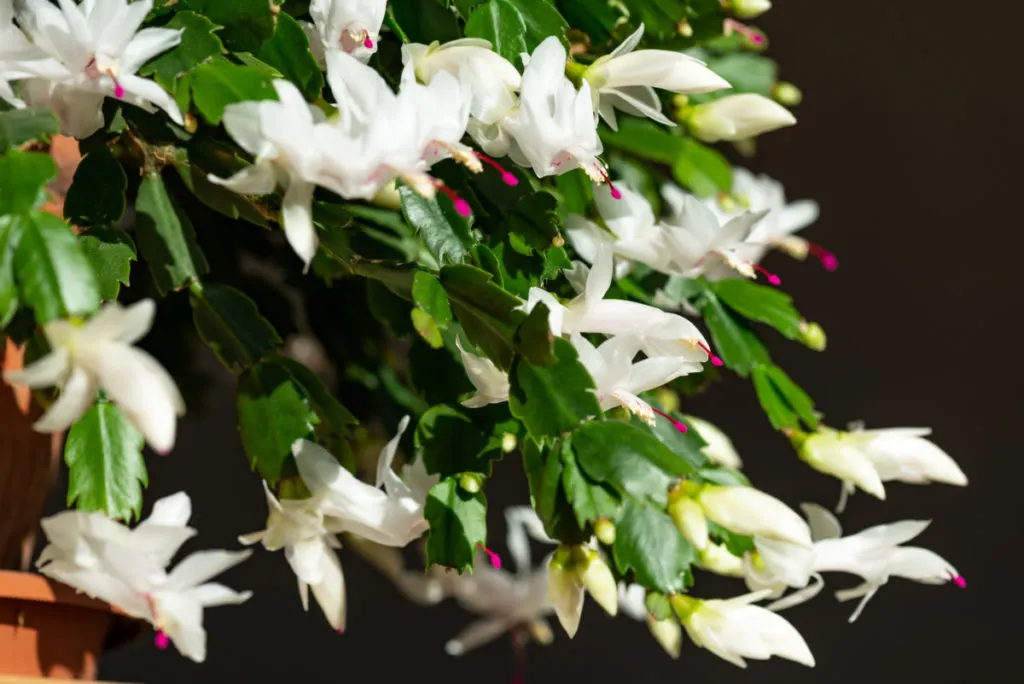
Well, you’ve got one of two options here. The first is that your sneaky little Christmas cactus is actually a Thanksgiving cactus. Each variety of Schlumbergera is named for the holiday they bloom closest to. (Did you know there’s an Easter cactus, too?)
It’s easy to tell them apart once you know what you’re looking for.
The key is to look at one of the cladodes, or leaf segments. Christmas cactus have smooth, rectangular cladodes, while the Thanksgiving cactus has spiky tips on the outside of the segment. Easter cactus are more rounded and have scalloped edges.
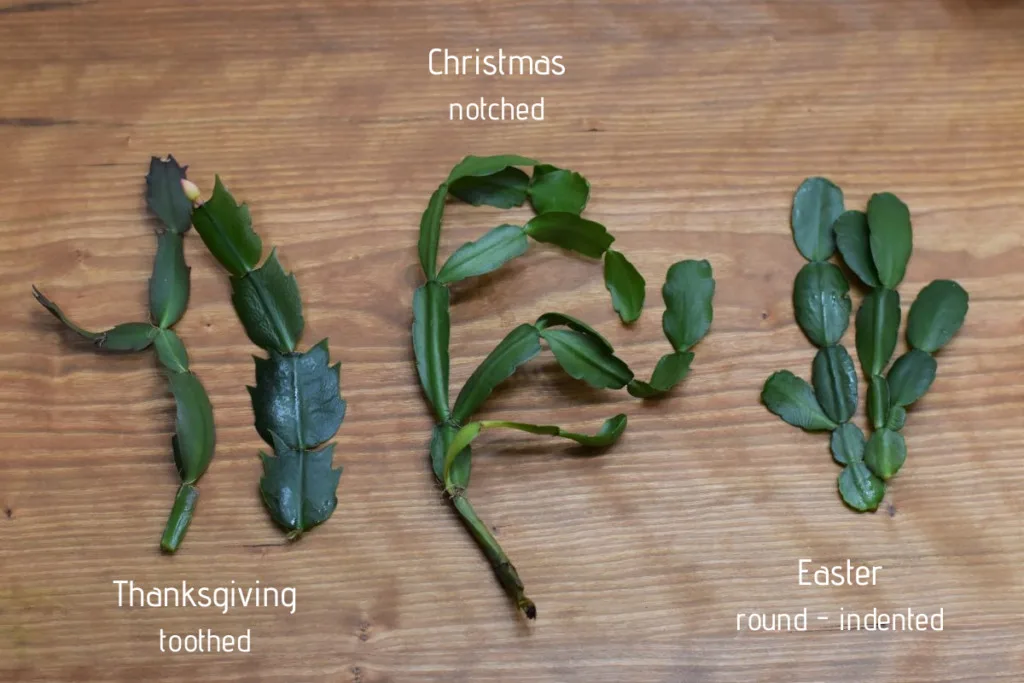
For more information on these varieties and a complete care guide, you’ll want to read:
Christmas Cactus Care: More Blooms, Propagate & Identify Holiday Cacti
If you’ve checked to make sure you have a Christmas cactus, then the other reason your plant is blooming early is that it’s gone through its dormancy period early. This can also happen with Thanksgiving cactuses too.
For holiday cacti to set blooms, they need to go through a period of rest. This stage is usually brought on by longer nights, and cooler temperatures like you normally find in late autumn.
However, if you get a cool, rainy fall, the cloudy days can trick your Christmas cactus into thinking it’s time to rest, and it will set blooms early.
I’m just happy if all of my Schlumbergera bloom, but if you want yours to bloom at their intended holiday, keep an eye on the weather a couple of months beforehand. These plants prefer bright indirect sunlight anyway, so keep them near an east-facing window or in the interior of a room with south-facing windows.
If you don’t have access to either, or if you get a good rainy stretch, consider a grow light, but don’t forget, the plant will need less light and cool periods to go dormant and set blooms.
3. I think my Christmas cactus has root rot; now what?
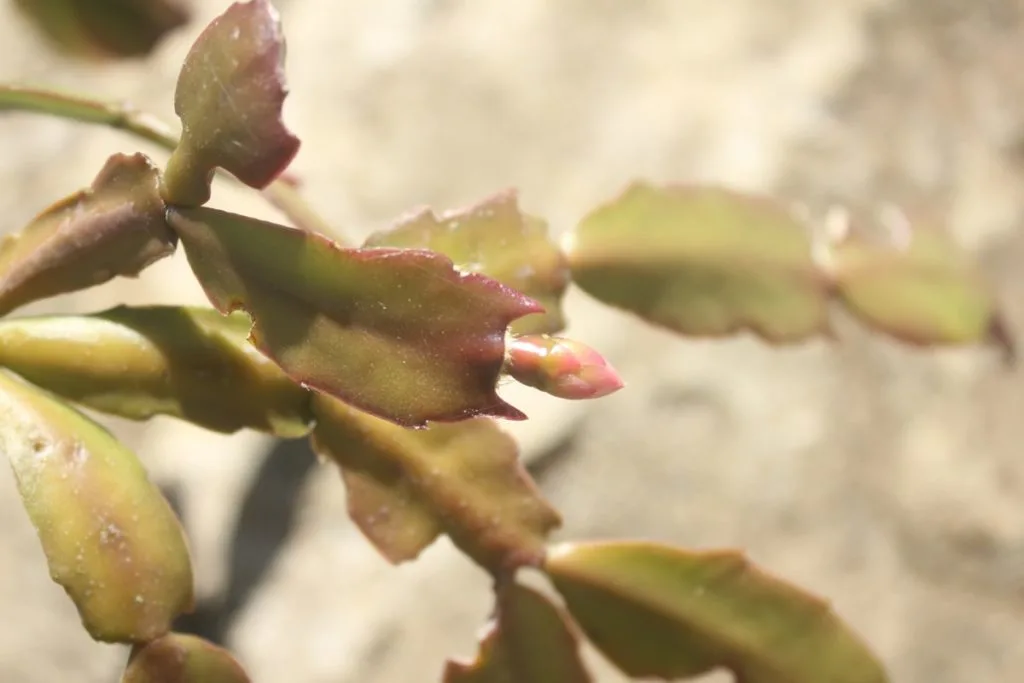
Christmas cactus are notorious for root rot, but it’s really not their fault. As I mentioned at the beginning of this piece, they are epiphytes, and they generally grow on another plant rather than in a pot full of soil.
Their roots aren’t meant to be sitting in soggy, moist dirt for any length of time, which is why overwatering can lead to a host of problems, including root rot.
Gently remove the plant from its pot and remove as much soil as possible from the roots. You can tell if it’s root rot if the roots are black-tipped, mushy, or brown. Sometimes the root ball will smell musty too.
If the entire root system is infected and the segments show signs of decay, you’ll have to pitch the plant.
If only a portion of the plant is infected, cut off all infected parts with sterilized scissors. Rinse the root system well with clean water, and then leave the plant on a clean paper towel somewhere warm and dry.
Be sure to clean and sterilize your scissors thoroughly once you’ve finished. You don’t want to transfer the rot to other plants.
Let the plant sit for 24-48 hours so the roots can dry out before repotting it in a well-draining succulent mix. And be sure to use a pot with a drainage hole. Don’t water the plant right away; give it a few days in the new pot before watering it in.
4. Why is my Christmas cactus dropping buds?
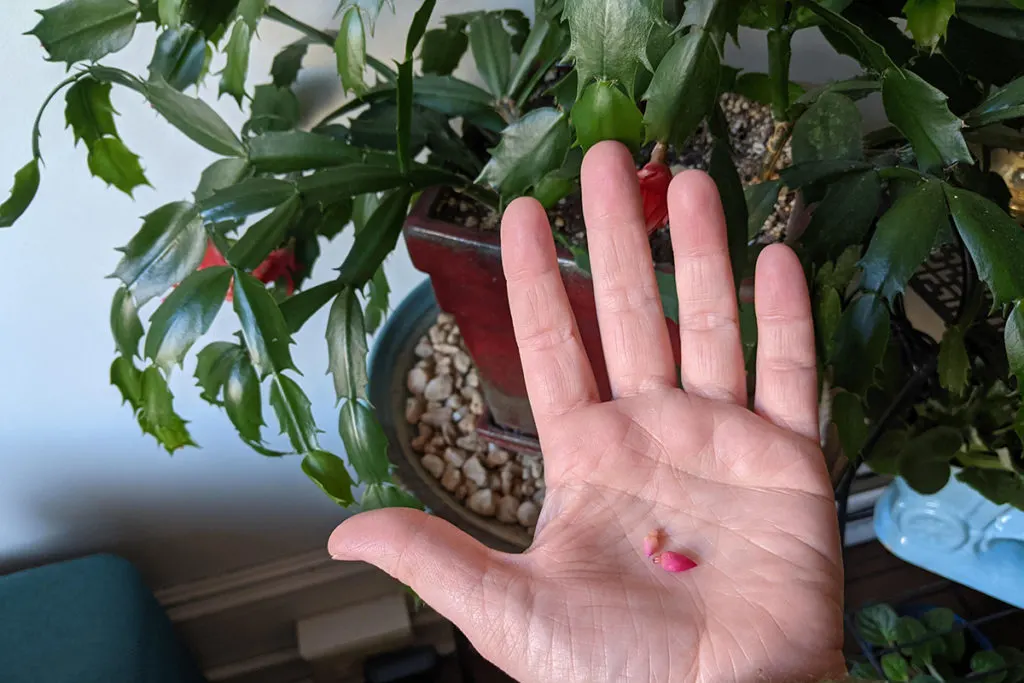
It’s incredibly frustrating to have a plant that’s covered in buds one day, only to find all of those buds on the floor the next.
What happened?
Well, there are several reasons holiday cacti will drop their buds. But in summation, it’s because they’re particularly sensitive to changes in their environment. A change in light, air temperature, humidity, movement, and even too many buds can cause your plant to freak out and drop everything!
Something as simple as buying a new cactus from the store, covered in buds, and bringing it home can be enough to cause bud drop.
Keeping your Christmas cactus in a room with a steady temperature free from drafts will help prevent bud loss. They prefer temperatures of 60-80F, any higher or lower, and it will abort flowering.
Moving the plant around or having it in a location where it gets bumped, or you brush up against it as you walk by, can certainly cause it to drop buds.
Like all tropical plants, Christmas cactus need a humid environment to flower. Air that is too dry will cause them to drop buds as well.
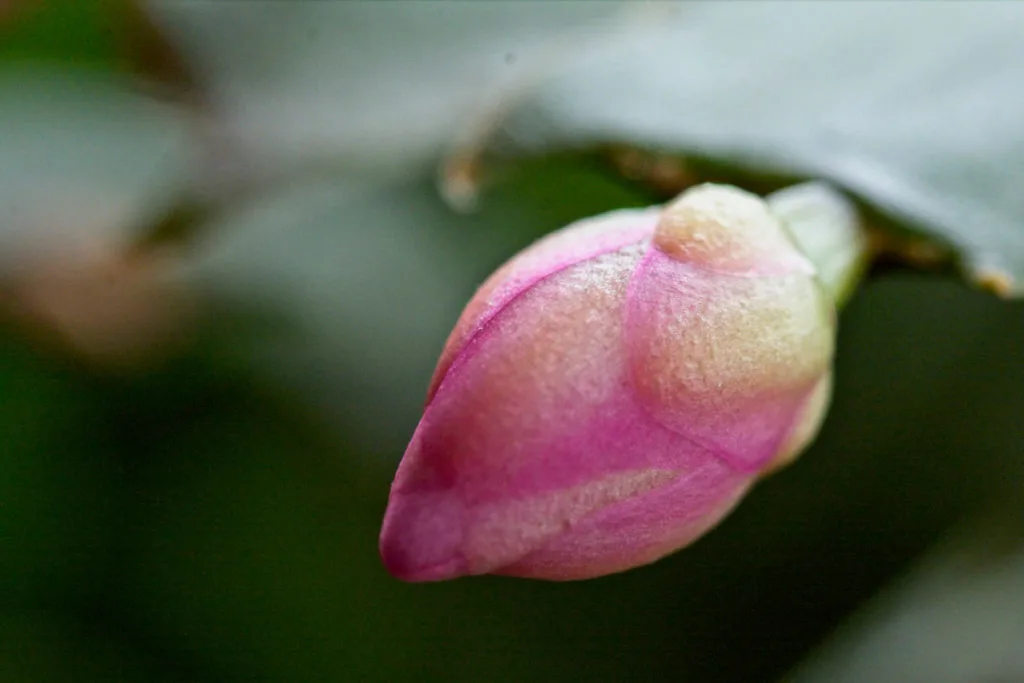
Another cause of dropped buds that almost seems counterintuitive is over-fertilization. You should stop fertilizing your plant at the end of the summer so it can prepare for its flowering cycle. Over-fertilizing causes the plant to put out more buds than it can sustain, and it will drop excess buds to preserve energy for the remaining ones.
One of the best things you can do to prevent this common Christmas cactus problem is to set your plant up for blooming after its dormancy period, then let it be.
The perfect spot to encourage buds that will bloom:
- A spot where the plant will be unmoved (usually someplace higher up works well)
- Consistent temperature
- Bright indirect light
- Away from drafts
- Consistent humidity
5. Why is my Christmas cactus dropping leaves?
Almost as discouraging as dropped buds is when your Christmas cactus drops leaf segments, usually out of nowhere. And just like dropped buds, if your plant starts dropping leaf segments, you can bet that it’s due to some sort of environmental stress.
One of the biggest culprits for lost leaves is a drastic temperature change. Moving an indoor plant outside in the heat of the summer can cause leaf drop. Similarly, a drastic drop to cooler temperatures can also cause Christmas cactus to drop their leaves, such as a plant placed near an exterior door in the winter. Even something like the change in temperature from the greenhouse to your home can result in lost leaves.
It’s important to keep temperatures consistent.
60-80 degrees most of the time, and cooler temps around 50-55 while the plant is dormant.
Overwatering causes so many Christmas cactus issues; it should come as no surprise that too much water can cause your plant to fall apart literally. This is why it’s so important to use a pot with a drainage hole. You’ll want to check the roots to see if your plant has root rot. If it does and it’s dropping leaves, it’s probably best to dispose of it. The plant is too far gone.
However, if the roots look fine, but the soil is quite damp, let the plant dry out a bit before watering it again. And always check to be sure the pot isn’t sitting in water, and tip any standing water out of the dish the pot sits in.
Compacted soil can also cause your plant to drop its leaves. Remember, Christmas cacti do best in light, fast-draining soil. Choose a potting mix specifically for succulents, or make your own using a mix of half potting soil, a quarter coconut coir and a quarter sand.
6. Why is my Christmas cactus drooping?
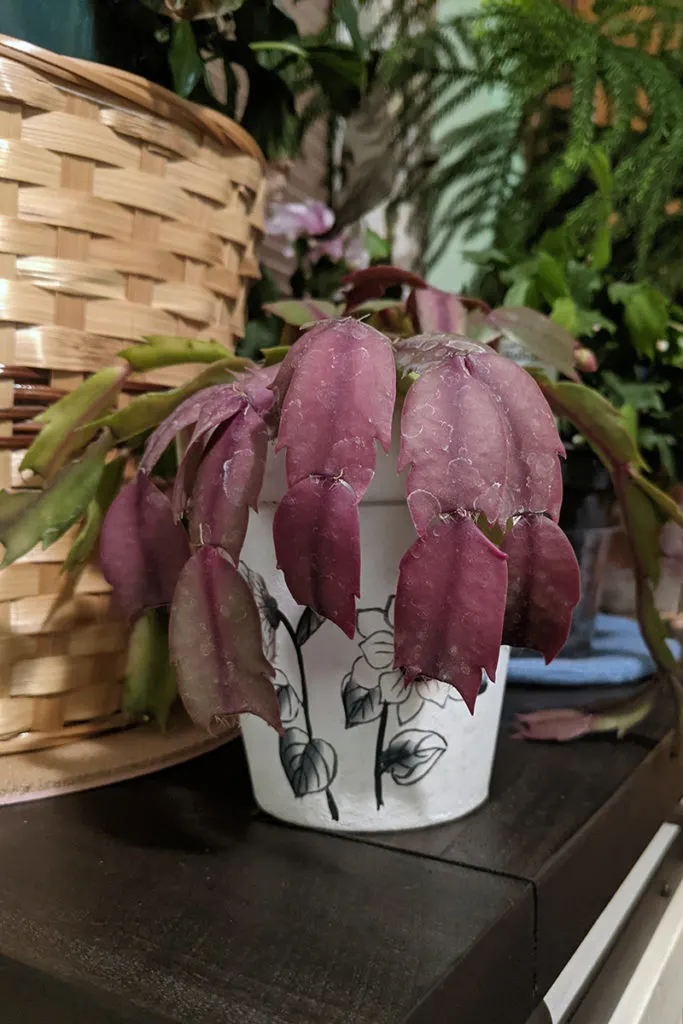
A couple of factors can cause a droopy or wilted-looking Christmas cactus.
It’s easy enough to tell which is the cause of your problem, though.
Lack of water is the most common reason why a holiday cactus’s long, segmented branches will begin to droop. Stick your finger in the soil to see if it’s damp or not. Or have that guilty realization that you’ve forgotten to water your plant for several weeks and then vow to set a reminder on your phone in the future.
Usually, the gut response is to overcompensate by soaking the plant thoroughly with water.
This is the last thing you want to do with a member of the Schlumbergera family.
Water sparingly over several days, and your wilting cactus will bounce back in no time.
The other cause of drooping or wilting is sun damage; this is often accompanied by changes in leaf segments’ color or cladodes. If you’ve been keeping your holiday cactus outside, move it someplace where it receives less sun. If it’s inside, move it to a location that receives less direct sunlight.
It will take a few weeks, but the plant should bounce back once it has healed from its sunburn.
7. Why does my Christmas Cactus look shriveled and wrinkly?
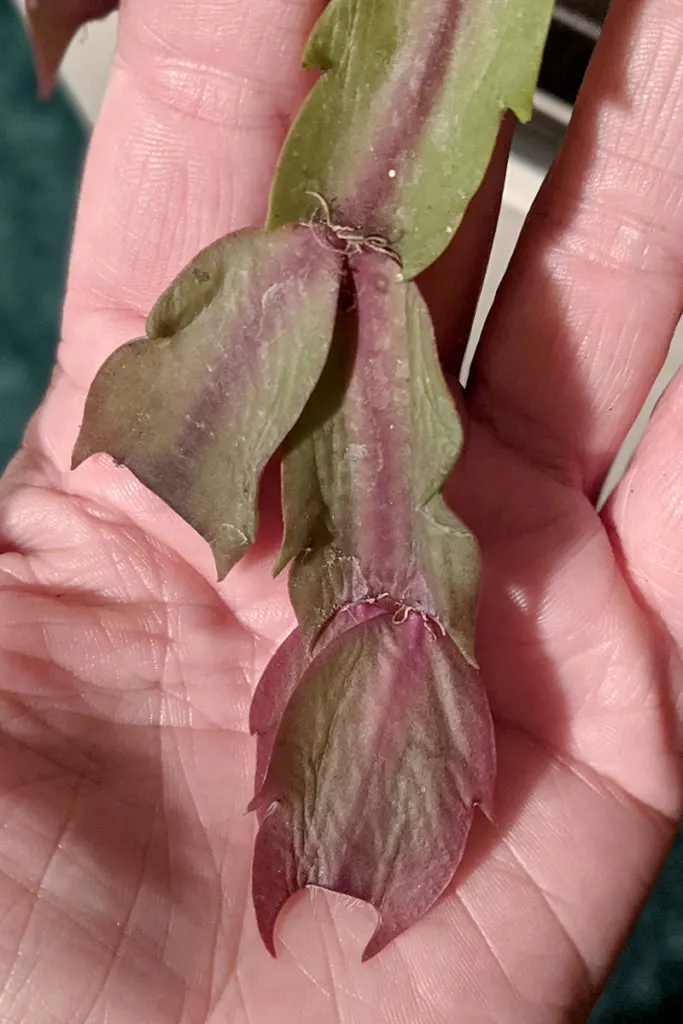
The individual segments of a holiday cactus have a pleasant leathery firmness when the plant is in good health. So, it’s no wonder finding wrinkled segments on your plant can cause alarm. What’s going on?
To figure out the issue, you’ll need to do a little detective work as there are quite a few causes of wrinkled cactus segments, some more dire than others.
One of the most obvious reasons is that the plant has dried out and needs water. Like all succulents, Christmas cactuses store water in the fleshy leaf segments. If there isn’t enough water in the soil or air, the plant will use its stored reserves and end up with shriveled segments.
Check for moisture by sticking your finger in the soil; if it’s completely dry, you know you need to water your plant. You’ll also want to provide a source of humidity as they take up water in the air as well.
As I mentioned above, the impulse is to dump a ton of water on your plant, which can easily cause more problems. Water sparingly over a few days to gently revive your plant.
On the opposite end of this spectrum is excessive watering. Because Christmas cacti are epiphytes, they don’t get most of their water and nutrients from the soil but rather the air.
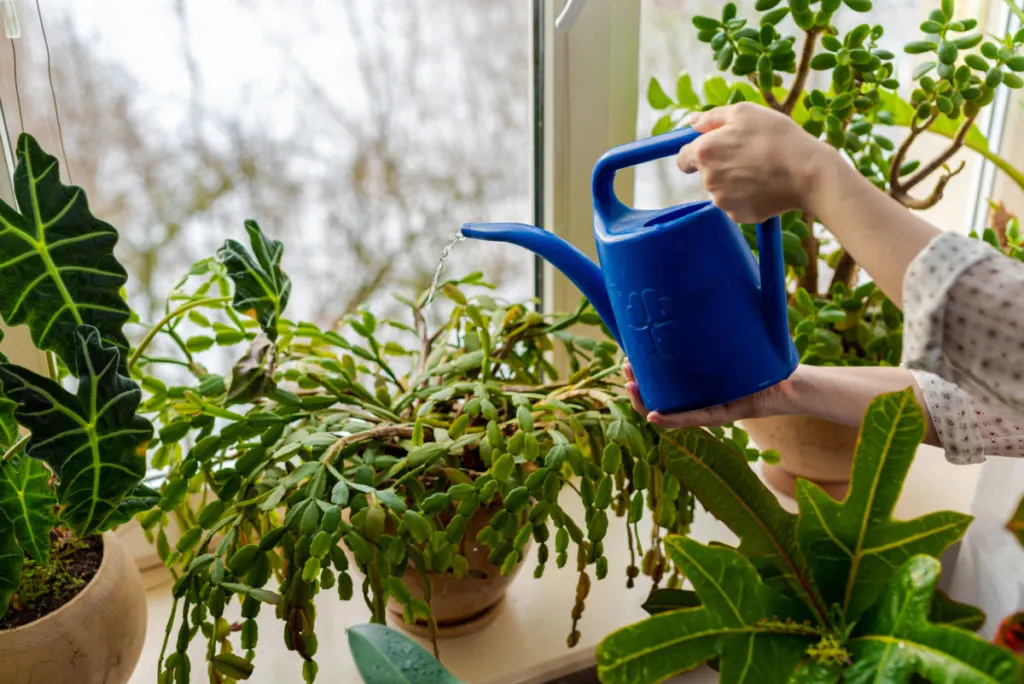
Their root systems aren’t meant to be immersed in damp soil all the time.
Overwatering Christmas cacti can lead to root rot, a type of fungus that will attack the plant and make the leaf segments look wrinkled. Another sign is blackened or brown segment tips.
Again, check the soil with your finger; if it’s damp or soggy, the plant is most likely waterlogged and suffering from root rot. Depending on how far gone the plant is, your only recourse may be to dispose of it. See above for how to deal with root rot.
Finally, like us, Christmas cactuses get wrinkly with age. If you notice wrinkled segments on an older plant, down closer to the soil, but the rest of the plant is healthy, chances are it’s just age. Sometimes these wrinkly segments will also have dry brown lines on them as well.
And that leads us to our next common problem.
8. My Christmas cactus has woody stems; what should I do?
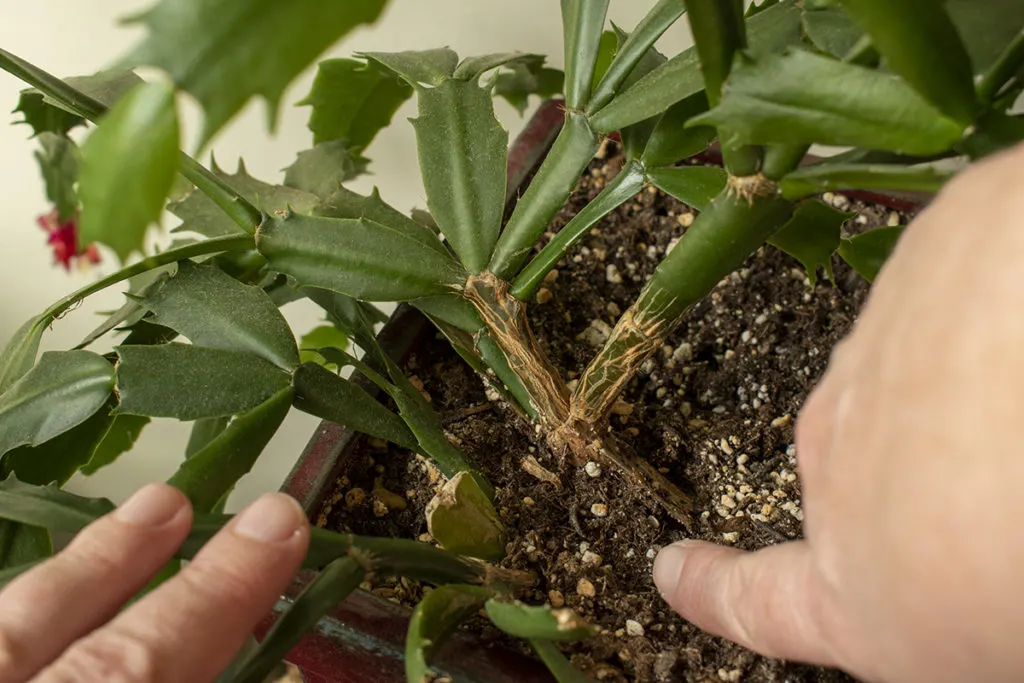
First, you should give yourself a big pat on the back. You’ve obviously done a great job in caring for your Christmas cactus. You see, woody stems are a sign of old age in holiday cacti.
As your Schlumbergera grows and ages, the segments that sit in the dirt become tougher and get woody—kind of like a few of my relatives.
This is a completely natural process that allows the plant to support the weight of the larger branches made up of green segments.
Simply put, if your Christmas cactus has woody stems, you don’t necessarily have to do anything. If you feel that these stems are in danger of cracking or breaking due to the weight of the plant, you can always trim them back. Use sterilized scissors to trim back up to a third of the plant.
Don’t get rid of those cladode branches, though. Christmas cacti are some of the easiest plants to propagate, and you’ve probably got friends and family who would love a cutting.
Related Reading: How to Propagate Christmas Cactus + 2 Secrets To Big, Blooming Plants
9. Why are the stems of my Christmas cactus splitting?
Splitting Christmas cactus stems is another sign of an older plant, usually caused by the weight of the branches on those woody, fibrous stems.
If the stem has split open, your plant is susceptible to disease, so it’s important to trim it and repot it. If any part of the stem is mushy, you’ll want to cut off those parts, again, treating it the same way you would for root rot.
This is a great time to divide your plant and trim back the branches to take the weight off of the stems. Save all those cuttings and propagate them.
10. Why are my Christmas cactus leaves turning red or purple?
This can either be a good thing or a bad thing.
The Good
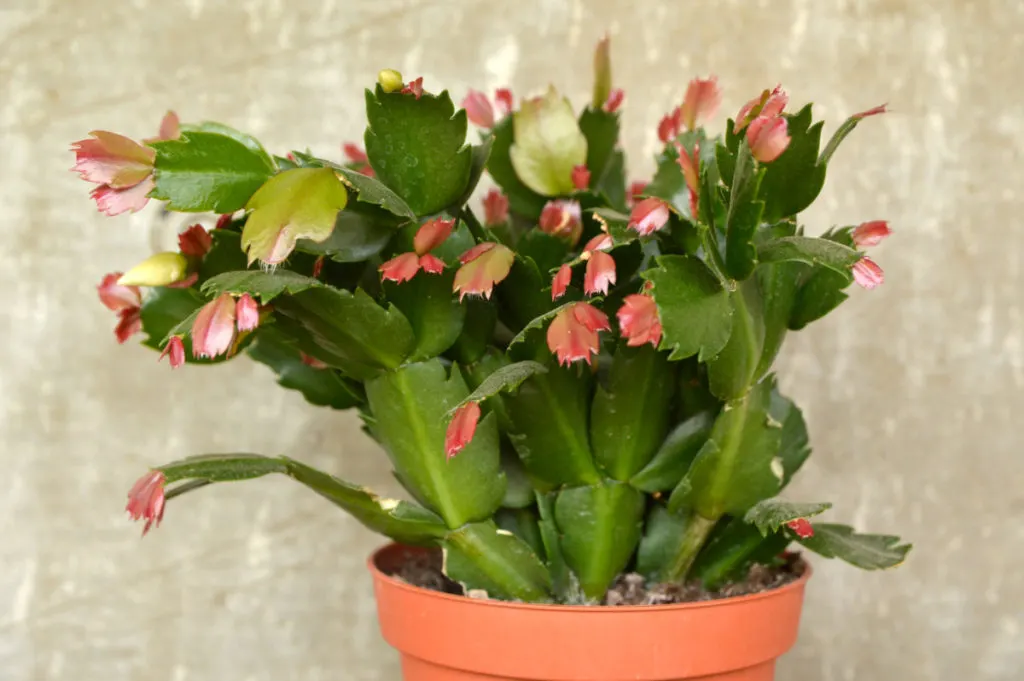
New growth on holiday cactuses is always reddish in color around the edges of each new segment. As the segments grow and mature, they will lose their red hue and become the familiar dark, glossy green.
The Bad
Like many succulents, Christmas cactus love bright indirect sunlight and plenty of it. However, too much light can easily cause sunburn; especially, during the summer months when the sun is at its hottest.
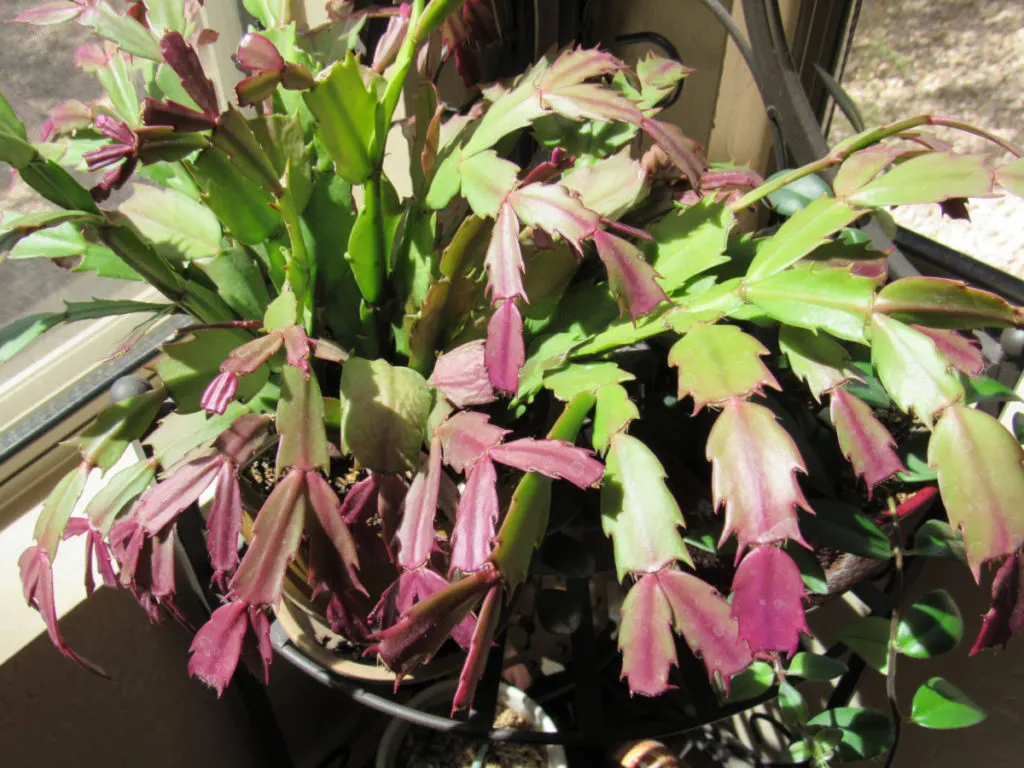
If too much light is the culprit, the fix is quite simple – move your plant somewhere less sunny. As I mentioned above, after a few weeks, the leaves should start to look better.
If you’re sure light isn’t the issue, then it’s usually a nutrient problem.
You should fertilize your plant once a month from the time it stops blooming up until two months before its blooming cycle. Dark red leaves generally point to a magnesium deficiency which can easily be remedied with Epsom salts.
Mix one tablespoon of Epsom salts and one gallon of water and use this along with a good fertilizer for houseplants. You can discontinue using the magnesium solution once the leaves have regained their emerald green color.
And finally, sometimes severely rootbound plants can cause the same nutrient issues mentioned above.
If the roots are so impacted that they can’t efficiently take in nutrients, the plant will slowly turn red.
This one is a little tougher to diagnose, as Schlumbergera prefers being a little rootbound, to begin with. If the roots are growing out of the bottom of the pot and the cactus has stopped growing, chances are it’s rootbound.
The plant will both need to be repotted and treated with the Epsom salt fertilizer to fix the issue. When potting up Christmas cactus, it’s very important only to pot up one size larger. If you’re moving from a 4″ pot, choose a 6″ pot and so forth.
11. Why is my Christmas cactus turning yellow?
This one is always frustrating because it can be caused by just about anything related to Christmas cactus care – not enough fertilizer, too much sunlight, overwatering, root rot and a rootbound plant. It requires a little extra effort, but if you work your way through this list, eventually, you’ll uncover the culprit.
The very first place to start is with root rot, as they go hand in hand.
If your plant has root rot, you’ll need to act quickly to have any chance of saving it.
If the roots look good, but the soil is soggy, discontinue watering the plant until the soil dries a bit; this should help regardless of the color of the leaves.
Now, we’ll move on to fertilizer.
If you don’t fertilize or you’ve simply forgotten to fertilize recently, you’ll want to do so. You can use the same Epsom salt solution for leaves turning purple or red, along with a plant food formulated for houseplants.
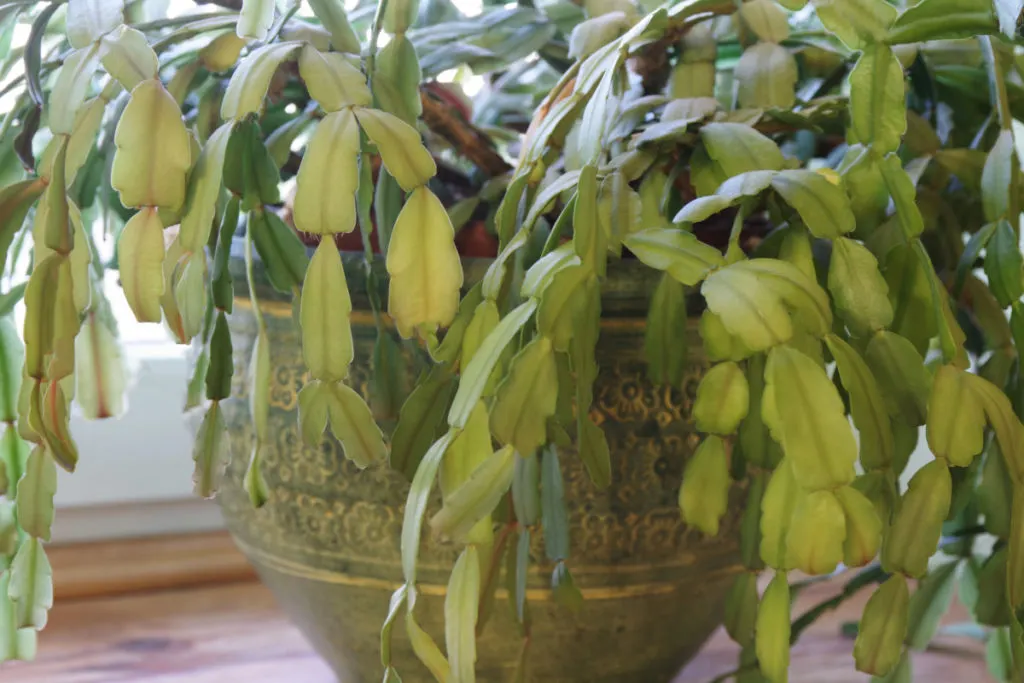
Even if the leaves don’t get sunburned, too much sun can wash out the color of Christmas cactus leaves, giving them a yellow or yellow-green appearance. Move the plant to a less sunny location to see if the color improves.
And finally, if the plant is rootbound and it’s been several years since the plant has been repotted, it may be time to move to a larger pot. Once the Christmas cactus has been repotted, it should begin to take up nutrients through the soil again, and the color of the leaves should improve.
12. My Christmas cactus isn’t growing; what can I do?
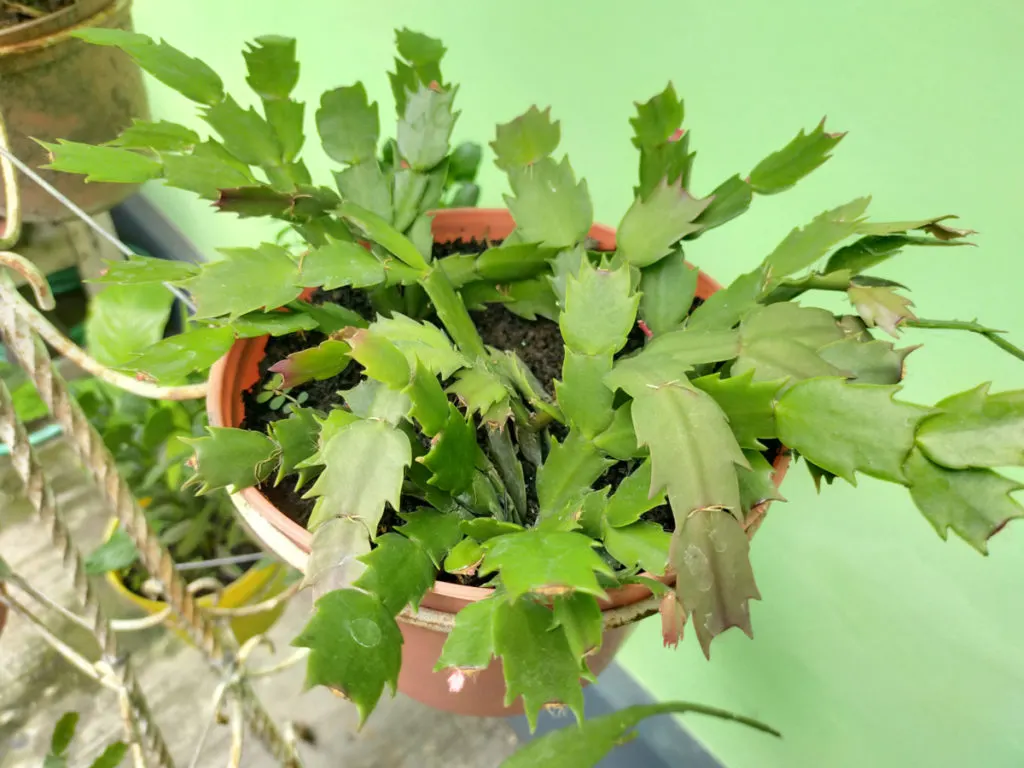
Like you and I, these plants need certain things to thrive. If these needs aren’t met or are out of balance, you’ll likely have a stunted plant on your hand. Lucky for us, getting your Christmas cactus growing again is usually an easy task.
Christmas cactus need to be fertilized once a month, except when they are going through their dormancy and flowering period. Most plants will go through a period of growth once they have finished blooming, so it’s even more important to fertilize during this period.
A stunted plant can also be the result of too little light.
Remember, these are tropical plants; they are used to bright, diffused light and thrive on 10-12 hours of sunlight a day. Make sure they’re getting enough light, and you’ll have a happy plant.
Sometimes Christmas cactus will stop growing once they become rootbound. When the roots grow too closely together, they can’t take up nutrients efficiently, and the plant stops growing.
…which leads us to our final problem.
13. I think my Christmas cactus is root bound; what should I do?
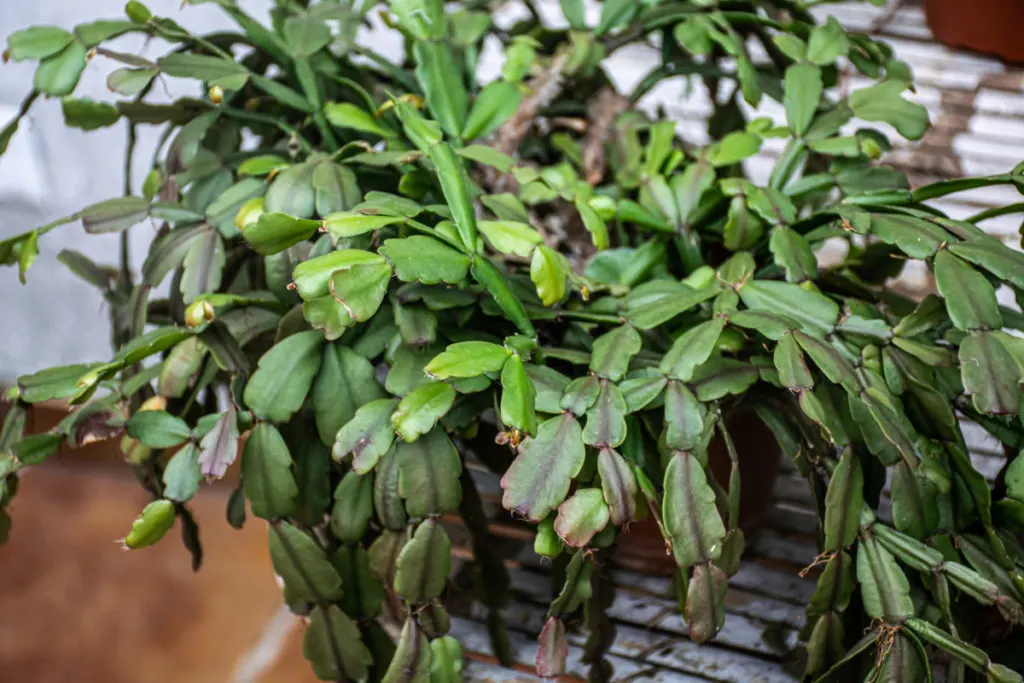
It’s important to remember that Christmas cactuses prefer to be crowded and can go much longer before needing to be repotted than most plants. Repotting these delicate plants often results in broken segments or branches, leading to the plant skipping a blooming cycle.
So how do you know when it’s time to repot?
This question can be tricky; the rule of thumb is to repot when you can see roots growing out of the drainage hole in the bottom. But if your plant is healthy, still putting out new growth each year and is still blooming, then it’s still happy, dangly roots and all.
Simply trim off any roots growing out of the drainage hole and give the plant a little top dressing of a good succulent potting mix.
However, if you’ve got roots coming out of the bottom of the pot, and it’s been three or four years since your plant has been repotted, and it has stopped growing and blooming, despite optimal conditions, then it’s time to pot up.
But not too big!
Remember, holiday cactus-like cramped roots; only move up to a pot one or two inches larger than its current container. And always choose a new pot with a drainage hole
Gently remove the plant from its pot. If possible, use a spade or butter knife to gently lift out the entire plant via the soil, rather than trying to grasp the base of the cactus itself.
Once you’ve removed the plant, loosen the root ball and clear away the old soil. You can give the roots a little trim, too, to encourage new growth.
Repot your cactus using a potting mix for cactus or succulents, filling the pot with dirt to within an inch of the top of the pot.
Give the plant a day or two before watering it in, and let the plant recover in an area with moderate light, nothing too bright. After a week, you can return the Christmas cactus to its normal spot.
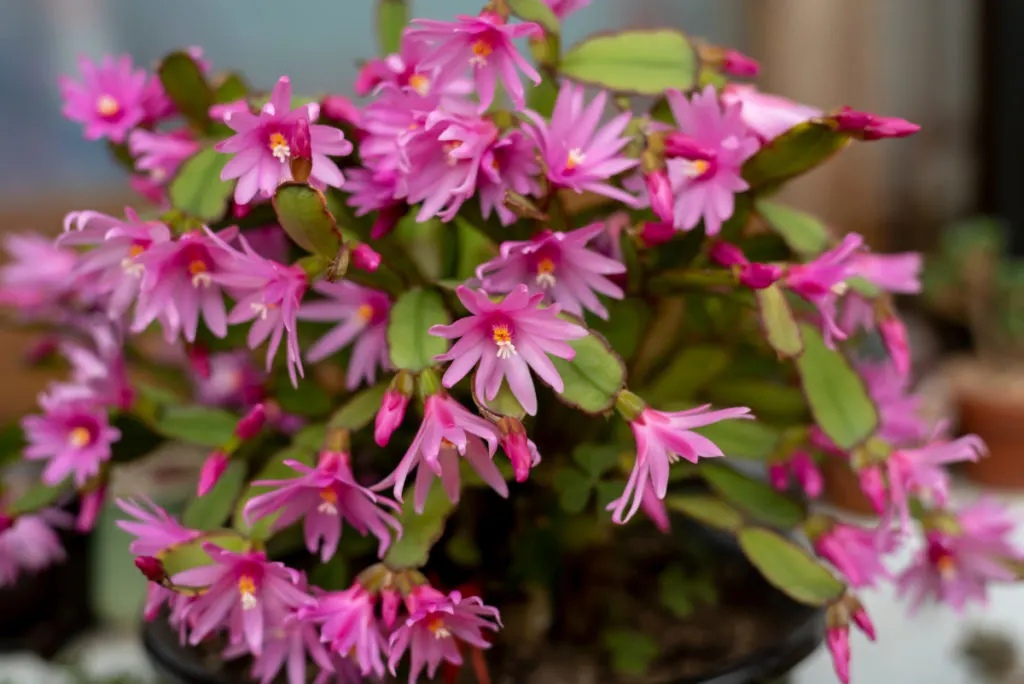
As you can see throughout this article, many of these Christmas cactus problems require similar care to resolve. And most are easily prevented by creating a similar habitat to its native Brazil.
Now that you know how to tackle these issues, I hope you’ll agree that Christmas cactuses are needlessly labeled as “fussy.” Once you know how to care for them, it’s quite simple to have a thriving Schlumbergera that will bloom for decades.

Get the famous Rural Sprout newsletter delivered to your inbox.
Including Sunday musings from our editor, Tracey, as well as “What’s Up Wednesday” our roundup of what’s in season and new article updates and alerts.

