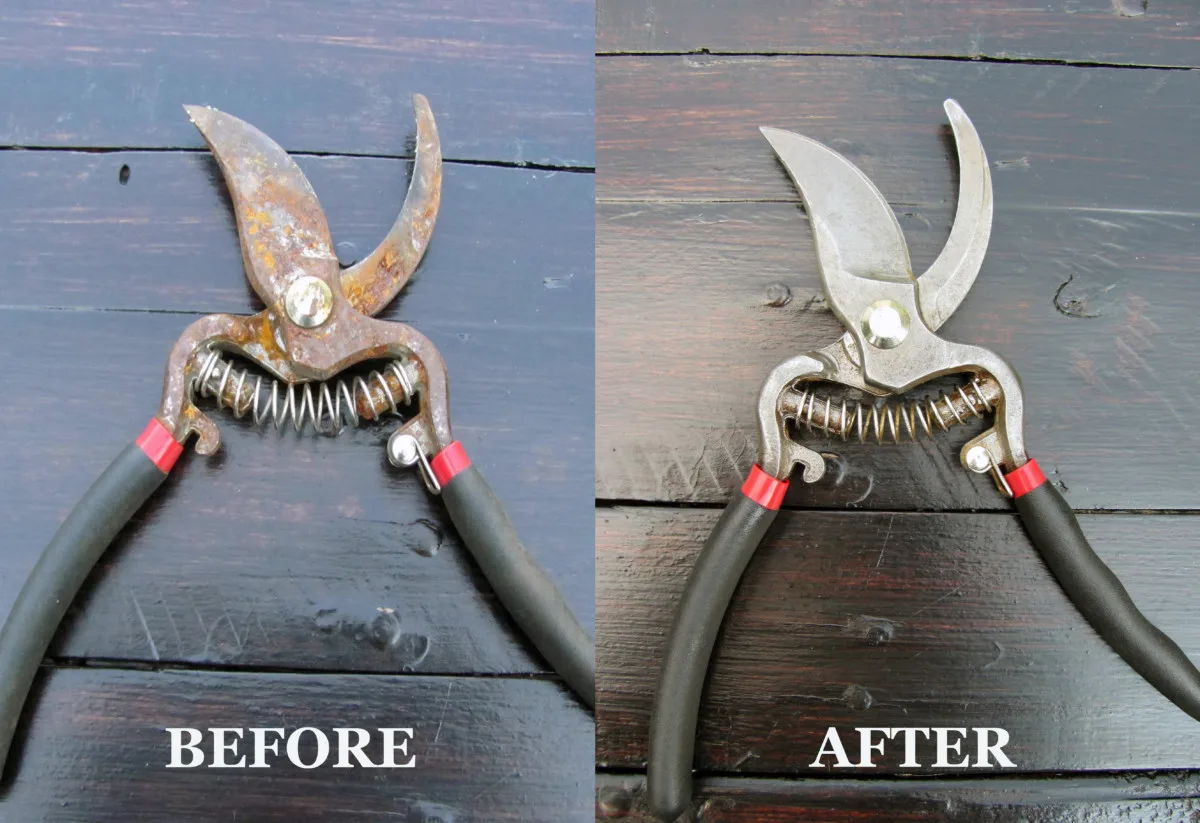
Learn from my mistakes – always, always survey your working area before packing it in for the day.
Or else…this will happen:
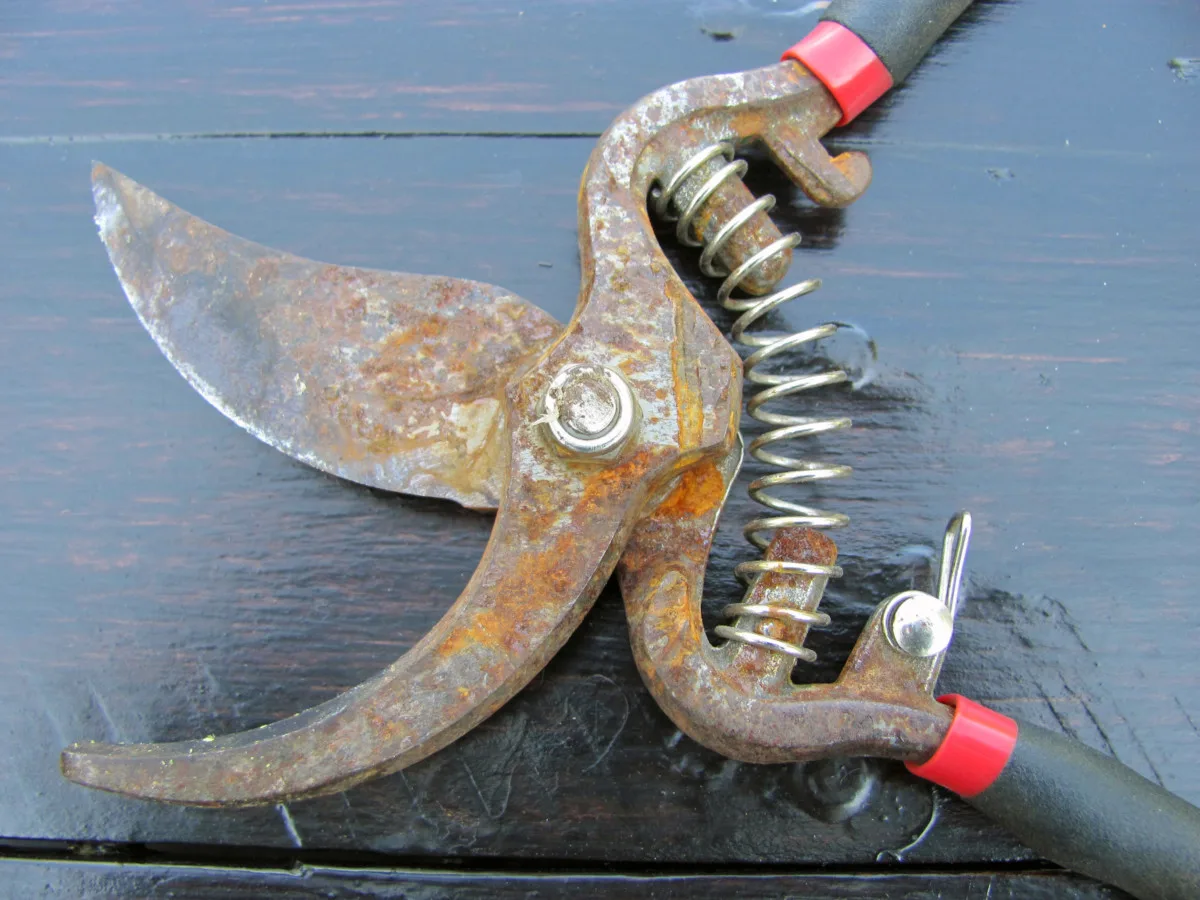
Yup, gardening tools left outside to weather the elements will soon look like old pieces of junk.
Rusty hand shears with a dull blade certainly take all the joy out of pruning. Not only does it make cutting more difficult and time-consuming, the jagged cuts aren’t good for the plant either.
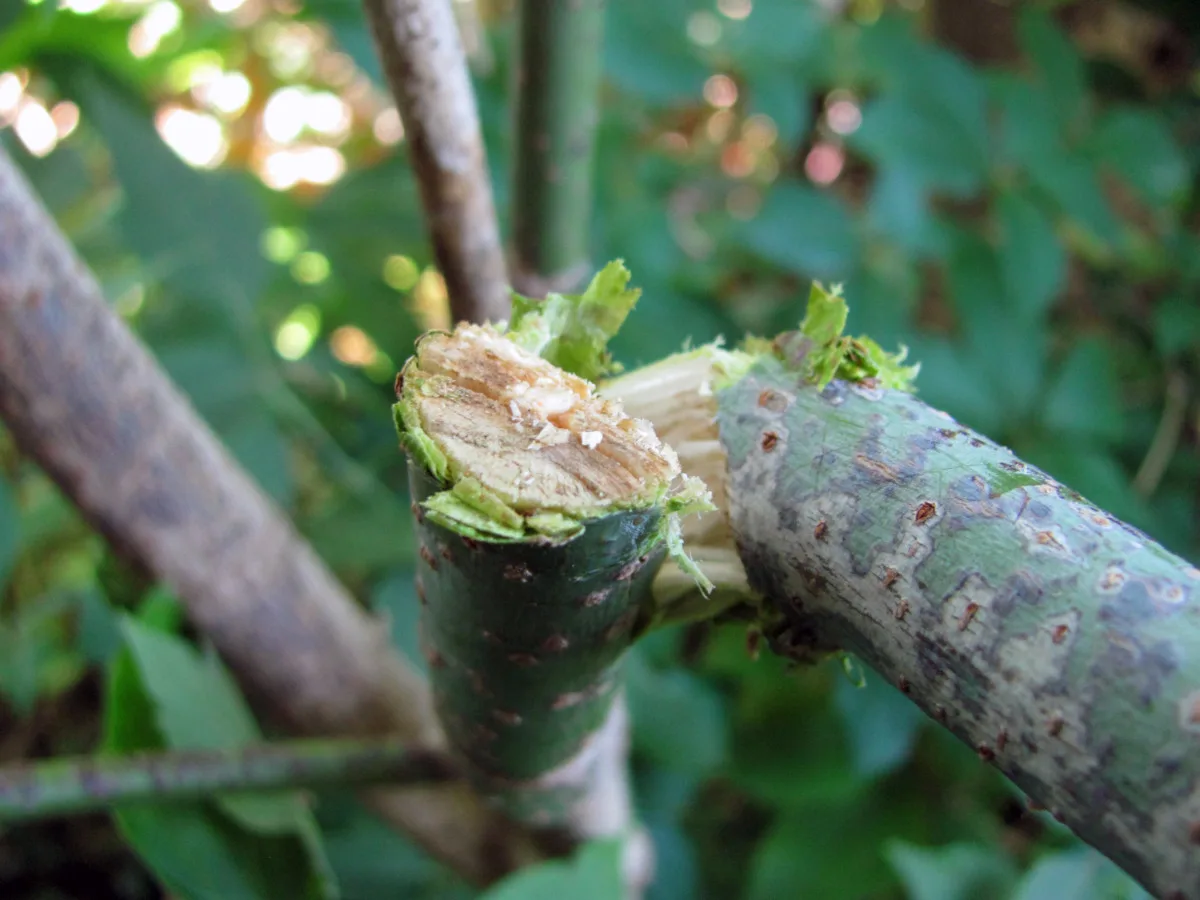
Smoothly snipping away is so much more satisfying and plants will appreciate a clean cut too. Straight cuts will heal faster and the wounds will better resist diseases and insects.
A good set of hand pruners are made to last a lifetime, so don’t chuck ‘em away. It’s really easy to restore a used and abused pair of shears back to nearly new condition.
Supplies:
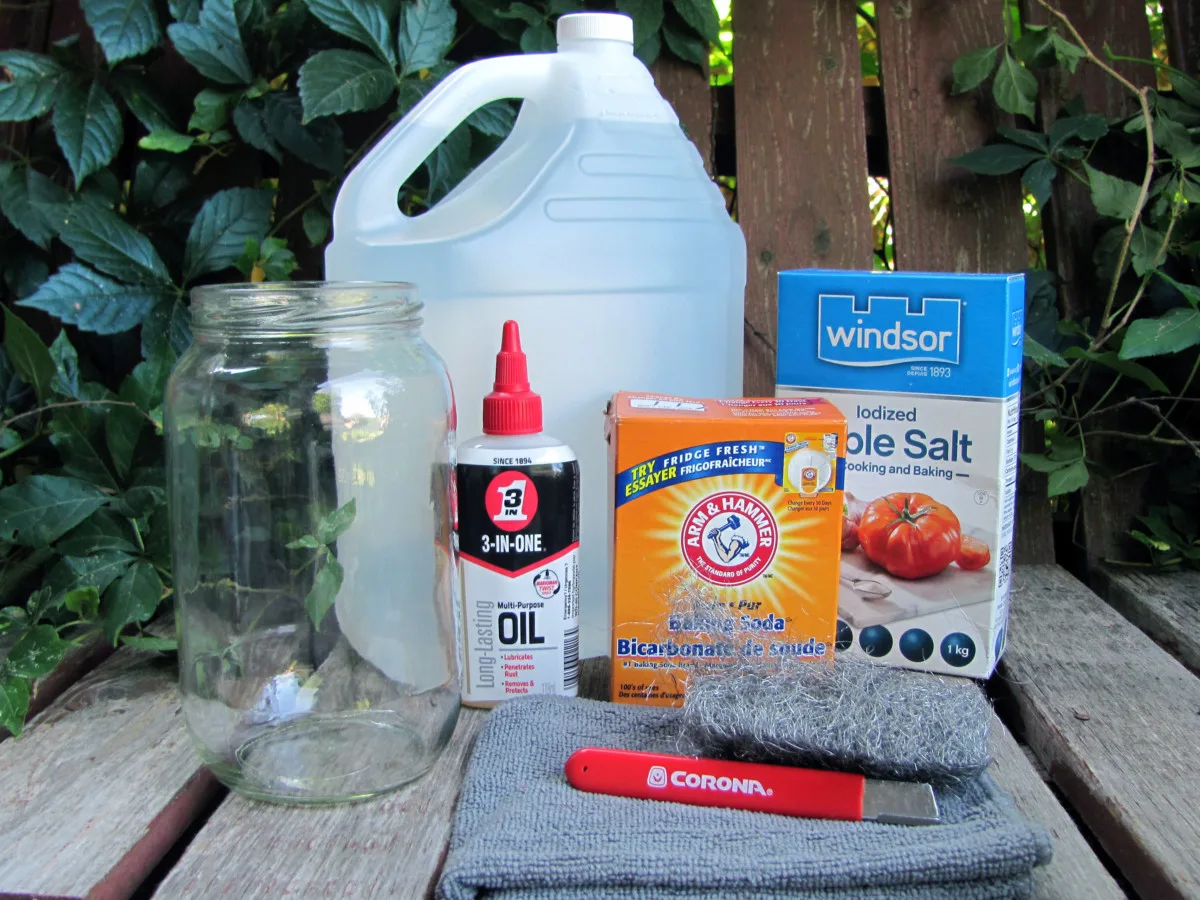
- Large glass jar or casserole dish
- White vinegar
- Table salt
- Baking soda
- Multipurpose oil
- Carbide sharpening tool or diamond file
- Steel wool
- Clean rag
Remove the Rust with Vinegar and Salt
To bring your snips back to their former shiny glory, all you need to do is soak the rusted parts in a solution of white vinegar and salt.
This trick works will any metal tool that’s corroded with rust – hammers, wrenches, loppers, scissors, and the like – by following these same steps.
My pruning shears are in pretty bad shape so I disassembled them first by removing the bolt that holds the blades together. It’s not strictly necessary to do this, but I wanted to make sure the solution would reach all the inner bits.
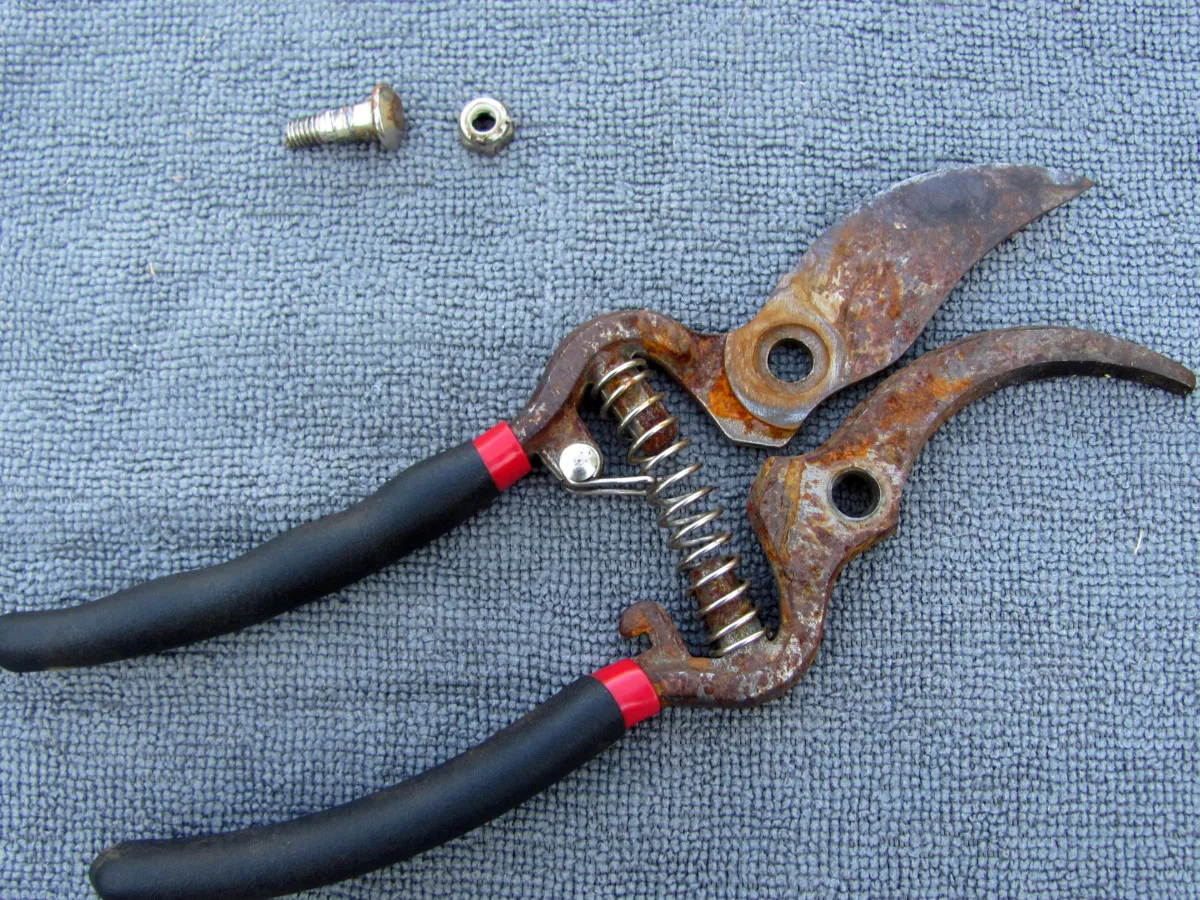
Next, fill a glass jar or baking dish with vinegar. Add roughly 2 tablespoons of salt and stir until the granules are mostly dissolved.
Add your pruners to the mix and top up with vinegar, if needed, to completely submerge the metal. Toss in the bolt and nut too.
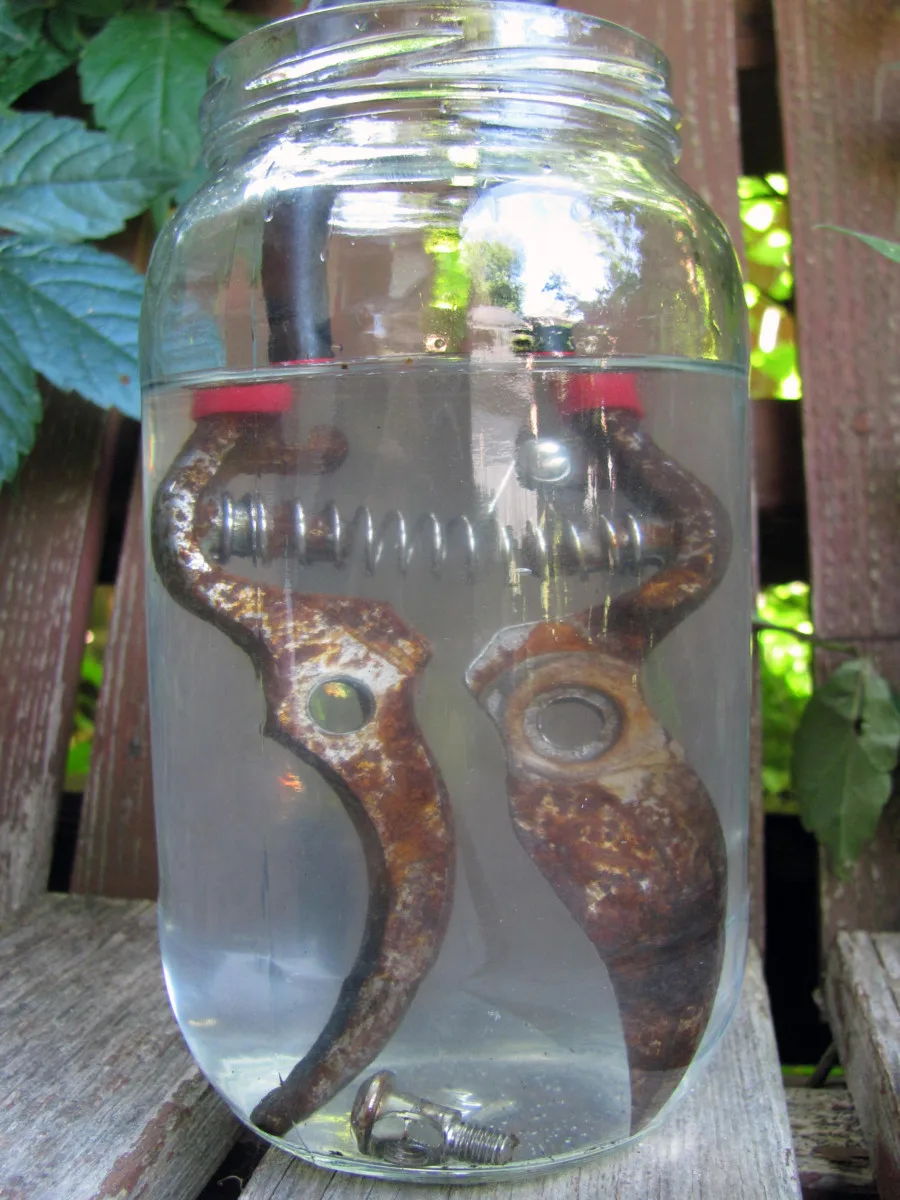
After a few hours, you’ll see little bubbles working their magic on the rust:
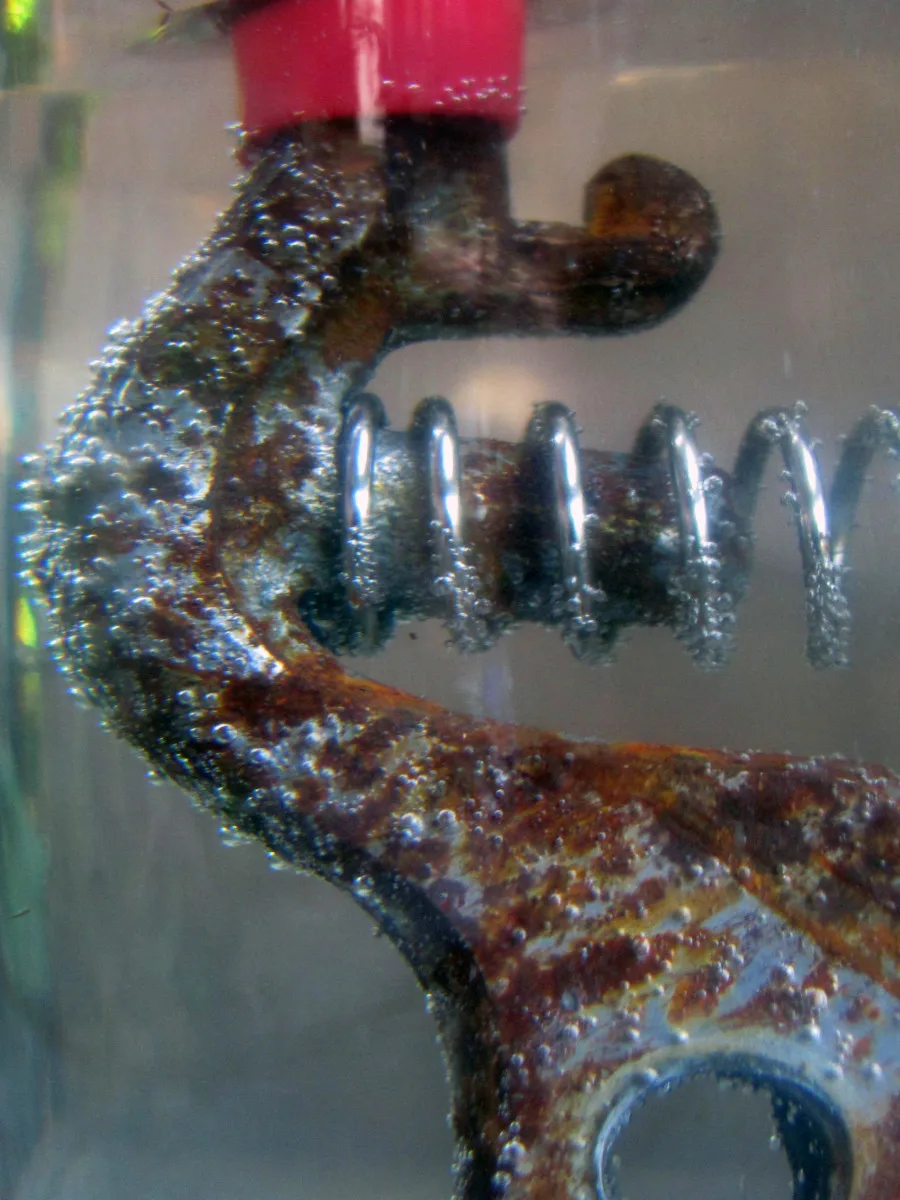
Let the pruners soak for 12 to 24 hours. I left mine immersed for a full day.
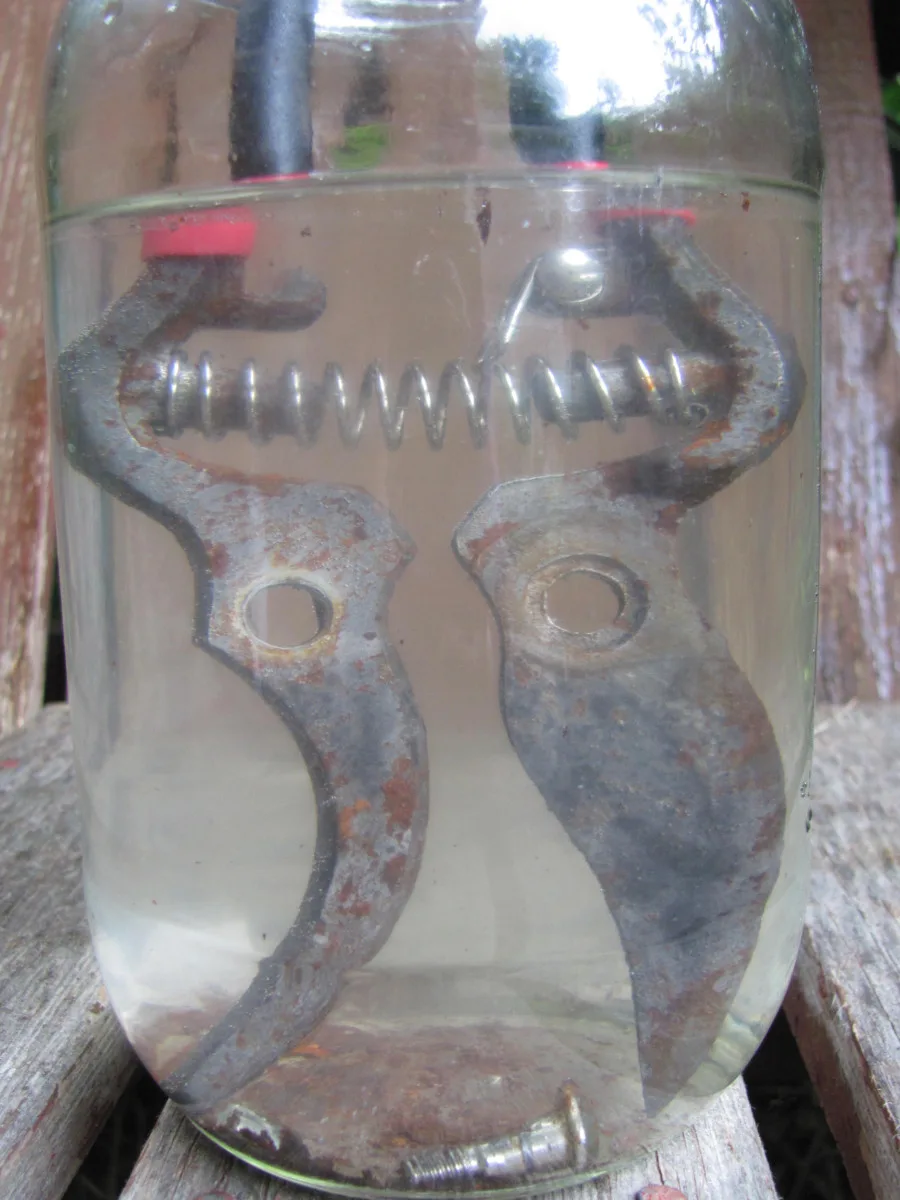
The remaining rust can be scrubbed off using steel wool.
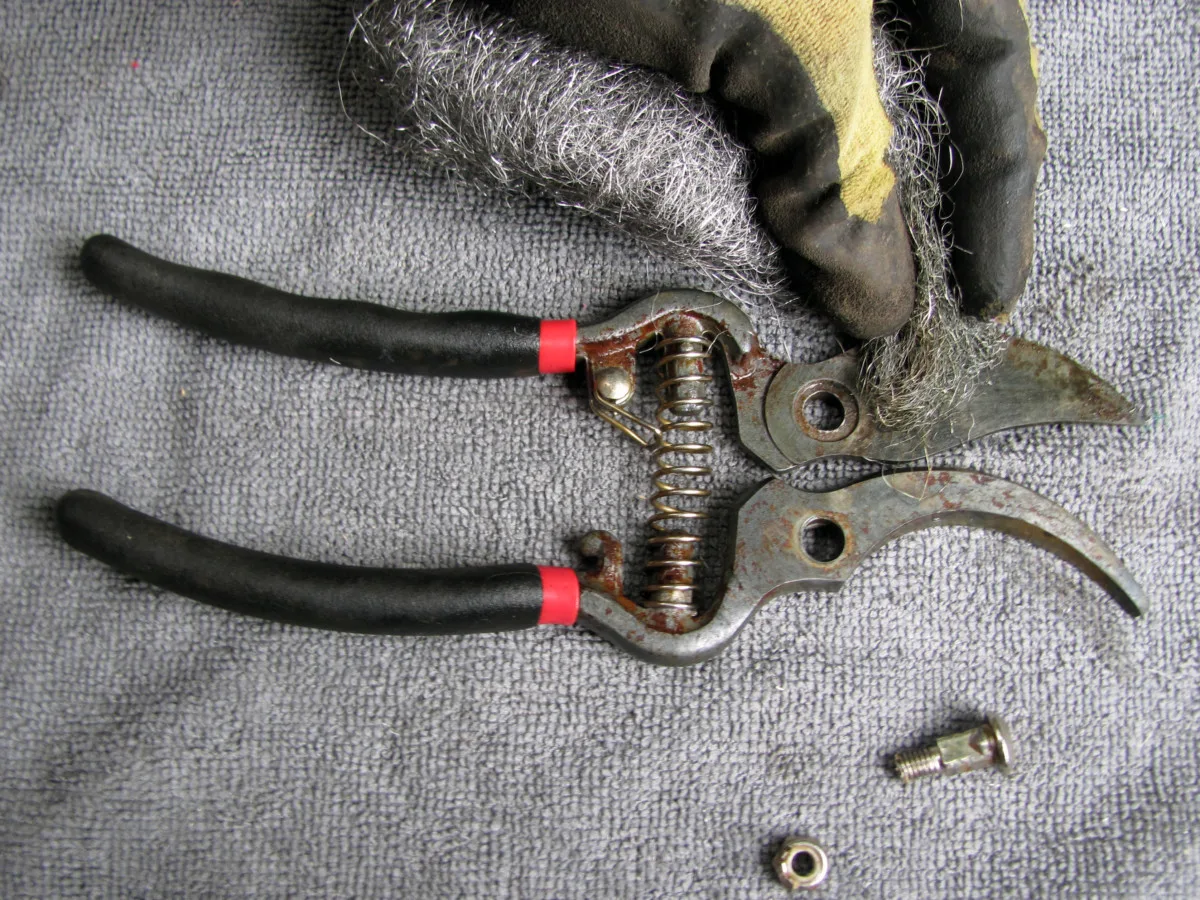
Once the pruners are rust-free, we’ll need to neutralize the acidity of the vinegar by plunking the clippers into a jar with filled with water and 2 tablespoons of baking soda.

Leave them in there for about 10 minutes. When time’s up, take them out and let the pruners dry completely before proceeding to the next steps.
Sharpening the Shears
When your pruners aren’t so rusty, you can skip the vinegar dip and clean the blade and mechanism with soapy water. Scrub with a toothbrush to remove dirt, sap, and plant debris from all the nooks and crannies, and then wipe it down with a clean rag. Use steel wool to clear away light rust.
To get your pruners snipping smoothly again, you’ll need to use a sharpening tool along the beveled edge of the blade. In bypass pruners, you only need to sharpen the upper blade.
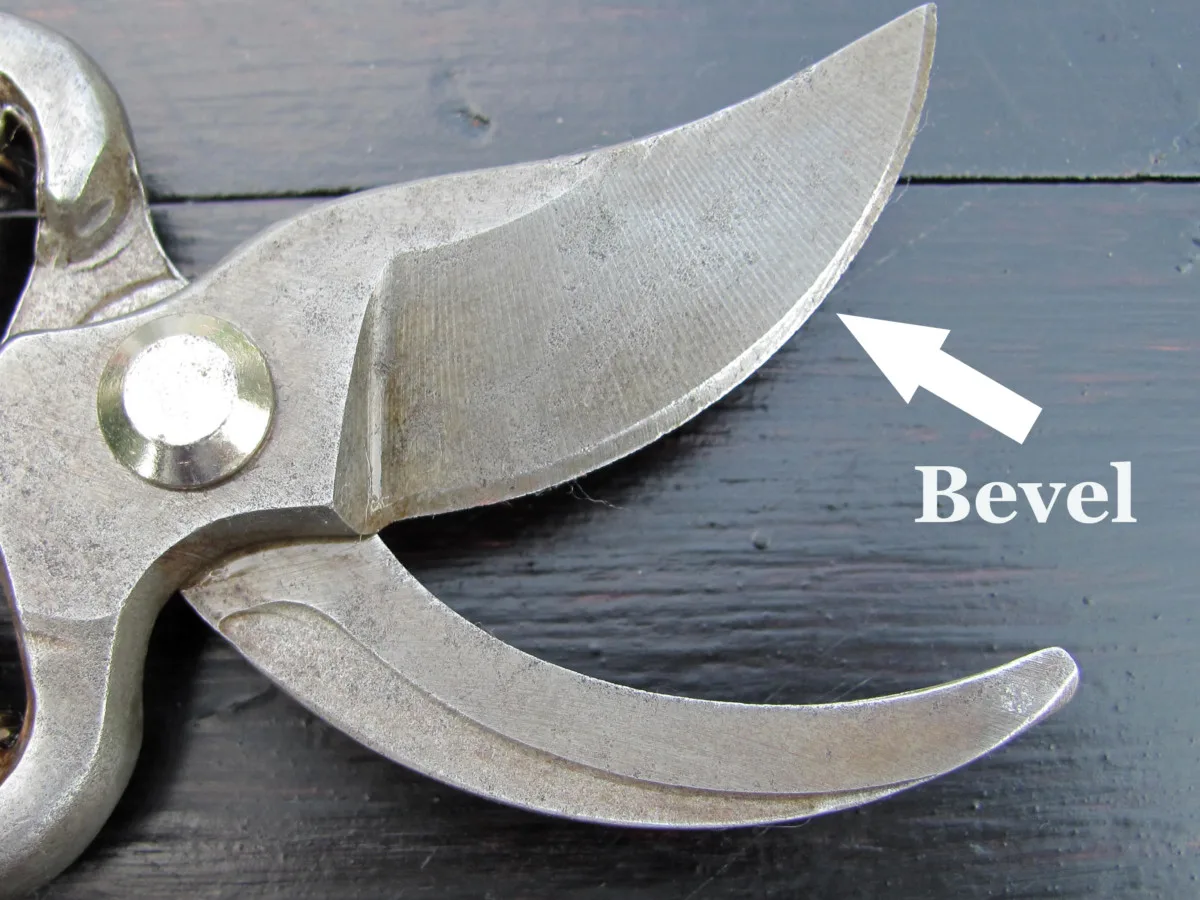
I used a carbide tool because it’s so simple to use, but any sharpening stone or diamond file would do the job.
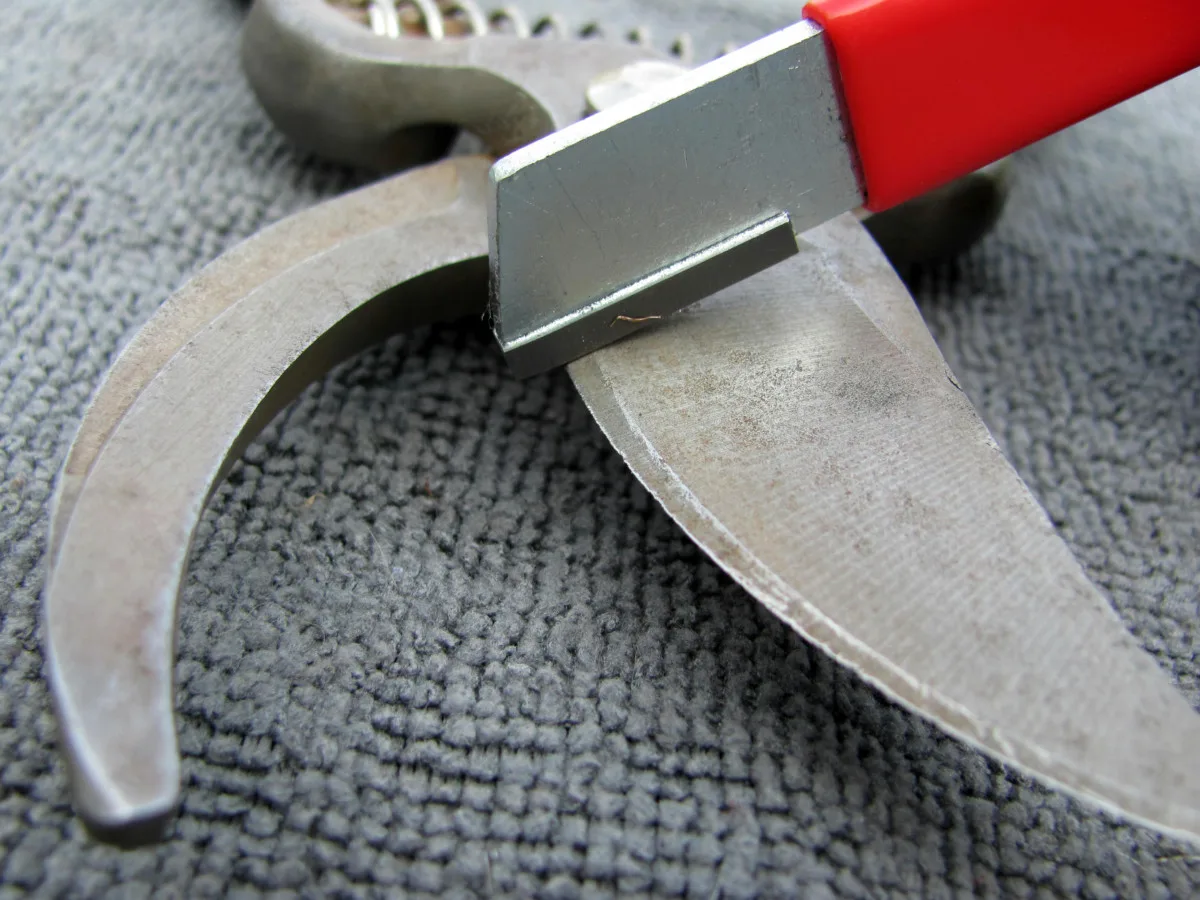
Match the sharpener to the angle of the bevel – around 10 to 20 degrees – and draw it along the edge from the back of the blade to the tip. Do it in one smooth motion with a moderate amount of pressure on the tool.
You only need to do 4 to 5 swipes across the bevel. You’ll feel the burs being removed as you run the sharpener across.
Flip the pruners over and do the other side. This side is flat so run the sharpener flush to the blade. When both sides are smooth to the touch, you’re done honing the edge.
Apply a Coat of Multipurpose Oil
Prevent future rusting and keep the squeeze mechanism moving seamlessly by applying a thin coat of multipurpose oil as the final step.
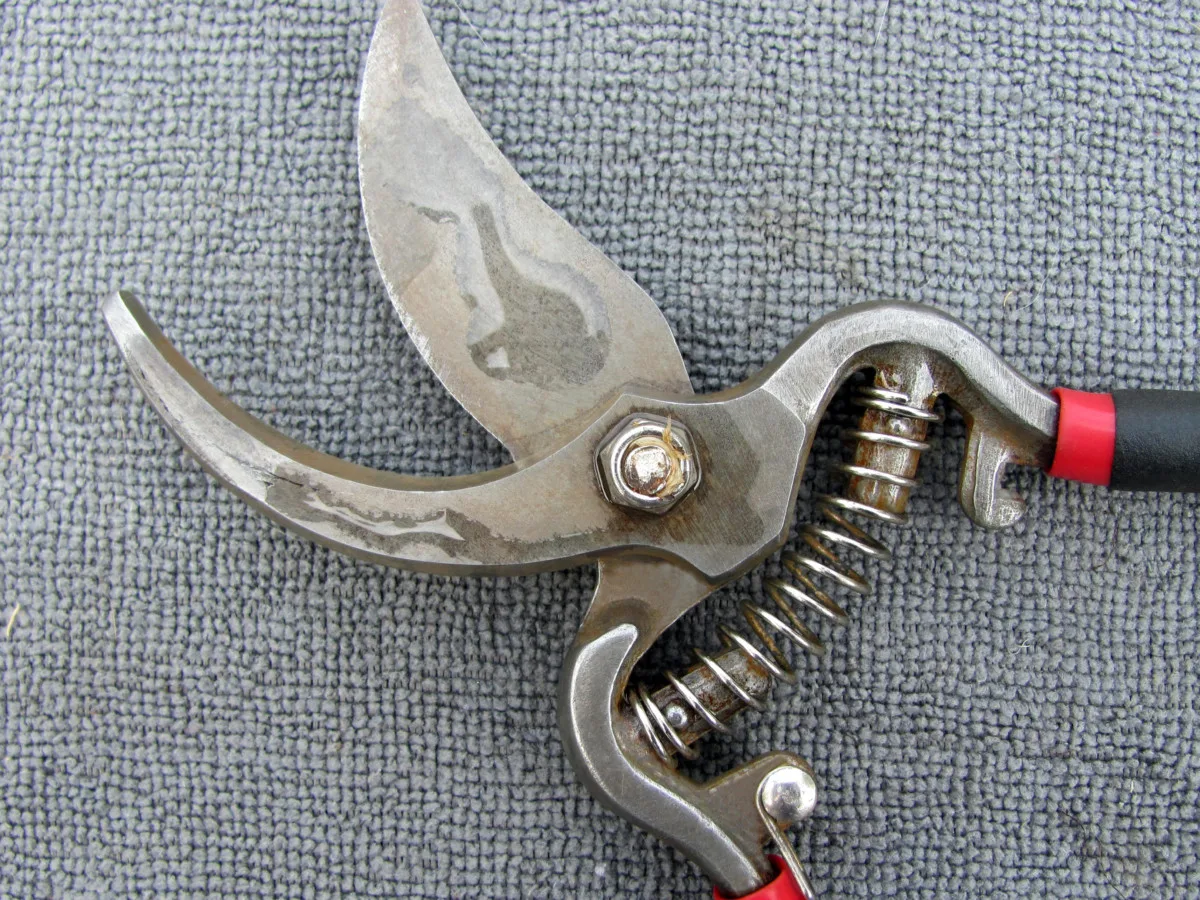
Using a rag, rub the lubricant all over the blades and moving parts. Work the pruners back and forth a few times to disperse oils through the closing mechanism.
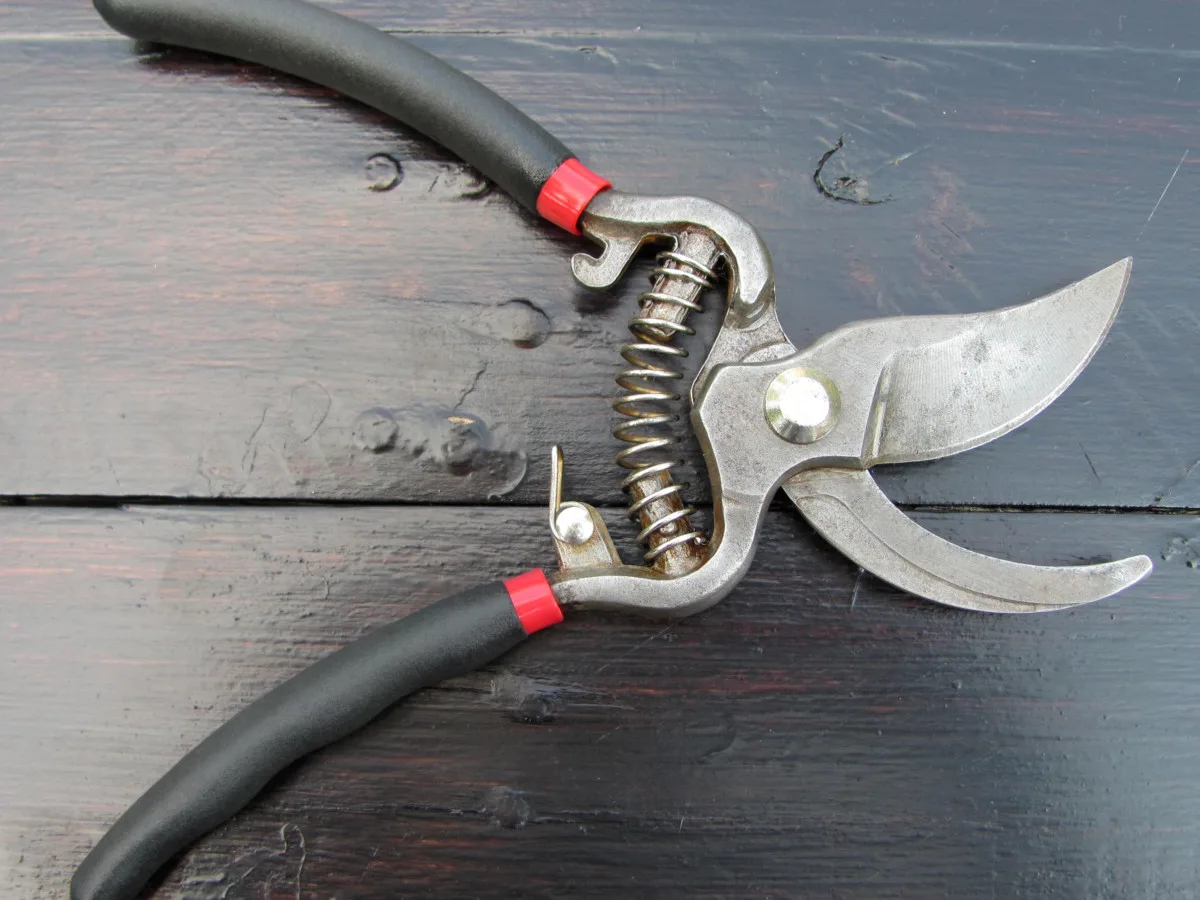
And now for the real test:
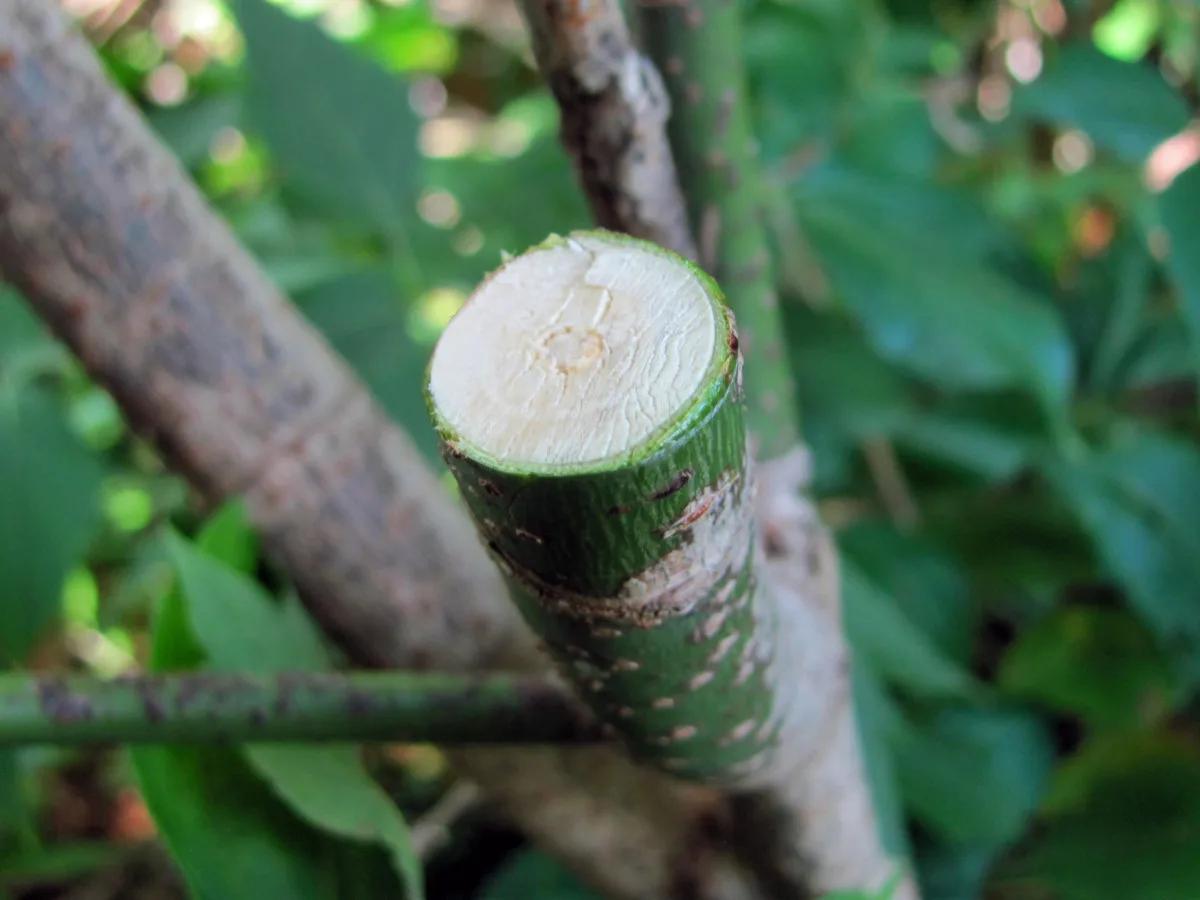
Amazing!
Clean and sharpen your pruning tools in fall before tucking them away for the winter season. Add this task to your autumn to-do list and you’ll hit the ground running every spring.

Get the famous Rural Sprout newsletter delivered to your inbox.
Including Sunday musings from our editor, Tracey, as well as “What’s Up Wednesday” our roundup of what’s in season and new article updates and alerts.

