
We’ve talked a lot about the deep litter method with fellow backyard flock owners, but so many are confused about the process and concerned about the well-being of their flock.
We’re here to calm your nerves, teach you how to use the deep litter method in your coop, and give you all our tips and tricks to make it a success!
What is the deep litter method?
The deep litter method is a system of chicken coop management that is healthier for your flock, and easier for you, the chicken keeper.
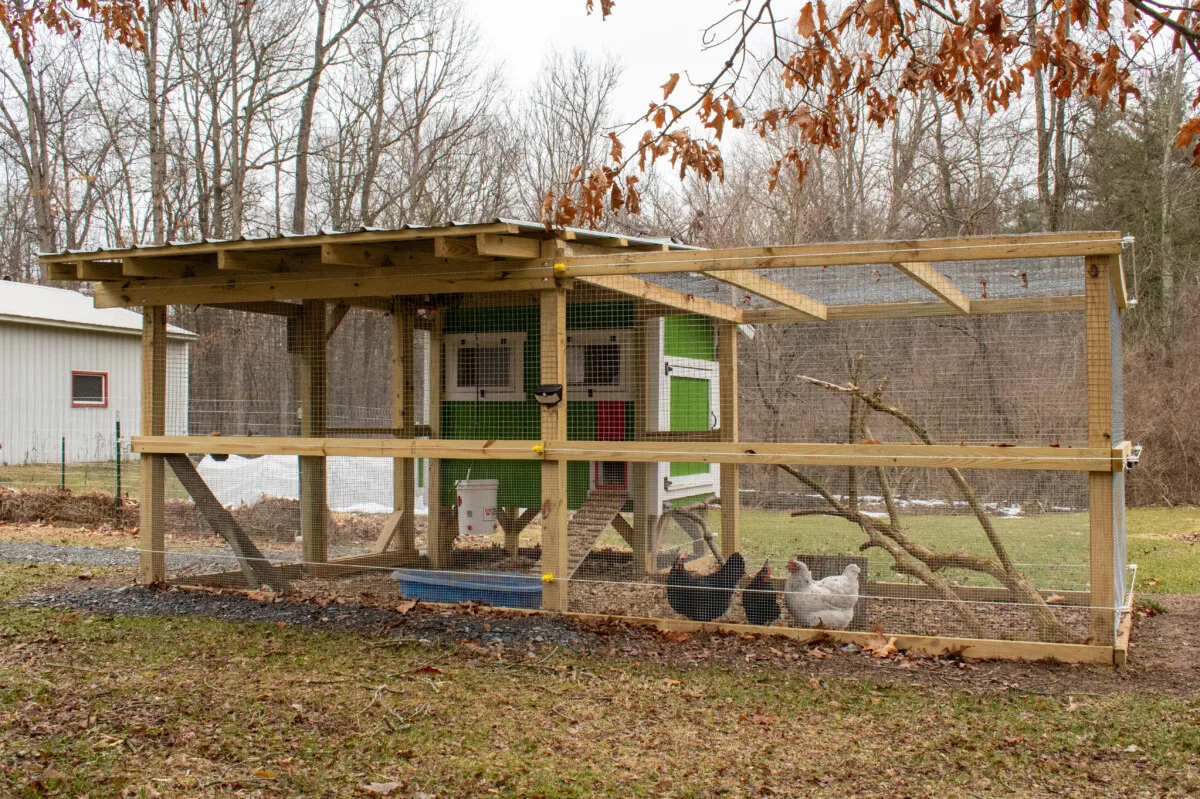
This method involves layering and mixing bedding material on the floor of the coop in a thick pile, which not only saves you the work of constantly cleaning out the coop, but makes great compost for the garden/
The chickens help with mixing up the litter as they pick and scratch on the floor of the coop, which in turn exposes them to healthy microbes boosting their immune system, all while breaking down that bedding into beautiful compost.
Why should you use the deep litter method?
1. A Healthier Flock
The deep litter method, when implemented correctly, is a big health booster for your flock. This system encourages healthy microbes in the coop, which will help prevent parasites and illness in your flock.
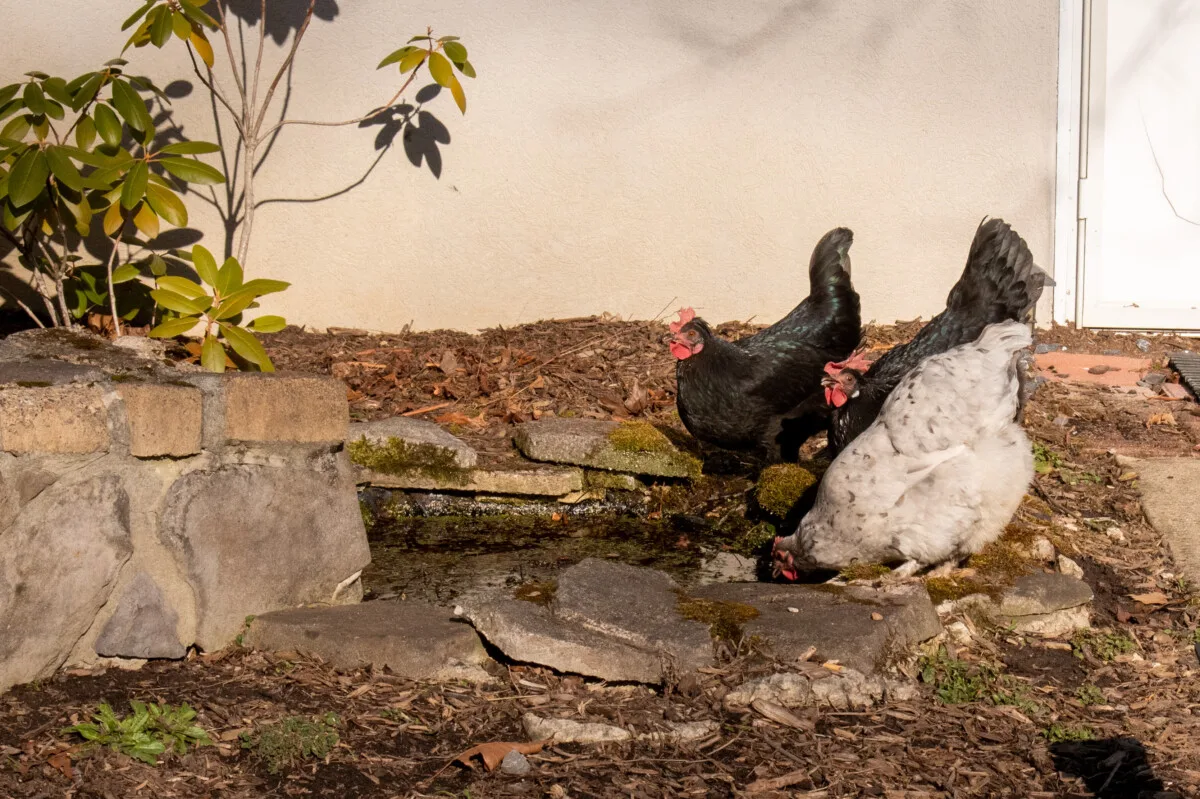
This method can also make your coop warmer in the winter, as the litter that’s breaking down on the floor will add heat to the coop, as well as insulate the floor to protect against the cold.
2. It Makes Chicken Keeping Easier
The deep litter method is much easier on you, the chicken keeper!
With this method, you don’t need to take time to clean out the coop every week. You simply give the existing litter a turn with a pitchfork, and add new litter on top. With the business of life, it’s so nice to have one less chore to do every week.
3. Bonus – Free Compost
This method is a great way to turn all that chicken bedding and poop into nitrogen-rich compost for the garden or your potted plants.
You won’t have to deal with any more giant piles of slowly decomposing chicken bedding, because this system turns it all into compost right on the coop floor.
How to Implement the Deep Litter Method in Your Chicken Coop
Step 1
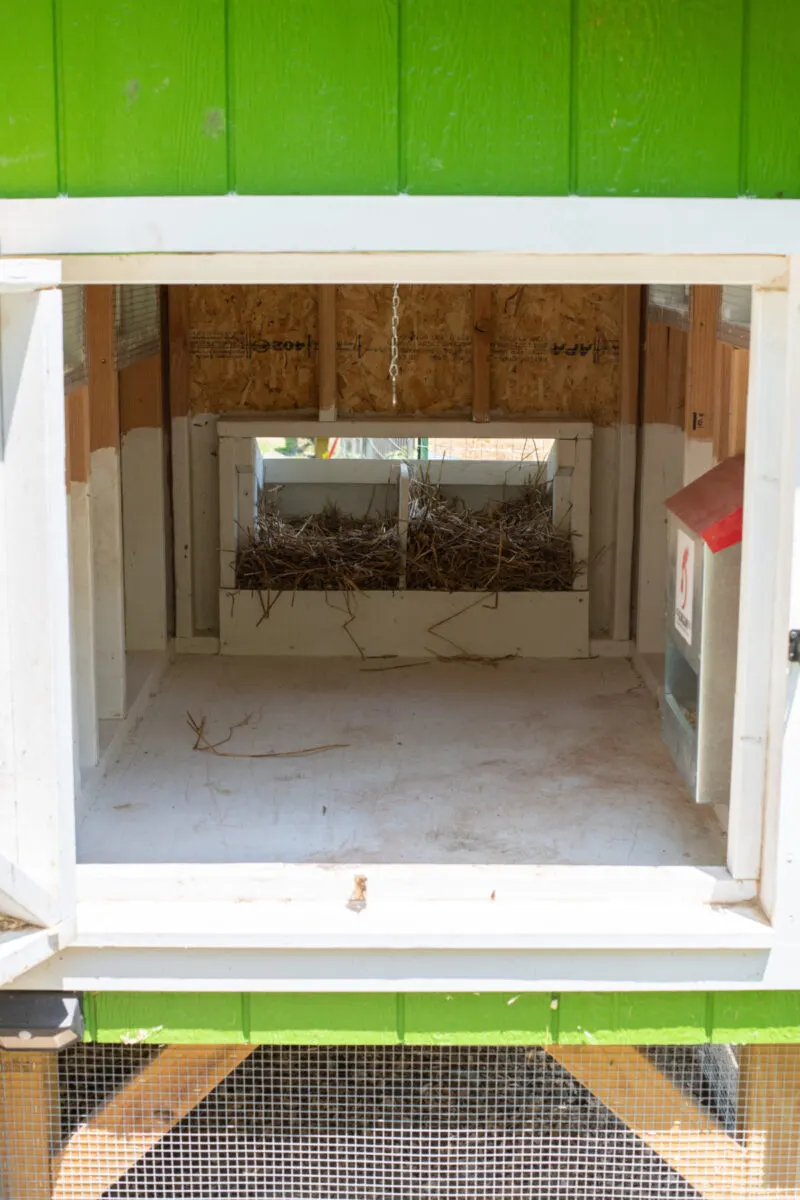
When first starting the deep litter method, it’s best to start with a clean slate, literally. Clean the chicken coop completely, pull out all old bedding, scrub the floors, roosts, and nesting boxes with soap and vinegar, and let everything dry completely.
It’s important to make sure everything is dry before you add new bedding.
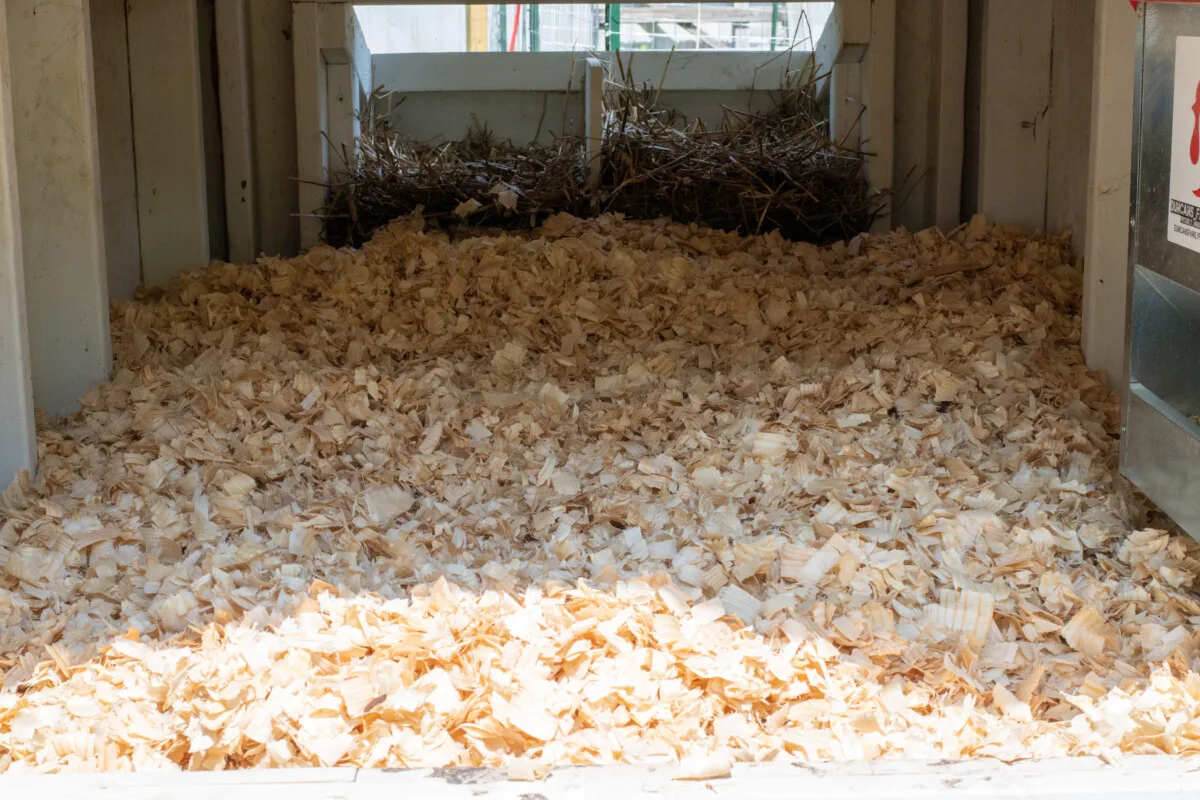
Next, stack fresh bedding on the floor so it’s at least six inches thick, but it can be up to 12 inches thick.
Step 2
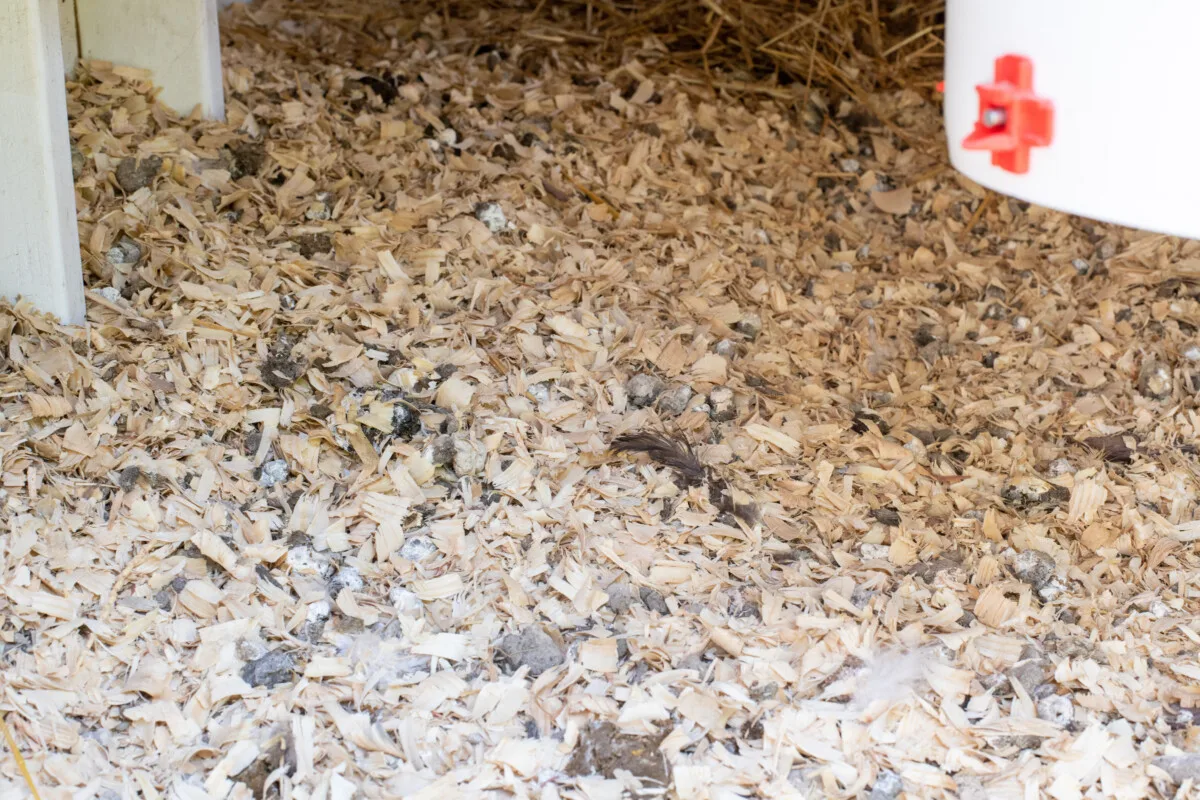
The top layer of bedding will eventually become soiled from chicken waste. This may take a few days or a week, or more, depending on your flock size and coop.
When the top layer is no longer clean, it’s time to flip the bedding.
Use a rake or shovel and turn the bedding. You want to flip the top layer to the bottom, so the fresh bedding beneath is now on top.
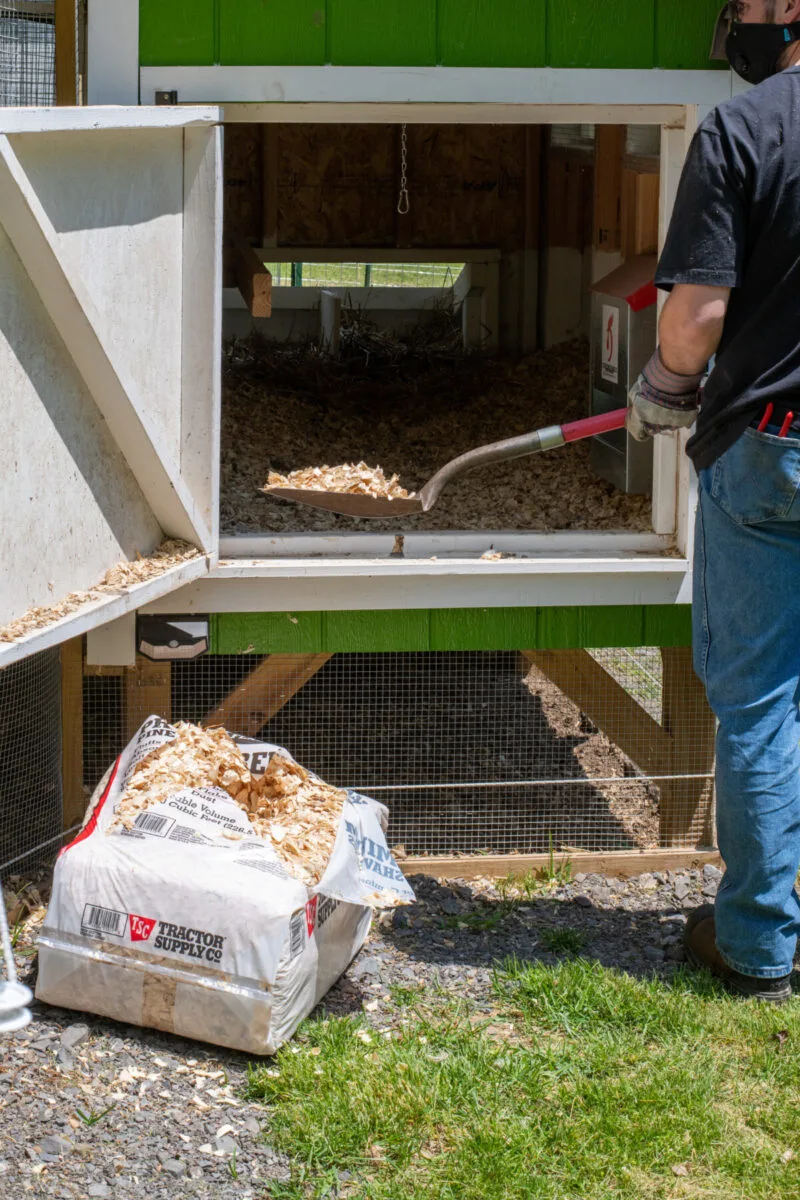
At this point, you can add some new bedding to keep the litter at least 6 inches deep and freshen up the coop.
Step 3
When the top layer again becomes soiled, turn the bedding and add more fresh bedding. You’re looking to always maintain at least six inches of bedding on the floor of the coop, but more is better (12″) if you can manage it.
The bedding should never be filthy, wet, or smelly.
If you maintain turning it and adding fresh bedding, the coop should always be clean, but deep down, that bedding is breaking down into compost.
Step 4:
Two or three times per year, you’ll need to clean out all that bedding and start over again. We usually do this in the spring, mid-summer, and late fall. When you do a coop cleanout, leave a few inches of the old bedding on the floor of the coop.
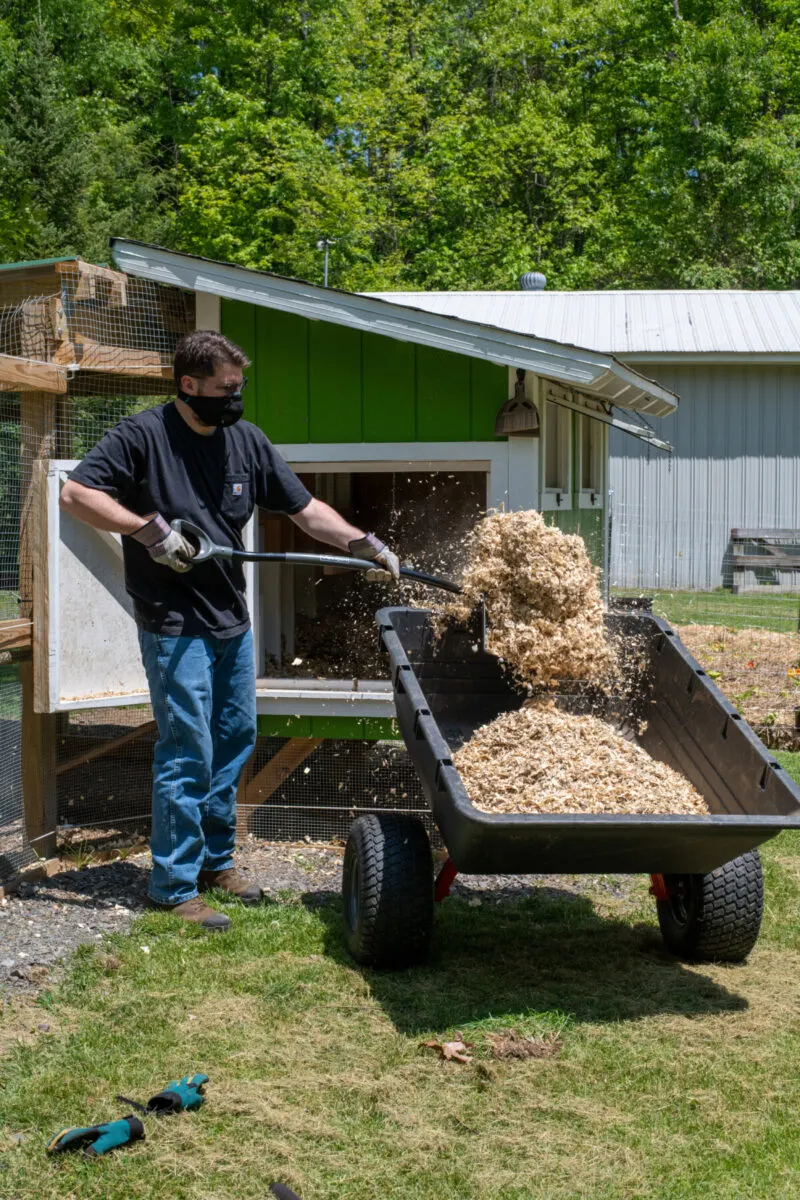
This old bedding has microbes that will give you a head start on your next round of deep litter.
Top Tips for the Deep Litter Method
Ventilate your coop
Make absolutely sure your coop has proper ventilation. This is not only essential for the deep litter method but for the health and wellness of your flock. The air can quickly fill with ammonia, moisture, and dust if there isn’t proper airflow in the coop.
You can easily add ventilation to your coop by drilling some small holes in the wall near the ceiling or adding a rodent-proof vent into the wall.
Choose the right type of litter
A lot of times, when we’re asked about the deep litter method, people assume we’re talking about cat litter.
Just for the record, never put cat litter in your chicken coop!
Litter just refers to the type of bedding on the floor of the coop.
The best bedding for the deep litter system is pine shavings. They break down quickly and are ultra-absorbent.
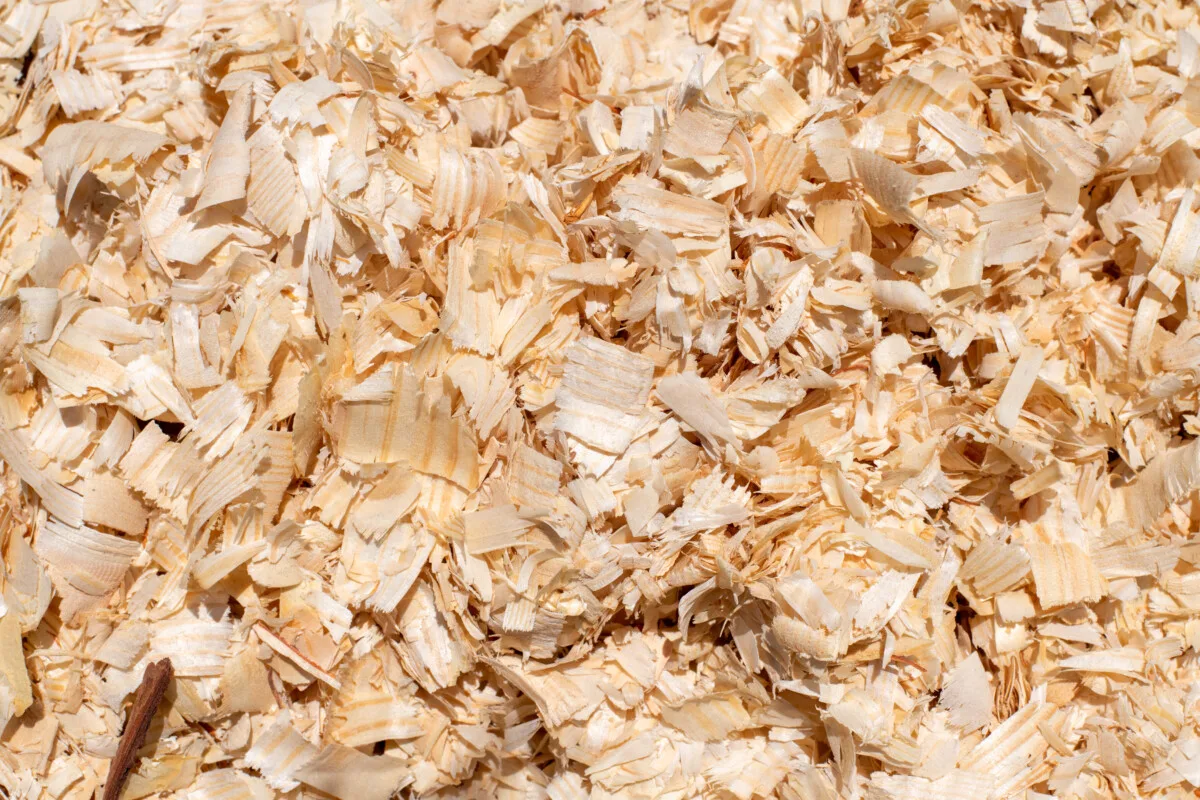
We always caution against using cedar shavings in the coop, because they’re highly aromatic, which can hurt your chickens’ delicate respiratory systems.
Straw will work in the deep litter method, but will need to be turned more frequently as it’s not as absorbent as shavings.
Keep an eye and nose out for problems
We’ve heard of many chicken keepers using the deep litter method as an excuse to stop cleaning up after their chickens. Even though this system is easier than traditional weekly or be-weekly coop clean-outs, it’s still essential that you make sure the coop is clean and healthy for your flock at all times.
The chickens should never be standing in their own waste, the coop should never smell bad, and shouldn’t be attracting nasty pests like flies.
Keep your nose attuned to smells like chicken poop and ammonia. If you smell them, you need to add more bedding and/or turn the bedding more often.
Also, keep a watchful eye on your flock. If they ever seem to be lacking in health, it’s better to scrap the deep litter system and start over than try to fix it while your chickens are suffering.
Common Questions About the Deep Litter Method
How long does it take the litter to break down into compost?
This depends on your climate, how often you turn it, and how many chickens you have. If you’re consistent with it, you could have some beautiful compost in just a few months.
Does this work in wet /dry and cold/hot climates?
Deep litter can work in all climates, but you may have to tweak the system according to where you live. If you live in a very wet and humid location, you may need to add litter more often.
If you live in a dry climate, you may need to moisten the litter on occasion. This only needs to happen if the litter is dry and dusty and not breaking down. Simply mist it with water from the hose to get it going.
As for cold climates, it’s best to start the deep litter system when the weather is warm so it’s already breaking down with microbial activity before winter. It’s hard to get the necessary microbes going during the winter, but if they’re already present, it will help keep the coop warm and will work perfectly during the winter.
What type of litter/bedding is best for the deep litter system?
We like to use pine shavings for our deep litter system because they break down quickly and are more absorbent than other litter options.
I have a concrete/wood/dirt floor. Will it work?
Deep litter will work on all types of floors, even concrete and stone, but there are some things to consider.
If you have a wood floor in your coop, the deep litter system can cause the wood to rot quicker over the years. However, resist the urge to lay down some kind of flooring or barrier, such as vinyl, as it will only end up trapping moisture between the wood and the moisture barrier, causing the wood to rot even faster.
One of the best things you can do to protect the wood floor in a coop is to paint it with mildew-resistant paint. However, this is best done when building your coop, before you move a flock in, to give the paint plenty of time to dry and cure.
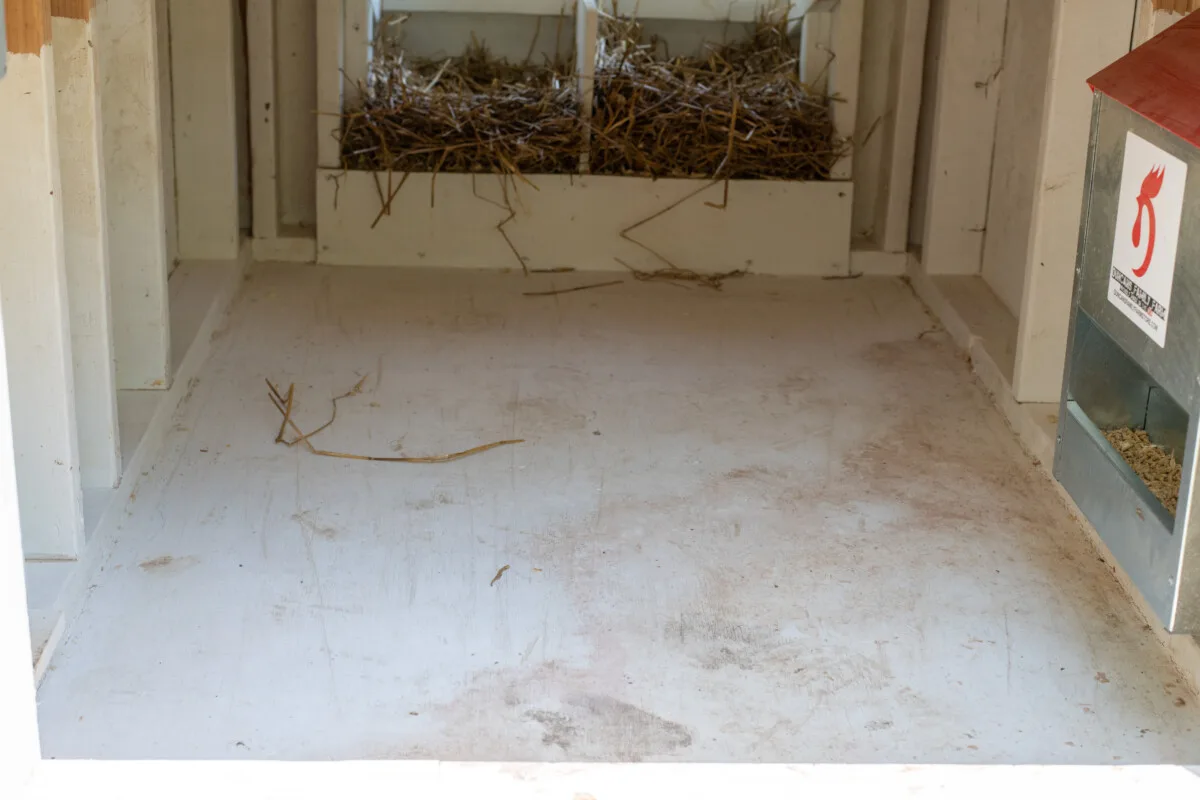
Just change out your litter two to three times a year to keep the coop floor in good shape.
The deep litter system will work even better on dirt floors because the natural microbes and insects in the soil will give the deep litter system a boost. You do need to be cautious with dirt floors, though, because predators can dig their way into your coop.
How do I know if it’s working?
If the litter is slowly turning into compost, you’ll know everything is working as it should. If it ever smells like poop or ammonia, you have too much moisture, and you need to turn it and add more litter more often. (There should be a very faint, sweet, almost fermenting smell when you have balanced microbe activity below the litter.)
If the litter is not breaking down at all into compost, you need more moisture to encourage microbial activity. Or if you have a smaller flock, they may not be producing a lot of waste, in which case you may need to turn the litter less frequently and don’t add too much new litter at a time.
When should I start using the deep litter method?
It’s best to start using this method in the early spring when the weather is warming up, and you have a whole three seasons of non-freezing weather ahead of you.
The deep litter method is a top-notch way to take care of your chickens. Not only is it healthy for them, but it’s also much less work for you!

Get the famous Rural Sprout newsletter delivered to your inbox.
Including Sunday musings from our editor, Tracey, as well as “What’s Up Wednesday” our roundup of what’s in season and new article updates and alerts.

