Are you an avid collector of indoor plants?
Has your indoor greenery begun growing in leaps and bounds since you started spending more time at home?
Are you running out of flat surfaces to display your proliferous potted plants properly?
If you answered yes to any of the above questions, you are in definite need of learning how to make your own macramé plant hanger.
What was popular long ago, is making a comeback today.
Now, as much as ever, people have a longing to keep busy. Whether that takes you online, or off-, there is a constant desire to keep our hands and our minds actively doing something.
Macramé is one way to take you there. To a place where your hands get to do all the crafting they can handle and where you get to express your creativity through knots.
Both doing and making can bring about feelings of genuine worthiness. All the while bringing you peace of mind that simplicity can be found in the most ordinary string.
So, let’s keep our words short, and our strands of cord long, as we show you step-by-step how to make your own macramé plant hanger.
Getting started with making a macramé plant hanger
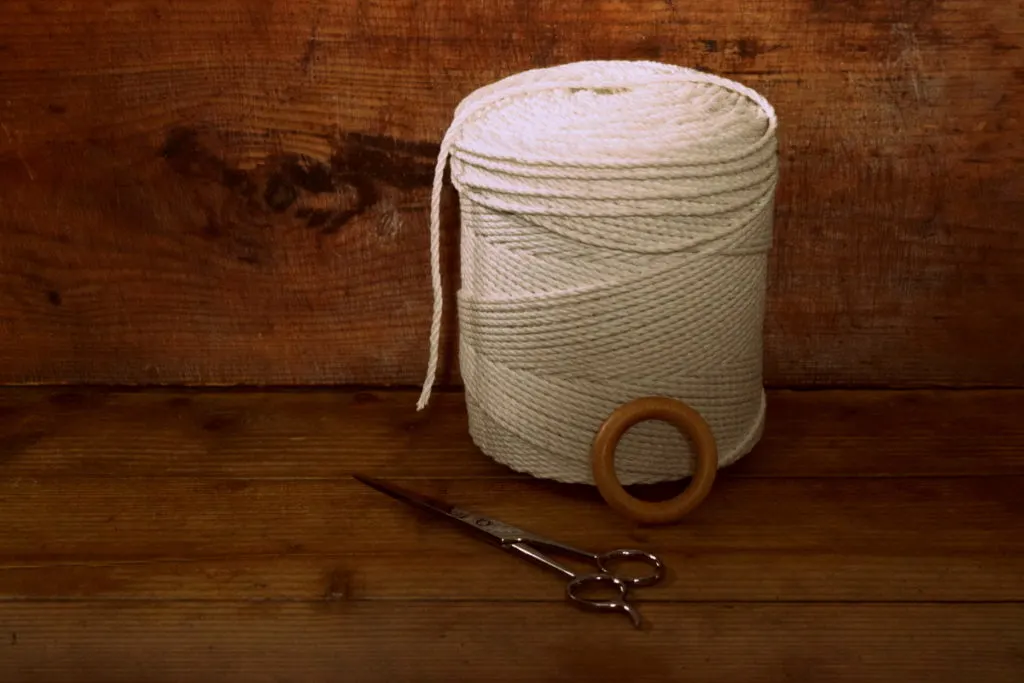
As far as tools go, all you will need is a pair of scissors and a tape measure.
To make one macramé plant hanger, you will also need:
- 3mm macramé cord (105 feet/32 meters)
- and one wooden ring
Macramé cord can be purchased online from several vendors. The cord used for this particular project came from Etsy.
Using 100% cotton cord is a practical way to keep your macramé projects naturally beautiful.
Jute or hemp with natural brown tones is superior for all of your outdoor macramé projects as it will last longer in the elements.
How much cord you buy depends on how many plant hangers you wish to make, as well as using it for other projects and decorations.
Macramé cords can be single, twisted or plied. In the end, it is up for you to decide. Just be sure you have enough before you get started!
Rings for hanging can be wood or metal, whatever you can find or have on hand. Wooden rings for hanging curtains can often be purchased in a set of 10, giving you more than you need. However, you can use a couple for practicing the most common macramé knots before embarking on a larger project.
Taking the first steps to making your own macramé plant hanger
First things first, measure and cut your cord.
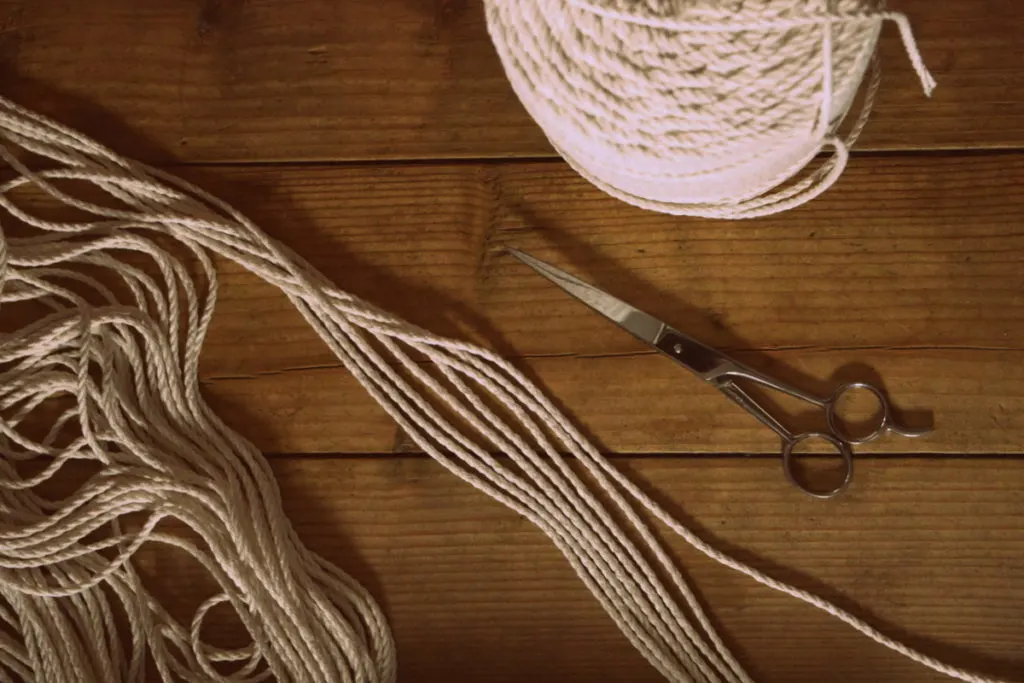
For an average size plant hanger, you will need 8 strands of macramé cord, 13 feet/4 meters long.
You will also need a place to hang your project while working.
It can be hung from a hook on the wall, or you can hammer a nail into a board and hook your ring over it. Just make sure you are comfortable with the height, as working with macramé is bound to show you some weaknesses (as in using muscles that often don’t work enough…).
Pull all 8 strings through your wooden ring, bringing the total to 16 strings. Shortly these will be divided into sets of 4.
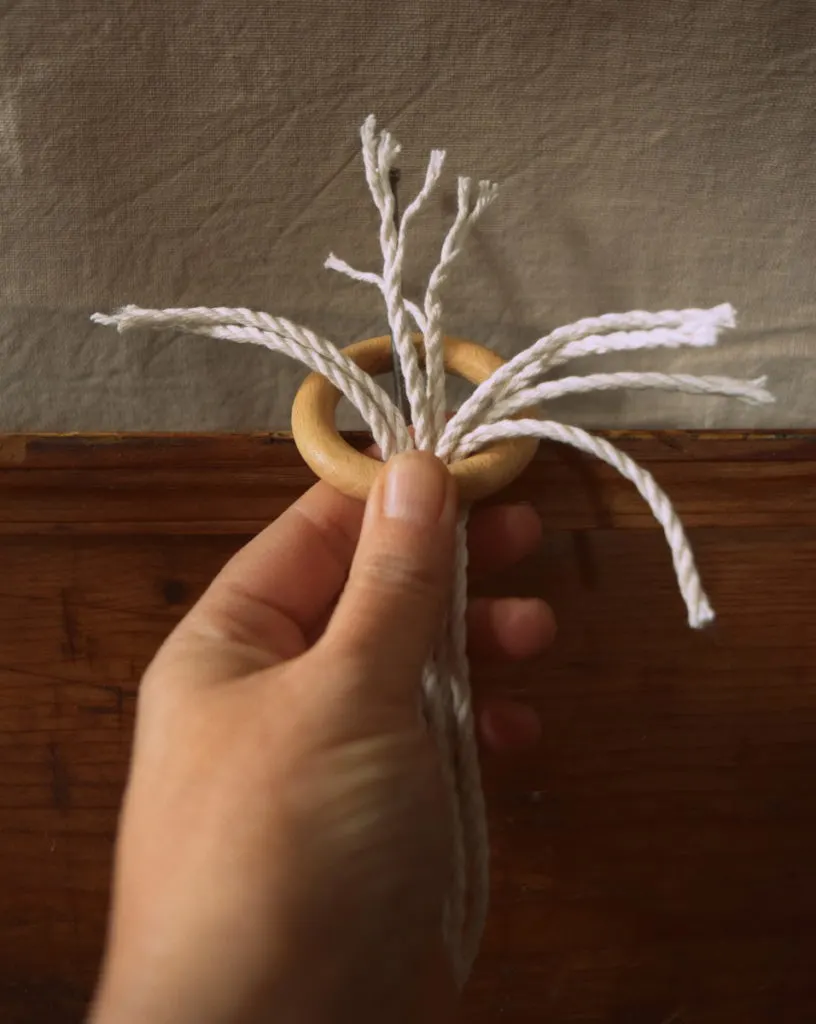
Then make sure they more or less align at the bottom.
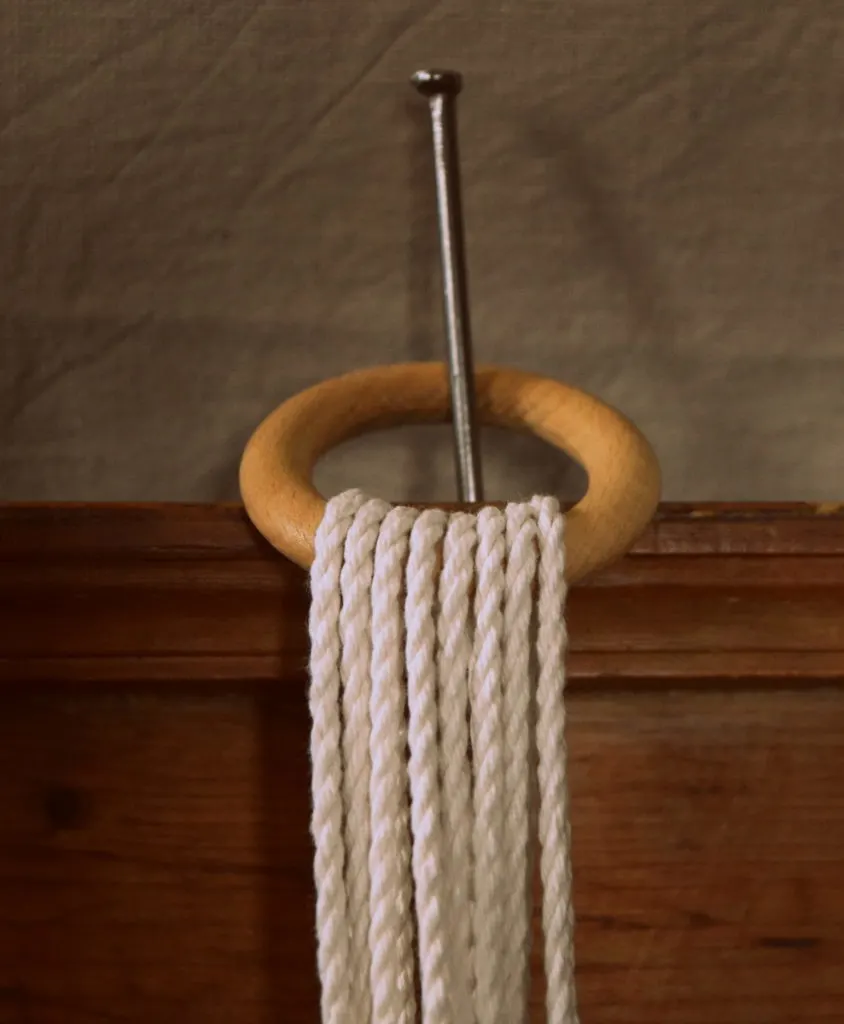
Rather then tying a messy knot to prevent your cords from sliding through the ring, there is an easier way to connect all strings together.
Grab a scrap piece of the same macramé cord about 20 inches/50 cm long.
Hold one end at the top, letting a larger single loop hang down.
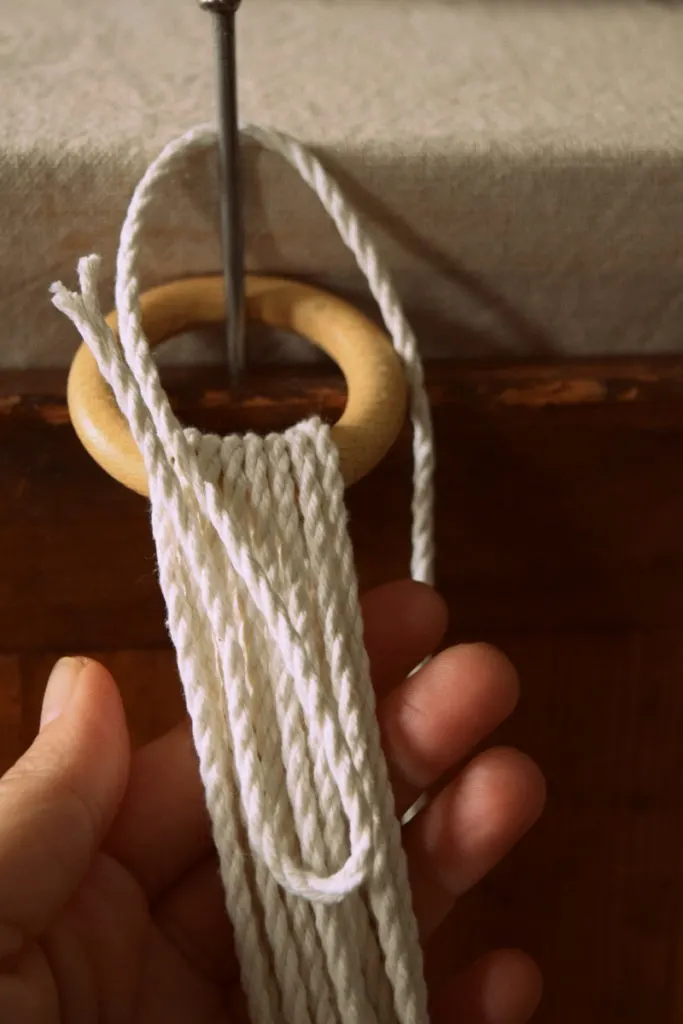
Then begin to wrap the excess cord around the bundle of 16 strings.
Wrap around as many times as your cord will allow – or whatever looks good to you. There is no right or wrong way to do this.
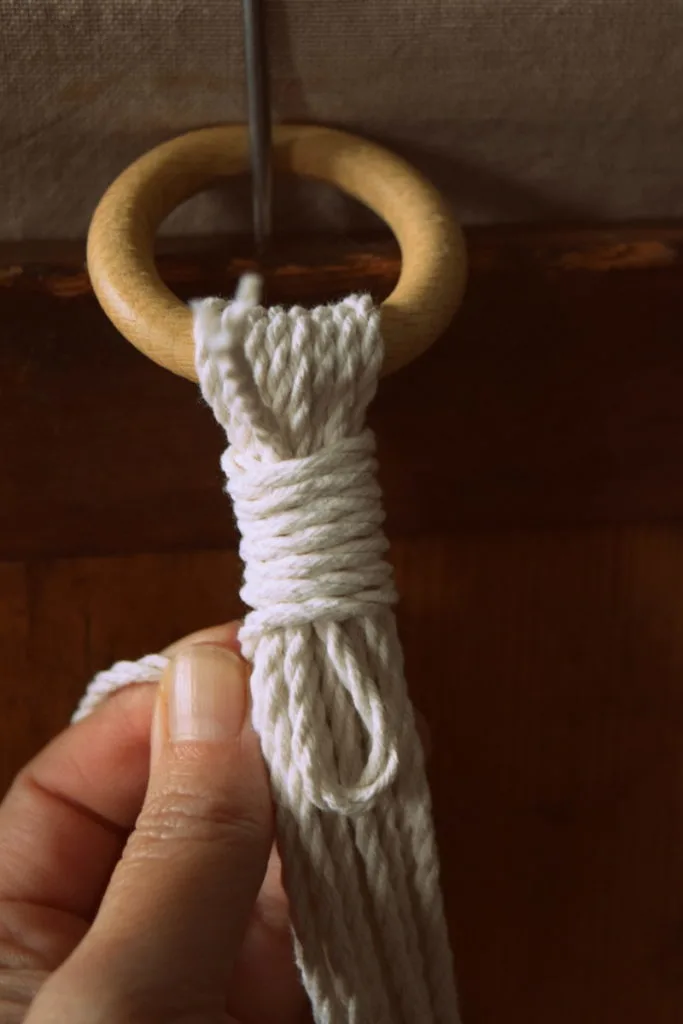
Thread the end of the string through the bottom loop. At the same time pull on the top piece of string, pulling the loop halfway through.
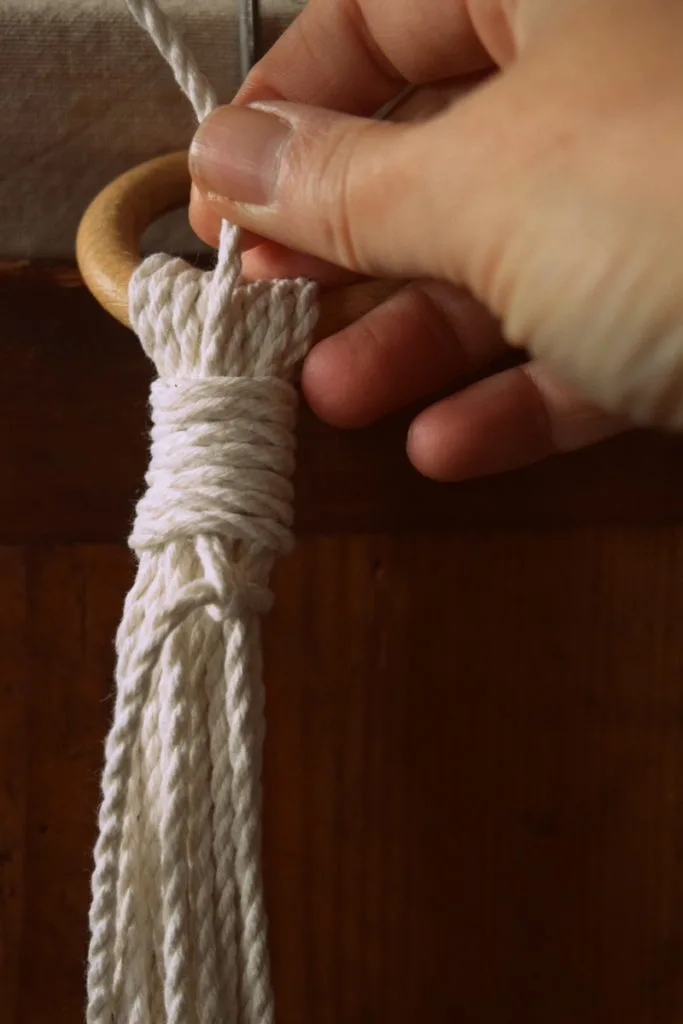
Once you have pulled the loop through, go ahead and trim the ends. And with that, your gathering knot is finished.
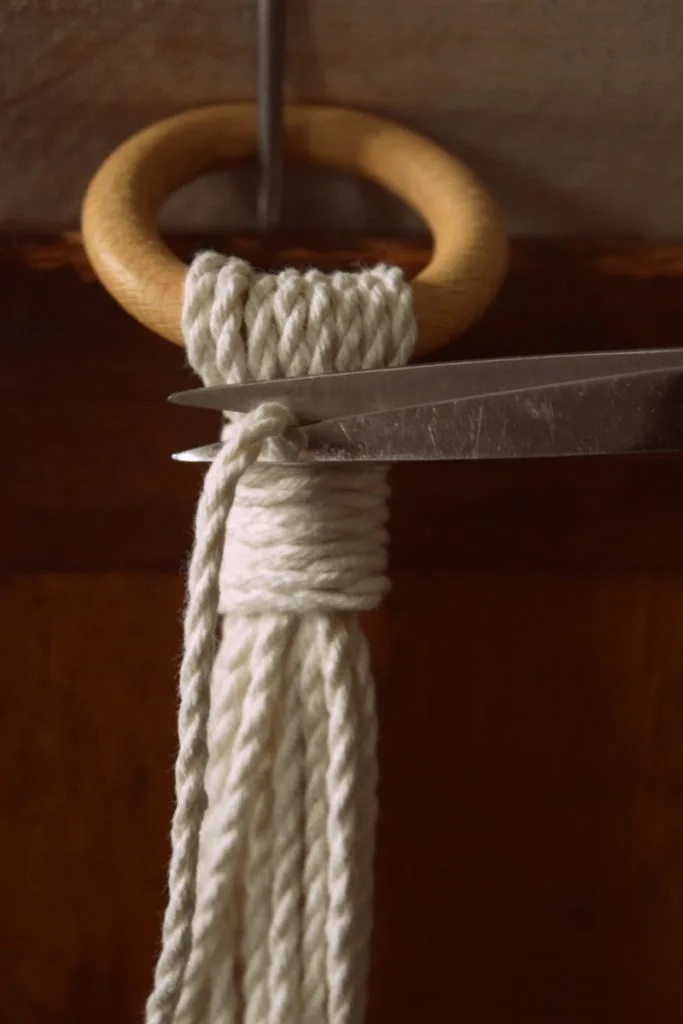
Now we move onto the fun part of actually making the knots. Almost.
Dividing your cords
Remember, we said that we would divide the cords into groups of 4? Do that now. Try and grab four that are closest together. We will be working with just one group at a time.
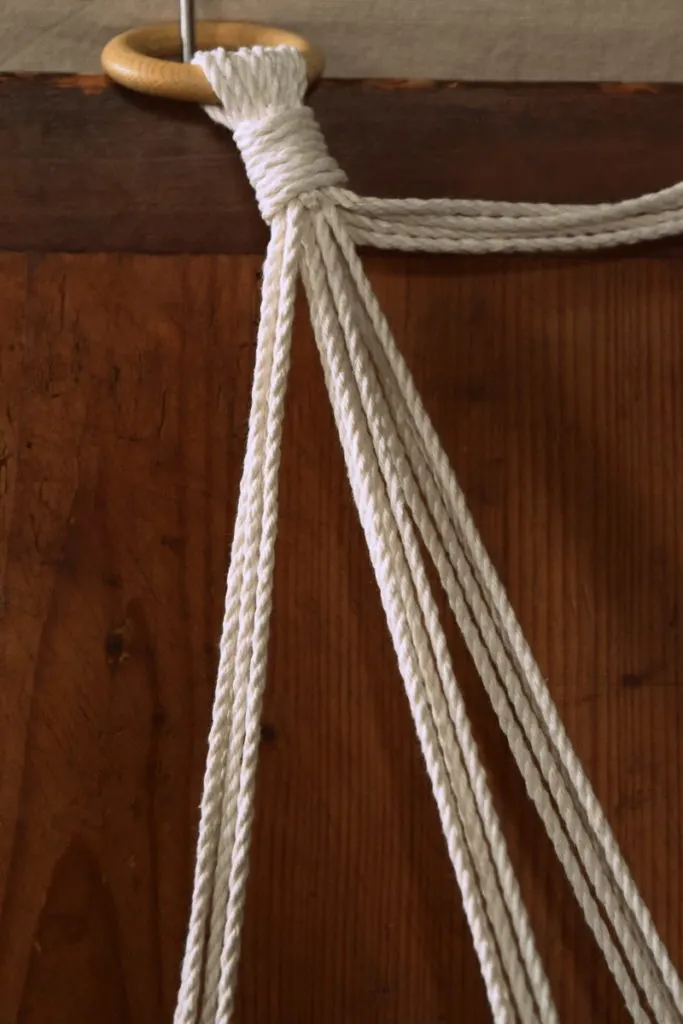
Understanding basic macramé knots
In both of the featured plant hangers in this tutorial you will find just two stitches:
- half knot
- square knot
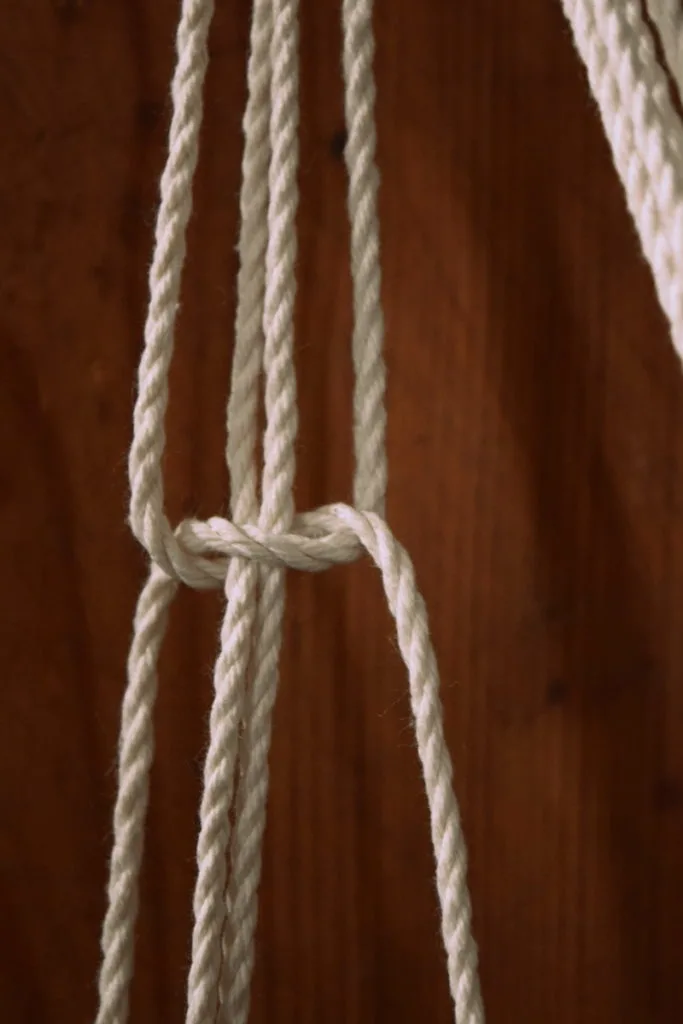
The good thing to know is that a half knot is half of a square knot. So, once you know one, you can do the other. Easy enough, right?
One way to tell the difference is that repeating half knots make a spiral.
Repeating square knots make the cord lay flat.
When designing your own macramé plant hanger, keep the size of the plant into mind before getting started, as it may dictate your knotting pattern.
Assuming you know the knots already, you can move straight on.
If not, here is a helpful tutorial to get your mind and your fingers working:
How to Make 6 Common Macrame Knots and Patterns @ Yarnspirations
Starting with half knots
When you first learn to macramé, naturally you will want to try what is easiest.
A series of half knots will do the trick. Knot as many as you like and see what happens.
Quick macramé tip: The more knots you make, the faster you will use up your string. Be sure to leave some white space (areas without knots) when making your hanging planter.
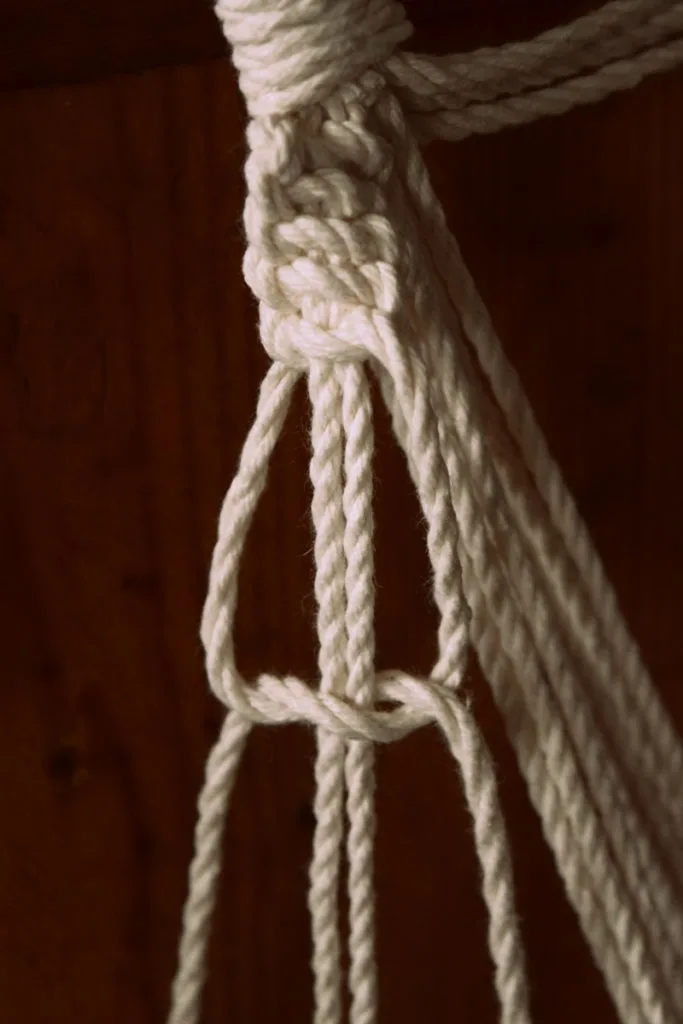
Knot as many as you like. 18 is a nice number.
When you are done with one set of 4 strings, move onto the next one.
You can do the same thing on all four “branches” of your hanger, or switch it up and incorporate some square knots instead.
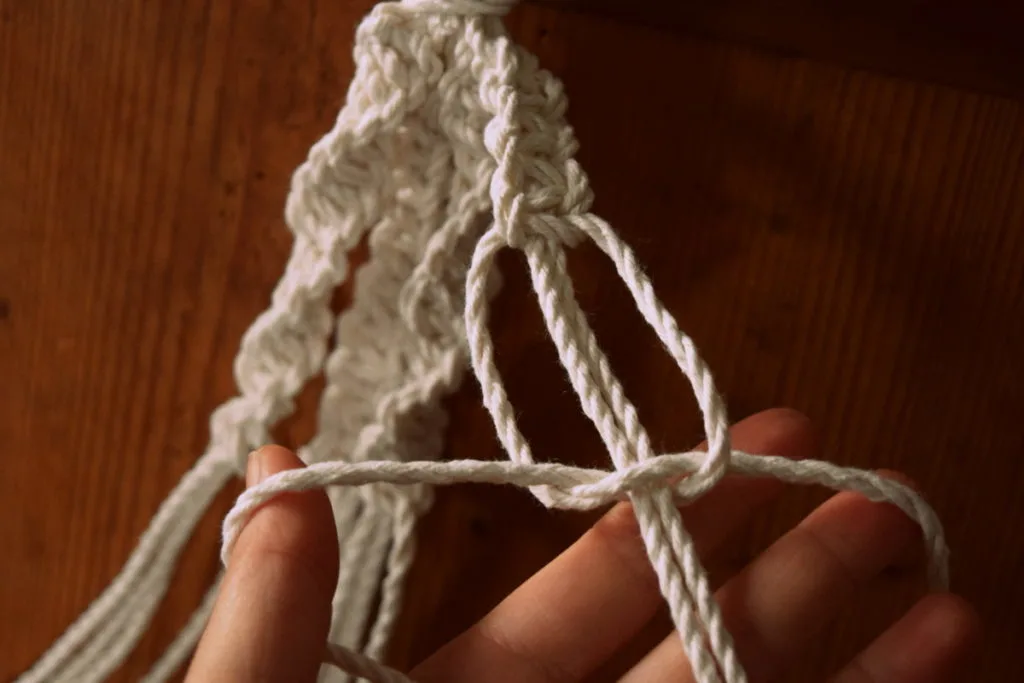
I know, at this point there will be questions. How many knots to make? When do I stop? The quick answer is that there is no exact recipe for making a macramé plant hanger.
You will quickly find this out when you make your second, third and fourth ones.
Knotting freedom is yours to behold the moment you choose to take it. So, embrace your inner creative and do what feels right. 10 inches? 5 inches? Some space, then some more knots?
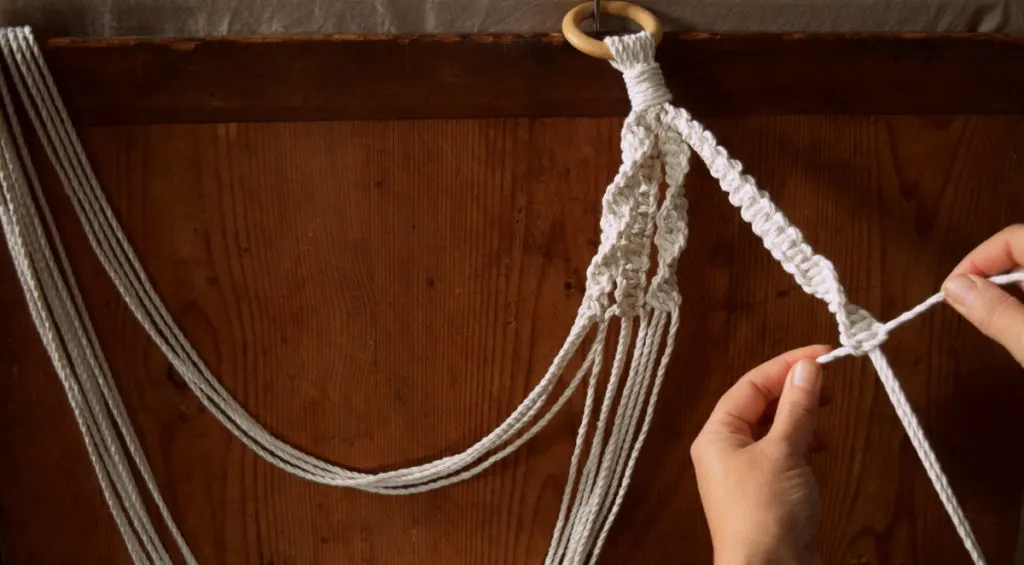
Just learn the essential macramé knots and the rest will fall into place.
Now, that your branches are long enough…
Once you have knotted as far as you would like to go, it is time to figure out how to attach the pot.
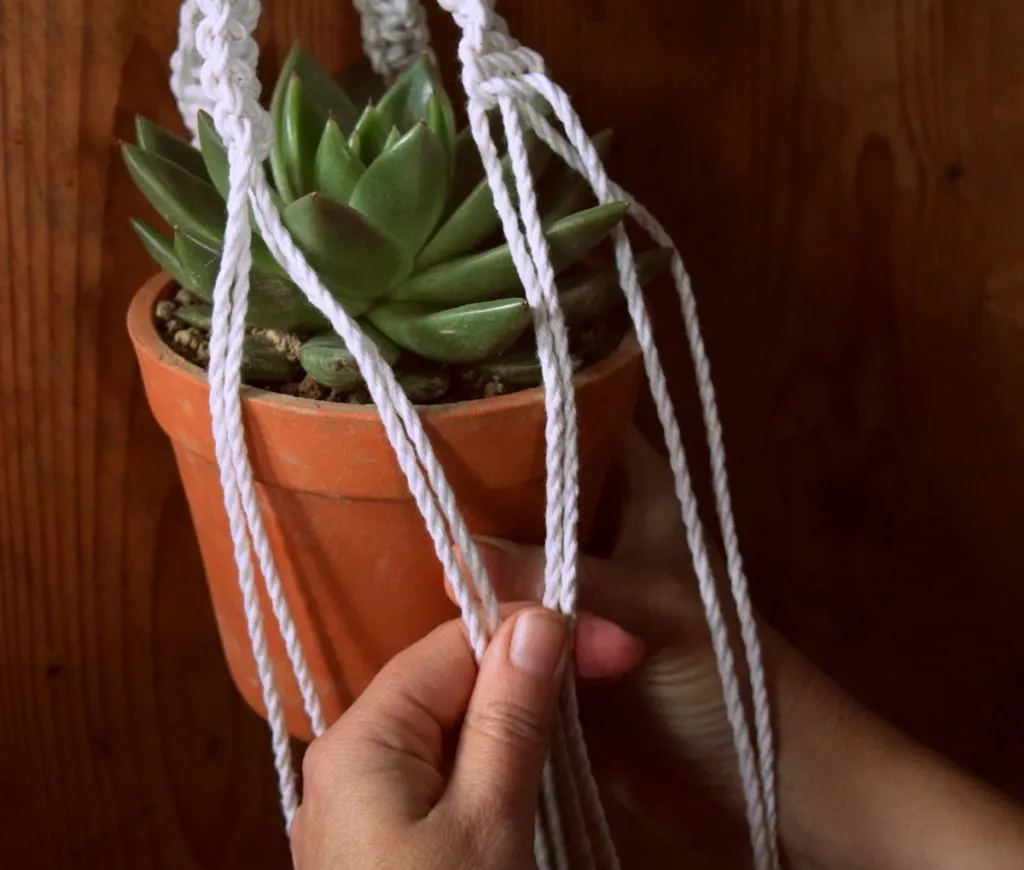
With a pot in hand, estimate where you would like the first square knots to be.
Alternatively, you could measure them.
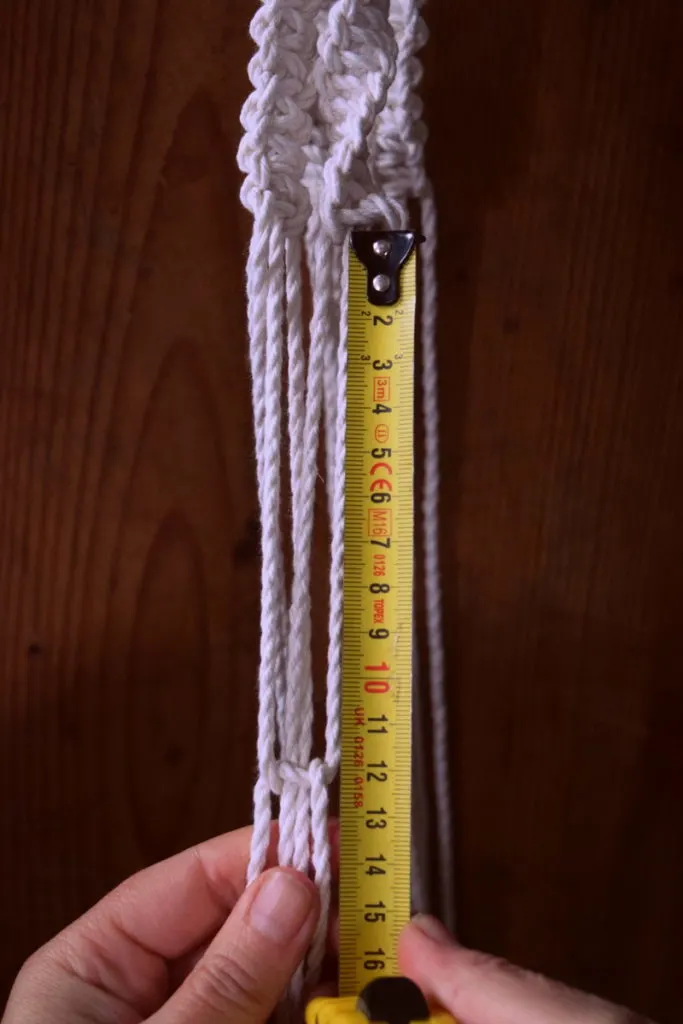
To accomplish this, you should now grab two strands from one set of four – and combine them to an adjoining half set of two. In essence, you will now be making the net which holds the pot in place.
The first knots of the “basket” should be just below the rim of the pot.
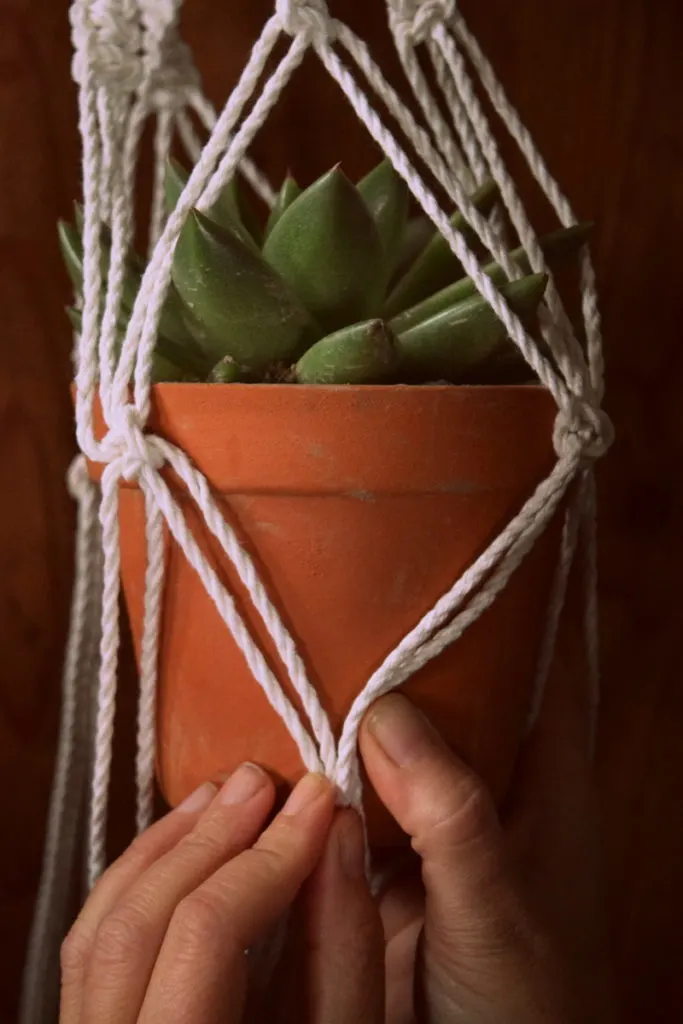
Once you have tied the first set of square knots, you are free to tie the second set, dividing the group of four once again. This should fall just above the bottom of the pot.
Wrapping up the finishing touches
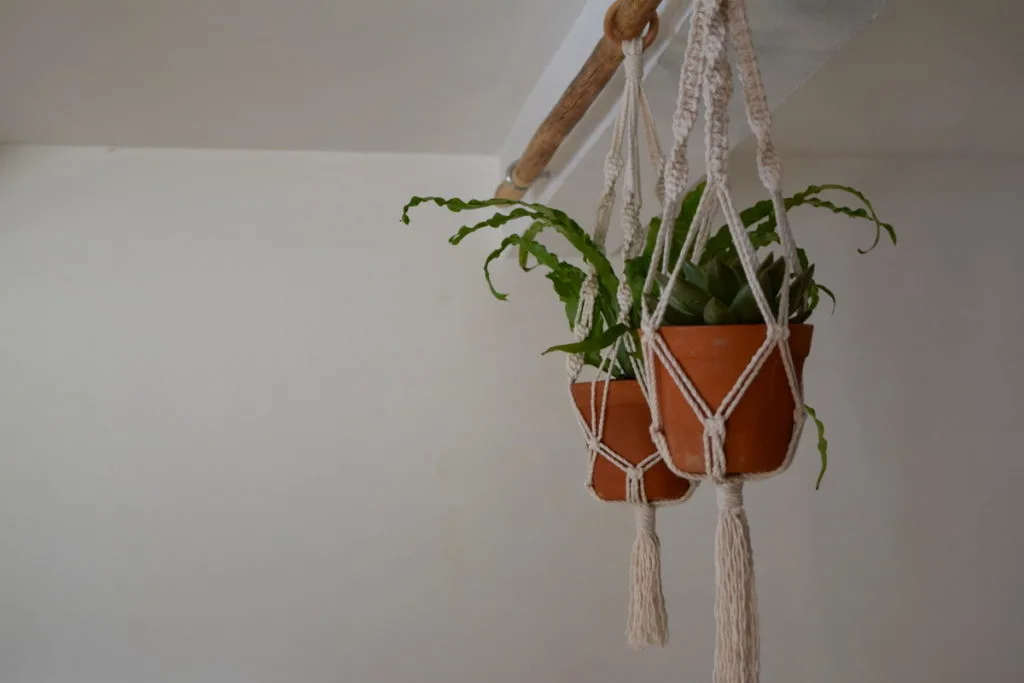
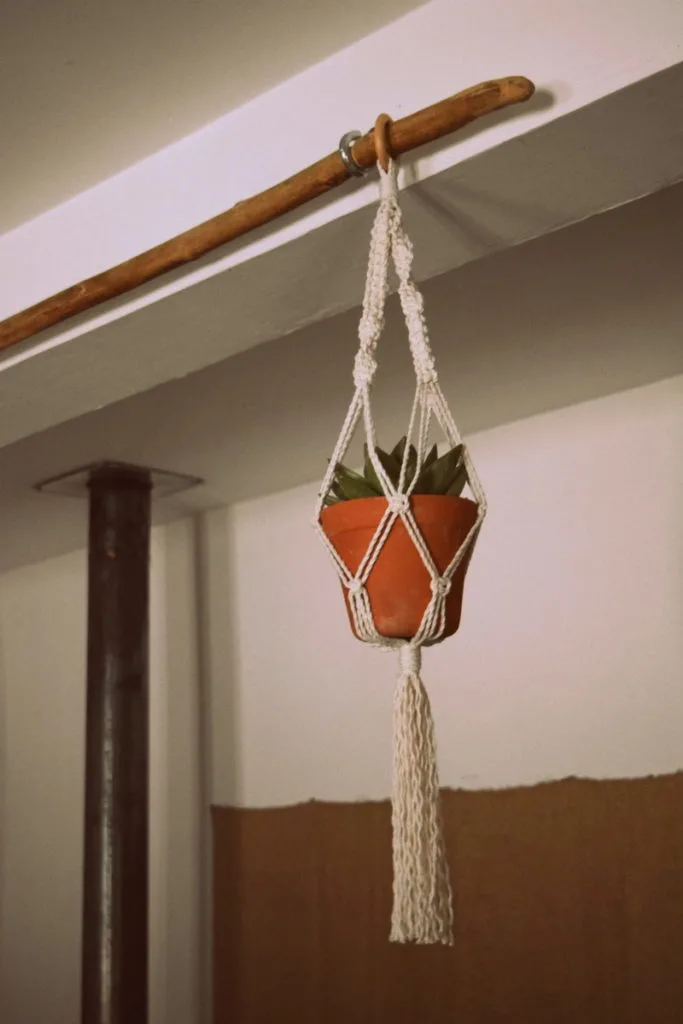
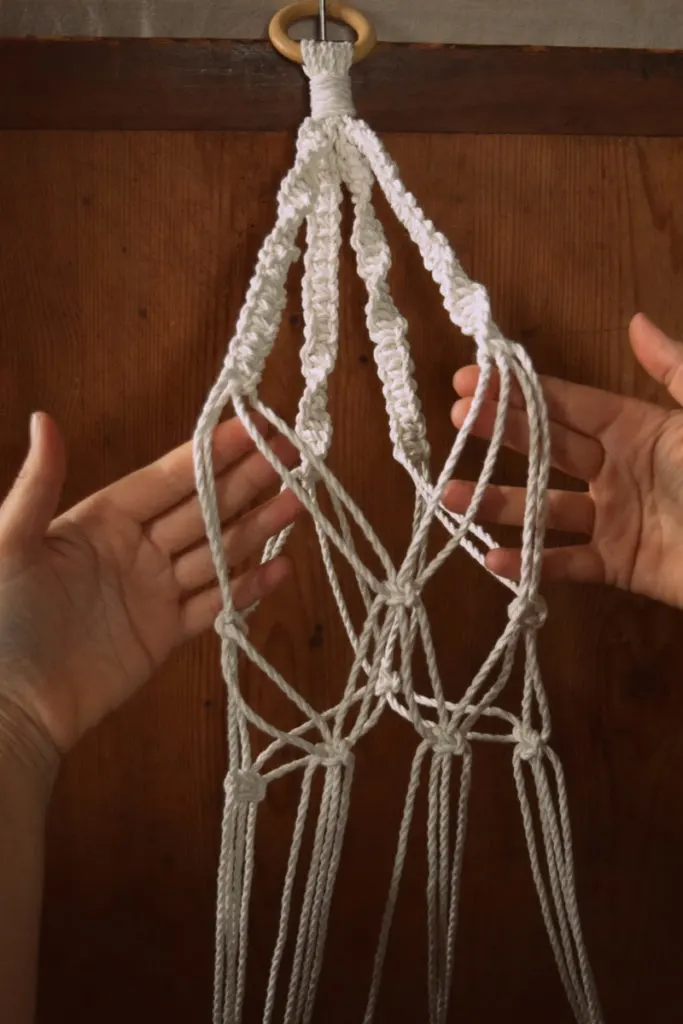
When you have arrived at a shape and form similar to the one featured in the photo above, all that is left to do is to enclose the base.
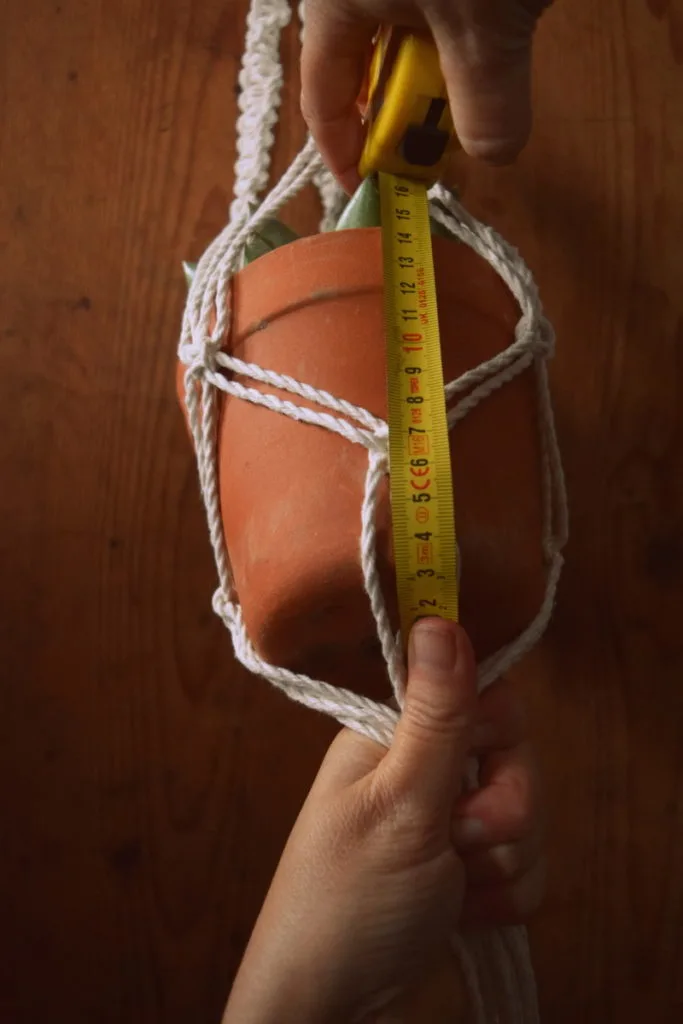
Again, you can just eyeball this, or use a tape measure, whichever you trust more.
Look at how many centimeters – or inches – it takes to form a nice ending knot.
Just as you started, the same way you will end with a gathering knot.
Take another piece of scrap macramé cord about 20 inches/50 cm long and make that same simple loop, wrapping it tightly and as many times around as it will go.
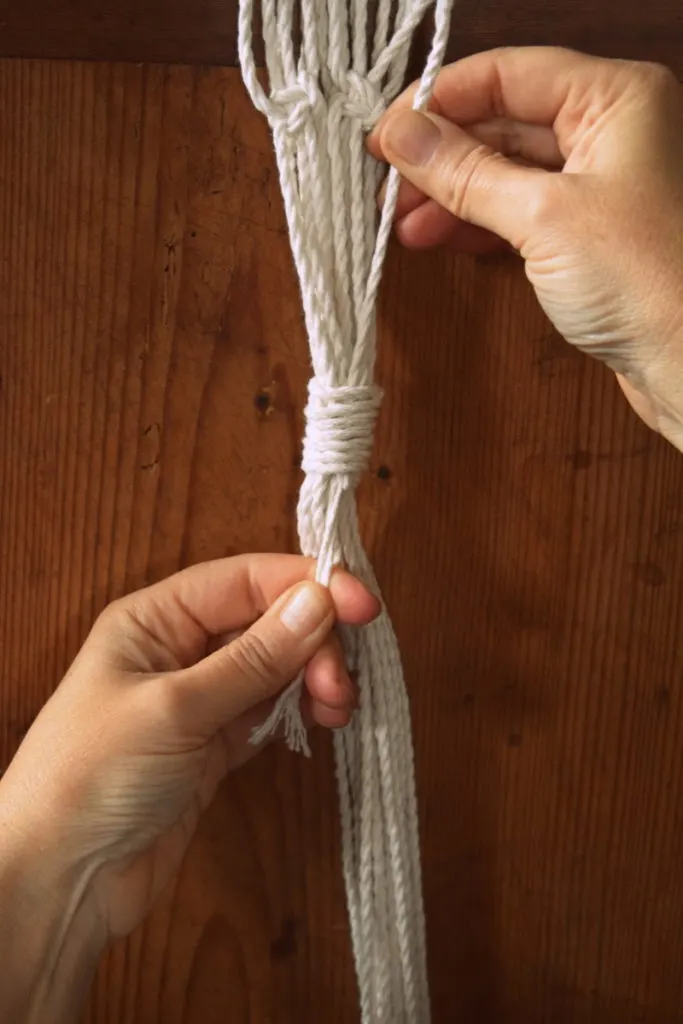
Bring the end through the loop and pull on the upper one to secure the cord.
Trim the ends of the gathering knot and clean up any loose ends.
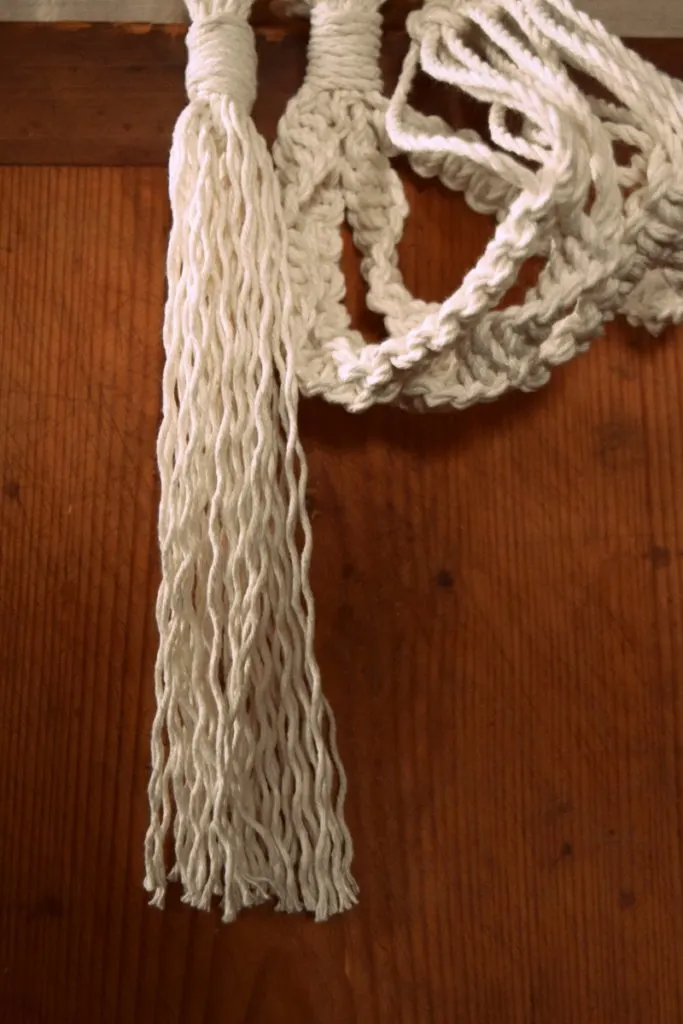
Cut back the excess cords to the length you desire and unravel them for some more fringe.
Time to slip your potted plant in, hang it and admire your work!
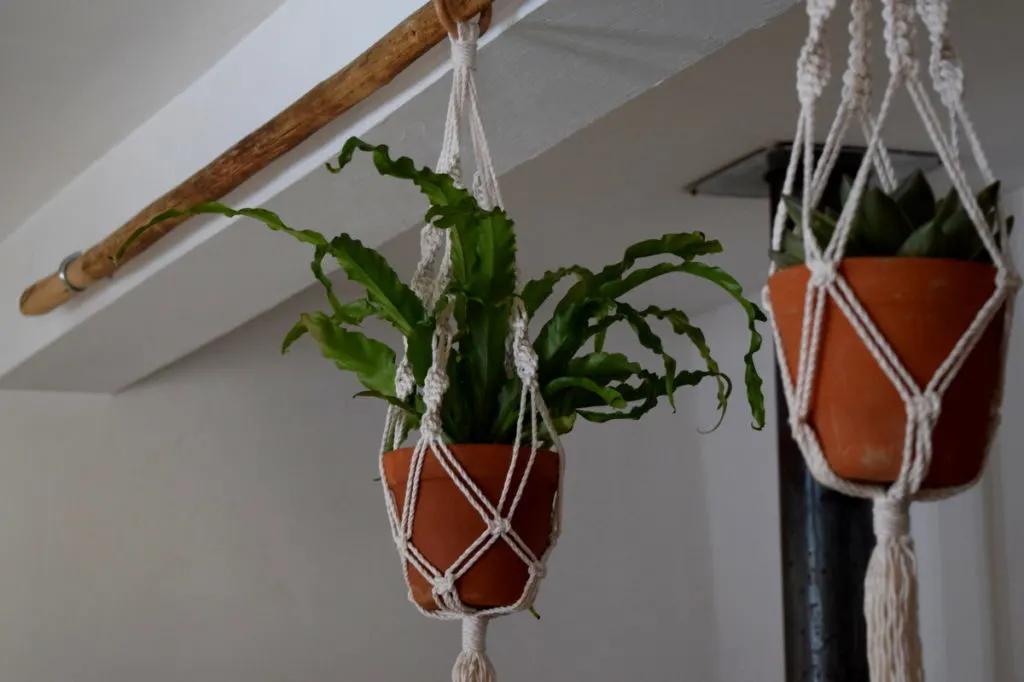
Now that you’ve made one, go ahead and make a few more.
Macramé plant hangers make excellent gifts for any plant enthusiast!
Browse our growing list of informative houseplant articles to discover the tips and tricks it takes to keep them all alive and well – even if you happen to be a forgetful owner.
Pin This To Save For Later

Get the famous Rural Sprout newsletter delivered to your inbox.
Including Sunday musings from our editor, Tracey, as well as “What’s Up Wednesday” our roundup of what’s in season and new article updates and alerts.


