


Gourds are a staple when it comes to decorating for autumn. Along with pumpkins, chrysanthemums, and bejeweled ears of Indian corn, gourds are a sure sign of fall. But did you know you can easily dry them so they last for years rather than a single season? It’s quite easy to do, whether you buy them or grow them.
In a world where we throw things away, you’re probably wondering what’s the point?
After all, you can pitch your gourds in the compost at the end of the season and buy more next year. Well, it’s fun. You may stumble upon a new family tradition. Drying gourds makes them much lighter, so you can attach them to hanging decorations, such as wreaths.


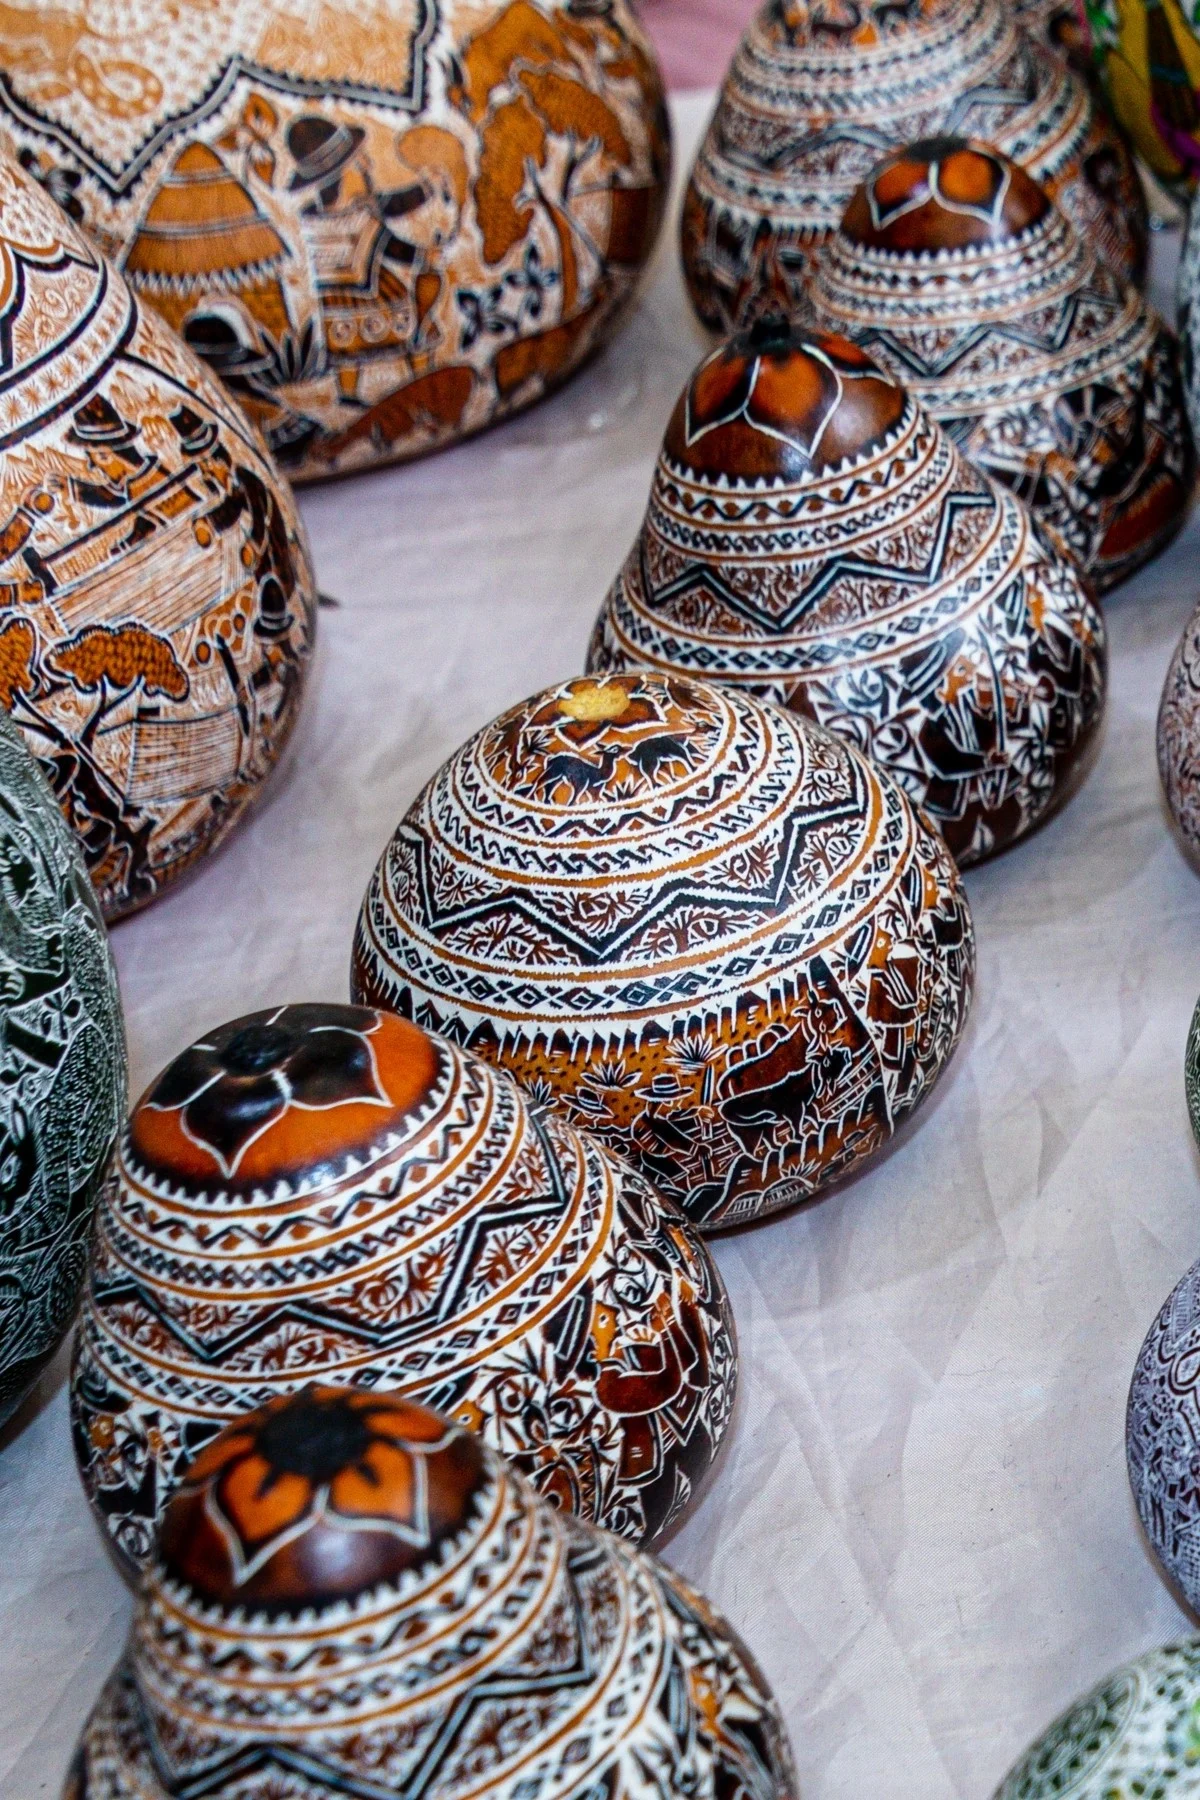
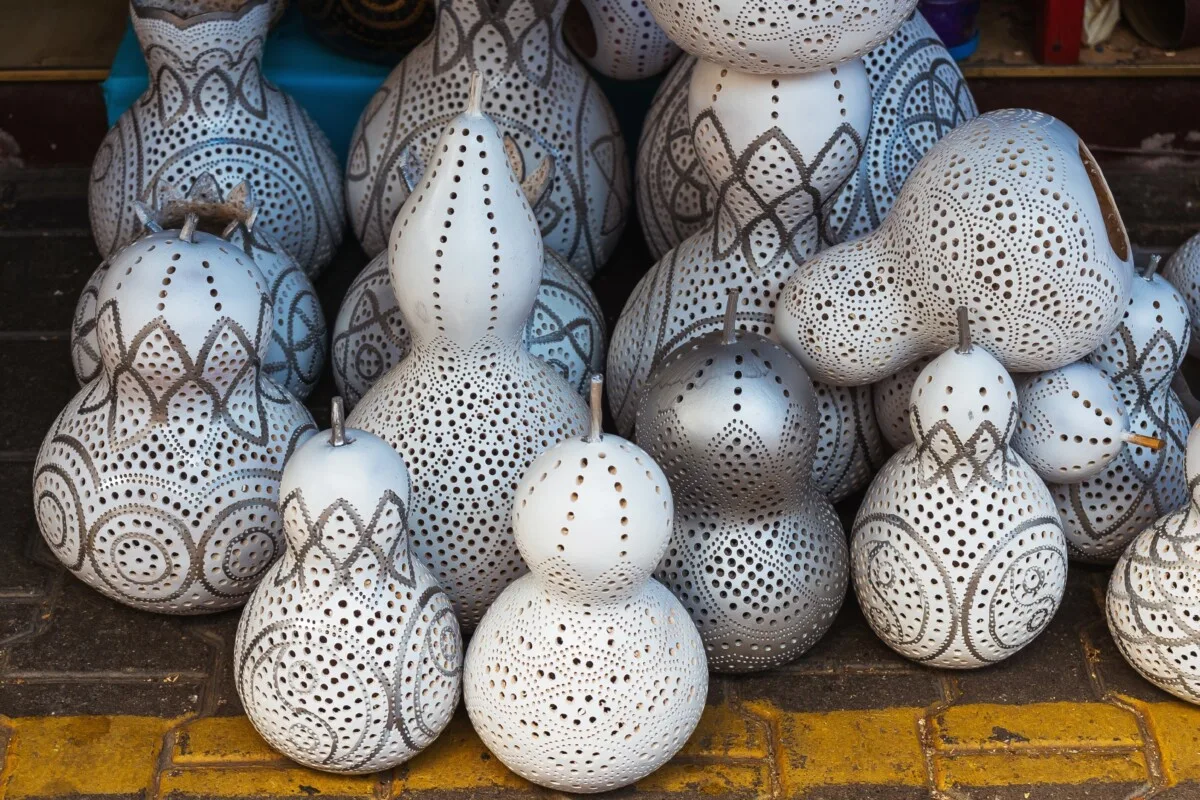
You can also make functional vessels out of them, such as bowls, containers with lids, drinking bottles, birdhouses and more. Gourd crafting is found in traditional folk art all over the world. It’s amazing what artists can do with these humble squash.

Growing Your Own – When to Pick
If you’ve grown gourds, you’ll want to wait and pick them once they’ve colored up and the stems have dried out and begun to brown. Only use gourds without pest damage or disease. You want them to be as perfect as possible, with no cuts, scratches or soft spots. All of these will lead to a rotten gourd during the drying process.
When you pick your gourds, it’s best to cut them with a pair of hand pruners. This way, you can be sure to leave at least 3”-4” of the stem. This helps the inside of the gourd evaporate faster, and if it doesn’t fall off while drying, it makes a nice handle.
One of the most popular gourds to grow and dry is the calabash, which we’ll use as an example here.


I’m terribly excited as I chose to grow Peruvian Sugar Bowl gourds this year. Their beautiful, uniform shape makes them the perfect gourd to make small bowls and containers out of them.
Selecting Gourds for Purchase
If you want to purchase gourds to dry, the same applies as if you’ve grown them. Gourds have naturally thick skin, which means they usually hold up well during transport. If you can source them locally, you’ll likely have a better selection that has sustained fewer bumps and bruises.


Remember, you want gourds with the longest stems possible, no soft spots and no punctures or scratches.
1. Sanitize and Get Glowing Colors
To ensure your gourds don’t rot during the drying process, you need to clean and sanitize them. Wash your gourds with warm, soapy water. Sanitize them by rubbing them down with one of the following sanitizing solutions:
- Rubbing alcohol
- Lysol or Clorox disinfecting wipes
- 4 teaspoons of bleach to 1 quart of water
- 1:1 ratio of white vinegar to water


Cool tip: If you want to make their vibrant colors pop and stay brighter longer, use a solution of two tablespoons of Borax to one quart of warm water.
Dry your cleaned and sanitized gourds well with a clean, dry towel.
2. Surface Drying
At first, you’re going to keep your gourds on newspaper or paper towels for a week in a dry, well-ventilated room. Place them in a single layer with plenty of room for airflow around each. Turn the gourds and change the paper beneath them daily.
During this time, you’re monitoring for gourds that wrinkle and shrivel or develop soft spots. Remove any gourds that begin to deteriorate and chuck them in the compost. Once this initial curing stage is complete, the outer surface of the gourd will be dried and hardened.
3. The Perfect Drying Environment
Move your surface-cured gourds to a dark, dry, warm area. A warm attic is a good spot. Again, you’ll want to spread them out on a layer of newspaper. Check them every few days, turning them so they don’t develop flat spots.
Smaller gourds will finish drying within a month, but larger gourds, like the kind used for birdhouses, can take much longer. The gourds should remain hard but grow lighter in weight. Again, if any begin to rot, remove them.
For the best results, elevate your gourds up off the ground and skip the newspaper so that air can move beneath them. A cooling rack for baking, or if you have the room, a wood pallet works well.
Wait a minute, there’s mold!


Sometimes, as they dry out, you may notice a layer of surface mold growing on the outside of your gourd. As long as the gourd isn’t soft, that’s fine. Surface mold can develop from yeast and other things in the air. It can be cleaned off once the drying process has finished.
4. Is It Ready Yet?
You’re probably wondering how you know when your gourd has finished drying – that’s the fun part. Pick them up and give them a shake. The gourd should be lightweight, and you should hear the seeds rattle inside it.


Can you speed up the process? Not really. The drying process is best left to happen naturally. Be patient! This is the easy part because you don’t have to do anything but wait. (Or, in my case, forget that you have gourds drying in your attic until after you put the Christmas decorations away.)
5. Another Bath
Once the gourds are completely dry, you’ll need to give them another bath. This is when you remove any surface mold. Clean the gourd with plain warm water and a soft anti-scratch abrasive. Fine steel wool or anti-scratch dish sponges work well.
After the bath, dry the gourds off with a clean towel and let them dry completely. You can use the gourds as is, and they will last for some time if stored properly. However, you won’t be able to use them outside for something like a wreath on your door.
6. Good Ol’ Paste Wax


If you want dried gourds that will last for years, or you plan on using them in outdoor crafts, such as a wreath or for a food vessel, you will need to apply a protective polish.
By far, one of the best things you can use to protect your lovely dried gourds and seal out moisture is good ol’ fashioned paste wax.
Do you remember that big yellow tin of floor wax that your grandmother used on her hardwood floors? You took your life into your hands if you walked in socks for the next three weeks. That’s the stuff you want: paste wax.
Minwax makes a good one, but I’m a huge fan of Walrus Oil products. If you want to make something that will hold food or water, you’ll need to use a food-safe wax like Walrus Oil’s Furniture Butter. (I only use their products on my cutting boards.)
If you want your gourd to last even longer, you can use other wood-finishing products like shellac, lacquer or paint.

And that’s all there is to it. Most of the work involved takes mere moments, and the rest is inactive drying time. This is my kind of craft!

Get the famous Rural Sprout newsletter delivered to your inbox.
Including Sunday musings from our editor, Tracey, as well as “What’s Up Wednesday” our roundup of what’s in season and new article updates and alerts.