Every summer from early June through August, at least once a week, you’ll find me up early, berry basket in hand, heading to our local pick-your-own berry farm. (We’re lucky enough to have a great organic berry farm just down the road.)
I like to get all of my picking done before the heat of the day makes it unbearable.
I have this annoying habit of being a pasty-white person, so the mere mention of sun and I turn into a steamed lobster.
Strawberries, red and black currants, blackberries, gooseberries, and my personal favorite – blueberries all end up coming home with me. Some get made into jam right away, others go into a batch of mead, and still others I freeze so we can enjoy local berries all year long.
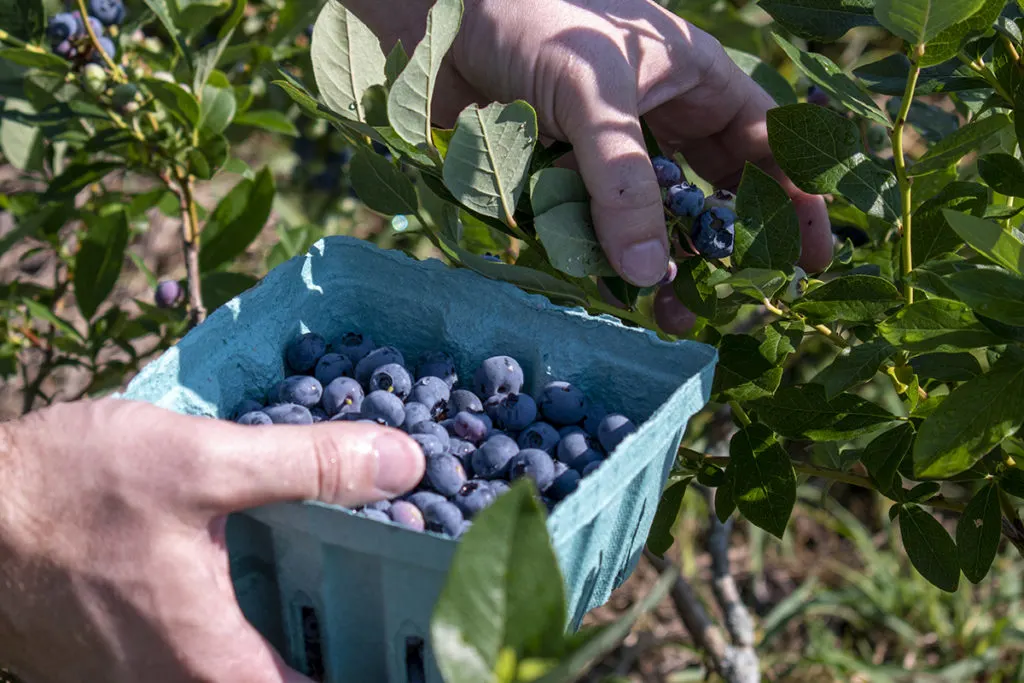
Blueberries are the house favorite, so we end up picking around 20 quarts or more over the blueberry season. Smoothies, pancakes, muffins, scones and even blueberry syrup all taste a million times better in the middle of winter when you make them with your own or local berries.
Those frozen supermarket berries don’t compare, and the price for fresh berries in January is astronomical.
When you factor in the carbon cost of getting those tiny cartons of berries to your supermarket and the ecological costs of eating out of season, those flavorless berries aren’t worth it.
So, we put the work in now.
Of course, growing your own blueberries is an even cheaper option, plus you get to pick the variety. This season, I got to taste the Chandler variety of blueberries, and I’m hooked!
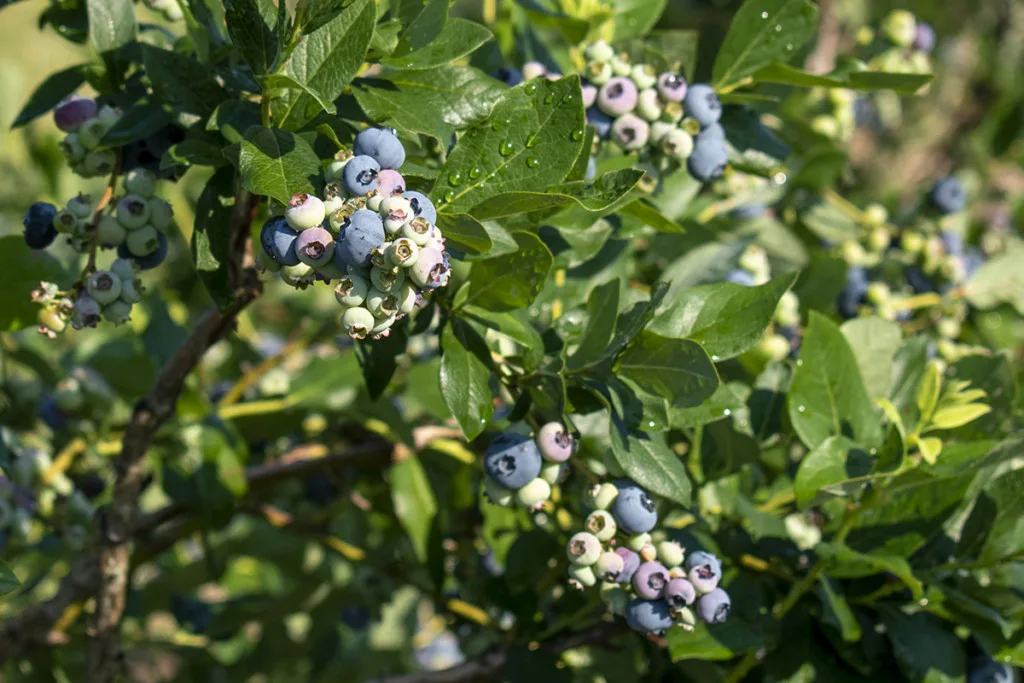
To get buckets of blueberries year after year, I’ve put together this handy blueberry growing guide. It’s one thing to poke some bushes in the ground and hope for the best, and another thing altogether to know what to do to ensure a good yield. It’s a good read; you’ll want to check it out.
Once you have plenty of blueberries, it always helps to have some blueberry recipe inspiration when deciding what to do with them all.
Wherever you end up getting your blueberries, freezing them is an excellent way to ensure you can enjoy these tasty treats year-round.
Freezing blueberries is easy to do and requires no special equipment beyond a sheet pan. Many berries with higher water content or thinner skins don’t freeze all that well and end up a mushy mess even when frozen. Blueberries, on the other hand, freeze beautifully. Granted, they will still be soft when thawed.
Why Are My Berries Soft and Squishy When I Thaw Them?
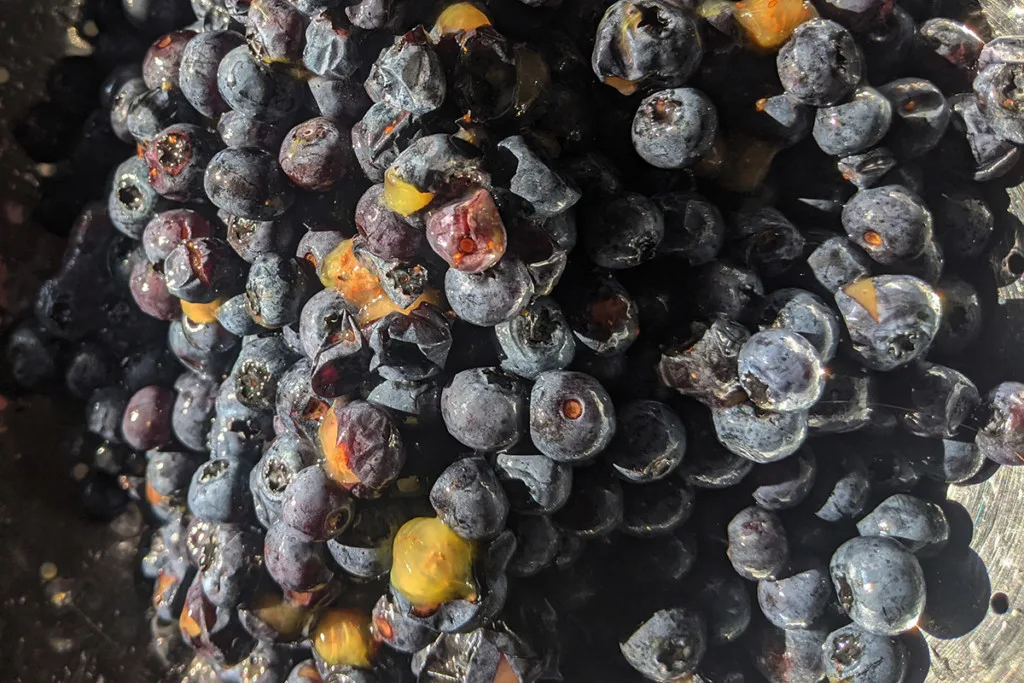
When you freeze blueberries, the water inside them freezes into tiny ice crystals. These crystals penetrate the cell walls of the berries. That’s fine while the berries are frozen, but when they thaw, now the cells of the berry have lost their structural integrity, so the berry will be soft and slightly mushy.
When you use frozen blueberries for baking or things like pancakes, it’s best to add the blueberries while they’re still frozen. This will ensure whatever you’re making doesn’t end up being completely purple and will help the berries maintain their shape while they cook.
Of course, if you want to make a batch of blueberry basil mead, I highly suggest that you freeze your blueberries and thaw them first. Doing so helps release the juices, and those mushy berries make for better mead.
Okay, let’s freeze some blueberries.
Wash Your Berries
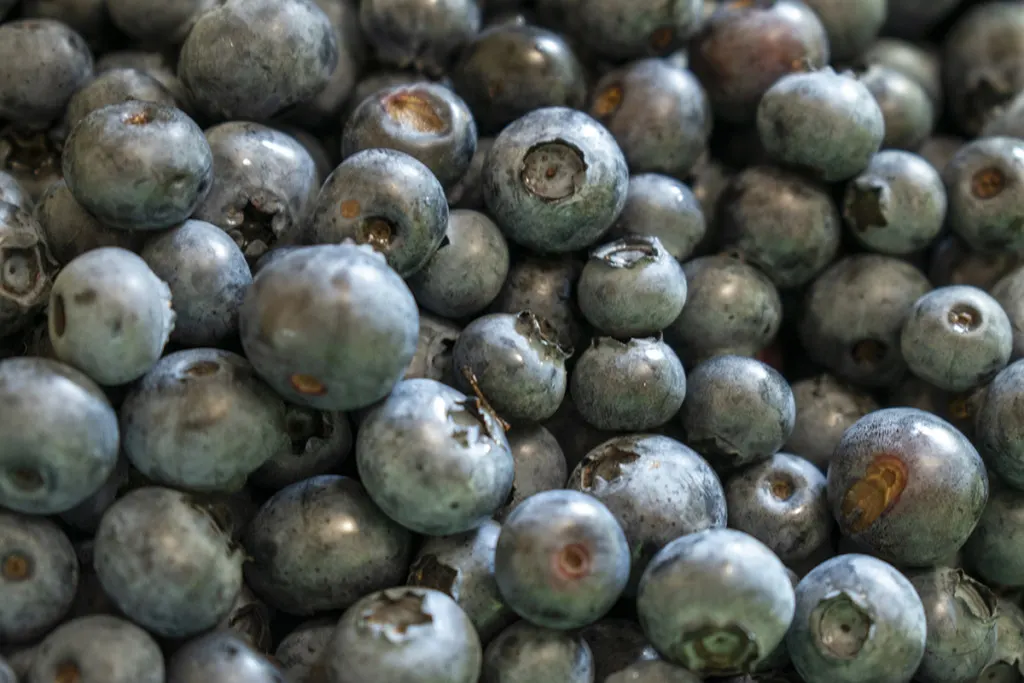
It’s important to rinse your berries before you freeze them. Washing them once they have thawed is nearly impossible as they will be quite soft. Berries growing closer to the ground tend to be dirty from rain splashing dirt and mud on them.
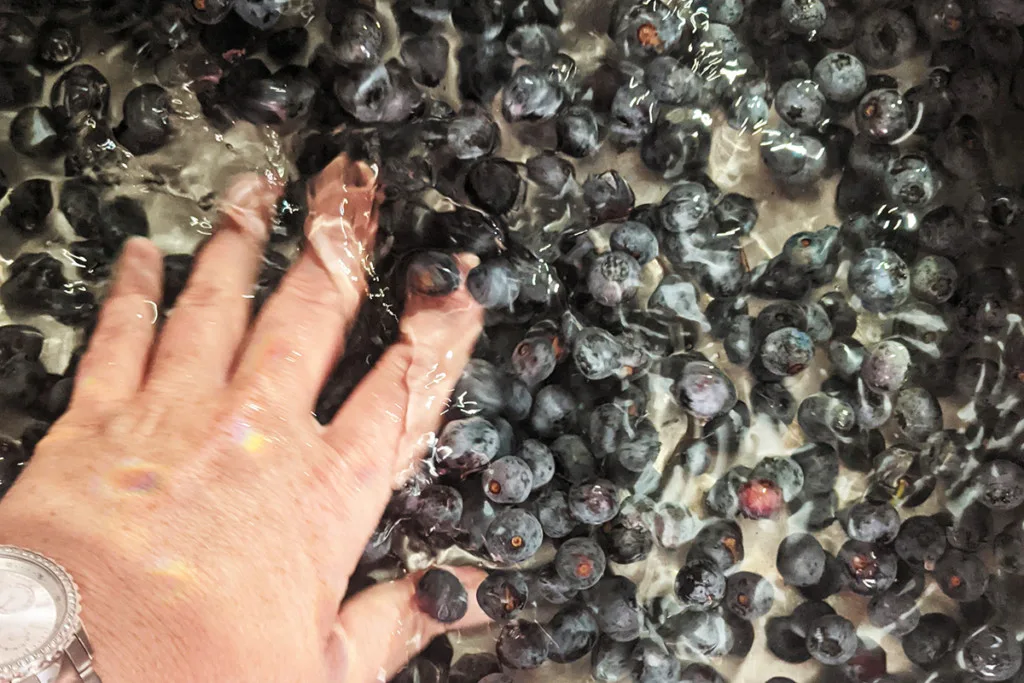
Rinse your berries well in cold water. I like to fill my sink with cold water and give them a good swish before scooping them out into a colander. Then I’ll give them another good rinse with my sink sprayer.
Dry Your Berries
This next step is probably the most important, as it’s what will ensure your berries won’t stick together once they’re frozen. You’ll need to make sure your berries are completely dry before freezing them, or they will stick together in a giant frozen mass.
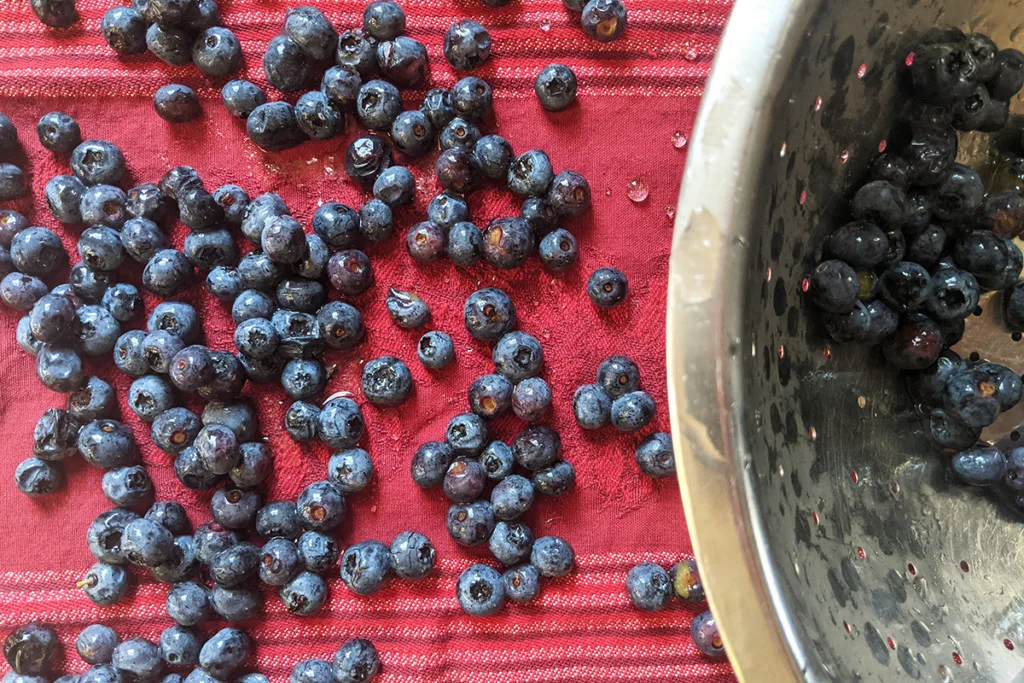
To dry the berries, I put down a couple of kitchen towels on my counter or table and gently spread the berries out into a single layer. I try to make sure they have plenty of room and good airflow, so they all dry nicely.
Now, go do something else for an hour or so while they dry. It’s summertime; there’s always something that needs to be done, right?
Freeze Your Blueberries
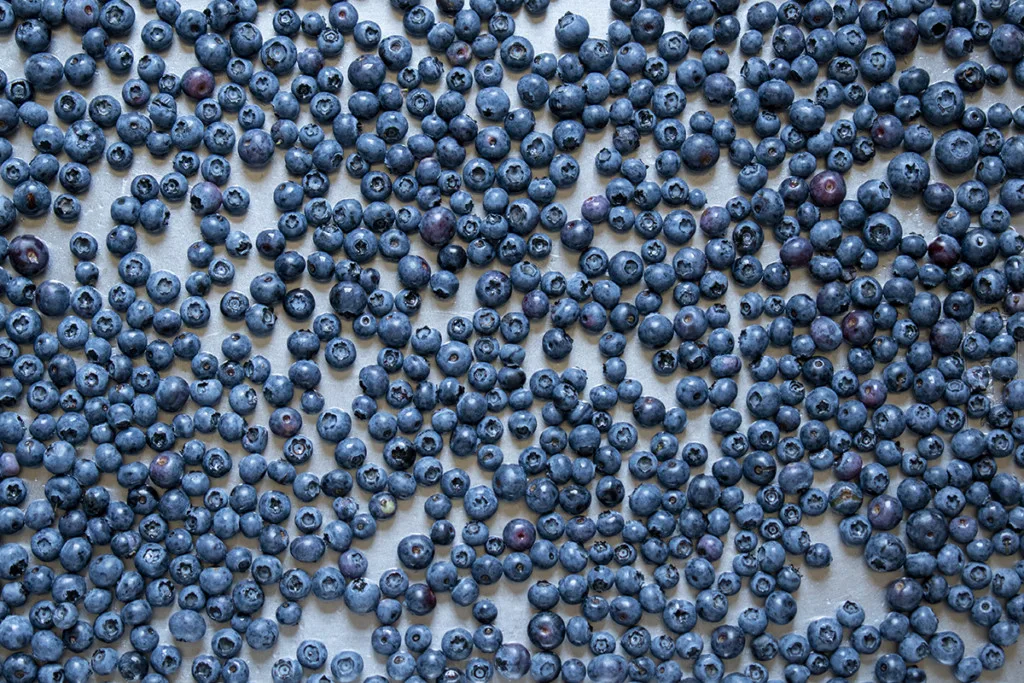
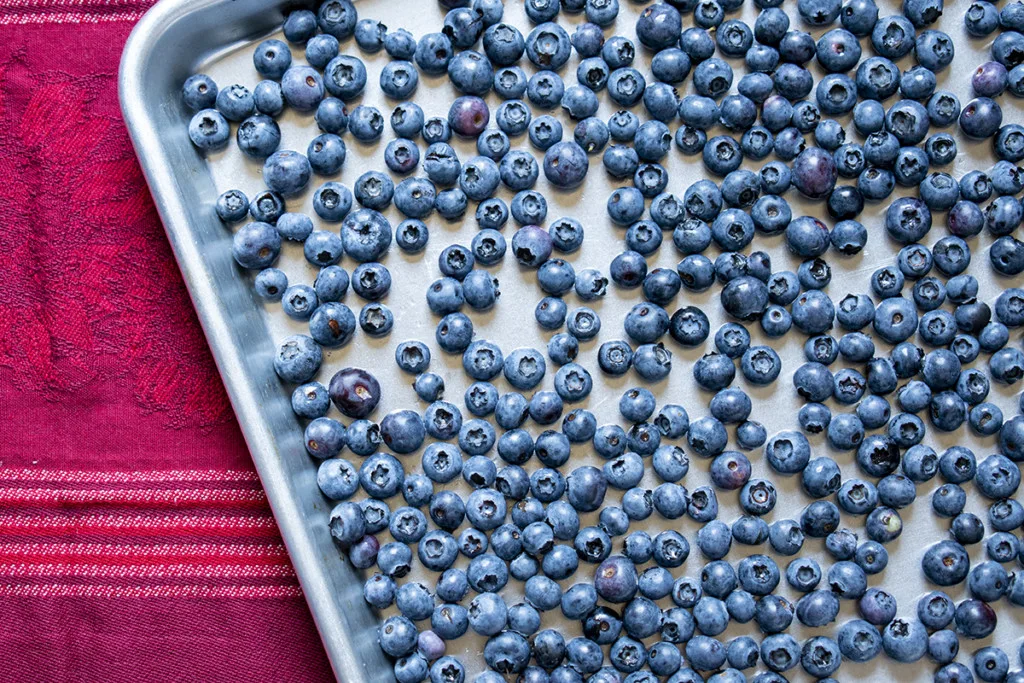
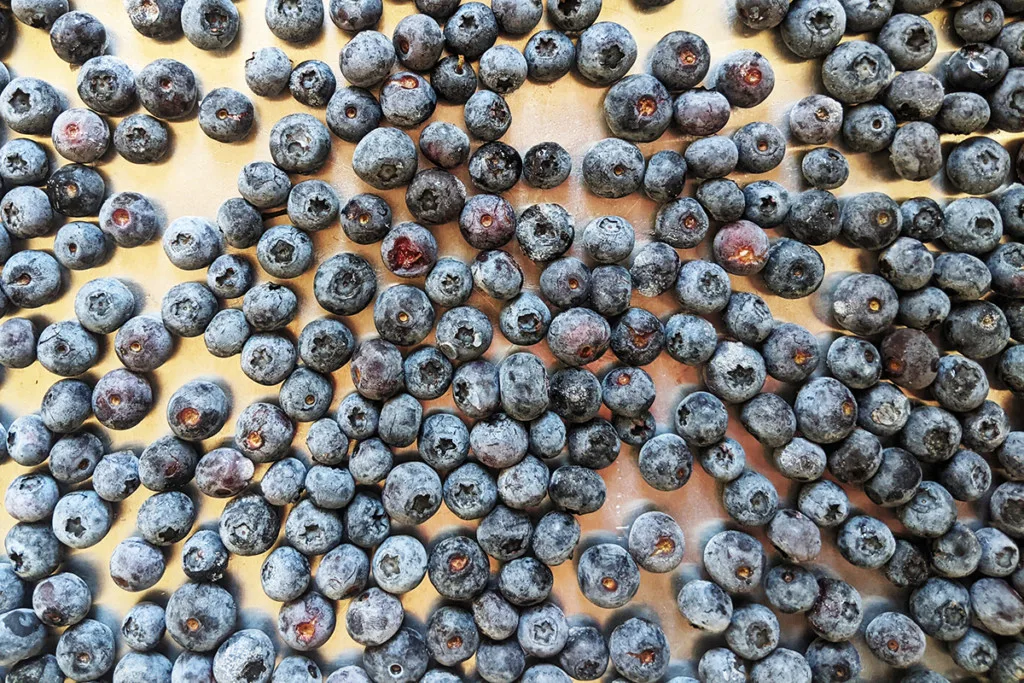
Once the berries are completely dry, gently spread them out on a sheet pan. Be sure the blueberries are in a single layer. You can cram quite a few on there. Place the sheet pan in the freezer for two hours or until the berries are frozen solid.
Package Your Blueberries
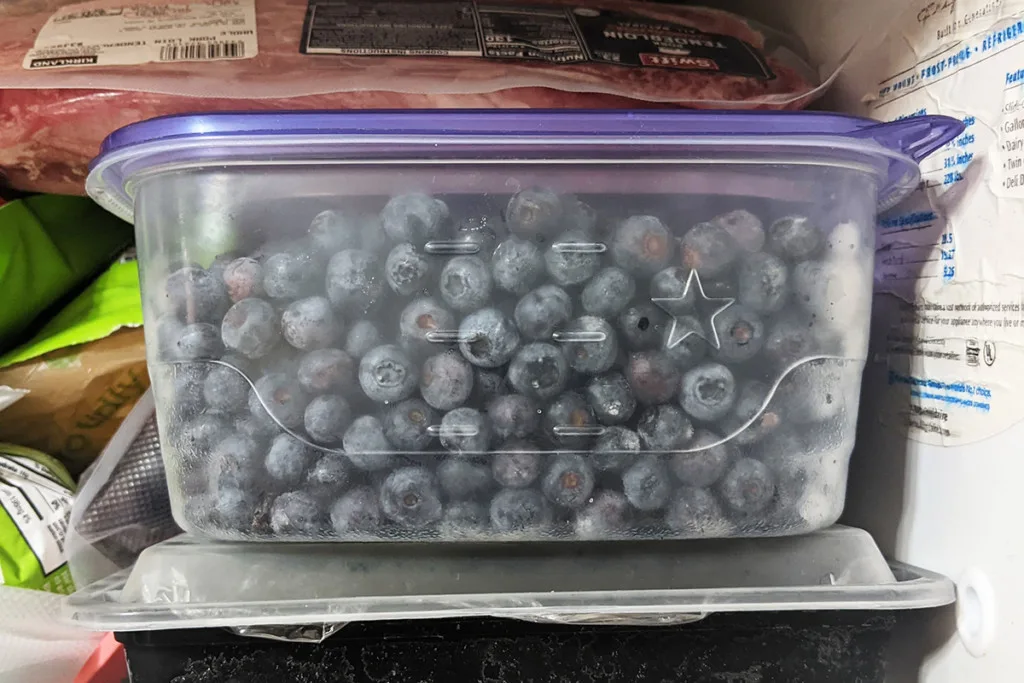
Working quickly, so they don’t begin to thaw or perspire, transfer the berries to their final container destined for the freezer. Since they aren’t stuck together in frozen clumps, you can store them in a plastic tub, a freezer bag, or my preferred method, a vacuum seal bag.
A note about vacuum sealing
If your vacuum sealer has a gentle setting, you may wish to use that. Otherwise, the berries will be sealed quite tightly in the bag. This isn’t necessarily a problem while frozen, but it makes for extra mushy berries as they thaw. Give your berries room to breathe.
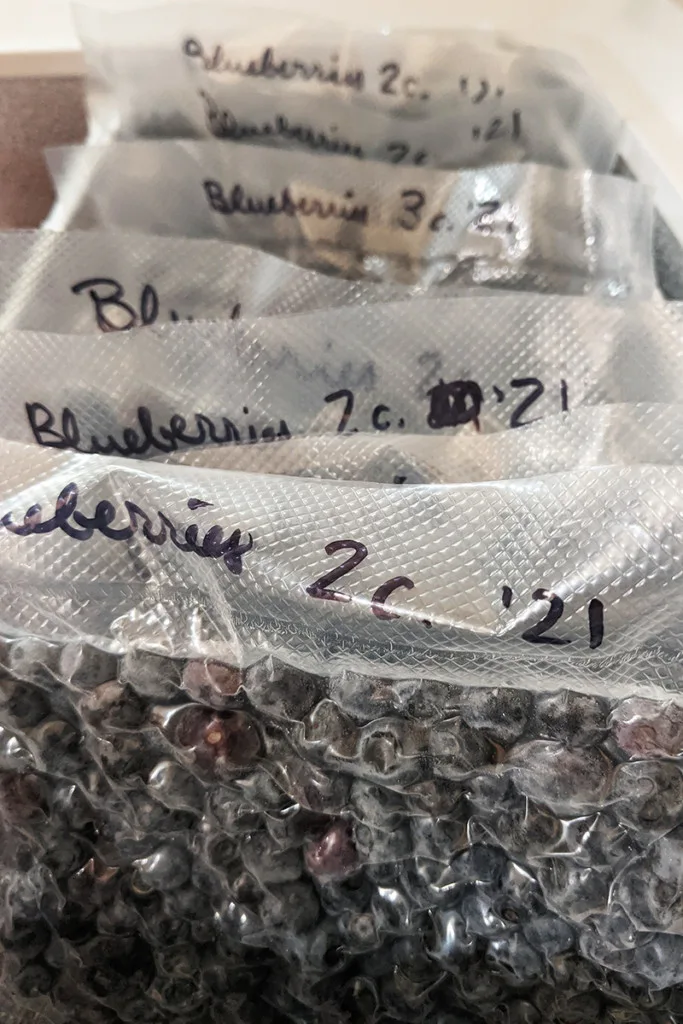
Here’s a link to the vacuum sealer I own; it’s affordable, a great sealer, and I love it so much I’ve bought several for family members as gifts.
And that’s that – easy frozen blueberries.
Now when you get a hankering for blueberries, you’ll easily be able to grab a handful for snacking, two cups for muffins, an entire bag for a pie, whatever you need without having to try and break off a chunk of icy blueberry mash.
I like to use these frozen blueberries as delicious edible ice cubes and will often grab a handful to plop in my switchel or lemonade.
Come January, you’ll truly appreciate the effort you put into picking, cleaning and freezing. Hmm, now I want blueberry pancakes.

Get the famous Rural Sprout newsletter delivered to your inbox.
Including Sunday musings from our editor, Tracey, as well as “What’s Up Wednesday” our roundup of what’s in season and new article updates and alerts.

