Tell me if this has ever happened to you, my friend. Spring rolls around, and you’re ready to get out in the garden and start the season properly. Only you can’t seem to find your kneeling pad, your hand pruners have rusted together because you forgot to clean them before you put them away last year, and a family of mice spent the winter making a nest in your garden gloves.
It’s not the best way to kick off a new growing season.
Most of us would rather play in the dirt and the spring sunshine instead of searching for lost tools or replacing broken ones.
But with a little time invested now, you can make spring gardening easier for future-you.
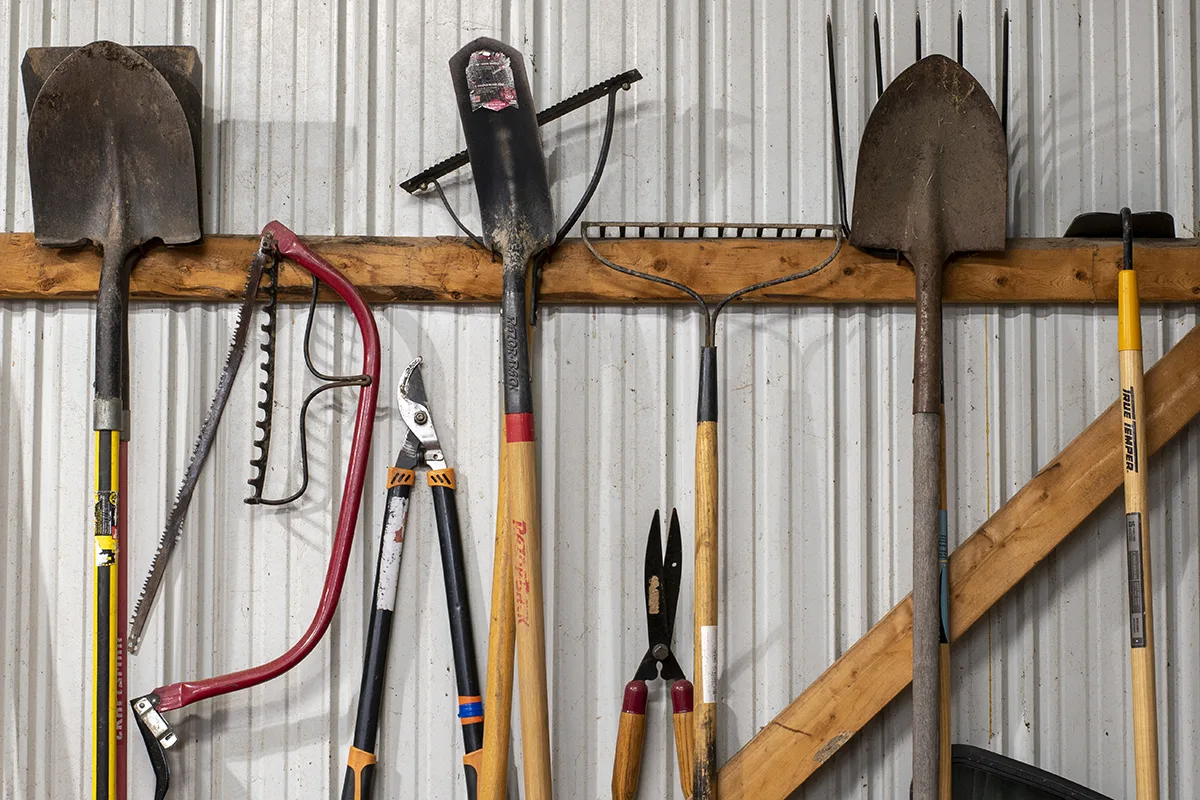
After the garden has been laid to rest for winter, a few extra steps will ensure your gardening tools will be in good working order next year. And getting in the habit of performing annual maintenance means those same tools will last for years to come.
Let’s look at a few things you should do before you hang up your tools for the year.
Clean and Put Away Terracotta and Other Fragile Planters
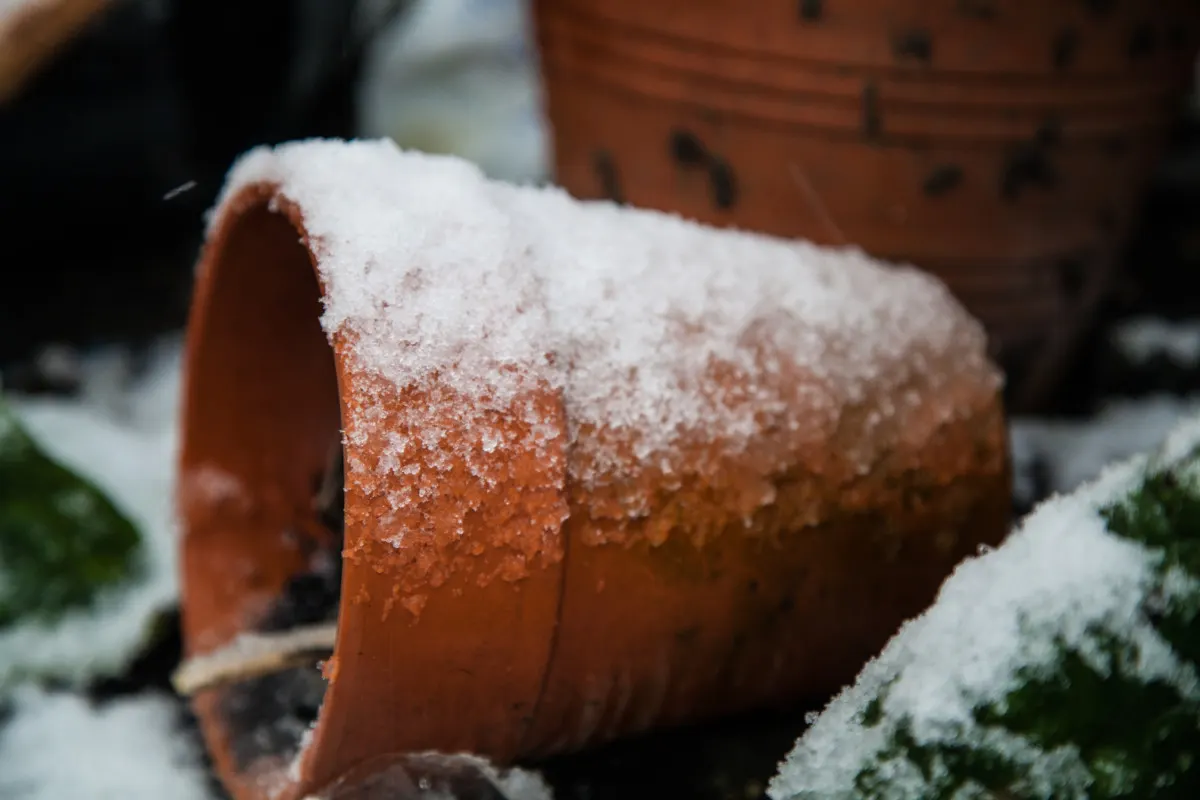
The elements can take their toll on items left outside during the winter months, so putting away things like terracotta pots and other clay planters is important. Any moisture remaining in the porous clay will freeze and expand, cracking the pot. Plastic planters can become brittle in cold weather and crack too. Even if you don’t live where winter sees freezing temperatures, sun and rain exposure will shorten the life of pots left outdoors.
Compost annuals and follow Mickey’s tips for how to reuse the remaining potting soil in the pot. If you have a perennial planted in a clay pot, consider moving it somewhere indoors for the winter, such as a greenhouse, shed or garage.
Now is also a great time to clean and sterilize pots before they’re used again next spring. Use a dry, stiff-bristle brush to remove as much dirt as possible, then rinse the pots out with a garden hose.
Mix four cups of water and one tablespoon of bleach in a spray bottle and wet the entire surface of the container, inside and out, with the bleach solution. The pots can be stacked and stored away neatly, ready when spring rolls around again.
Tidy Up and Put Away Large Tools
Wheelbarrow Maintenance
It’s best to store your wheelbarrow somewhere out of the elements. Before putting it away for the season, add a touch of grease to the wheel bearings. Sweep out the tray and store it somewhere out of the elements.
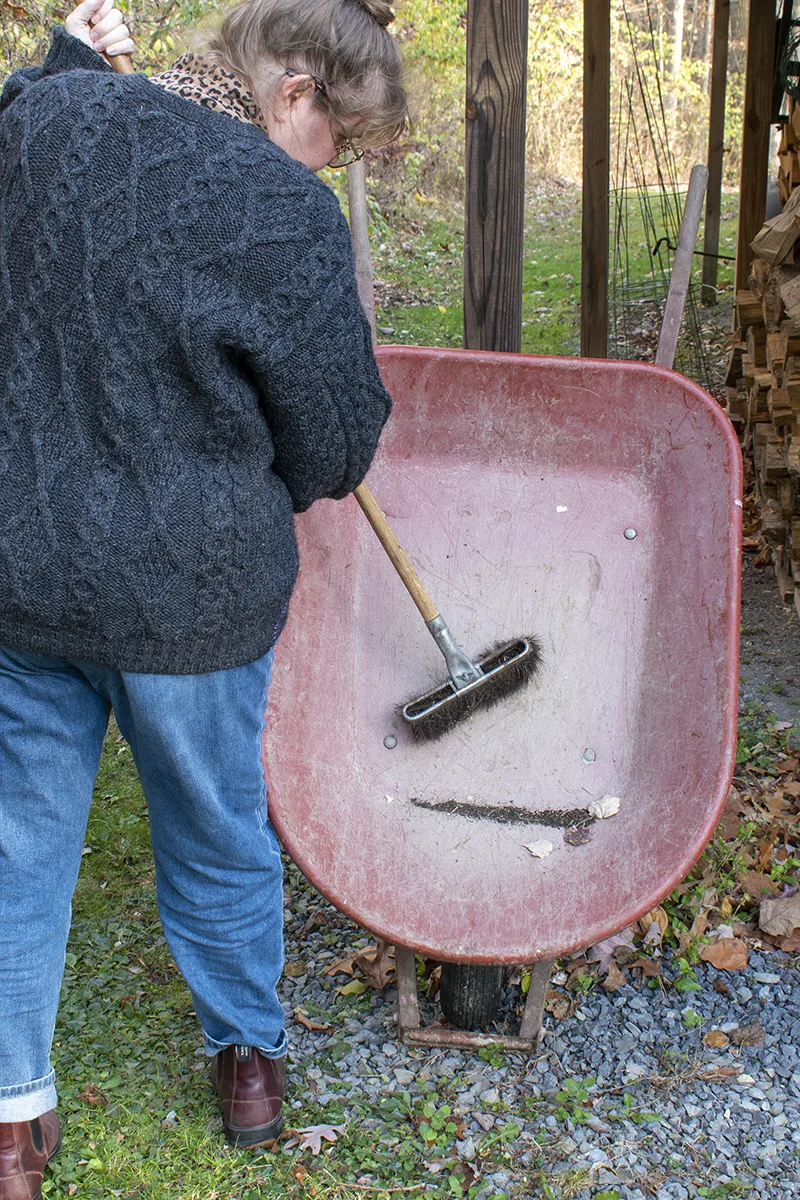
If you can, store your wheelbarrow in a shop or garage, as extreme cold can cause rubber tires to become brittle and crack. Regardless, if the weather is too cold, you’ll likely need to add more air in the spring, as the cold will cause a drop in tire pressure.
Clean Out and Put Away Your Garden Box
Wait? What do you mean you don’t have a garden box? You really should. These handy outdoor storage boxes keep gardening gear close at hand during the season.
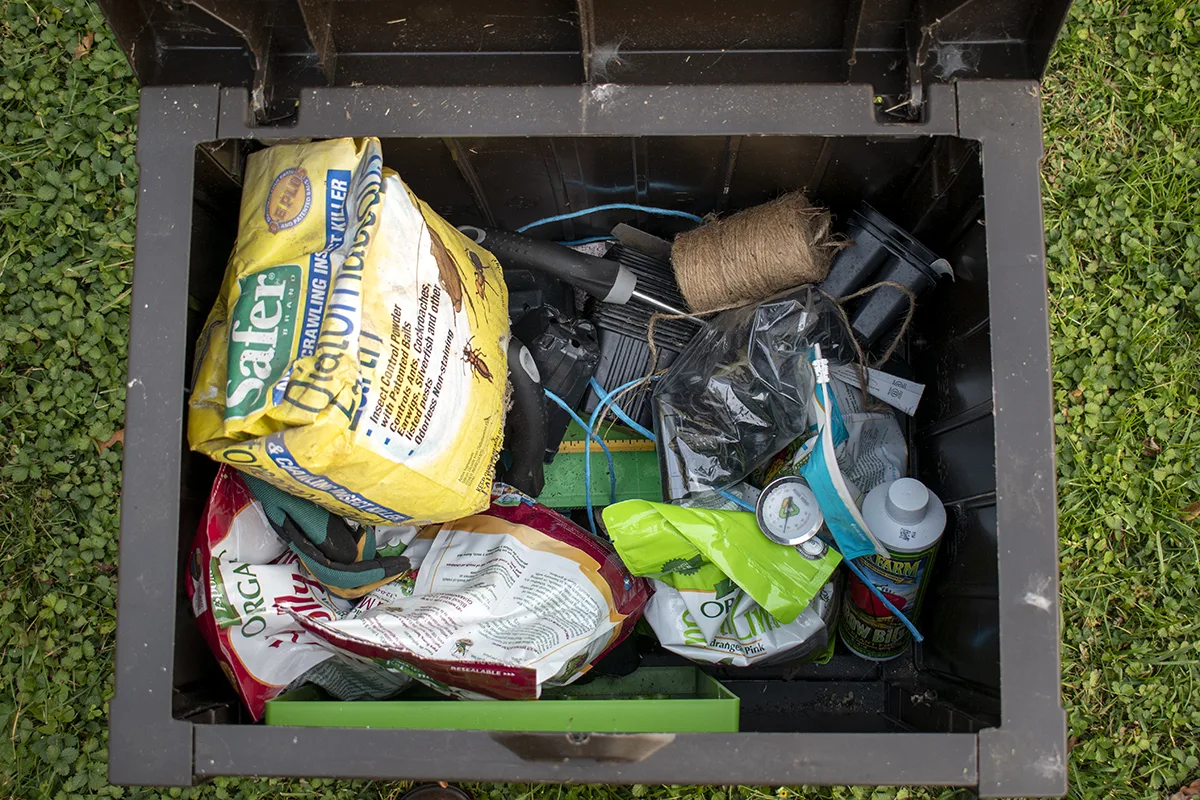
At the end of the year, though, they need to be cleaned out (they tend to collect odd bits and bobs during the gardening season) and put somewhere out of the elements so that they can do their job again in the spring.
Cleaning out your garden box at the end of the season is also a great way to determine if you need to replace worn-out or used-up items like gloves or fertilizer.
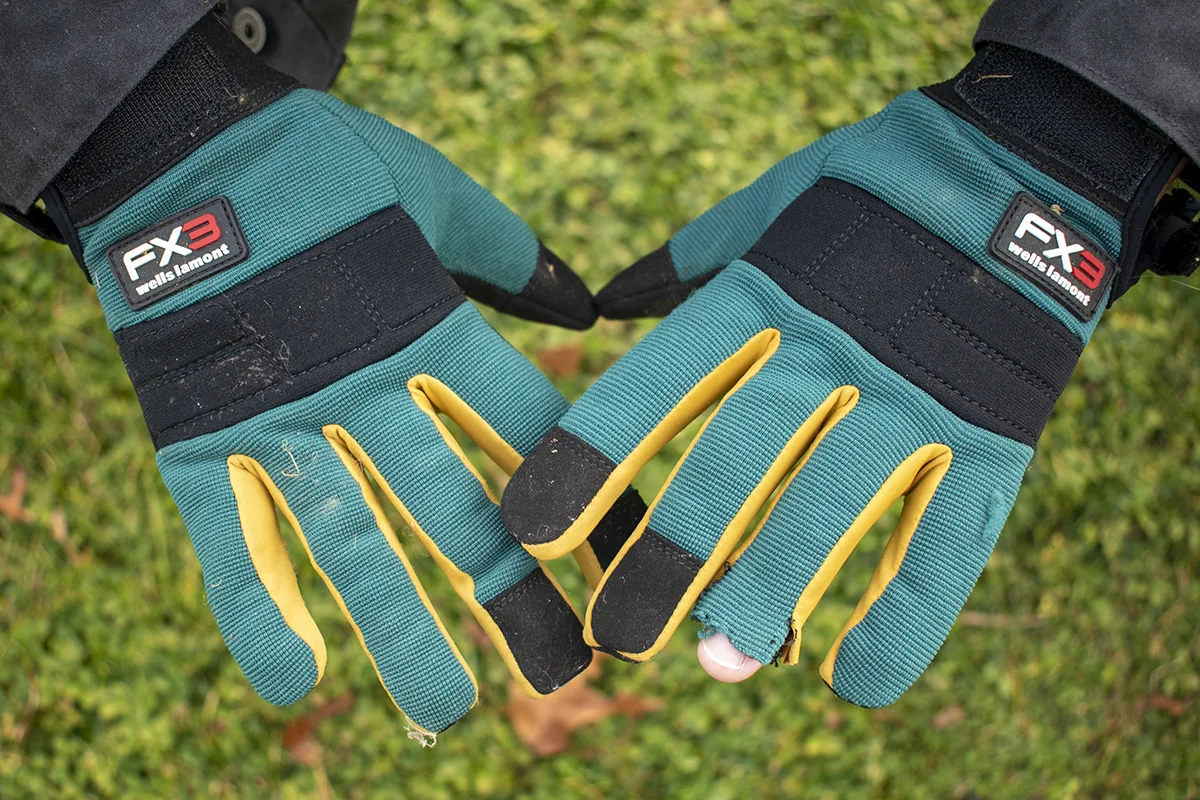
Bring gloves indoors and toss cloth gloves in the wash. Brush off leather gloves with a stiff-bristled brush and rub in a thin coat of saddle soap.
Hand Tool Maintenance
Gather all of your small hand tools. Check handles for cracks and decide if anything needs to be replaced. Now is a good time to scrub hand tools with soapy water to remove sticky build-up from the season. Cleaning your tools also prevents the spread of plant diseases.
Wood handles should be rubbed with a light application of linseed oil to keep the wood conditioned and prevent it from cracking.
Rust Removal
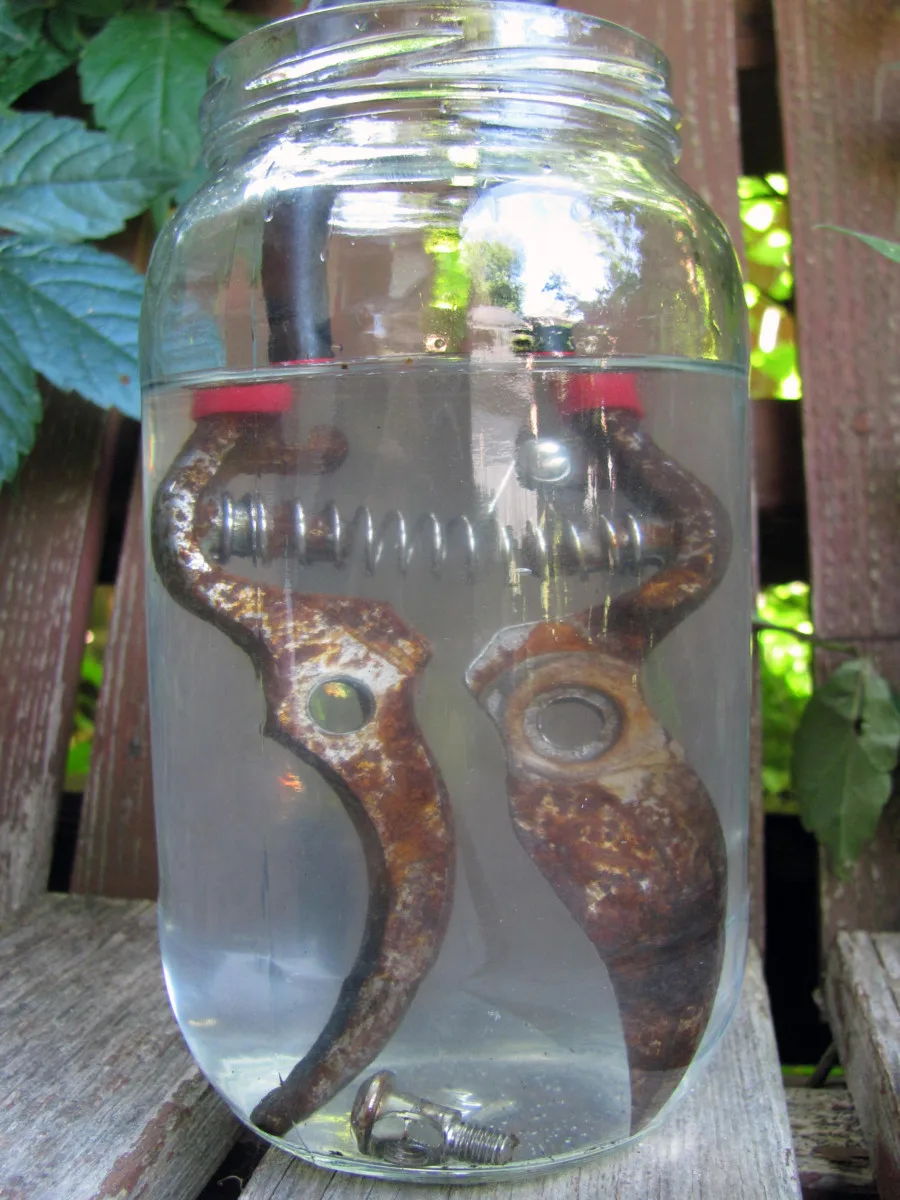
It doesn’t take long for rust to show up on your favorite hand tools. But it’s relatively easy to remove. All you need is vinegar, salt and baking soda. Submerge and soak rusty hand tools in vinegar with 2-3 tablespoons of table salt mixed in.
Let the tools soak for 12-24 hours before removing them and scrubbing any remaining rust with steel wool. You’ll need to submerge your tool again in a mixture of water with two tablespoons of baking soda. This alkaline solution neutralizes the acidity of the vinegar.
Lindsay did an excellent job of walking readers through the rust-removal process over here.
Loppers, pruners and shears should all be sharpened at the end of the year. Use a fine file to smooth out and hone any nicked or rolled edges on a blade surface. To prevent future rust, treat the surface of the metal with a neutral oil, like mineral oil or WD-40.
Store Tools and Keep Them Rust Free
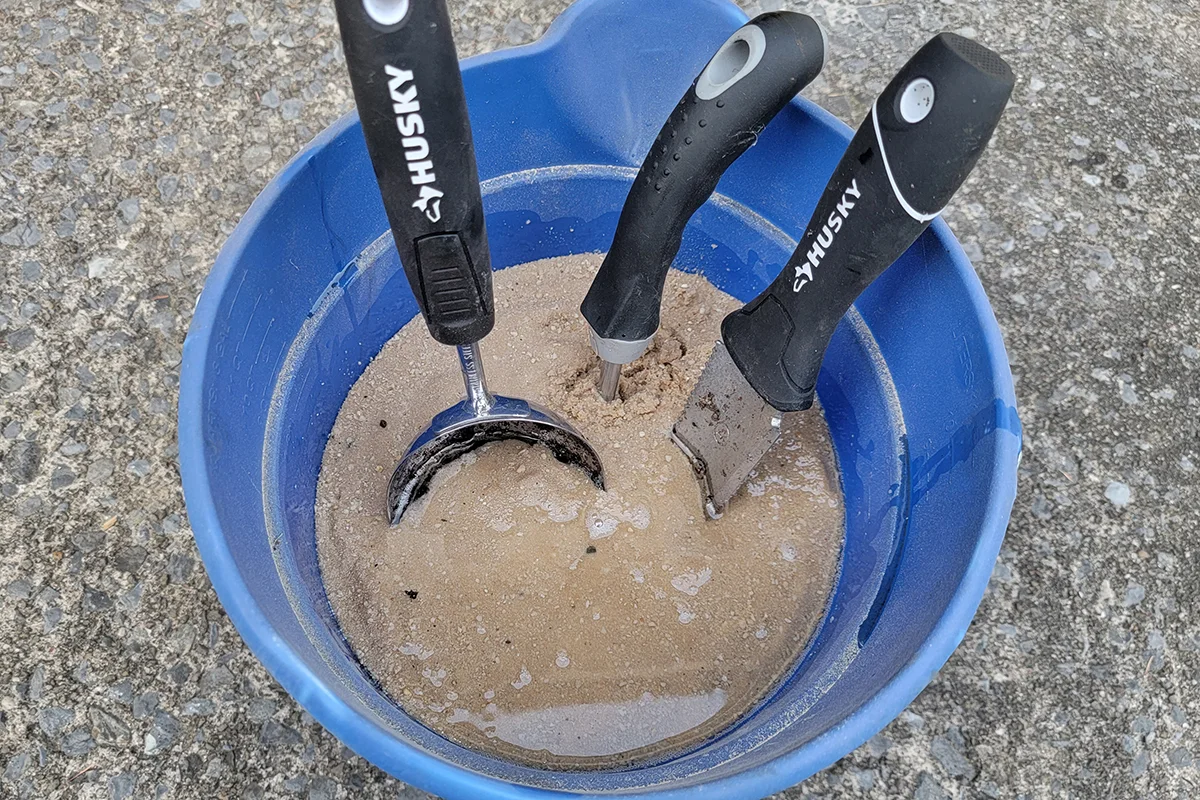
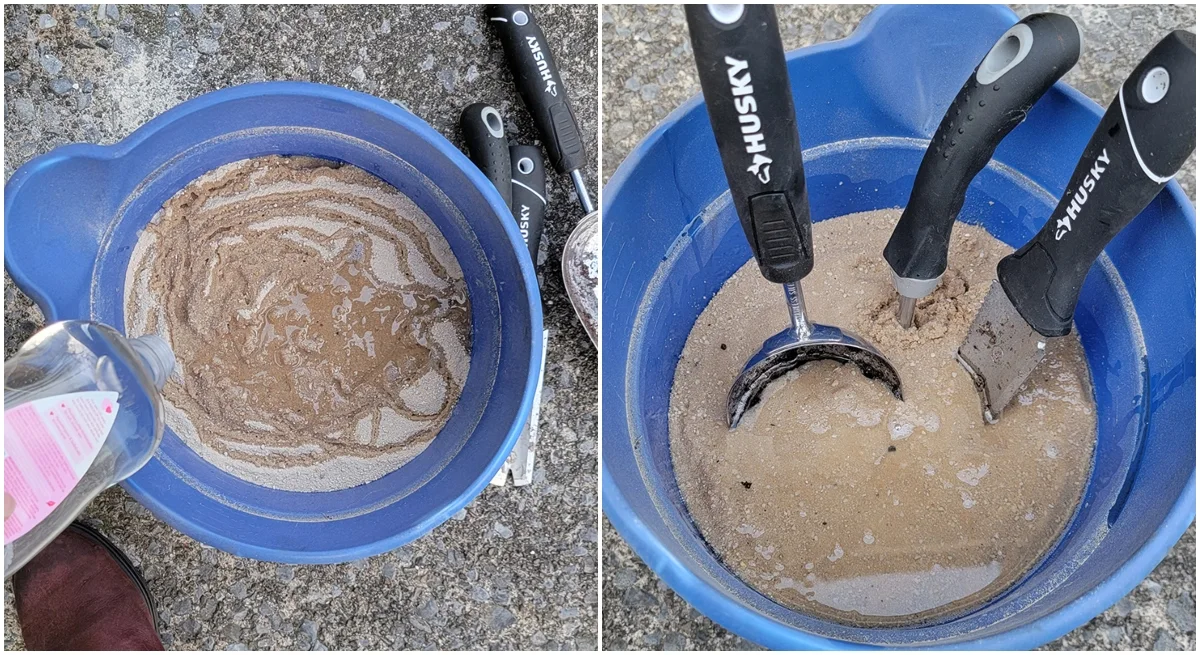
We’ll use an old machine shop trick to clean, store and keep hand tools rust-free during the winter. Grab a bucket and fill it with clean sand. Now pour mineral oil over the top of the sand.
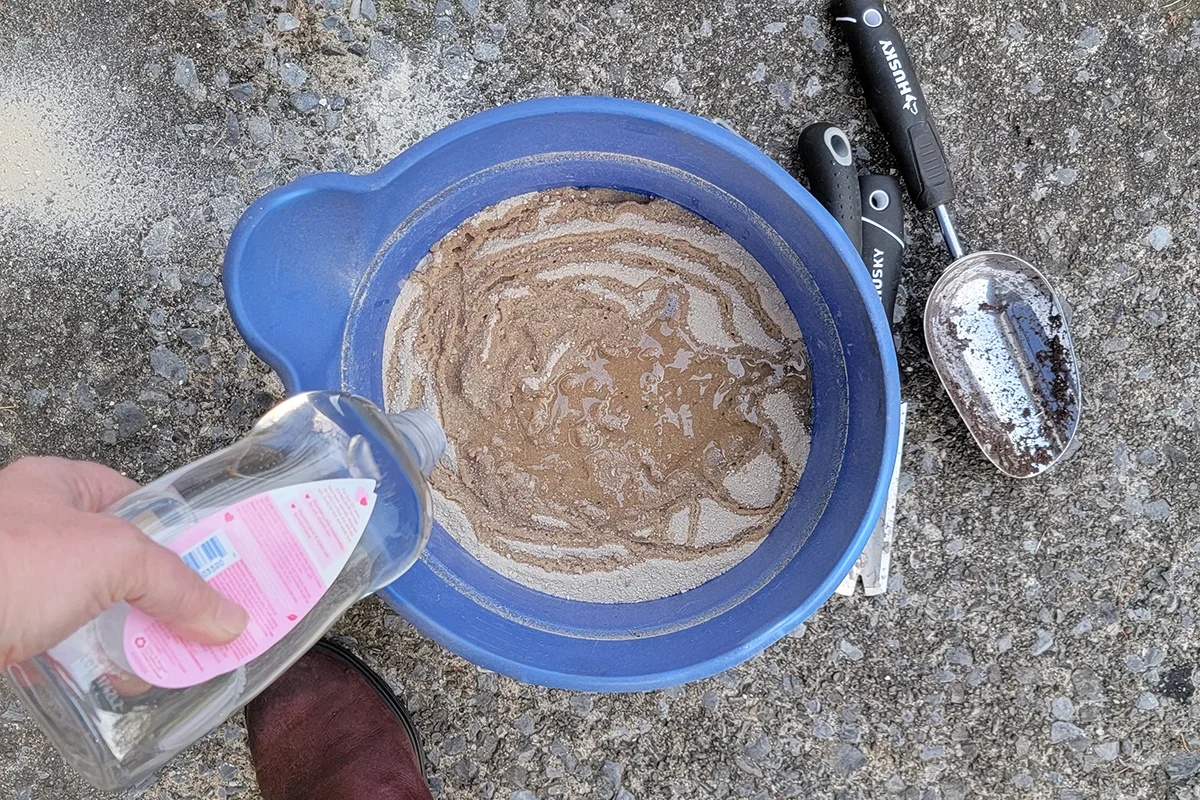
Take your hand tools, like your trusty Hori Hori knife, garden spade and weeder and thrust them repeatedly into the sand.
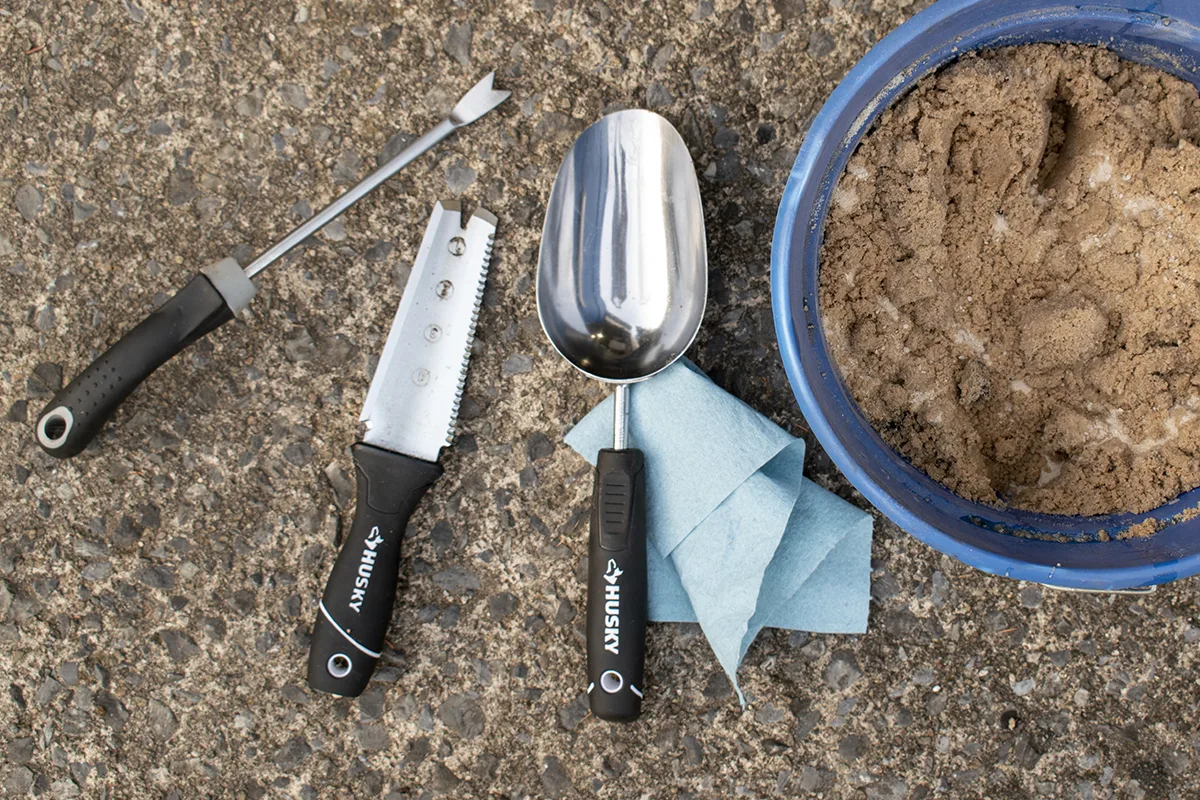
The sand cleans the tools and helps to remove light rust. The oil coats the metal and prevents future rust. When the tools are clean and shiny, shove them back into the oil-soaked sand up to the handle. This will keep them looking good and ready to go next spring.
Larger Tool Maintenance
Don’t forget to show your larger tools a little love before you close them up in the shop for the winter.
Clean & Remove Rust
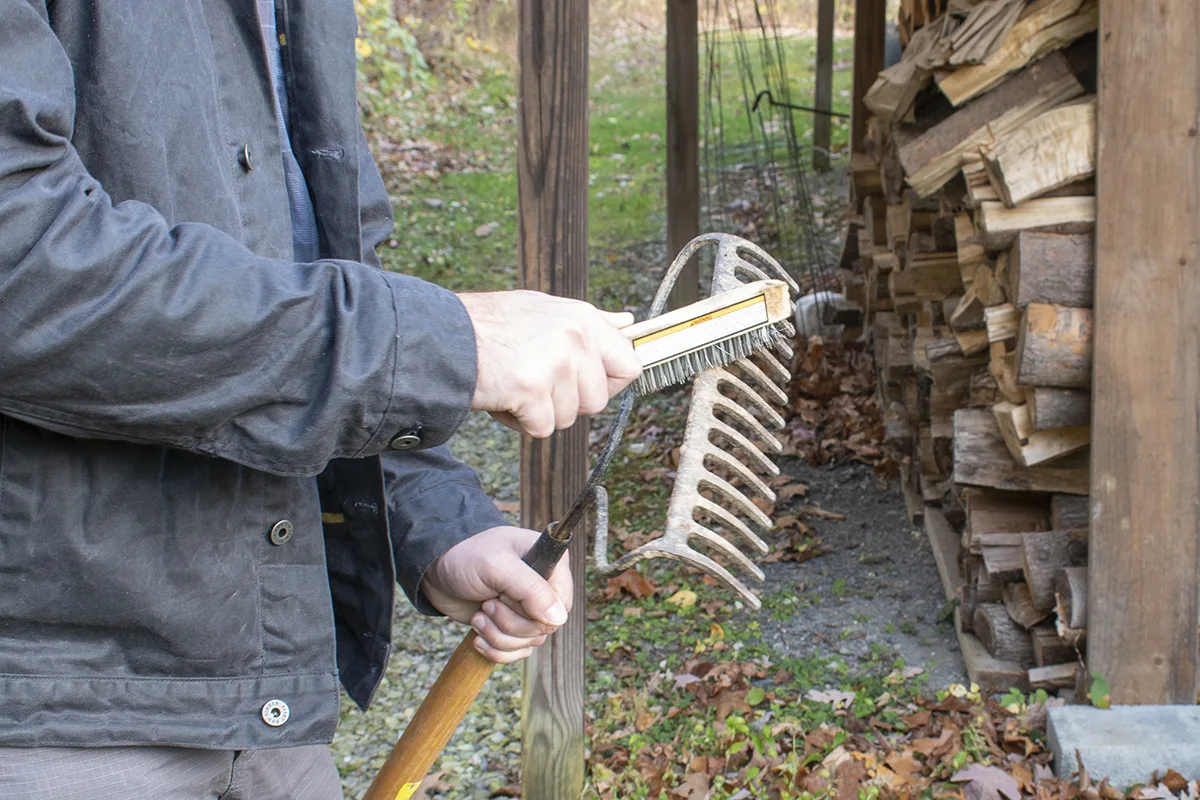
Grab rakes, shovels, hoes and forks and use a stiff-bristle brush to remove caked-on dirt.
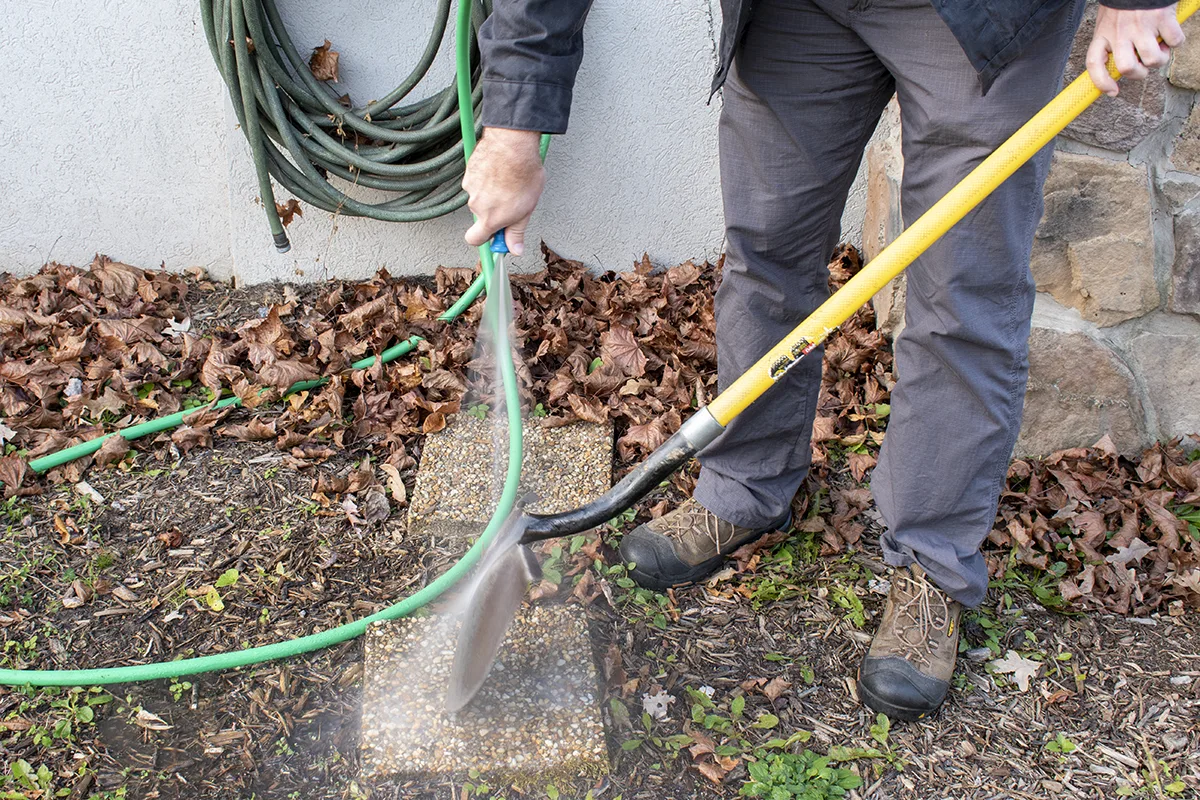
Rinse them off with the hose once you’ve got most of the dirt off. If the tools are especially rusty, you may want to consider Lindsay’s vinegar soak, followed by a final alkaline soak.
Sharpen, Coat & Put Away
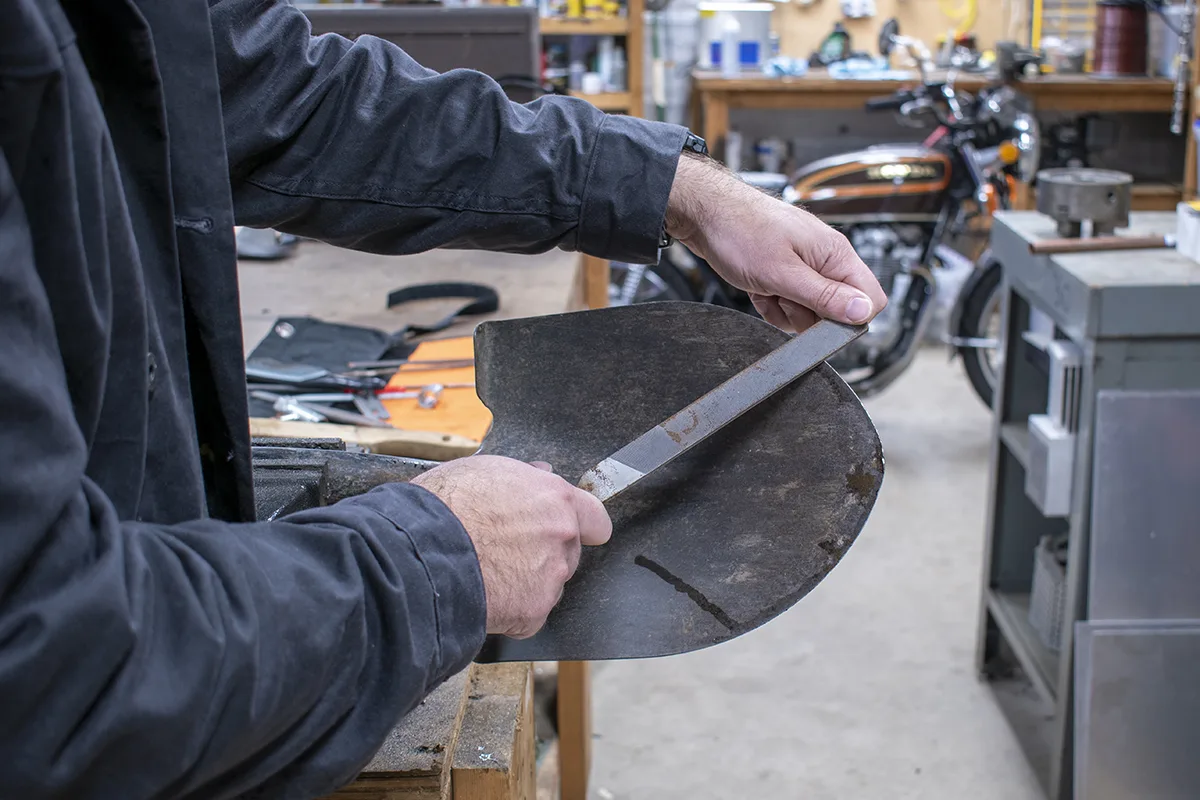
Finally, don’t forget to sharpen spade and shovel blades. Having a dull shovel makes the back-breaking work of digging that much more back-breaking. Finish by coating the metal surfaces of large tools with WD-40 or mineral oil to protect them from rust over the winter. Hang them neatly where they will be ready to go next spring.
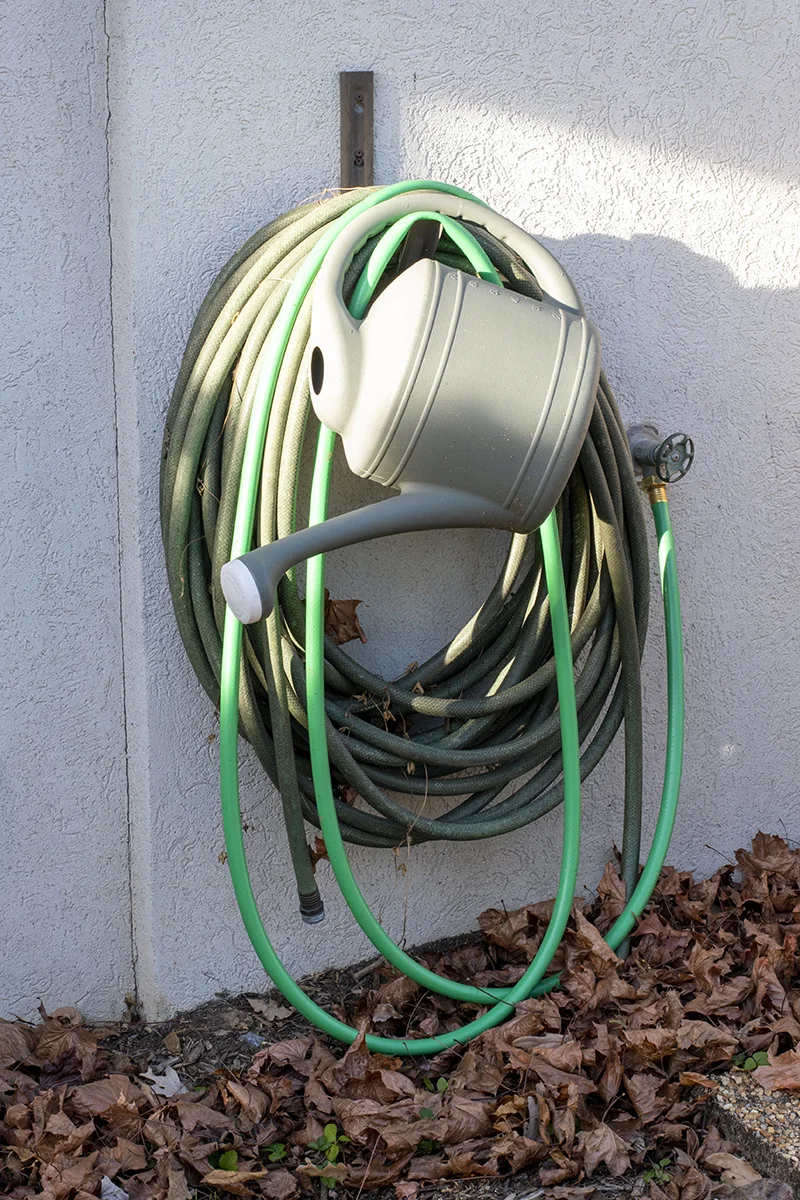
And when you’re all done cleaning and putting away tools, don’t forget to put the garden hose away too!
And that’s that. Sure, it’s a little extra work at the end of the season, but you’ll be glad you took the time to clean and care for your tools come next spring. When the weather warms up and you’re ready to get back out in the garden, you won’t waste time searching for lost tools or dealing with rusty, dull blades.

Get the famous Rural Sprout newsletter delivered to your inbox.
Including Sunday musings from our editor, Tracey, as well as “What’s Up Wednesday” our roundup of what’s in season and new article updates and alerts.


