Before we jump in, I want to disclose that Rural Sprout is a Garden Tower Project affiliate. Should you purchase one of their kits through the link, Rural Sprout receives a small commission from the sale. This in no way affects your price and helps us bring you the great content you all know and love.
If this thing is a total dud, you can bet I’ll be honest with you. This is to say that while Rural Sprout is the affiliate, my opinion on the Garden Tower 2 is mine and mine alone.
And we spent our own money buying this product. It’s not a freebie that’s dependent on us providing a positive review.
Now that we’ve got that out of the way – I got a Garden Tower 2! I’m so excited about growing in it this summer.
What the Heck is a Garden Tower?
I saw one of these on Instagram a couple of summers ago and thought it was the coolest thing. Have any of you heard of them before?
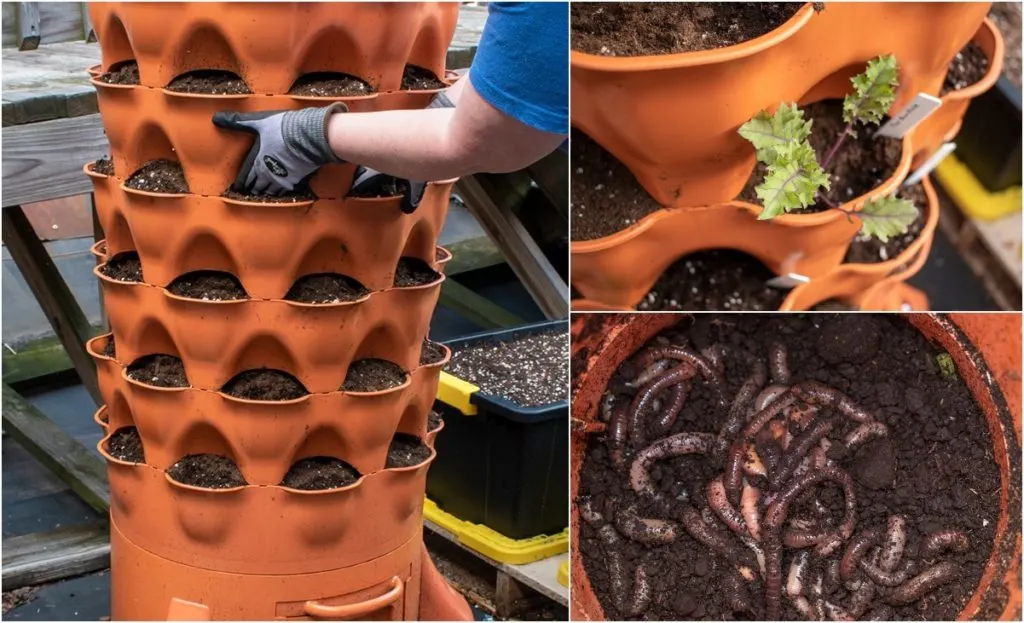
It’s a self-contained vertical growing system with space for 50 plants. It has its own internal vermicomposting tube, so you don’t have to worry about adding nutrients to the soil. Plus, you get compost and compost tea through the normal use of the system.
Here’s a fun little guide showing exactly how it works.
It’s great for small spaces.
The footprint is only about 4 square feet (it’s roughly 24″ wide). And it’s easy to reach all of your plants, coming in at about three and a half feet tall. The tower rotates on its base, so you can turn it for watering, pruning and harvesting.
And the best part – no weeding.
Putting the Garden Tower Through its Paces
Last year James, our Head Homesteader, asked me if I would be interested in testing one out and sharing my findings with all of you.
Um, yes, absolutely.
Unfortunately, it just didn’t happen. Like many plans in 2020, some things had to be set aside.
This year when James emailed and asked if I was still up for testing out a Garden Tower, it took less than a red hot second for me to reply with a resounding, “Yes, please!”
You see, last year I moved into town, into a second-story apartment.
This is the first time I’ve ever lived somewhere without a patch of dirt to play in. (Cue the tiny violinist.)
As many of you know, that certainly didn’t stop me from gardening. I gardened on my rooftop and my balcony, both of which I’m expanding this year.
It’s been a challenge living as self-sufficiently as possible in the second story of an old Victorian newspaper building. For me personally, testing out the Garden Tower 2 is another step of exploration on this journey.
Having a vertical growing system opens up possibilities to grow things that take up too much space on a balcony.
I’m hoping to grow ~ 95% of my produce right here in my apartment by:
- doubling my rooftop garden space
- utilizing more of my balcony for vertical growing via trellising
- continuing to grow vegetables on my windowsills
- and of course, adding the Garden Tower
(I already plan to continue growing food in the tower next winter by bringing it inside and using grow lights. Stay tuned for that experiment too.)
Begin at the Beginning – Ordering
After our Head Homesteader suggested this experiment, I headed straight over to GardenTowerProject.com to make my purchase.
They have several ‘bundles’ to choose from depending on your needs. The starter bundle seems to be the most popular.
It includes the tower and a few extra goodies, such as a $20 gift certificate for Baker Creek Seeds, some nice plant labels and Dr. Earth Plant food.
Who wouldn’t want that? You’re setting yourself up for success, and all you need to purchase beyond the bundle is soil and worms.
I knew my tower was going out on my rooftop garden. And for that reason, I needed to be able to move it around as the sunlight changes back there throughout the season. I gave up all the goodies that come with the starter set and opted for the Move and Grow Bundle, including casters. (Need casters and want even more goodies, choose the Deluxe Bundle.)
I also thought that if I wanted to use this inside during the winter, it would be easier to do it on wheels.
With that decision made, I purchased my Garden Tower Friday morning. And then very quickly forgot about it as I dove into a busy weekend.
Lo and behold, there was a loud thump in my hallway Sunday afternoon. When I opened the door, there was this large octagonal box in the hallway.
I stood there staring at it for a few moments before I realized what it was. I honestly didn’t expect it to get here so quickly.
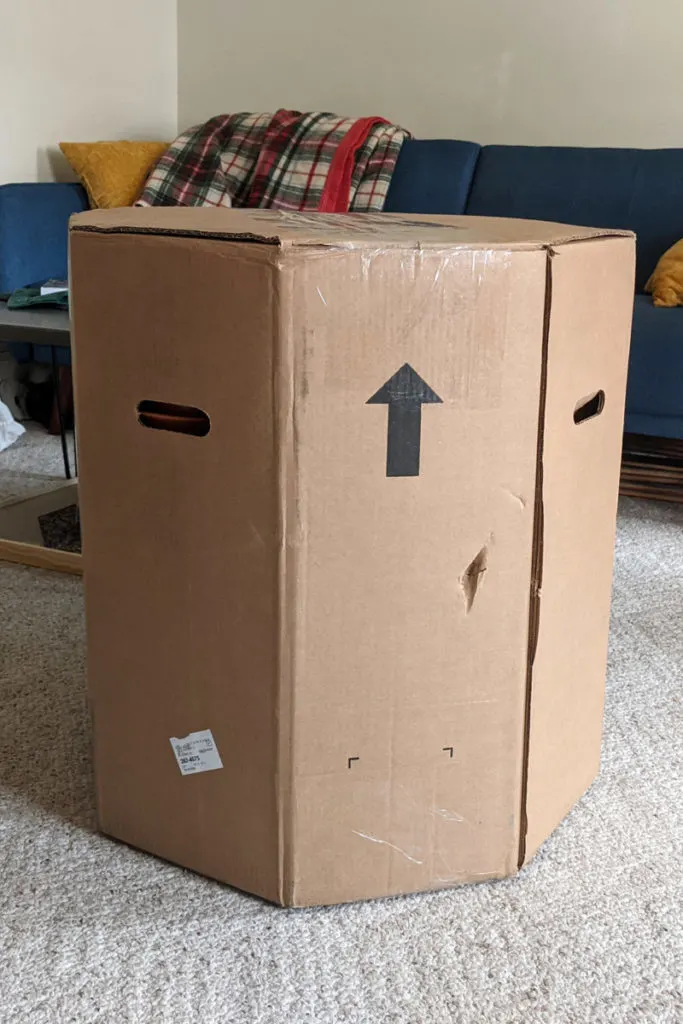
Lightning-fast shipping – check!
The box is a little cumbersome and a tad heavy, roughly 40 pounds. If you have back or neck issues, (hi, friend!) I recommend getting someone to help you move it.
The box it comes in has conveniently placed handles along the top, and I have carpets, so I was able to slide it into my den.
So far, so good.
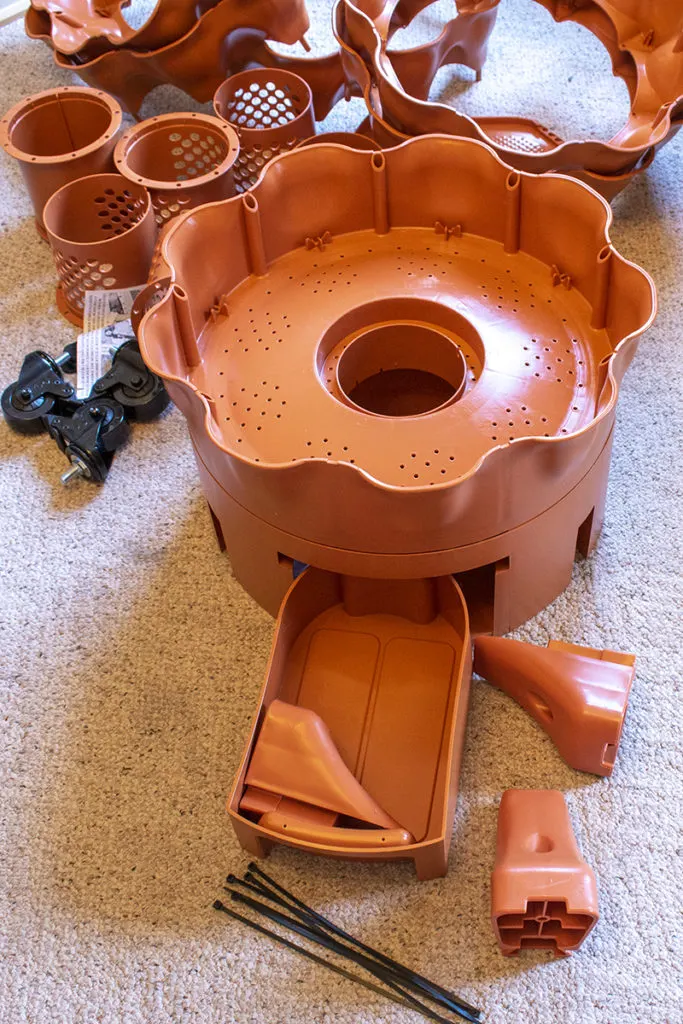
I was impressed with how well it was packaged too. There was no styrofoam or other packing materials that are hard to recycle. It’s just the box and a few pieces of tape. And the instructions recommend using the box to start your composting tower.
Garden Tower Project, you get a smiling two thumbs up from me for that.
The assembly and getting started directions that are included are well written and easy to understand. I recommend reading through them twice before you start putting it together. (But I recommend that for any directions, just ask my kids when we’re working on homework.)
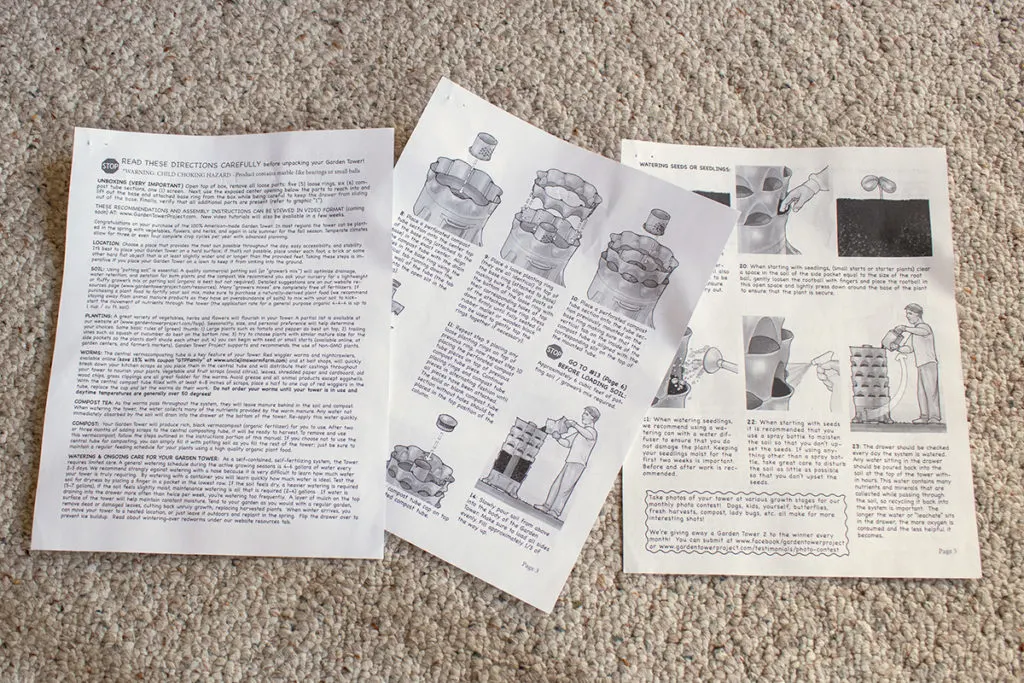
They also have a video on their website if you prefer to follow along and watch someone put one together.
If you choose to purchase a tower with casters, it has separate directions for attaching them. You will need a couple of hand tools (1/2″ and ¾” sockets), but nothing extreme. The casters were incredibly easy to put on and took me all of five minutes.
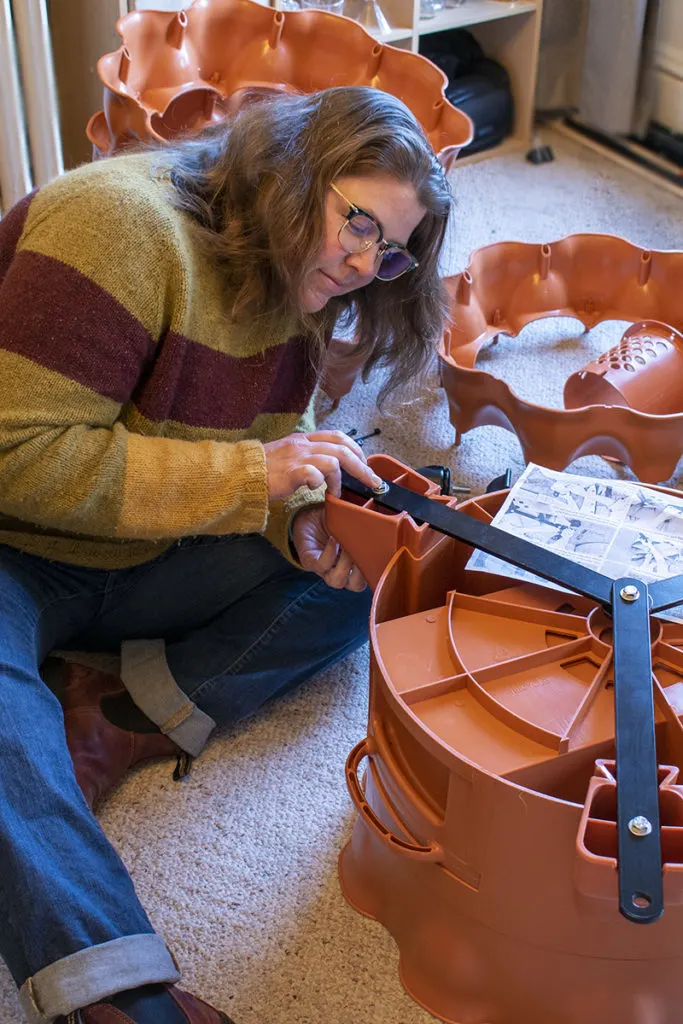
A quick note about the casters
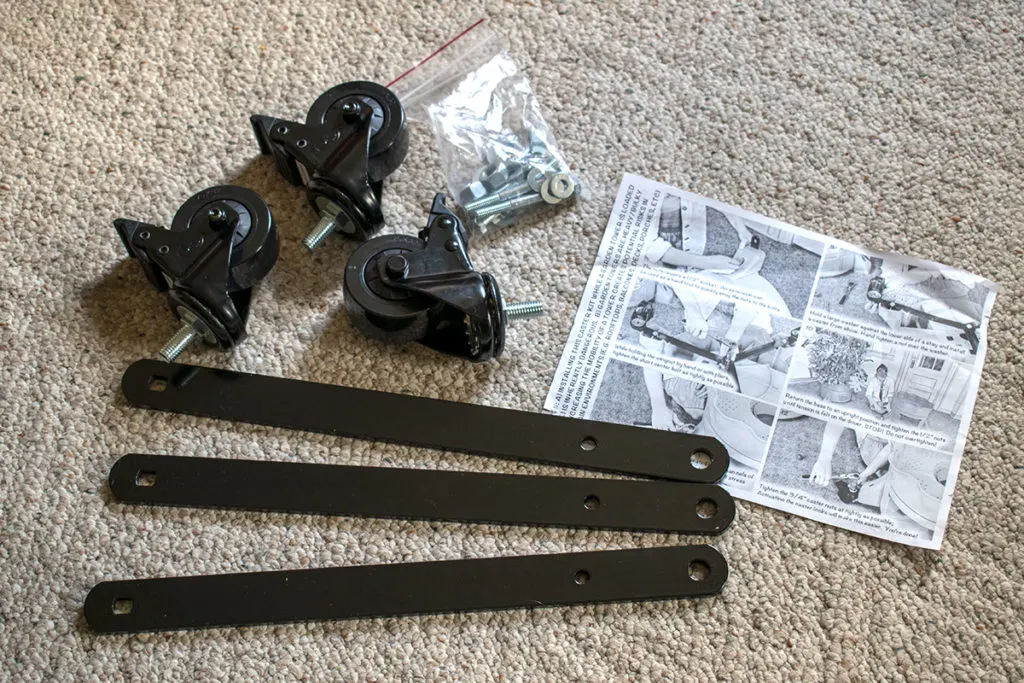
Garden Tower Project prides itself on being made here in the USA. I noted when unpacking everything that the casters are made in China. That being said, they are heavy, well-made, and the braking mechanism is quite sturdy.
The tower itself is ridiculously easy to put together. The pieces snap together, and there aren’t any fussy parts. The grow rings are all the same size and don’t need to go in any specific order, and the same goes for the composting tube sections.
My First Hiccup with My Tower
When I grabbed the last ring, I went to snap it into place, and it wouldn’t seat correctly. That’s when I noticed three of the connecting pegs were pretty squished. If I had to guess, something got a little off during the production process.
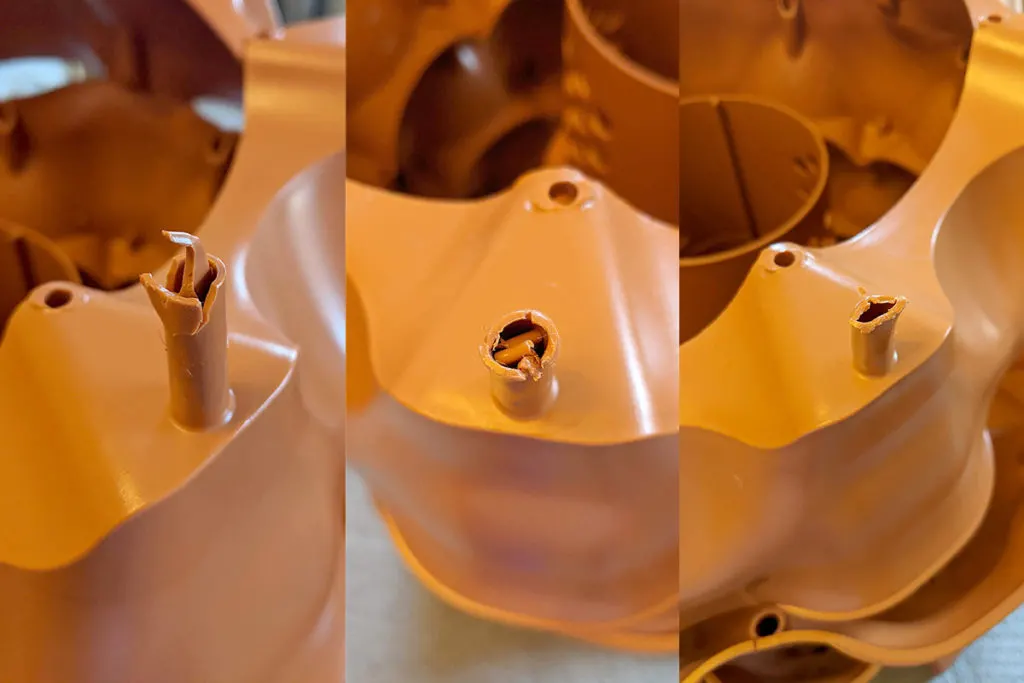
There was just no way these were going to fit into the holes.
I was dead in the water.
So, I went back to the website and used their handy little blue “Support” button. I fired off an email explaining the issue, attached a couple of photos, and asked if they would mind sending out a new ring.
Within an hour, I received this reply from a lovely woman named Karen.
“Hi Tracey,
Thank you so much for your support of the Garden Tower Project!
We apologize for the damaged part. While we do stand behind our product and will be happy to send a replacement, we kindly ask you to consider the following:
The damage to the end of the peg is extremely minor and can be trimmed off. Though the pegs are 3/4″ long, they only really need to be 1/4″ to be effective. The plastic is soft enough that it can be cut on a hard surface, very carefully, with a razor knife or small saw.
Once the weight of potting mix is in them, they will not be going anywhere. It amounts to neither a structural or cosmetic deficiency. We ask you this because of the amount of resources this takes to ship another complete part out, while the original will suffice just as well.
We understand if you are not willing or able to do that, and we will be happy to ship out a replacement if you desire. Please just let us know which you prefer.”
Color me impressed, folks.
I messaged back that I would happily use the ring I originally received and thanked her for help. Karen replied, thanking me for “being flexible and for keeping the environment in mind.”
She also sent me a ton of excellent information to help me get started – links on how to set up the tower with soil, what soils they suggest using, how to get started with vermicomposting in the tower and what plants work well in the Garden Tower and what rings to grow them in.
She even suggested I join their Facebook group to see what the Garden Tower growing community is up to.
The list goes on. Super Helpful.
I’m amazed by their dedication to their customers and the planet. It was a welcome change from the normal customer response one receives these days.
And she was right.
I used a pair of wire snips to nip the damaged ends off the three pegs and then reshaped them using a screwdriver. The damaged ring was good as new and fits just fine.
I’m happy to report that my Garden Tower Project is off to a great start. Now I just need the weather to warm up so I can fill it and start composting and planting.
How about you, Rural Sprout Readers?
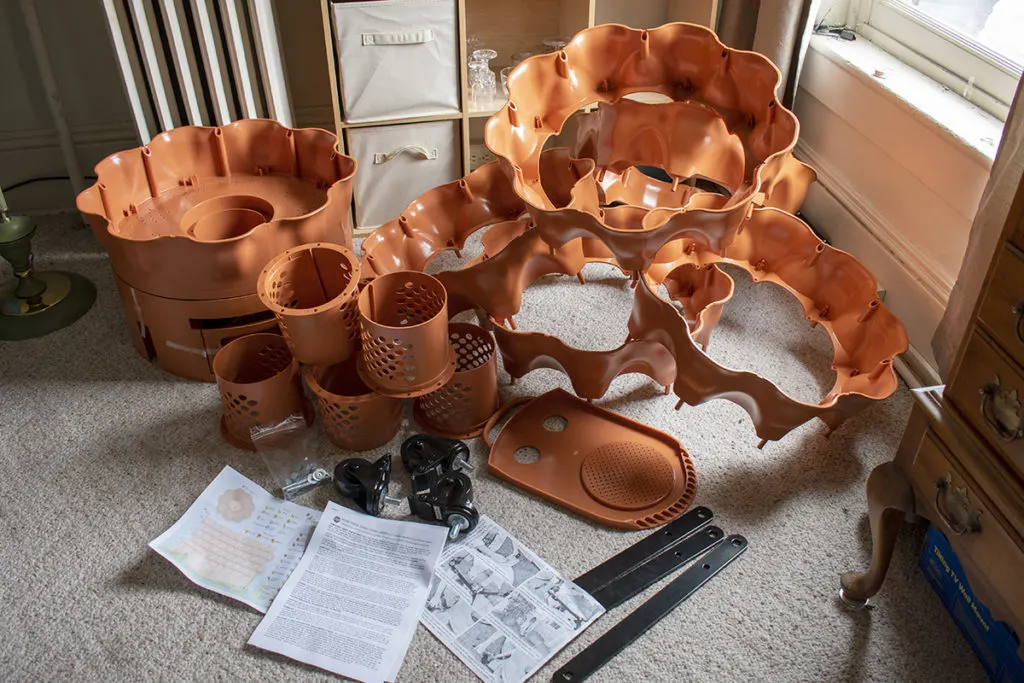
Anyone else want to join the party?
Are you a seasoned Garden Tower grower? Send me an email and tell me about your experience with it.
I’ll be checking in here with regular updates, as well as posting the progress of my tower over on Instagram. If you purchase a Garden Tower, be sure to drop me a line at [email protected] and let me know. Grow along with me and email me pictures of your Garden Tower to be featured on our Instagram.
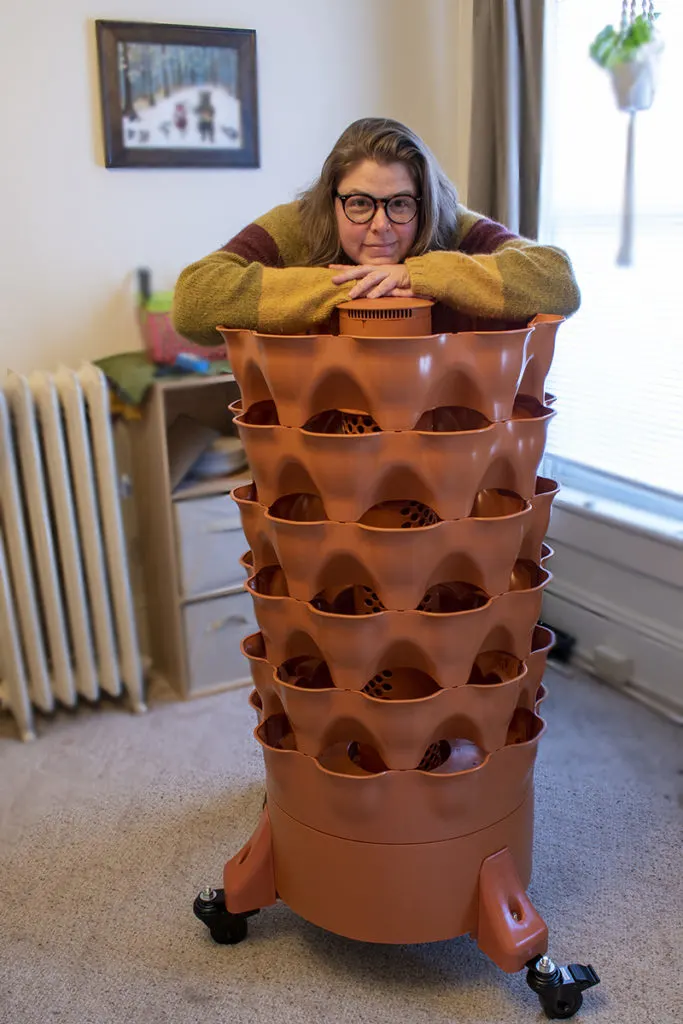
Despite my space challenges and lack of an actual piece of land, I’ve never been this excited about a gardening season. I’m genuinely looking forward to growing vegetables in my tower.
Read The Next Instalment:

Get the famous Rural Sprout newsletter delivered to your inbox.
Including Sunday musings from our editor, Tracey, as well as “What’s Up Wednesday” our roundup of what’s in season and new article updates and alerts.


