You know, when a recipe calls for a clove of garlic, and you’re like, “So, what you really mean is three cloves, right?”
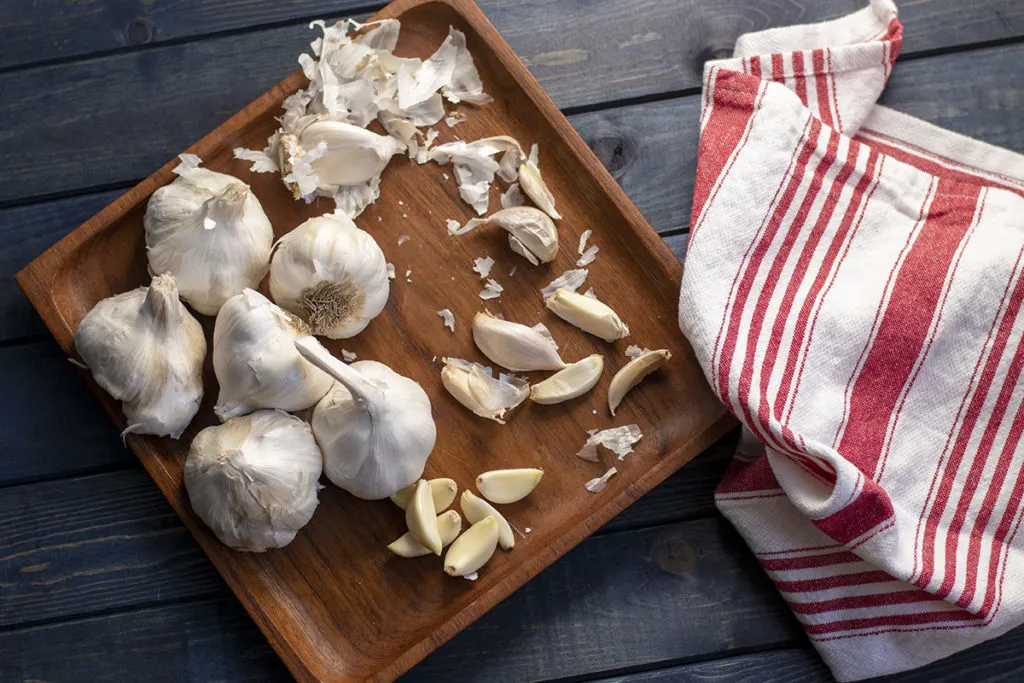
If that’s you, you’re in good company.
Garlic is the one kitchen staple I go through the most. I could plant nothing but garlic in my garden, and I’d still end up needing more. Maybe I’ll grow some garlic in pots on my windowsill. That should keep me in garlic for a while.
When you walk into a kitchen and smell garlic cooking, you know something yummy is about to take place.
It’s great in everything – soup, roasted veggies, meats, ice cream.
(Okay, maybe not that last one.)
If you love to cook, you probably figured out long ago that fresh garlic has the best flavor.
Unfortunately, peeling garlic is a pain in the butt.
The garlic skin is glued onto the clove and nothing short of splitting atoms will separate the two. This is why there are so many gadgets out there for ‘easily’ peeling garlic. And why the internet is filled with just as many garlic peeling hacks.
Do they actually work?
Ah, dear reader, as usual, I’m here to help you out.
I tried six popular garlic peeling hacks to find out how well they work. Because as we all know, there are plenty of websites out there that are happy to continue regurgitating whatever is popular – whether it works or not.
Nope, not in my kitchen. I’m hacking the garlic hacks, so you get the truth.
Let’s get peeling, shall we?
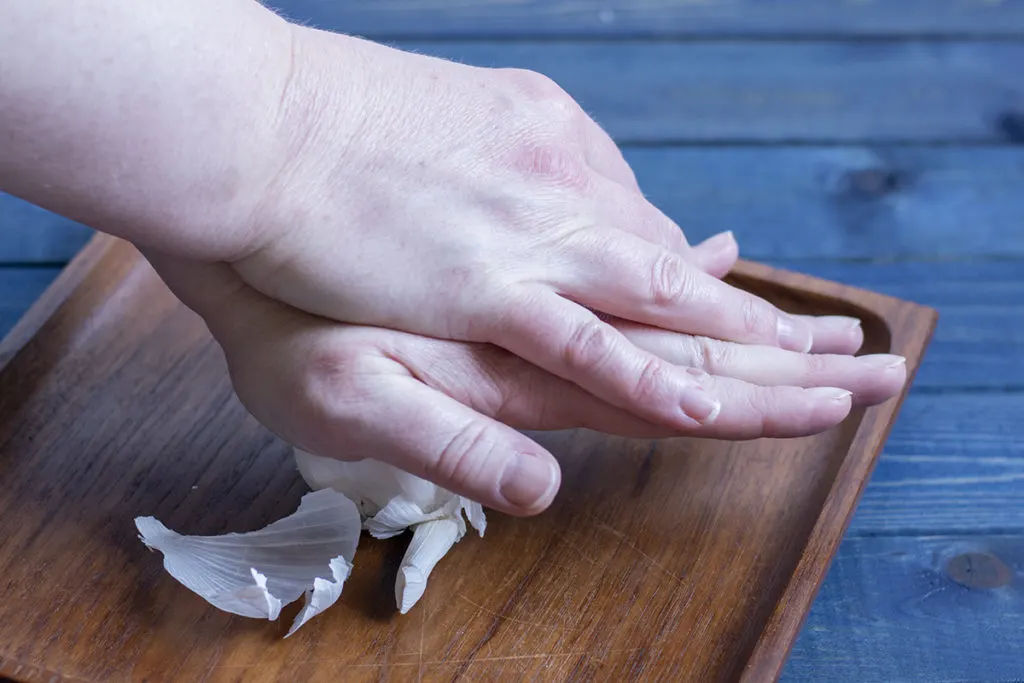
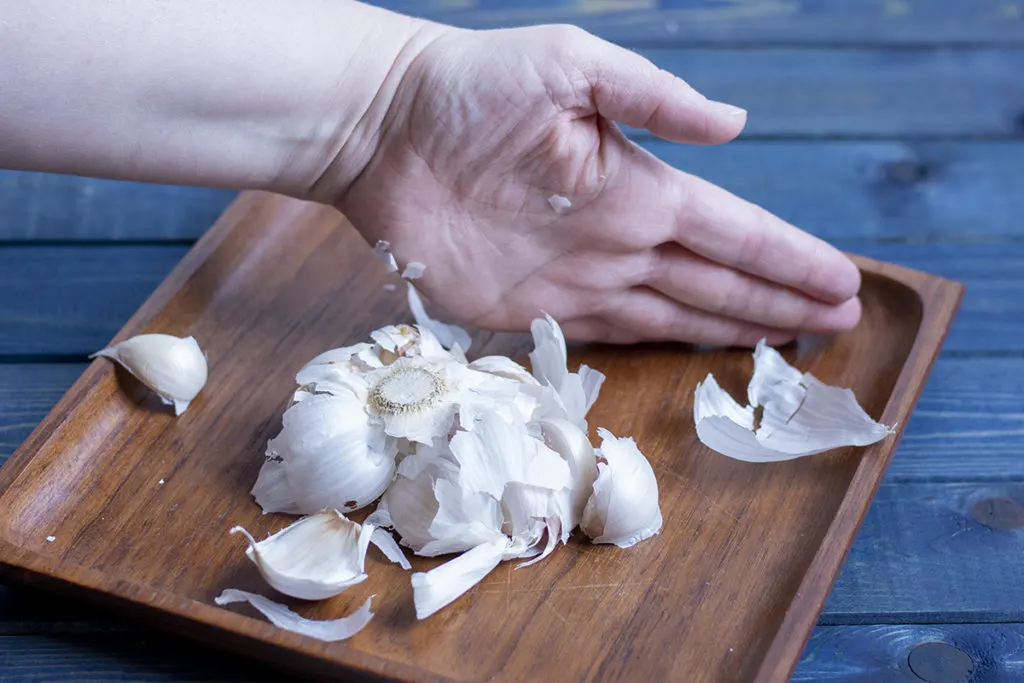
Before you can peel garlic you have to remove it from the root base of the bulb. This is pretty easy to do. Just put it on the counter and give it a few chest compressions. The pressure will release the cloves.
Garlic Peeling Hacks
1. Prick Out Cloves with a Paring Knife
I really wanted this one to work, mainly because it looks so cool.
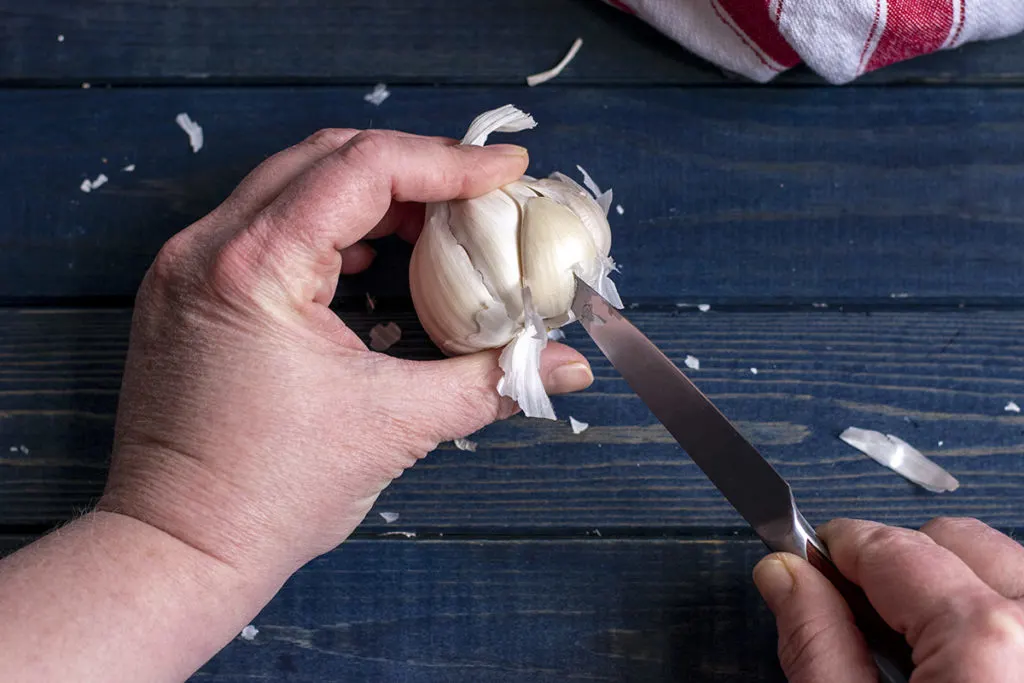
Think of it – you’re in your kitchen looking like a rock star, zipping clove after clove out of the bulb with your paring knife and a flick of the wrist. Dinner guests would be amazed, your children would ask for seconds of their vegetables, and the wine would always go perfectly with the meal.
Magic.
But it doesn’t work.
My knife just twisted a messy hole in the side of the cloves. I ended up breaking off chunks of the clove, while the rest stayed firmly attached not only to the skin but also to the bulb.
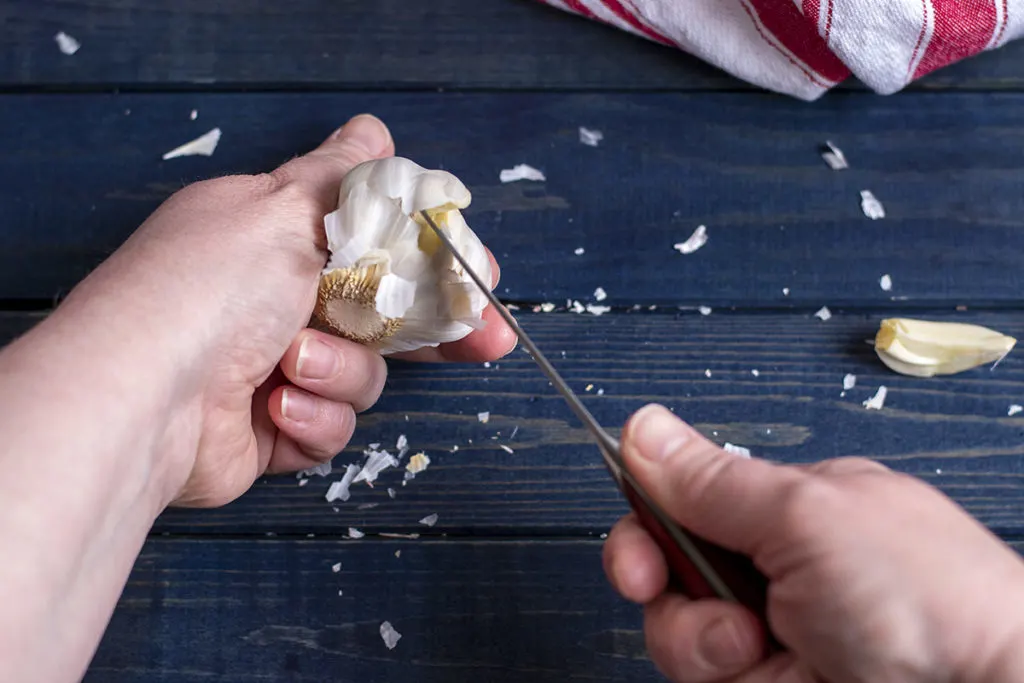
I dug around and found this guy on YouTube who explains how to do it. You have to cut around the base of the bulb to release the cloves before you can poke each clove with the knife and pluck it out.
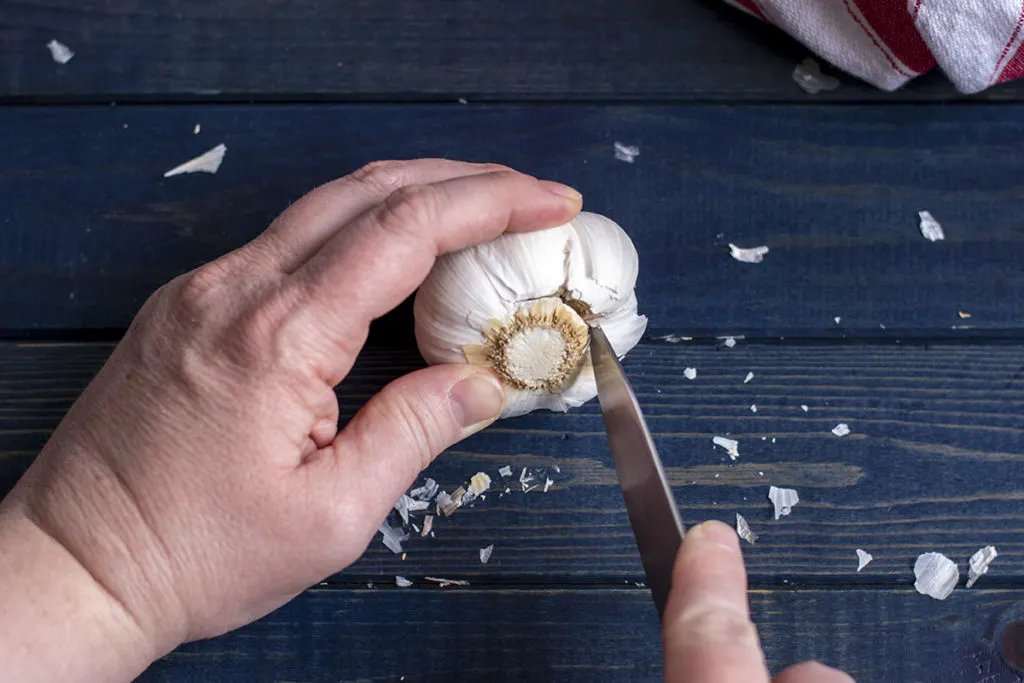
It’s time-consuming, and I kept thinking with one tiny slip, I would end up with a paring knife in the palm of my hand.
Even after that, I still ended up with a mangled head of garlic rather than ninja garlic peeling skills.
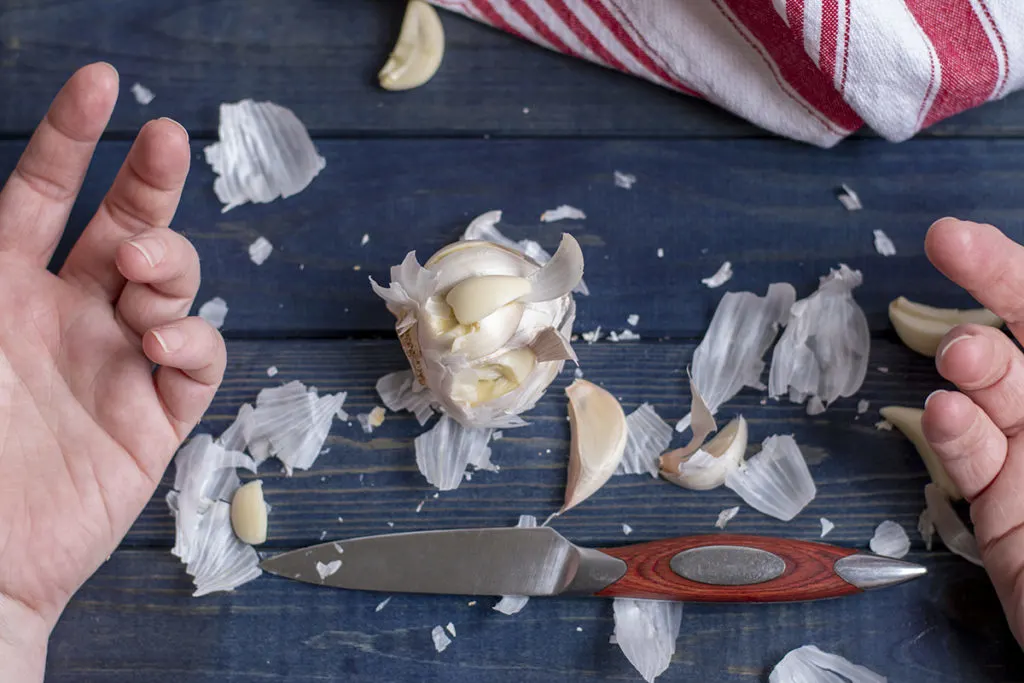
In the end, it’s too much of a hassle to get it to work for it to be considered a decent garlic peeling hack.
2. Soaking Garlic in Water
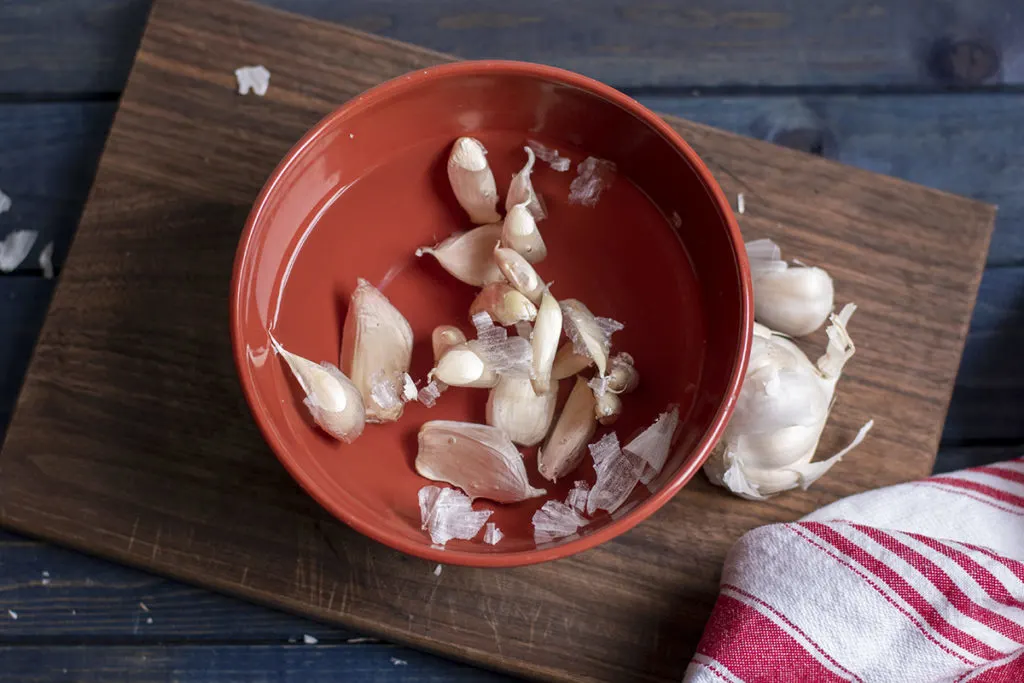
Place your garlic cloves in a bowl of water, wait fifteen minutes and then roughly rub the garlic cloves between your palms.
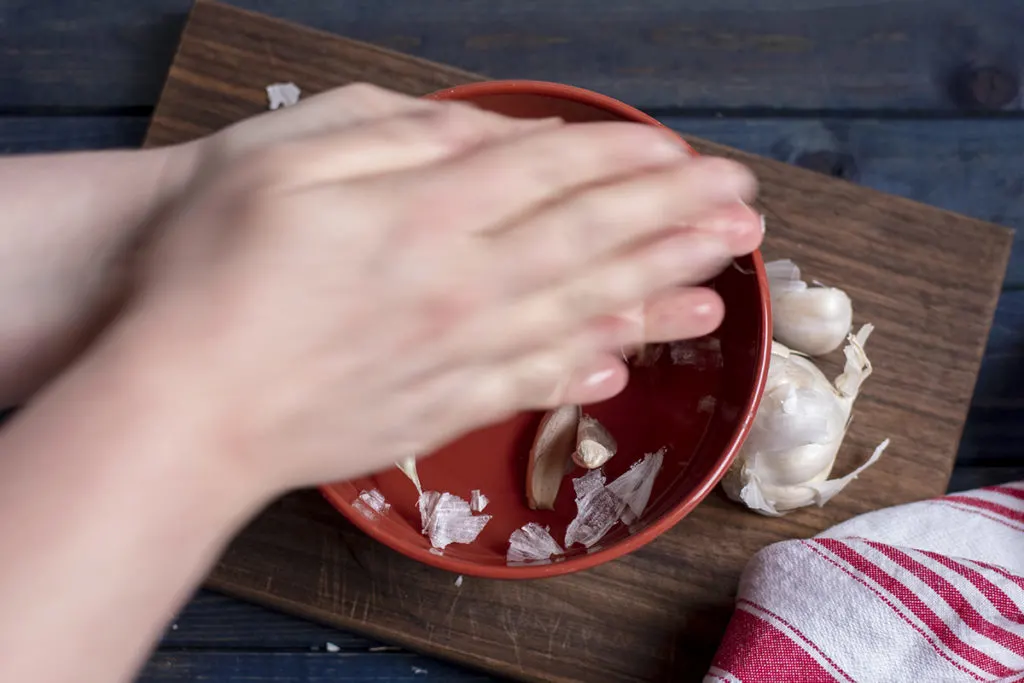
This one did work.
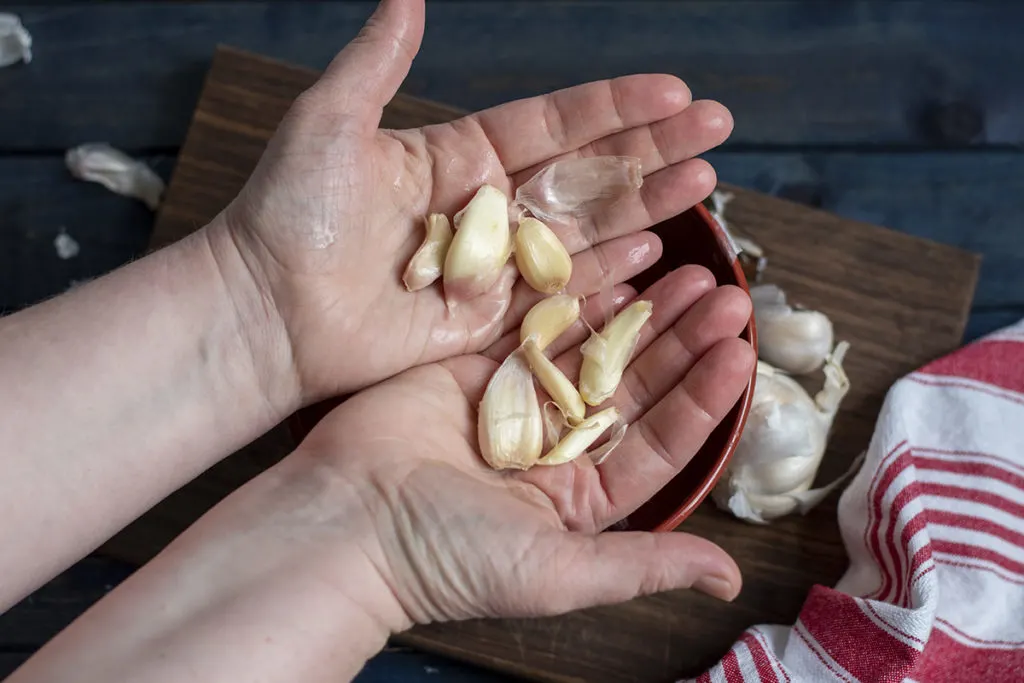
However, it took closer to half an hour for the skins to soften up enough for the cloves to slip out. And in that half hour, I could have peeled the garlic by hand and finished cooking.
This will be a good one if you need to peel a lot of garlic, say for pickle-making day. I would set up a bowl filled with water and put the cloves in it before bed, so they’ll be ready to peel in the morning.
Otherwise, this hack takes way too long for everyday cooking.
3. Rolling the Garlic
You are rolling the cloves firmly between your palms.
Yup, it works, but you need to cut off the tiny root end first. It also kind of hurts, and because of the pressure and friction you’re creating, the garlic begins to release its wonderful aroma – right onto your hands.

With this method, you end up with sore hands that smell like garlic.
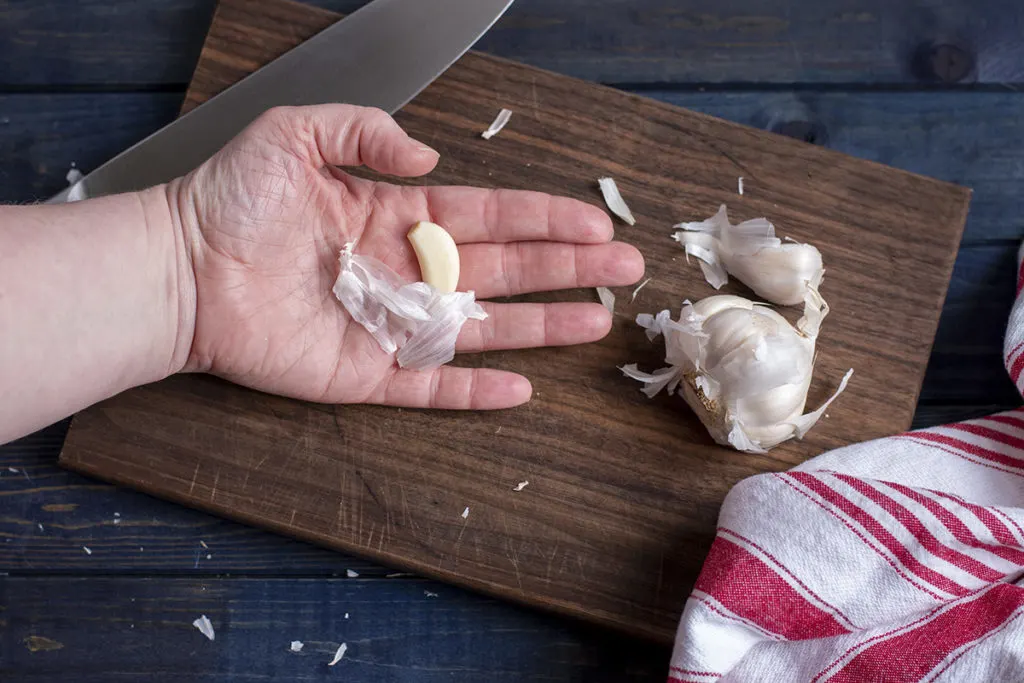
However, if you want to save your hands, they make these little silicone tubes to roll the garlic in. (I used to own one but gave it away because I never used it.)
For me, having to grab a special single-use kitchen gadget slows me down in the kitchen. Not to mention it takes up space in my drawers. Your mileage may vary; give it a try.
4. Shaking the Garlic Between Two Bowls
Okay, let’s talk about this one. I see it everywhere.
And it does work, with a few caveats.
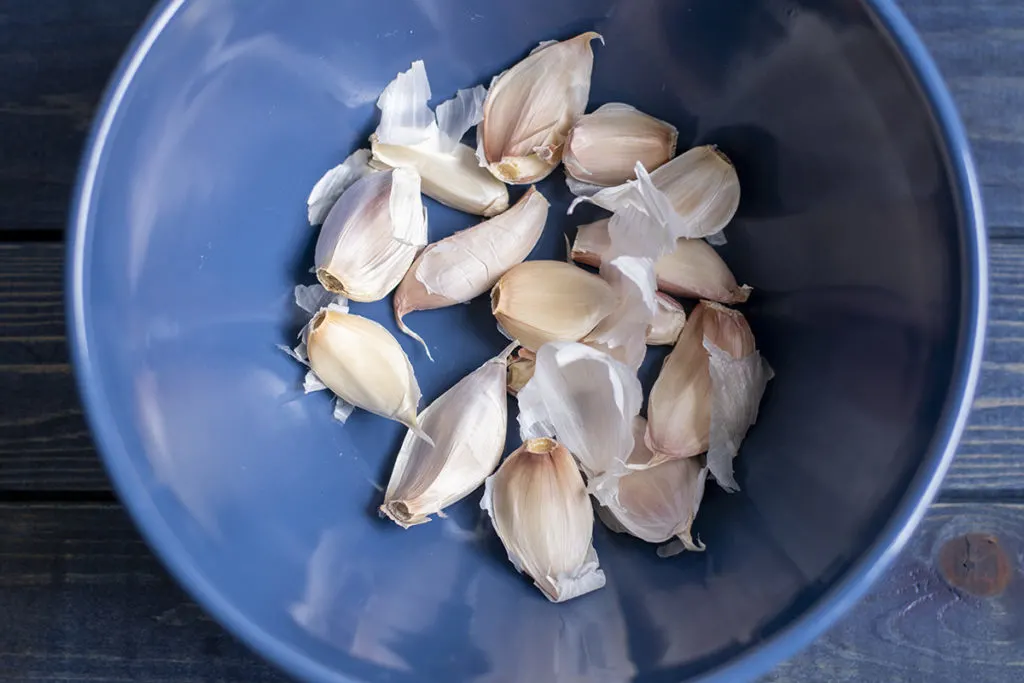
I found I got the best results using a much larger bowl and putting a metal pot lid over the bowl. I think having the metal to crash into helps a great deal.
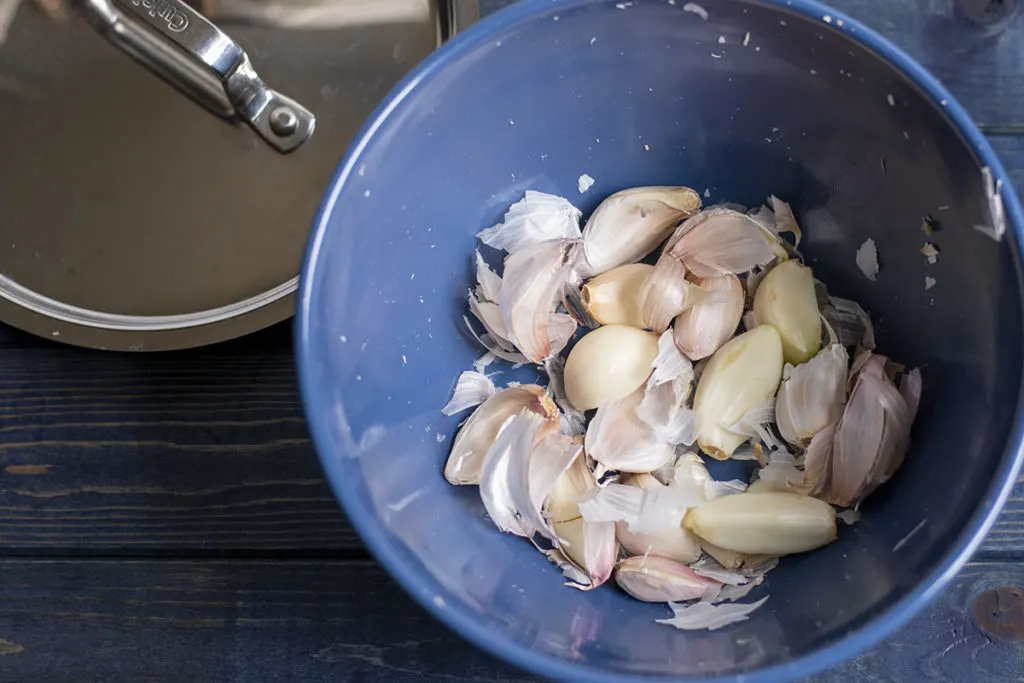
The garlic needs a lot of room to bang around, and as the peels come off, they create a cushion protecting the garlic you’re trying to knock about. If you’re doing lots of cloves, you may want to stop shaking for a moment and pull out a handful of the empty skins.
It took me 30 seconds of solid shaking to get good results.
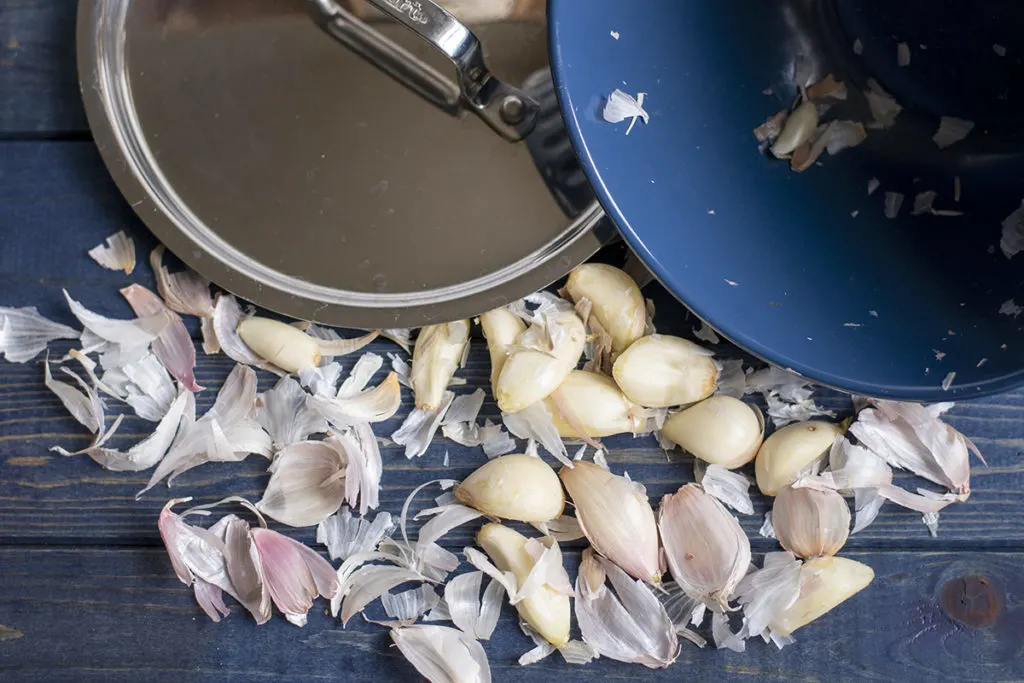
I noticed that because the garlic is being banged, it starts to release its juices, which causes the papery skins in the bowl to stick to the peeled cloves. I had to rinse my peeled garlic off when I was finished.
Overall though, it does work for an entire bulb of garlic. I use a lot of garlic when cooking but not a full bulb all at once. I’m thinking maybe I’ll peel a bulb of garlic using this method at the beginning of the week.
I can store the peeled cloves in a jar and grab them as needed.
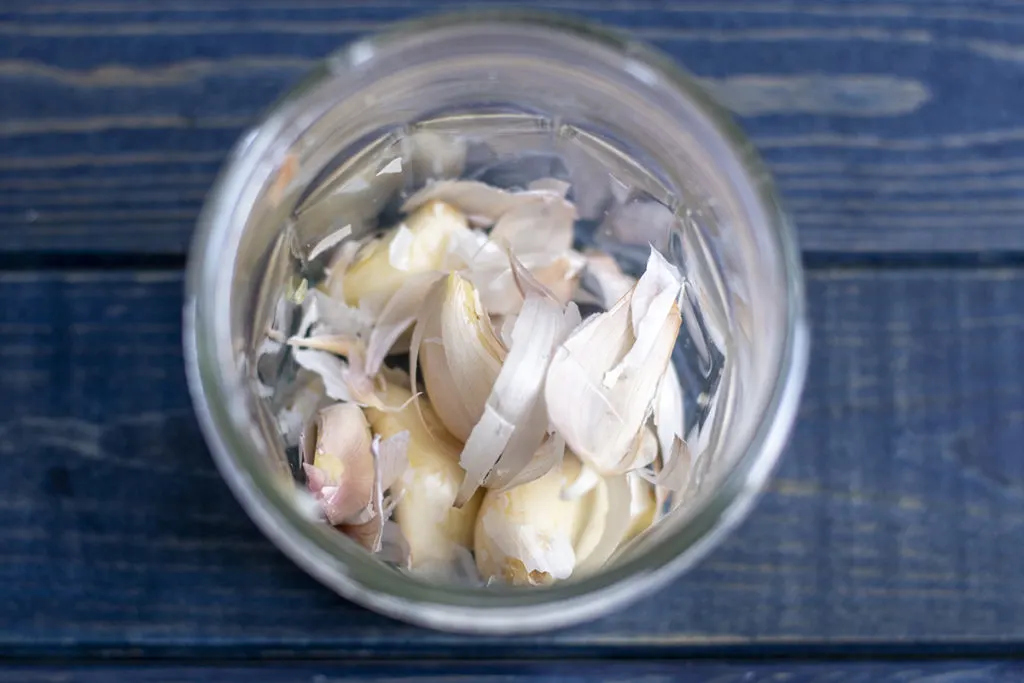
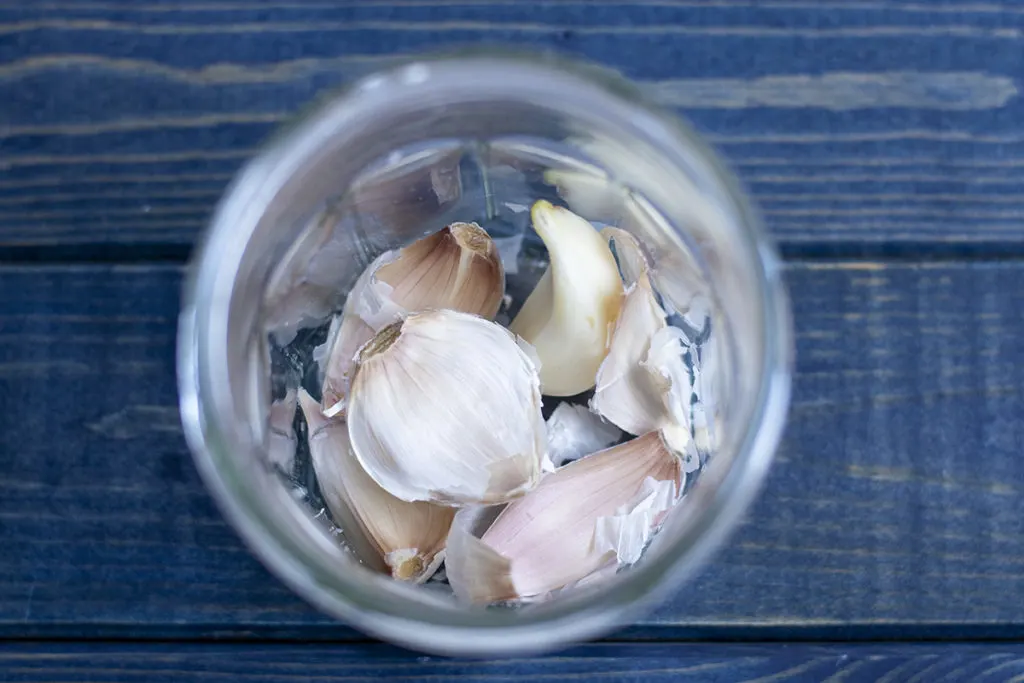
5. Shaking Garlic in a Jar
Yes, it works.
Sort of.
It’s a bit like the bowl idea, only on a smaller scale, and it works best for 2-4 cloves.
I had to shake the garlic for a full 30 seconds to get 3.5 out of 5 garlic cloves peeled. As you can see from the final photo, one still has the skin clinging loosely to it, and the other clove was nowhere near being peeled.
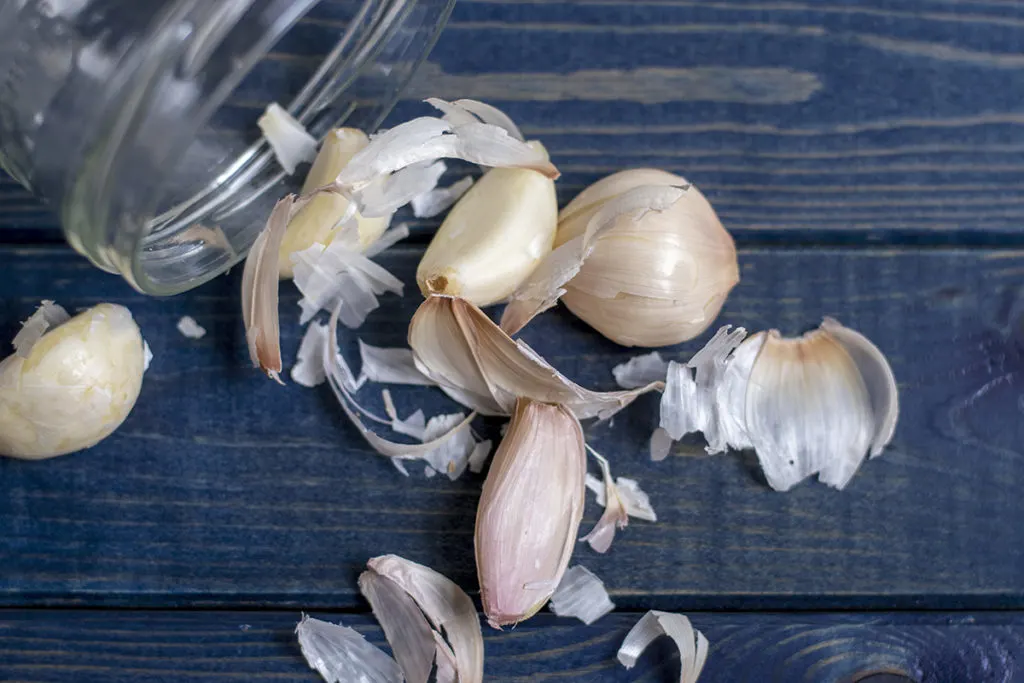
Plus, you have to have an extra piece of equipment, the jar. Granted, it’s not as big as bowls, but it’s still extra stuff to gather while you’re cooking and wash when you’re finished.
Maybe save this one for when your kiddos are helping. Kids love breaking stuff, and if you hand them the jar and tell them to shake the stuffing out of it, they’re going to love it.
In the end, it’s extra work for just a couple of cloves of garlic. Meh.
Takeaways and My Favorite Way to Peel Garlic
Look, the thing about peeling garlic is this – it’s hard. If there were a quick, easy way to do it, we’d have figured it out centuries ago, and everyone would be doing it already.
You rarely need an entire bulb of garlic for a recipe, which makes several of these hacks kind of silly.
Once you’ve removed the skin, you need to use the garlic quickly. Peeled garlic will start to lose its flavor and develop brown spots. You’ve got a week to use it all up, as long as it’s stored in a tightly sealed container in the fridge.
Most of us are only peeling one or two cloves at a time. So here is the champion garlic peeling method. It’s quick, it’s easy, and you’ve already got everything you need right in front of you.
6. Whack it With a Knife
This method is the way I’ve always peeled my garlic. For the most part, I only need several cloves at a time while cooking. And garlic keeps better if it’s left in its skin, attached to the bulb.
This is my favorite tried and true method because of the simplicity of it. I’m already using the tool I need – a knife. I don’t need to get extra equipment or spend extra time waiting. Everything is ready and right at my fingertips.
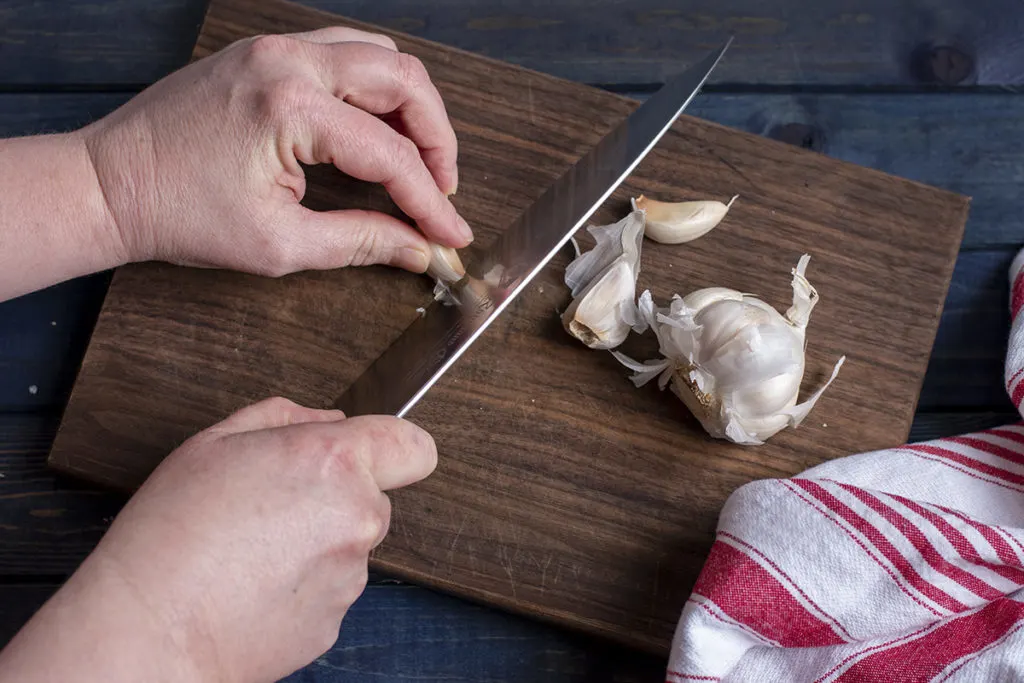
Trim off the tiny end root, place the garlic on its flat side on a cutting board, then give it a solid thump with the flat edge of your knife blade.
Boom. Done.
The garlic skin is removed through blunt force. (This doubles as a stress-relieving technique too.)
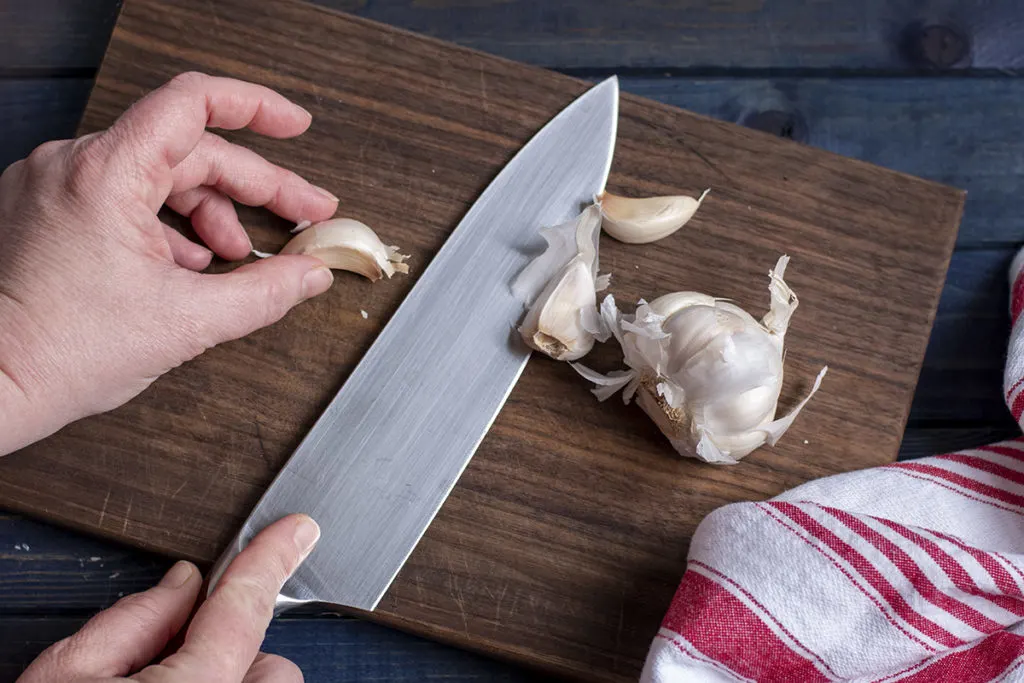
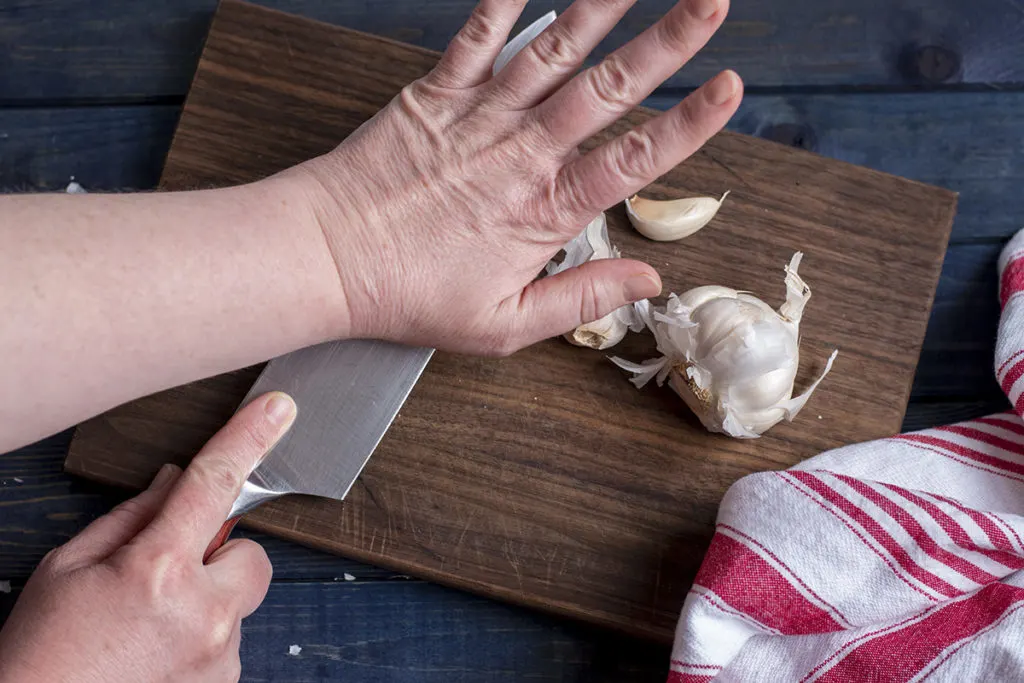
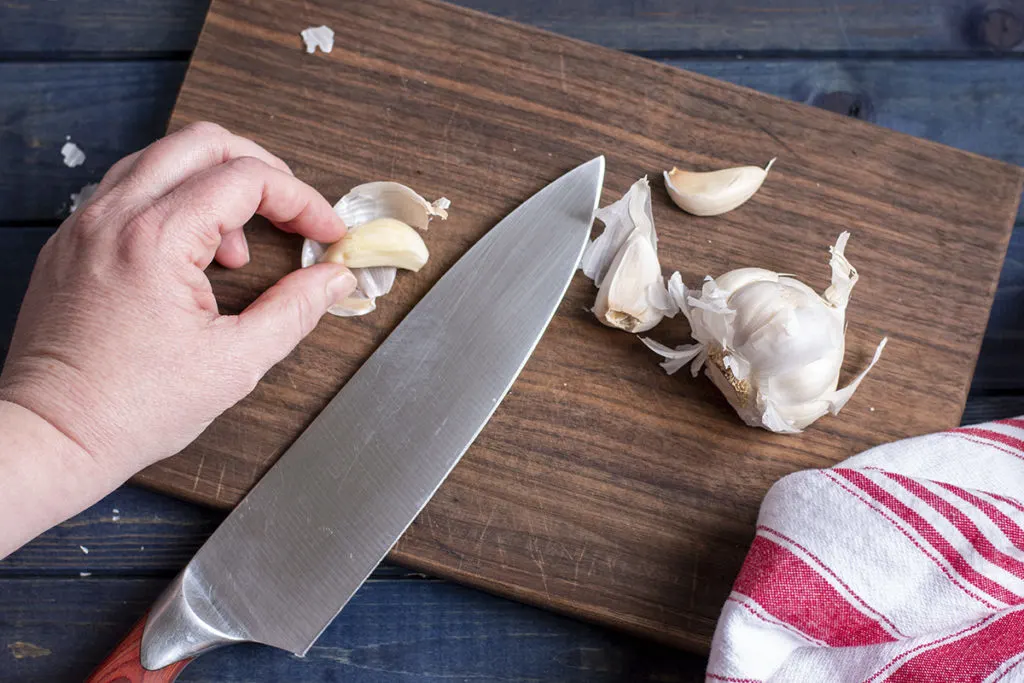
That’s it – no shaking, no rolling, no soaking. Just a quick whack, and the next thing you know, you’re mincing garlic.
It saves time, and it always works.
While some of these other hacks work, for the most part, I chalk them up to a lot of other kitchen hacks – a novelty.
I love to cook, but that doesn’t mean that I want to be inefficient with my kitchen time. If I’m going to adopt a new technique, it’s got to be good. And most of these are only okay.
Hmm, now I’ve got all this peeled garlic on my hands. What should I do? I think it’s time to make Cheryl’s lacto-fermented garlic, and I can top up my jar of honey-fermented garlic.

Get the famous Rural Sprout newsletter delivered to your inbox.
Including Sunday musings from our editor, Tracey, as well as “What’s Up Wednesday” our roundup of what’s in season and new article updates and alerts.

