
Most everyone has a favorite rose.
If you wish you had more in your garden, learn how to grow roses from cuttings. This is an easy project that takes less than an hour.
Growing your own roses from cuttings helps you save money. There’s no need to invest in new rose bushes when you can grow roses from cuttings.

The best time to root cuttings from roses is during cooler months, whether fall or spring because softwood cuttings from spent blooms on new growth succeed better than hardened stems.
Since some roses come as grafted plants offering the sturdiness of an older rose bush, these don’t always perform well. They may not be as hardy to weather extremes as the mother plant. So keep this in mind.
Remember also take caution as many roses bushes are patented and may still be protected under law. Once you determine if yours is a viable option, go ahead and grow roses from cuttings.
How to grow roses from cuttings in your garden
Materials
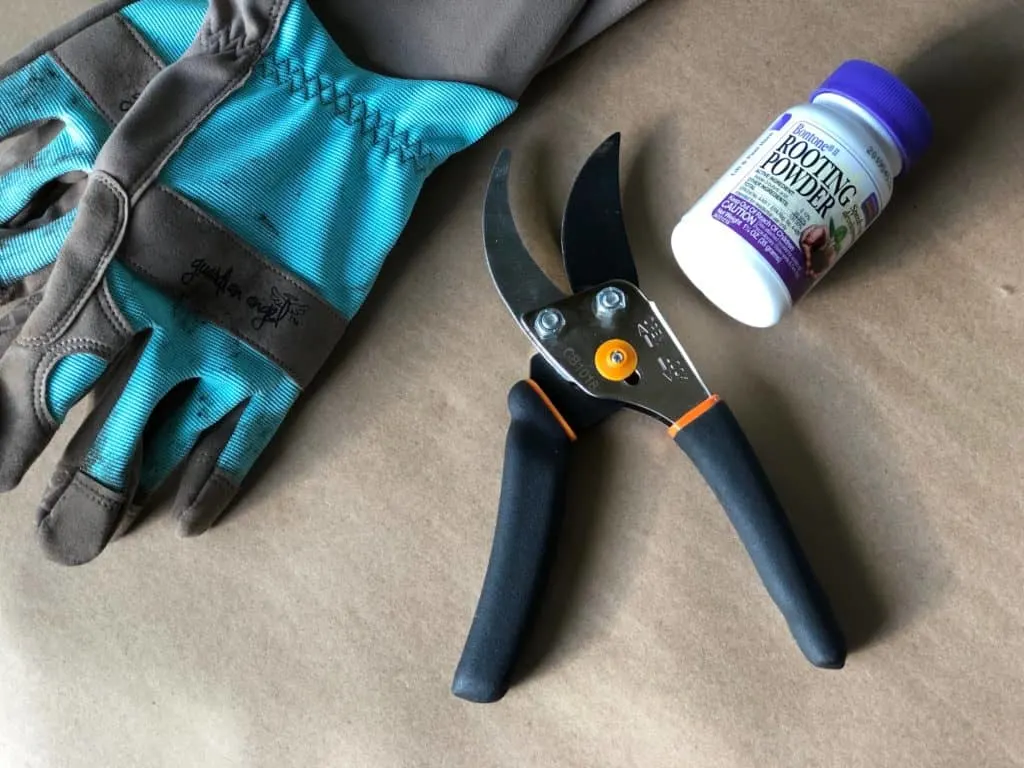
To get started growing roses from cuttings, you’ll need these supplies:
- Rooting powder
- hand pruners
- rose gloves
- a flowerpot
- potting mix
- clear plastic bag
- watering can
The Process
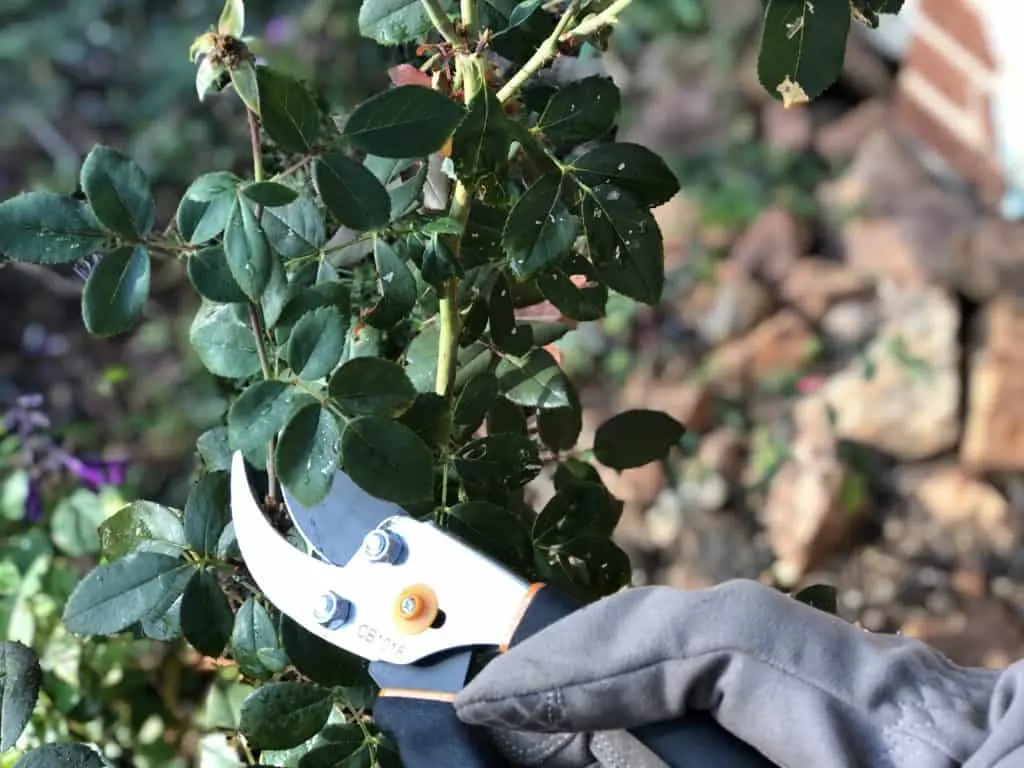
Step 1:
When choosing the right roses to root, look for the healthiest stems, not those plagued with pests or brown spots, signaling disease.
Look for stems with few flowers or those at the end of a bloom cycle. Be sure to cut a stem that’s about six to eight inches in length.
TIP: Only cut rose stems early in the morning. This is the best time because it’s when stems and leaves have stored the most moisture.
Step 2:
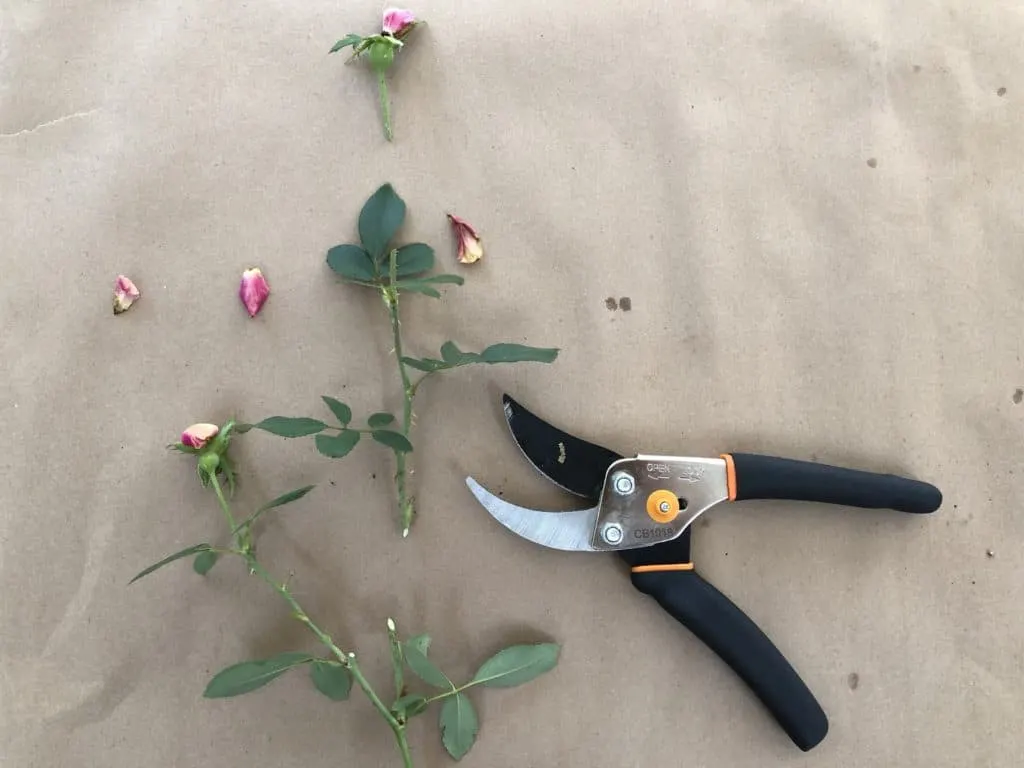
Once you’ve cut your rose stems (try cutting several to root), remove the tip of the rose bloom using your hand pruners.
Make a second cut before the stem node. Remove all sets of leaves except one. This helps the new plant store more energy needed now for root production.
Step 3:
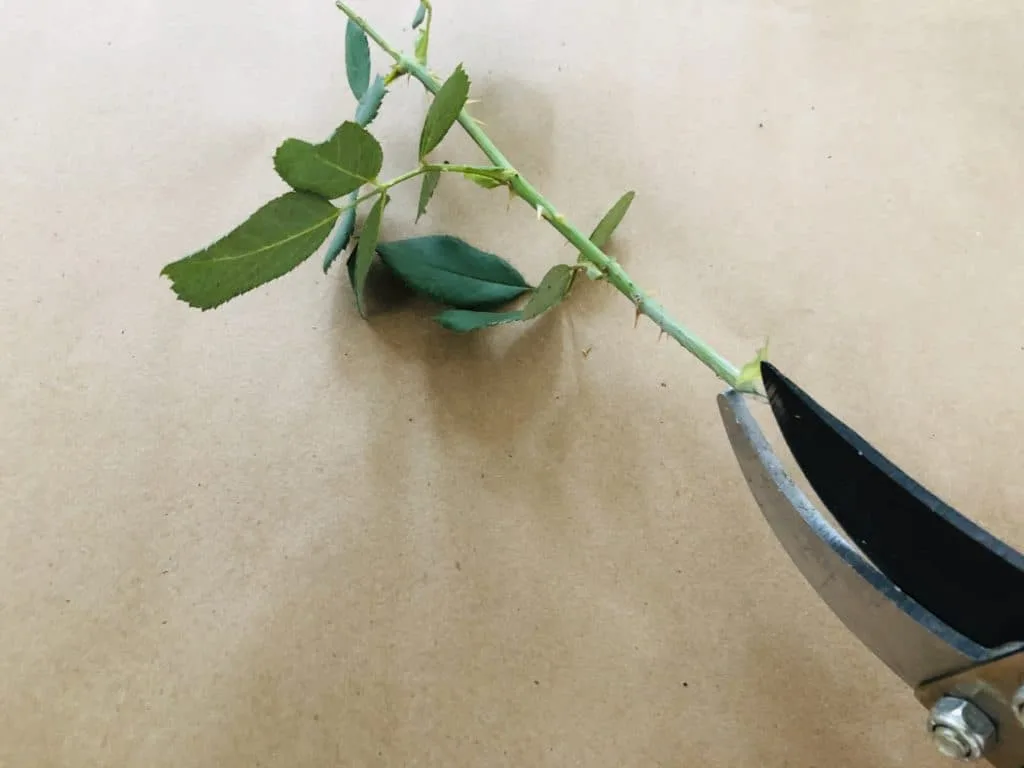
Once you remove the leaves, use your hand pruners and slice the stem on the bottom to prepare it for roots.
Step 4:
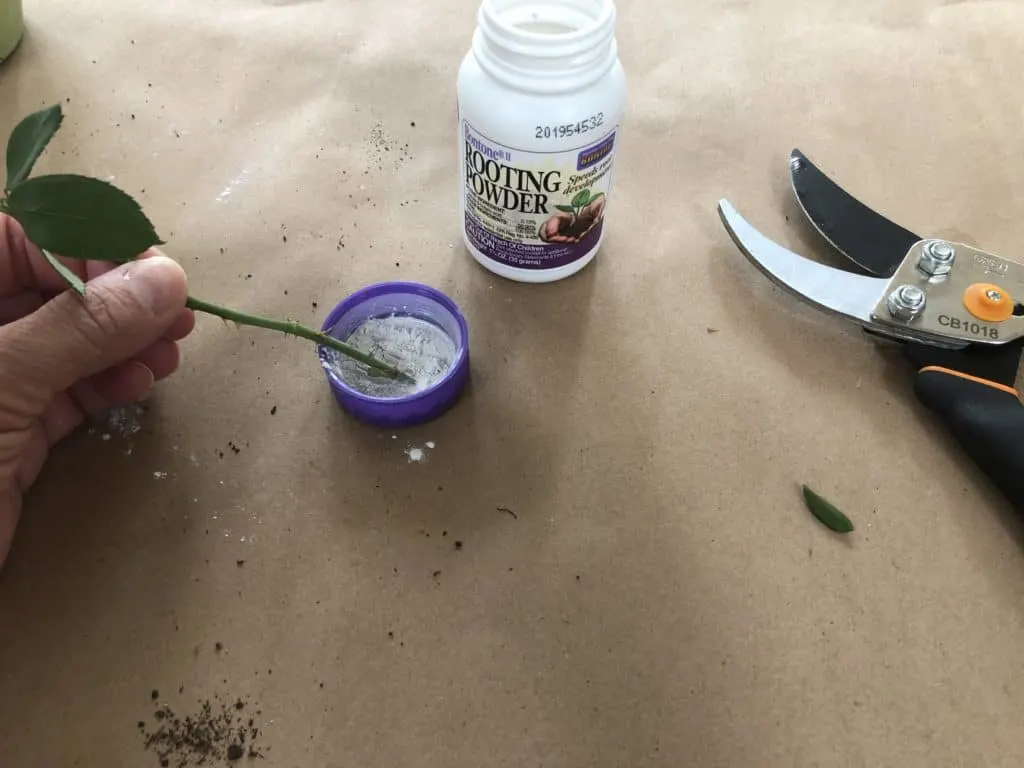
Dip the tip of the rose cutting in water and then into the rooting powder. Rooting powder speeds root development and will help the rose cutting form roots faster than if you used none at all.
Step 5:
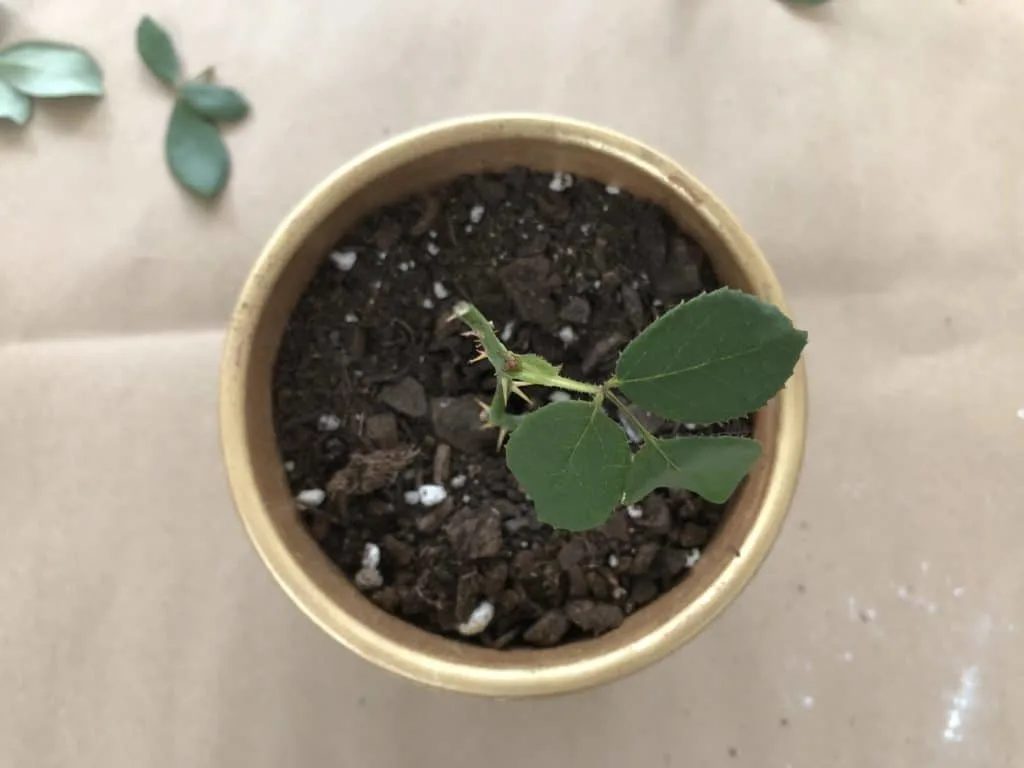
Fill up a flowerpot with potting mix. Use a pencil or chopstick to make a hole and insert the rose stem. Water thoroughly using a watering can.
Step 6:
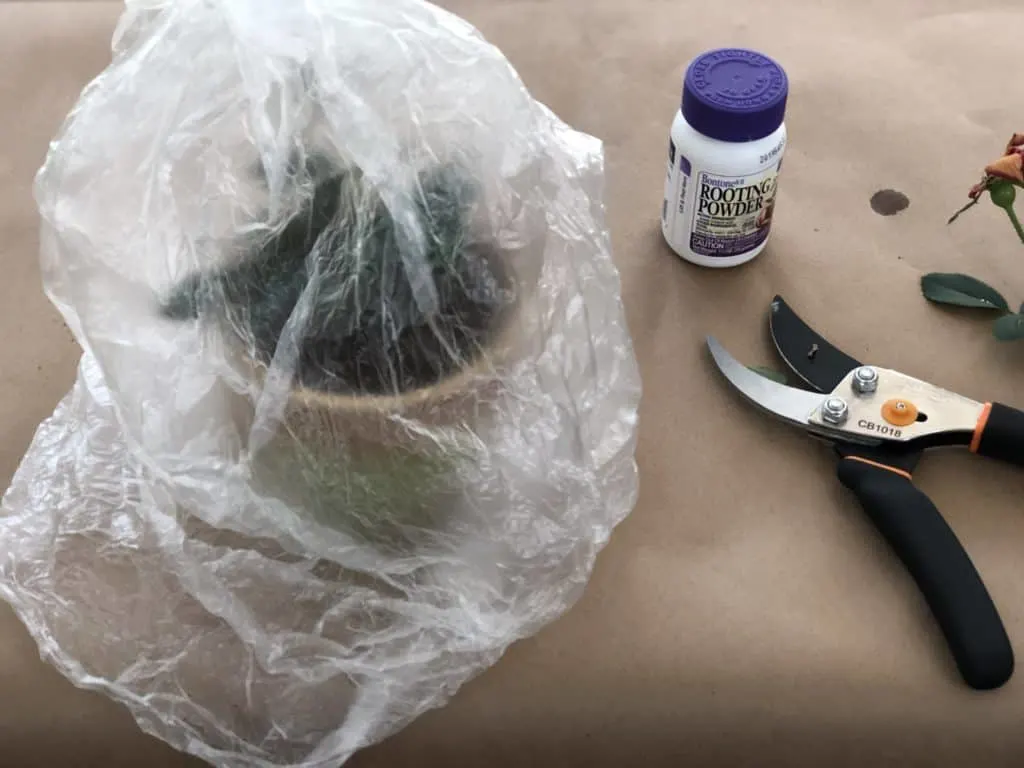
Poke holes in the top of a plastic bag using a toothpick to create ventilation for your new rose bush.
Cover your rose with the plastic bag for at least two weeks until roots form.
The plastic bag helps create a mini-greenhouse effect, which helps the soil retain moisture. Be sure the plastic bag doesn’t touch the leaves to avoid fungus on the newly planted rose cutting.
Keep your new rose cutting watered well when growing roses from cuttings. Water every other day to keep the soil moist.
TIP: Protect your cutting from extreme heat or cold during this time. Keep it in an area that gets morning sun, not hot afternoon sun.
When to transplant rose cuttings

Transplant well-rooted rose cuttings in spring after the threat of a frost or freeze is over, and enjoy your roses for years to come.
Pin This To Save For Later
Read Next: This Is The Only Pair Of Garden Pruners You’ll Ever Need

Get the famous Rural Sprout newsletter delivered to your inbox.
Including Sunday musings from our editor, Tracey, as well as “What’s Up Wednesday” our roundup of what’s in season and new article updates and alerts.

