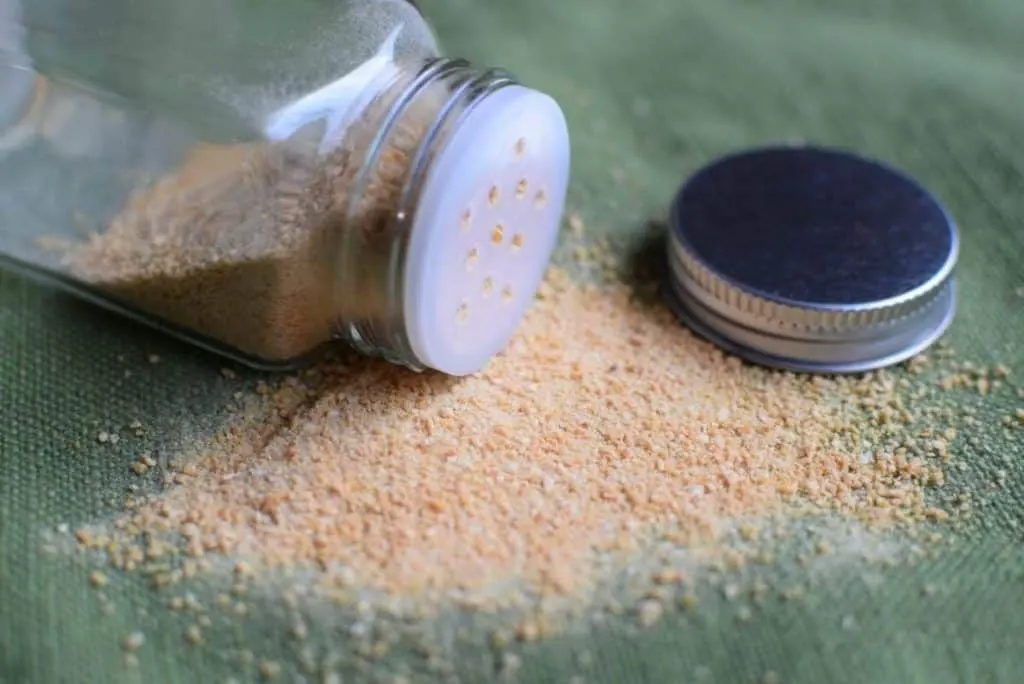
When it comes to my spice rack, garlic powder is probably the one thing I run out of most frequently.
While I generally opt for fresh garlic when cooking, garlic powder is great for whenever I want a quick pop of garlic without the hassle of peeling and slicing a clove.
Garlic powder is an excellent last-minute addition when you want to adjust the flavor of a dish.
For instance, I will add a dash to mashed potatoes if they are a little bland. In addition, garlic powder works exceptionally well in marinades and salad dressings as it infuses the liquid without the bite of raw garlic.
I don’t know about you, but in our house, you can’t have pizza without the garlic powder on the table.
The problem with store-bought garlic powder is the good stuff is usually $6 or more a bottle, and the cheap stuff just doesn’t have any flavor.
You can make your own garlic powder for the price of a bulb of fresh garlic.
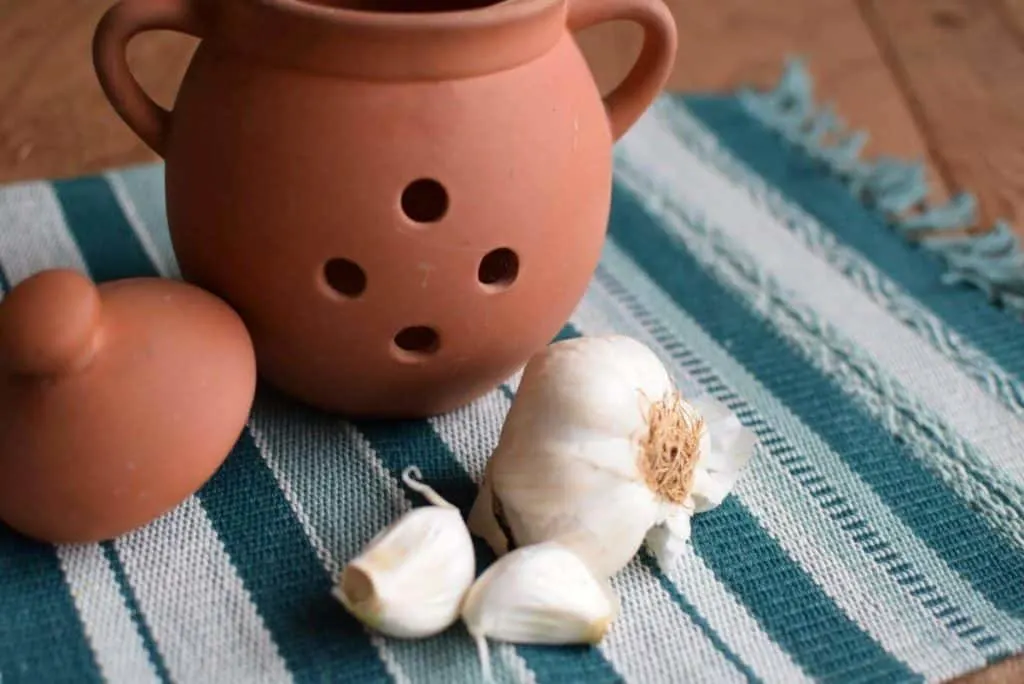
And you don’t need any special equipment to do it.
The flavor is far superior to anything that comes from the store. Even the $6 a bottle “good stuff.” Did I also mention it’s ridiculously easy?
How To Make Your Own Garlic Powder
Opt for the freshest garlic you can get your hands on.
If you grow your own, that’s perfect. Making garlic powder is a great way to preserve a bumper crop.
Farmer’s markets are always a great place to get garlic, too. Of course, if either of those sources isn’t an option for you, a good-looking bulb from the grocery store will do just fine.
Let’s get started!

There are four easy steps to making garlic powder – peeling, slicing, drying, and grinding.
The prep is relatively short, taking around fifteen minutes. Actual drying can take anywhere from 2-4 hours. It all depends on the thickness of your slices, and how much moisture the garlic starts out with.
Step One – Peeling
Peeling the skins from garlic always seems to give folks trouble. I’ve seen so many how-to ideas for peeling garlic, and they always overly complicate the process.
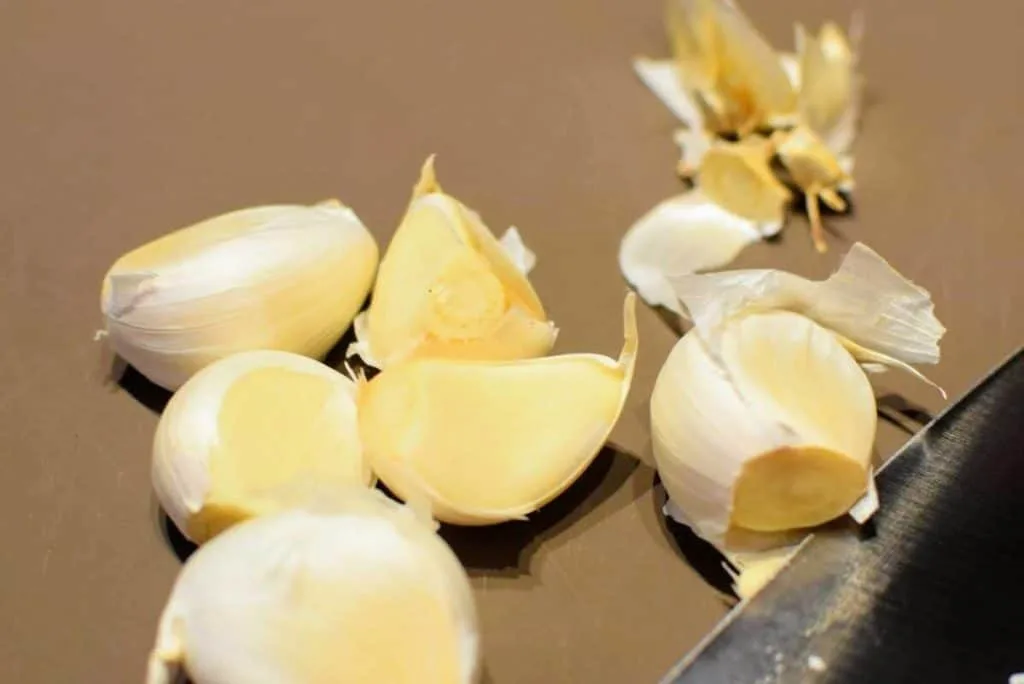
Cutting off the blunt ends of the garlic where the bulb and skin meet helps. As a result, you’ll begin to peel away the skin doing this.
Next, place your knife on the garlic clove flat-side down and give it a firm, but not aggressive bop. You don’t want to smash the garlic.
When done correctly, you can often hear a small ‘pop’ from the garlic skin separating from the clove. The skin should easily peel off now.
Fun Kitchen Tip
I keep a gallon-sized plastic zipper baggie in my freezer, and I throw all of my garlic and onion skins and ends in it.
Whenever I am making stock, I toss the contents of the bag in the pot. There is usually enough onion tops and garlic ends that I don’t need to add any more of either vegetable. The onion skins give the broth a beautiful golden color too.
Step Two – Slicing
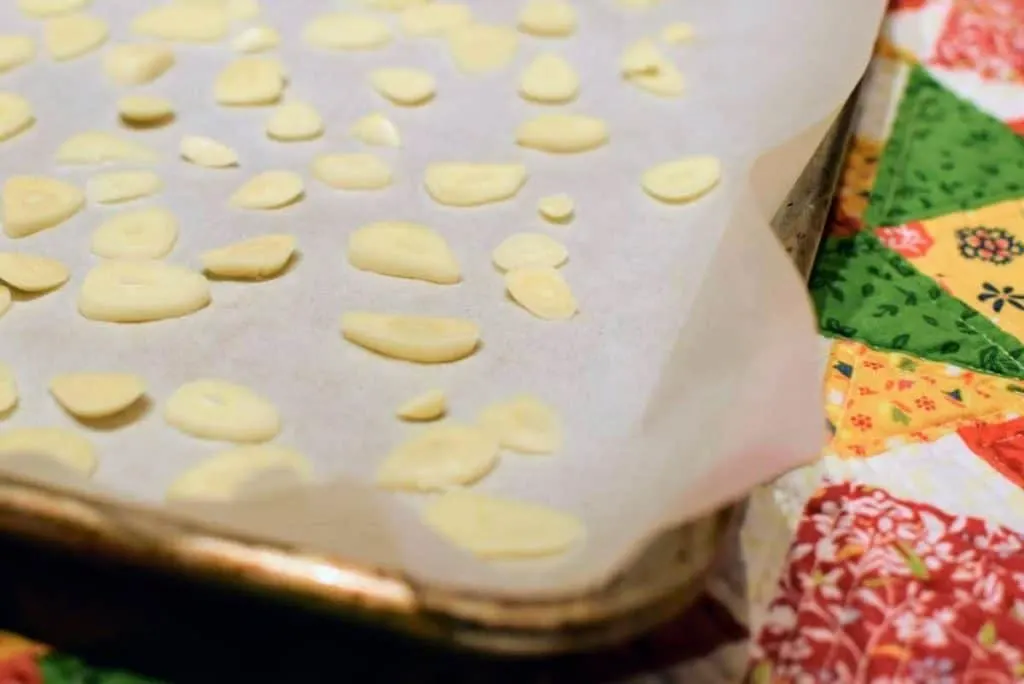
Using a sharp paring knife, cut your cloves into thin slices. Roughly 1/8″ thickness works well. You want to keep the slices pretty uniform to make sure they all dry at the same speed.
Line a baking pan with parchment paper. These half-sheet baking pans are what I have. I bought them after working at a café a few years ago. I was seriously impressed with how well they stood up to the constant commercial use, and they haven’t let me down yet.
Spread your garlic pieces out on the lined baking sheet. You don’t want them touching, and you want them spread out enough, so they aren’t crowded.
Step Three – Drying
Okay, I’m not going to lie to you, this part is extremely pungent. It’s not bad, it’s just garlicky. Very garlicky.
A food dehydrator works great for making garlic powder, but you can just as easily use your oven.
If you are using a dehydrator, you may want to consider running an extension cord outside and setting it up out there. For oven-drying, open some windows or just grin and bear it.
Set your oven at the lowest temperature it can be set to, usually between 130-150 degrees. If your oven doesn’t go that low, prop the door open a smidge using a wine bottle cork.
Low and slow is the way to go.
More importantly, if you turn the heat up, you will end up with brown, bitter garlic. In other words, you are aiming for crisp, slightly golden garlic slices. Remember, we are drying, not baking.
Put your baking sheet in the oven on the middle rack. You’ll want to check in on your slices every hour, more frequently once they are close to being completely dried out. If you have pieces of varying thickness, you will want to check and pull out any dried pieces while the thicker pieces finish drying.
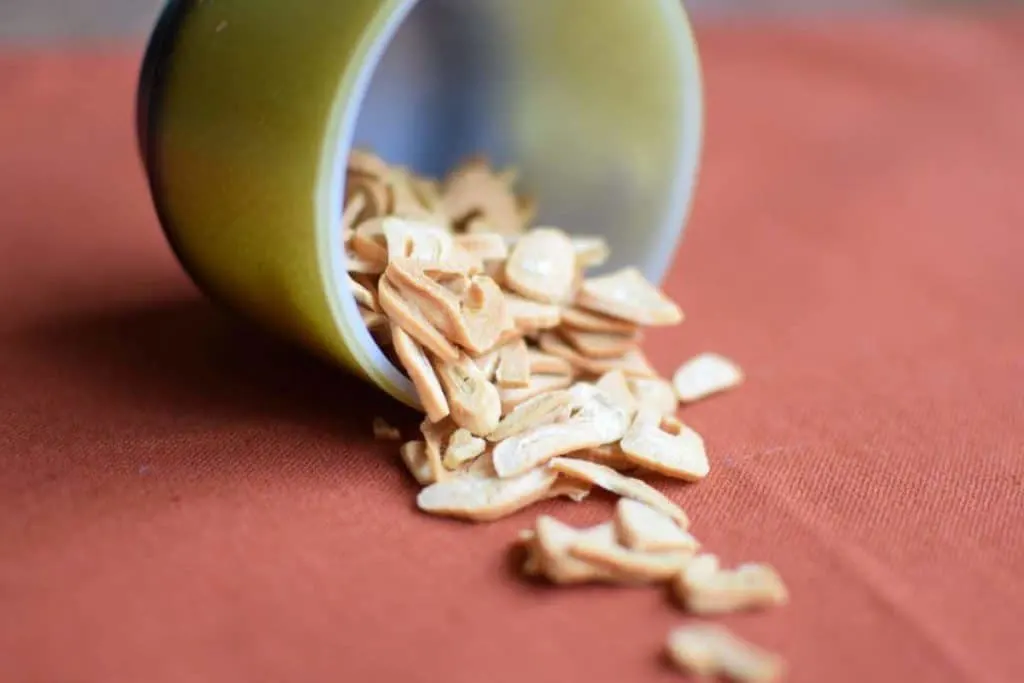
Pull your garlic out when it’s still slightly bendy and golden. It will crisp up and finish drying on the baking sheet. Once it’s completely cool, you should be able to snap the pieces in half, if it doesn’t, pop it back in the oven for a bit.
Step Four – Grinding
You can grind your garlic easily enough using a food processor, a blender, a spice grinder, a coffee grinder, or even a mortar and pestle.
Pulse or grind it until it is the desired consistency you want.
A note about using a coffee grinder
Both coffee and garlic have bold smells and tastes. If you are going to use a coffee grinder, you may wish to purchase one just for grinding herbs. I wouldn’t advise using the same one you use to grind your coffee. You will have garlicky coffee, which doesn’t sound appealing at all.
If you have an old coffee grinder that you want to use strictly for herbs, run some dry rice through it first. Doing so will clean out the coffee and soak up the coffee oils. (This is also a great way to clean your coffee grinder periodically.)
Once your garlic powder has been ground, store it in an airtight container. I like to save my glass spice jars from the store when they are empty. Just make sure you wash and dry them first.
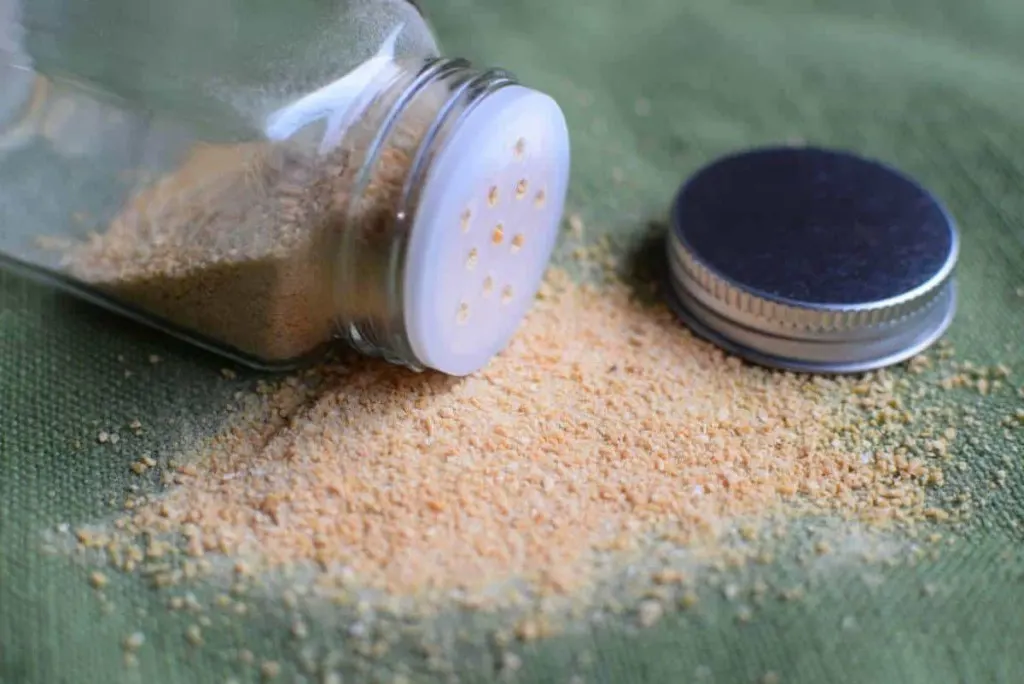
If you make a large batch of garlic powder, consider giving some as gifts in these beautiful spice jars.
You may want to throw a few grains of rice in with your garlic powder to soak up any remaining moisture.
Give your garlic powder a good shake for the first few days after you bottle it up. That way, you won’t get clumps if there is any moisture left.
To remove the garlic smell from your hands, scrub them well with a tablespoon of coffee grounds and soap.
See how easy that was?
And wait until you taste the difference in the flavor!
Now that you know what you’ve been missing out on, you’ll never go back to the store-bought stuff.
Homemade Garlic Powder
You can make garlic powder for the price of a bulb of garlic. It tastes a million times better than store bought and you don't need any special equipment.
Ingredients
- A bulb of garlic
Instructions
- Peel the skins from the garlic.
- Slice your garlic cloves into thin slices.. 1/8" thickness works well.
- Line a baking pan with parchment paper and spread your garlic slices out.
- Set your oven to the lowest temperature it goes, usually between 130-150 degrees, and insert your sliced garlic.
- Check on your garlic every hour and remove once the slices are bendy and golden.
- Allow to cool and crisp up. Once completely cool you should be able to snap the pieces in half, if it doesn’t, pop it back in the oven for a bit.
- Now grind the garlic using a pestle and mortar, coffee grinder or spice grinder.
- Once ground, store in a glass air tight container.
Read Next: 3 Easy Ways To Dry Hot Peppers

Get the famous Rural Sprout newsletter delivered to your inbox.
Including Sunday musings from our editor, Tracey, as well as “What’s Up Wednesday” our roundup of what’s in season and new article updates and alerts.

