
Garlic is noted for having both antibacterial and antiviral qualities, as well as boasting a whole other suite of health-boosting properties.
Antioxidant-rich garlic is known to help prevent, and treat, the common cold, it lowers blood pressure and strengthens our often perplexed immune systems.
Raw garlic is definitely the way to go if you are preventing disease, though many people prefer the milder flavors, when it is cooked.
Let’s meet somewhere in the middle and try something different with garlic preparation: fermentation.
It adds beneficial probiotics, which in turn increases vitamin content, as it enhances our digestion. There is a lot to love in that!
Lacto-fermentation is just about one of the easiest things you can learn how to do in the kitchen.
All you need to get started is a jar, salt and garlic, plus plenty of time to wait around.
Naturally, you can live your busy life and be pleasantly surprised 30 days later with a nutritious addition to your diet.
Making fermented garlic: the step-by-step process
Now, that you know why you should eat lacto-fermented garlic, how do you go about making it?
It is so simple, no recipe is required, and there are very few instructions to follow:
Step 1
Determine how much garlic you have on hand. Then decide on a jar to fill with the unpeeled cloves. Pint size jars work great, though you can go up or down from there, depending on how much you are making at once.
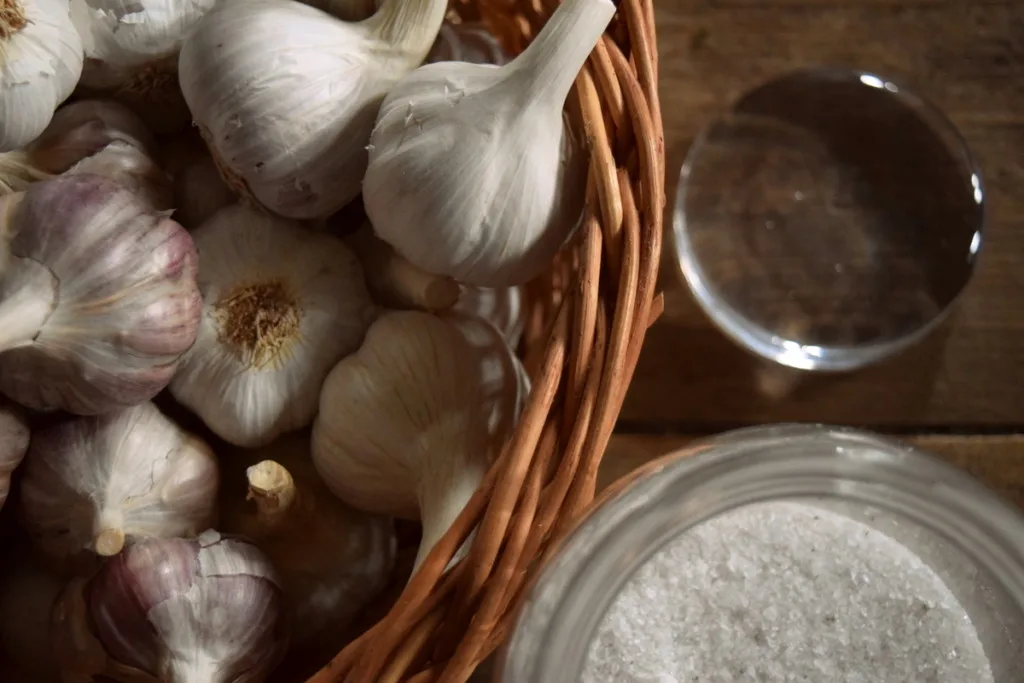
Since the fermentation of garlic takes a long time, better make a larger batch, rather than a smaller one!
Step 2
Peel the garlic cloves.
This is perhaps the hardest and stickiest part of the process, as you’ll soon find out.
Figure out the method that works best for you – smash the garlic cloves with the flat side of a knife, soaking them in water to make the peels swell (and easily slide off), or just sweat it out with a paring knife and a little patience.
One thing that you will find, is that the age of the garlic makes all the difference in the world. The more time it has spent out of the soil, drying, the easier it will be to peel.
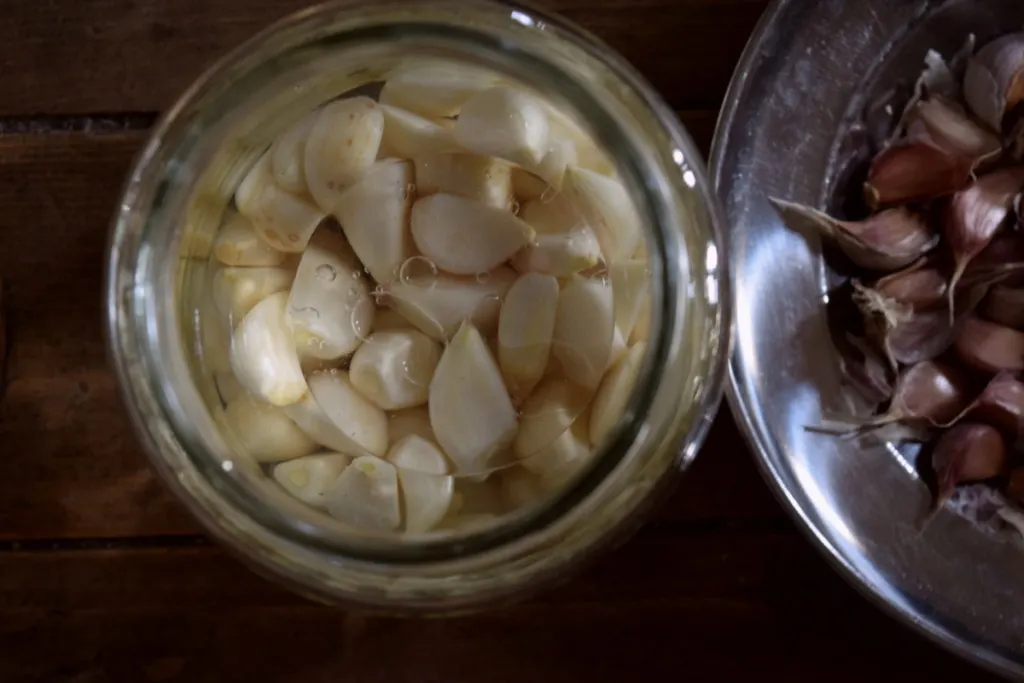
Step 3
Make a salty brine using 1/2 teaspoon of salt for every cup of water.
When making home ferments, be sure to either use boiled and chilled water, or distilled water. Pour brine over the garlic so that they are covered, add an optional fermentation weight and put the lid on loosely.
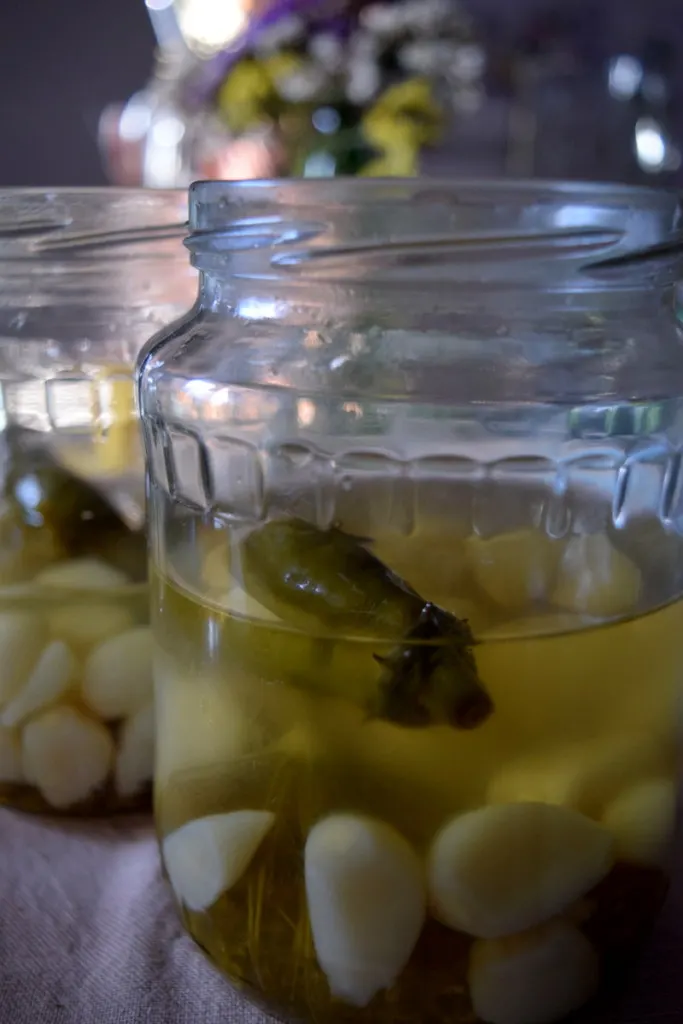
Make sure to leave an inch headspace at the top of the jar, as ferments can overflow after a few days’ time!
Let this sit on your countertop, opening the jar occasionally to release pressure caused by the fermentation process. Alternatively, you can use an air-lock to do the job for you.
Step 4
Allow the fermentation to go on for at least 2 weeks, but 1 month is better. At some point, the brine may take on a brownish color which is to be desired.
Troubleshooting fermented garlic
Some people continue to ferment garlic for up to 2 months, as it will continue to mellow as it ages. 30 days is a great number to shoot for.
Once it has reached its desired “fermentedness”, place the jar with lid on, in the fridge. Continue to eat the fermented garlic for several months, being sure to start a new batch before you run out.
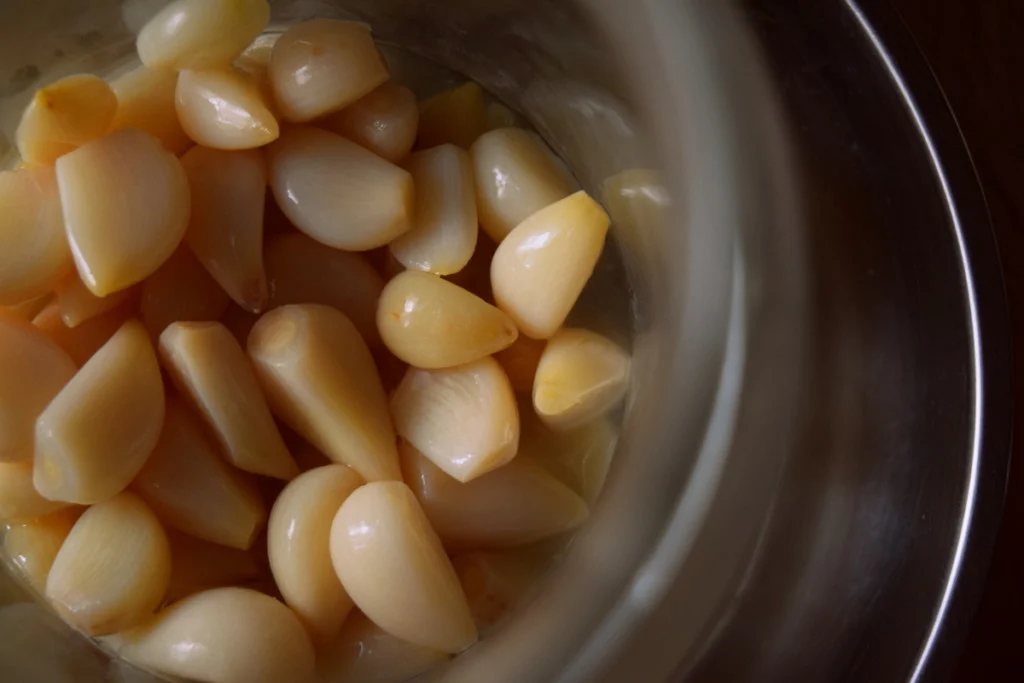
If your first batch turned out great and you got all you were hoping for – that’s excellent!
However, if you were disappointed that your garlic cloves turned a blueish green, or it started growing mold, you’ll find some quick answers as to why, right here.
Don’t give up future fermenting projects if this one didn’t turn out as planned!
Gain a little experience and courage as you make an even easier lacto-fermented salsa, then get back to the garlic, you won’t be disappointed.
5 ways to use up all those fermented garlic cloves
Now that you’ve conjured up a bunch of gut-friendly probiotics, you’ll want to be sure that you are consuming the lacto-fermented garlic in its rawest form. Cooking it will destroy the greatest health benefits, so here are some tasty ways to incorporate fermented garlic into your meals.
1. Fermented garlic butter
- 1/2 cup butter – learn how to make your own homemade butter
- 3-4 crushed garlic cloves
- salt and black pepper, to taste
- fresh or dried herbs, optional
Let the butter come to room temperature, crush the fermented garlic cloves using a mortar and pestle and stir all ingredients together. It is fabulous on mashed potatoes!
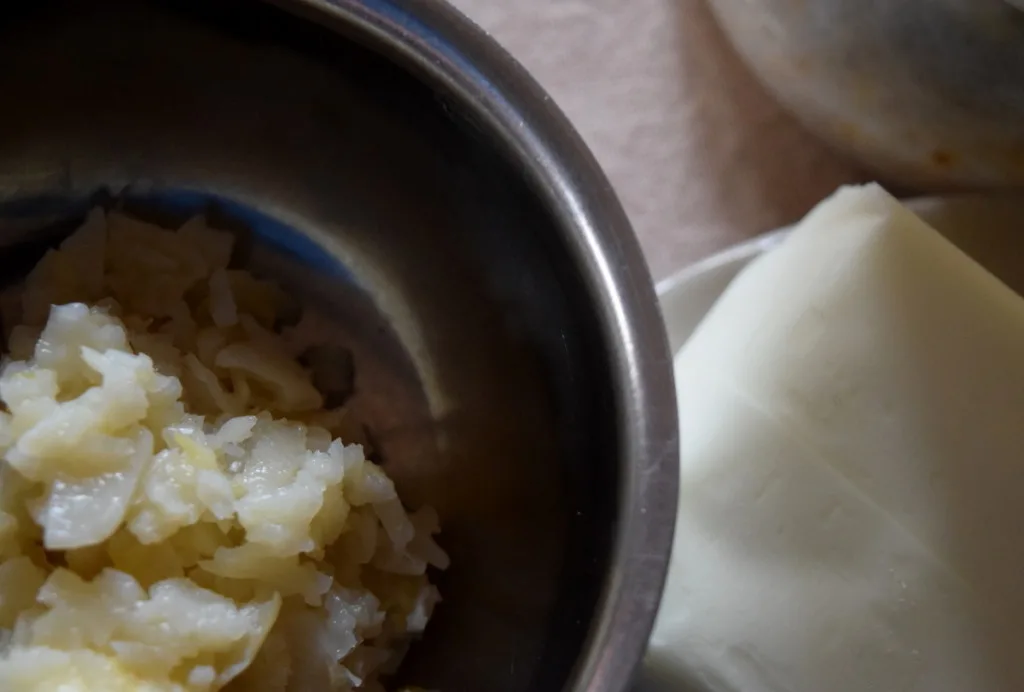
2. Lacto-fermented garlic and basil pesto
- 2 cups fresh basil leaves
- 1/2 cup grated Parmesan cheese, or other hard sheep/goat cheese
- 3/4 cup olive or hemp oil
- 2 tbsp. pine nuts
- 5-8 fermented garlic cloves
Toss all ingredients into a food processor or blender; pulse until smooth and creamy. Dip into the pesto with fresh garden veggies, add a dollop to your pasta, pizza or sandwiches.
3. Garlic salad dressing
- 1/3 cup hemp or olive oil
- 2 tbsp. freshly squeezed lemon juice
- 1/2 tsp. oregano, basil or marjoram
- 5-6 garlic cloves, minced
- salt and pepper to taste
Combine all ingredients in a small bowl and drizzle over salad just before serving.
4. Quick and easy garlic pickles
Once you are past the 30-day fermentation mark, you are free to eat as many cloves as you like. And if you have extra pickle juice on hand from your summer canning spree, just drop those fermented cloves in the pickle juice and let them sit for a couple of weeks longer. This way they remain raw, all the same.
5. Fermented garlic powder
You have to have an abundance of spices in the kitchen, if you want to cook amazing meals.
And you can make some of them at home too, there is no need to rely on store-bought ingredients. With this fermented garlic powder, you’ll have something that no one else has and it will be unique to your household.
Learn how to make your own garlic powder, turn your oven on low, or plug in your dehydrator and start drying your fermented garlic cloves on the lowest temperatures you can attain.
When it is done, grind it and use it on your favorite garlicky dishes!
In essence, you can use your fermented garlic just as you would fresh garlic. Add it to:
- dressings
- dipping oils
- marinades
- fresh salsas
- or as a topping for anything that requires a touch of garlic
And to take the art of fermentation just one step further, why not grab and reuse a glass canning jar, filling it 3/4 of the way with peeled garlic cloves. Top it up with one cup or more of raw honey, put the lid back on and store it in a cupboard or the pantry, away from light. “Burp” it every day for a week and you’ll have a beautiful jar of fermented garlic in honey.
Fermented garlic is both food and medicine.
Dissolve a spoonful of garlic-honey in hot water with apple cider vinegar and consume it for colds and sore throats.
You can also mince a fermented clove and swallow it with honey. Toss it into sauces, marinades, whatever requires a little sweet and savory kick.
Don’t let your garlic go to waste, ferment it and reap all the health benefits it has to offer!
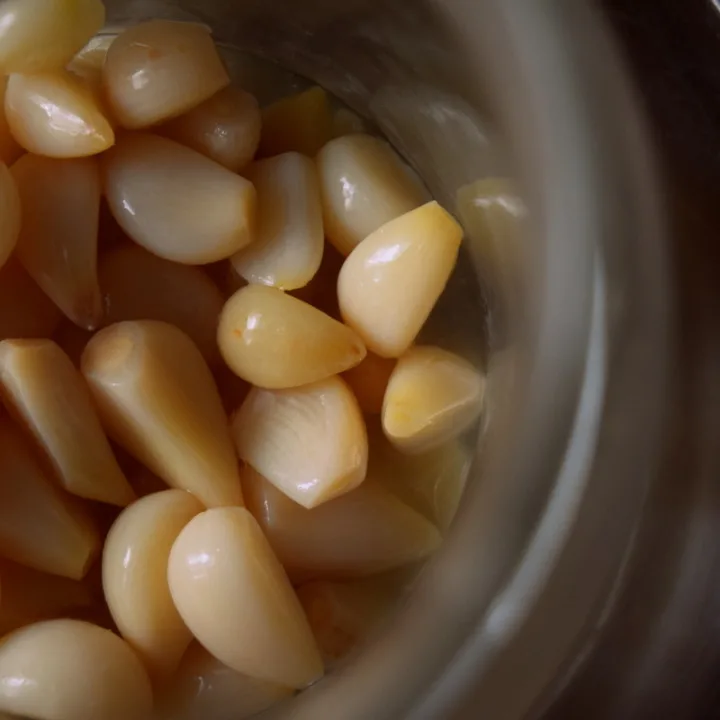
Lacto-Fermented Garlic
Fermenting garlic cloves adds beneficial probiotics, which in turn increases vitamin content, as it enhances our digestion.
Lacto-fermentation is just about one of the easiest things you can learn how to do in the kitchen.
Ingredients
- Garlic cloves
- Salt
- Water (distilled or boiled and then cooled)
Instructions
- Peel the garlic cloves and fill a pint sized glass jar.
- Make a salty brine using 1/2 a teaspoon of salt for every cup of water and pour over the garlic to cover.
- Put the lid on loosely and allow to sit on your countertop, opening the lid occasionally to release the pressure, for at least two weeks, but preferably a month.
Read Next: How To Grow Garlic From A Single Clove

Get the famous Rural Sprout newsletter delivered to your inbox.
Including Sunday musings from our editor, Tracey, as well as “What’s Up Wednesday” our roundup of what’s in season and new article updates and alerts.

