
You’ve pulled a year’s worth of produce from your garden. Now it’s time to give your soil a rest.
Today, your goal is to learn how to mulch your garden so that you can boost soil health, grow more resilient crops, and protect your remaining plants from chilly winter temperatures.
But for a seemingly straightforward task, mulching can feel overwhelming for beginning gardeners. What type of material makes the best mulch? How thick should you apply it? And is mulching really worth your time and effort?
Let’s consider the benefits of mulch and explore what you need to know to mulch your garden in the fall.
Why Mulch Your Vegetable Garden?
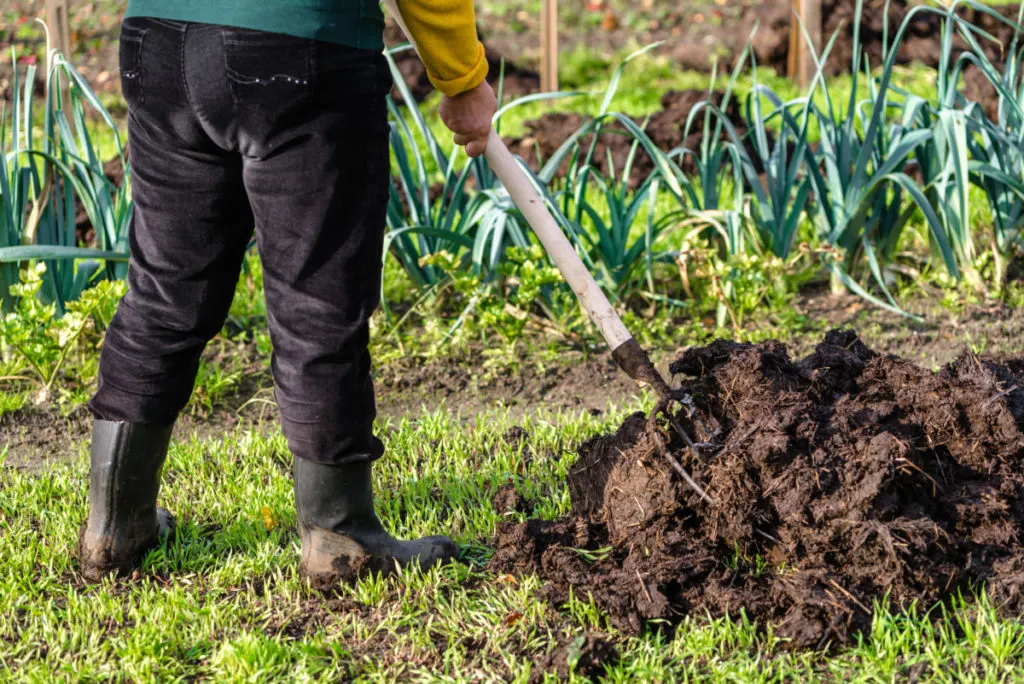
When it comes to gardening, bare soil is a bad plan. Here are six benefits of applying mulch to the fall garden.
1. Helps with Temperature Extremes
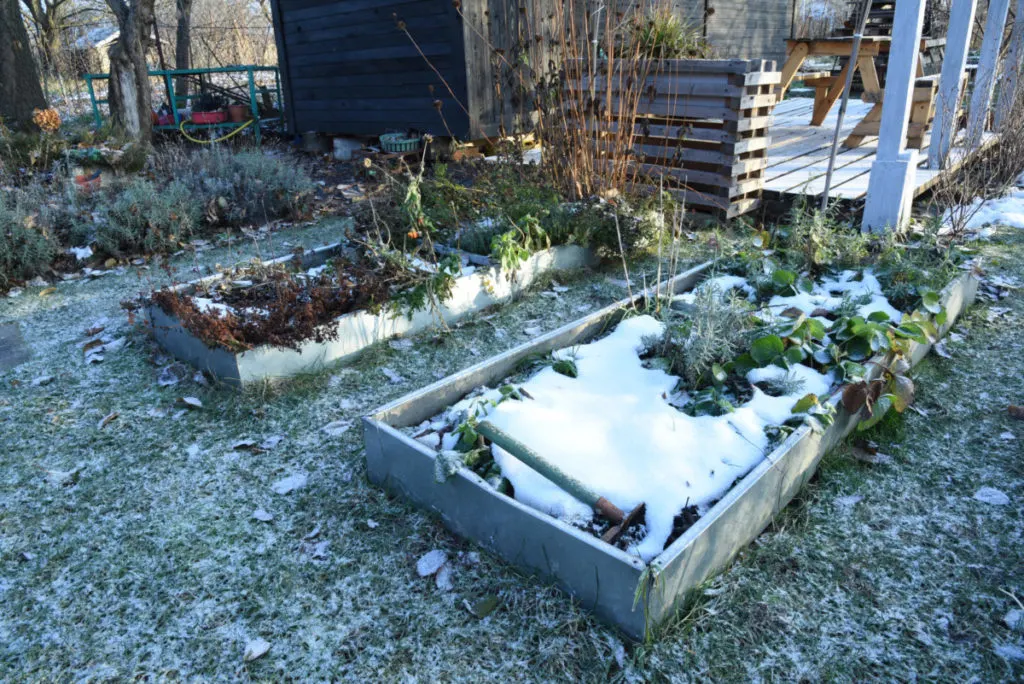
No matter where you live, chances are temperatures tend to fluctuate wildly in the winter. Your garden soil might be covered in snow one week and baking under a hot sun the next. Mulch acts as a down jacket for the ground, insulating it from temperature extremes. This protects vulnerable plant roots, and the microbial life inhabiting your garden space.
2. Improves Moisture Retention
Chilly winter winds do more than dry out your skin; they also draw moisture out of the soil. When you mulch your garden in the fall, you create a layer between the ground and the wind that traps moisture and slows down evaporation. This leads to better, more pliable soil in the long run.
3. Suppresses Weeds
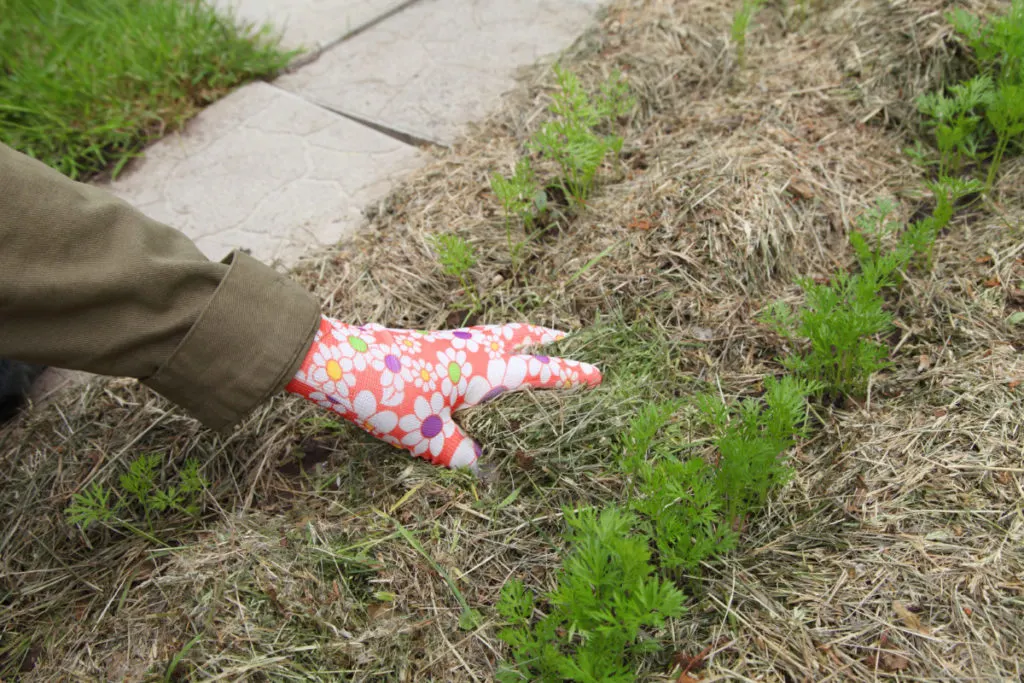
Applying mulch may seem tedious now, but it should result in less work in the spring. That’s because covering the soil in the fall prevents weed seeds from sprouting as soon as the weather warms. You’ll gain a few extra weeks at the start of the growing season to prep the soil so vegetable seeds can better compete.
4. Improves Soil Nutrients
Garden soil needs lots of organic material to support healthy plants. Adding mulch in the fall does double duty because it protects the soil and infuses it with nutrients as it breaks down towards the spring. The right mulch also provides habitat space for beneficial microorganisms that aerate the ground and make nutrients more accessible.
5. Reduces Soil Erosion
An estimated 24 billion tons of topsoil are lost worldwide each year due to erosion. You can slow the process by applying mulch to your garden this fall. This prevents your fertile ground from drying out and blowing away during winter storms.
6. Keeps Things Presentable
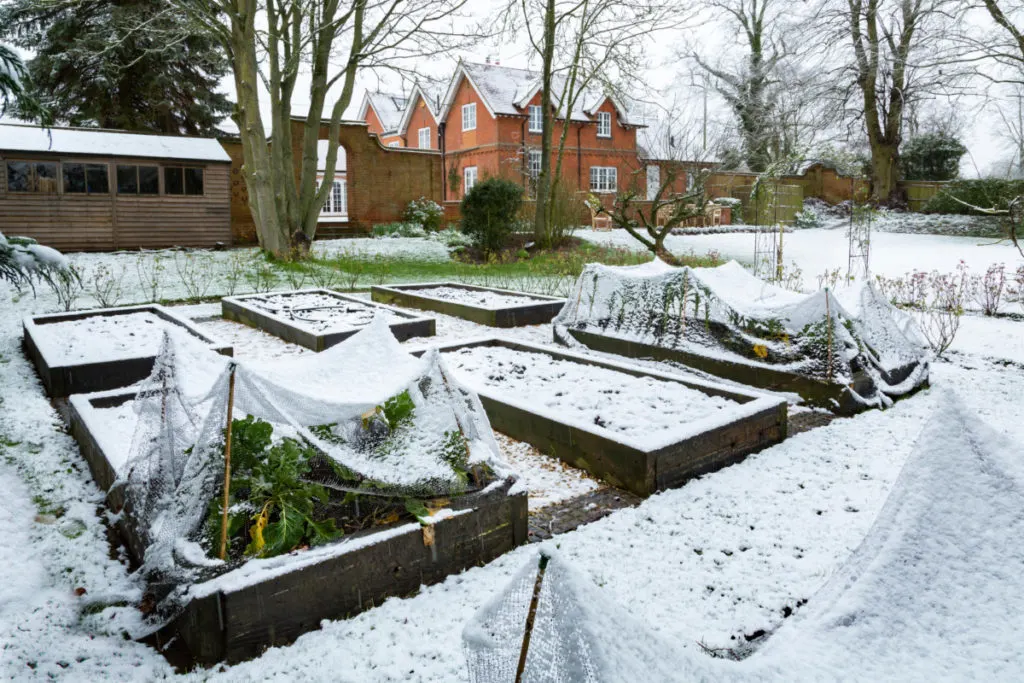
Though aesthetics might be low on your priority list for your vegetable garden, they are a worthwhile consideration. A well-applied mulch adds intentionality to your growing space and keeps it defined while giving you the chance to spruce things up before shutting things down for the season.
9 Best Vegetable Garden Mulch Options
When it comes to deciding how to mulch your garden in the fall, the first step is deciding on a material. No matter what you choose, the goal is the same—putting down an insulating, lofted material that traps warm air close to the ground.
Below are some of the best options for your growing space.
1. Straw or Seedless Hay
Straw makes an excellent mulch because it won’t compact as quickly as other materials. It offers insulation and promotes water absorption, so long as you lay it down thick. Otherwise, you risk it blowing away.
One caveat to straw or hay—you run a high risk of introducing herbicides or weed seeds into your growing space. Make sure you purchase your straw or hay from a reputable supplier that doesn’t spray before harvesting to reduce the risk of harming your soil. Buying local is a smart idea, especially if you can speak to the farmer directly about their growing practices.
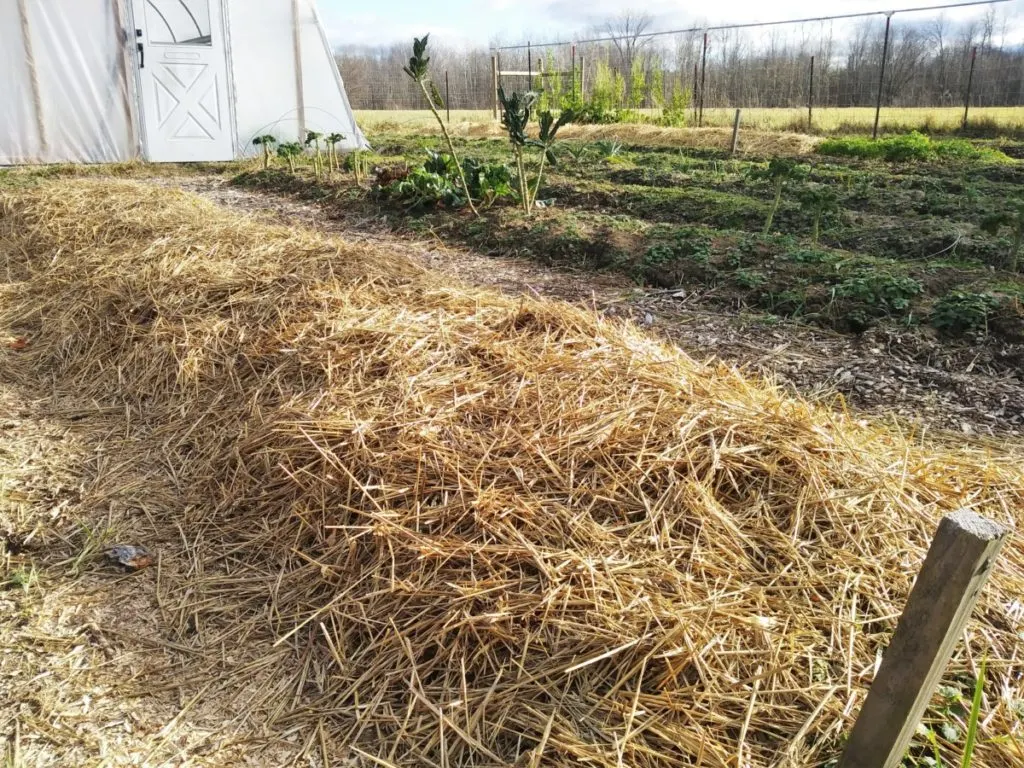
Note: It’s okay to use hay with oat or barley seeds because any plants that sprout aren’t likely to survive the winter. Avoid rye unless you can guarantee it is weed-free.
2. Shredded Leaves
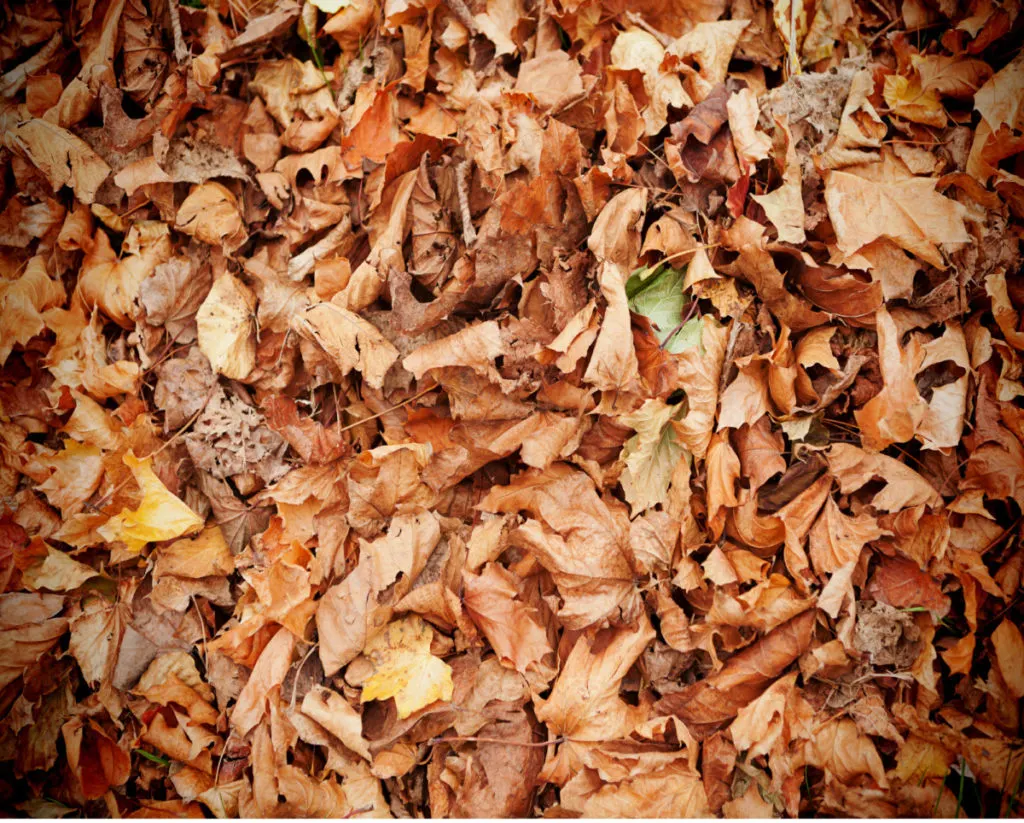
Put your leaf piles to use this fall by using them as garden mulch. Whole leaves tend to mat together, so it’s best to shred them before applying them as mulch. Run your piles through a wood chipper or a riding lawnmower to get smaller pieces that trap air and decompose quickly for extra fertility in the spring.
You can further boost the benefits by burying a layer of leaf mulch several inches under the soil so it breaks down even faster. Leaf mulch may not last the winter on its own, so consider covering it with straw or another mulch material.
3. Pine Needles
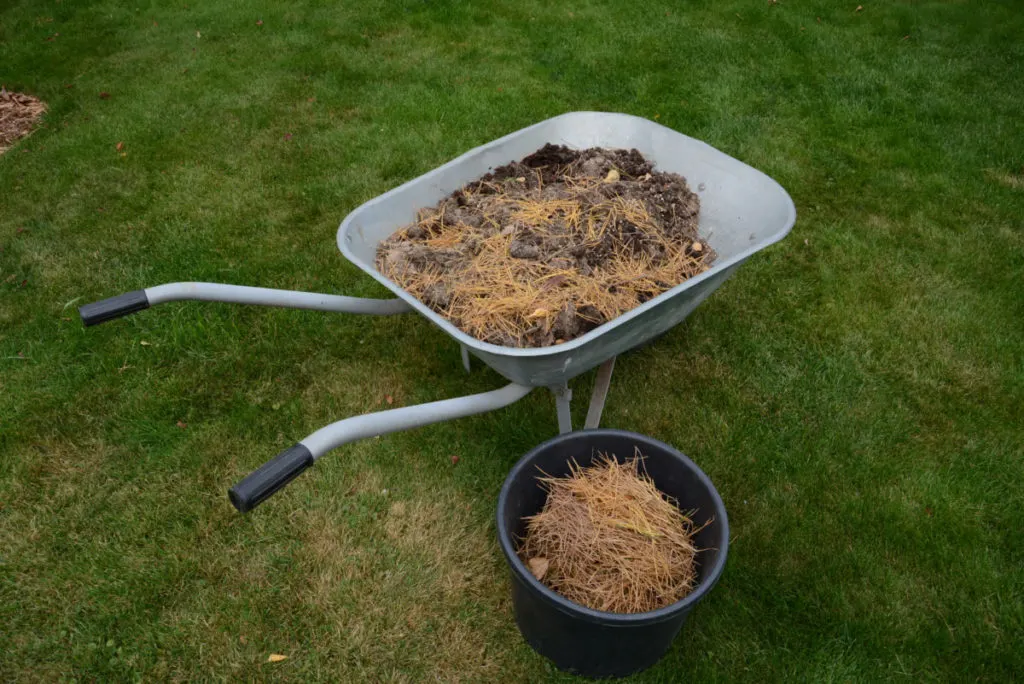
If you have the trees handy, pine needles make an acceptable garden mulch. However, they can make your soil extra acidic at high concentrations, so it’s best to monitor its pH levels and apply garden lime if you need to neutralize it.
4. Wood Chips/ Shredded Bark
Wood chips are a classic mulch choice for a reason—they work. This organic material suppresses weeds like a champ and offers some of the best heat retention and erosion protection.
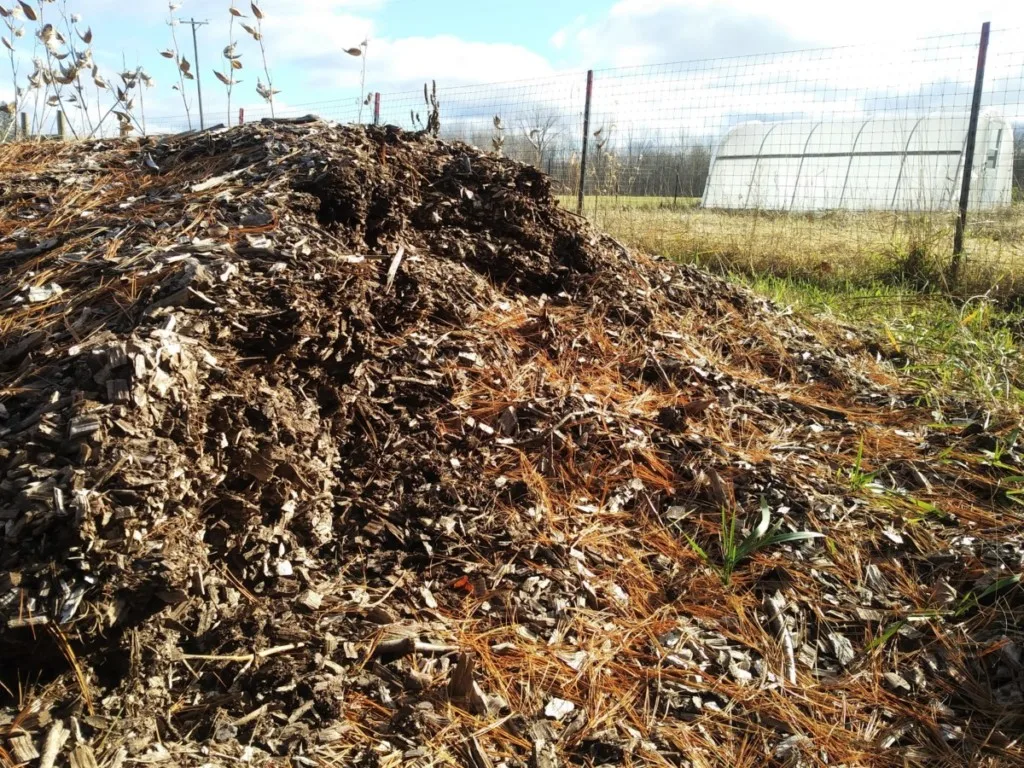
However, tree bark and other woody materials won’t break down quickly, which means they are best applied in areas where you don’t plan to work the soil in the spring, such as around your fruit trees and other perennial plants. Wood chips also lend a classy appearance to your garden, meaning they are often used along your garden paths and decorative borders.
Sawdust is another option for mulching the fall garden, though too much can turn your soil acidic and even leach nitrogen from it. As with pine needles, applying garden lime can rebalance the pH levels.
5. Grass Clippings
You’re missing out on quality compost if you dump your lawn clippings each year. This organic material makes an excellent winter mulch because it breaks down quickly and generates heat to warm the soil in the process. If that’s not enough, your plants get a boost of nitrogen besides.
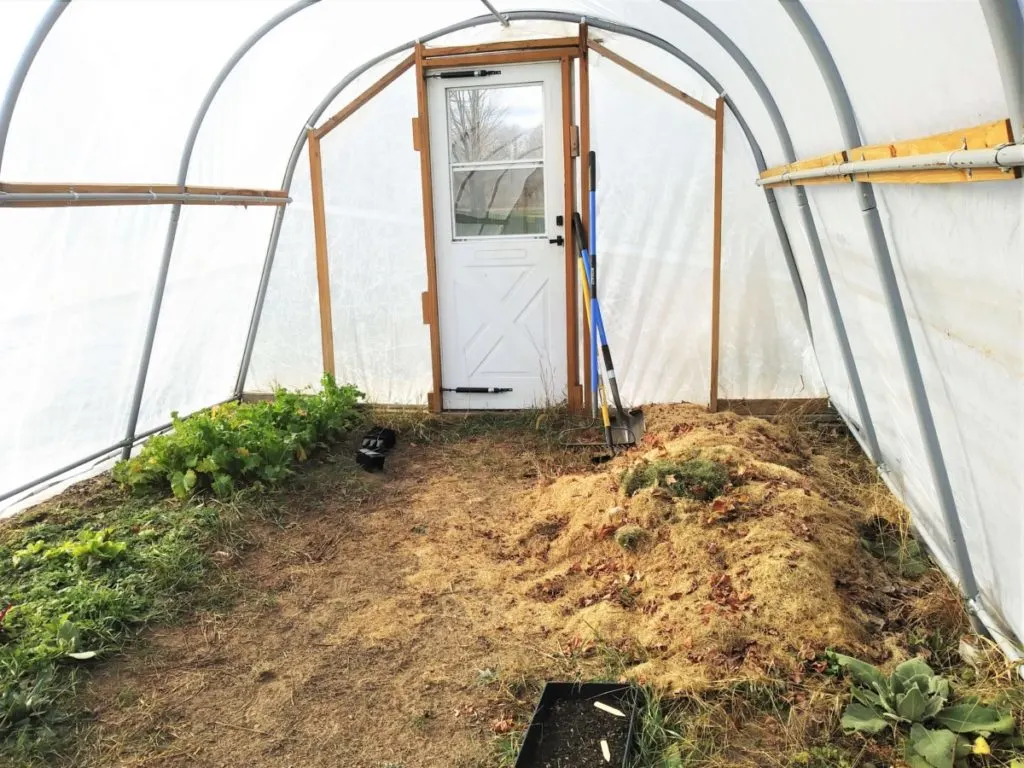
Make sure you keep your grass clippings mulch to under four inches dry so that the material doesn’t mat together in the wet conditions. This can create a heavy carpet that becomes oxygen-deprived, resulting in a rotting, stinky mess.
Likewise, avoid using clippings from lawns treated with fertilizers or herbicides as you don’t want to inadvertently introduce those into your growing space. You should also make sure your grass hadn’t gone to seed when you mowed it!
As with leaves, you’ll likely want to layer a heavier mulch on grass clippings to weigh them down and add mass as they break down.
6. Sawdust
Sawdust is an excellent mulching material, and can be free if you know someone who does a lot of woodworking. These fine wood particles keep weeds from growing, and looks nice as well.
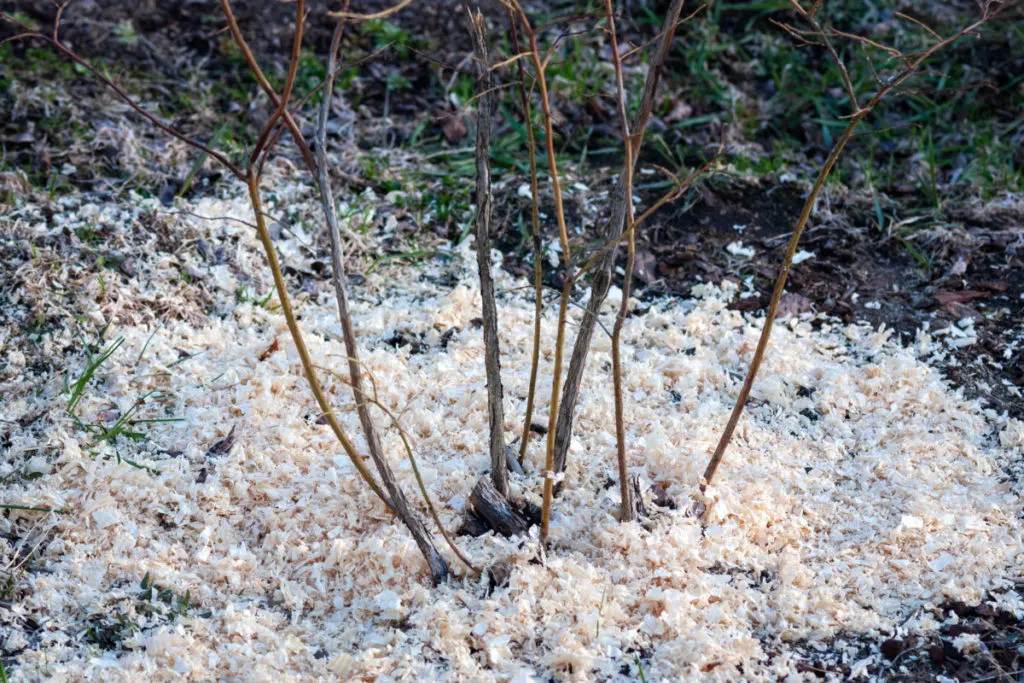
As with other wood-based mulches, you could end up with acidity problems, so it’s best to monitor your soil’s pH levels and apply garden lime when necessary to neutralize the acidity.
7. Compost
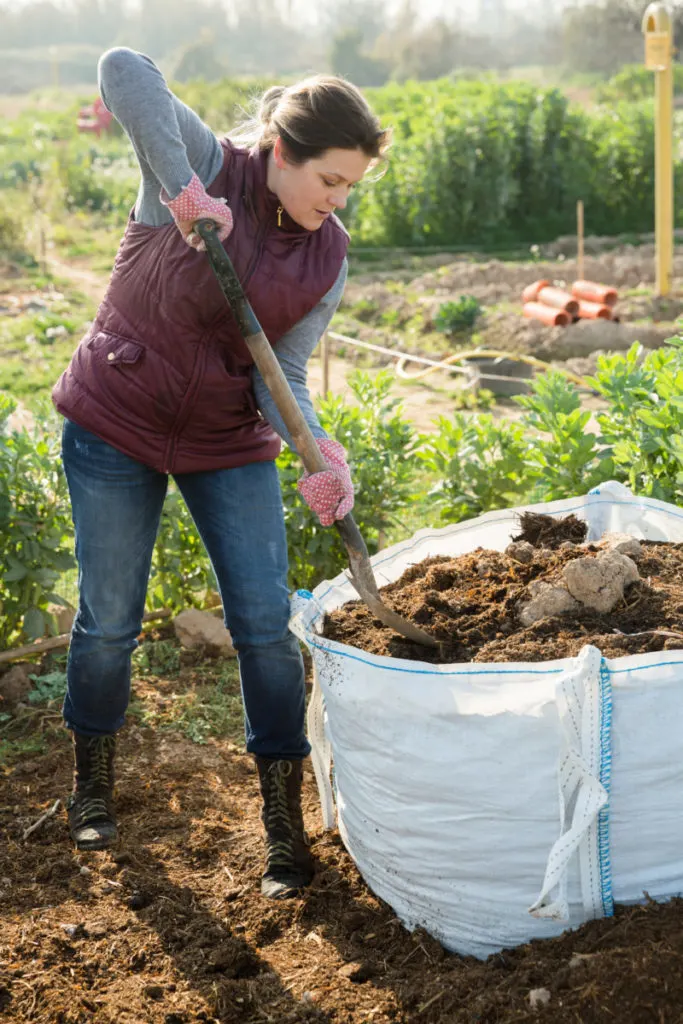
Cut to the chase with a compost mulch this fall. Not only will organic composts improve your soil texture and add in essential nutrients, but they work like other mulches to warm the soil, increase water retention, reduce erosion, and more.
The biggest drawback is that you need large amounts of compost to act as a mulch, which can be expensive and time-consuming to apply. Applying bulkier materials that break down over the winter season may be a better use of your time and energy.
8. Cardboard/Newspaper
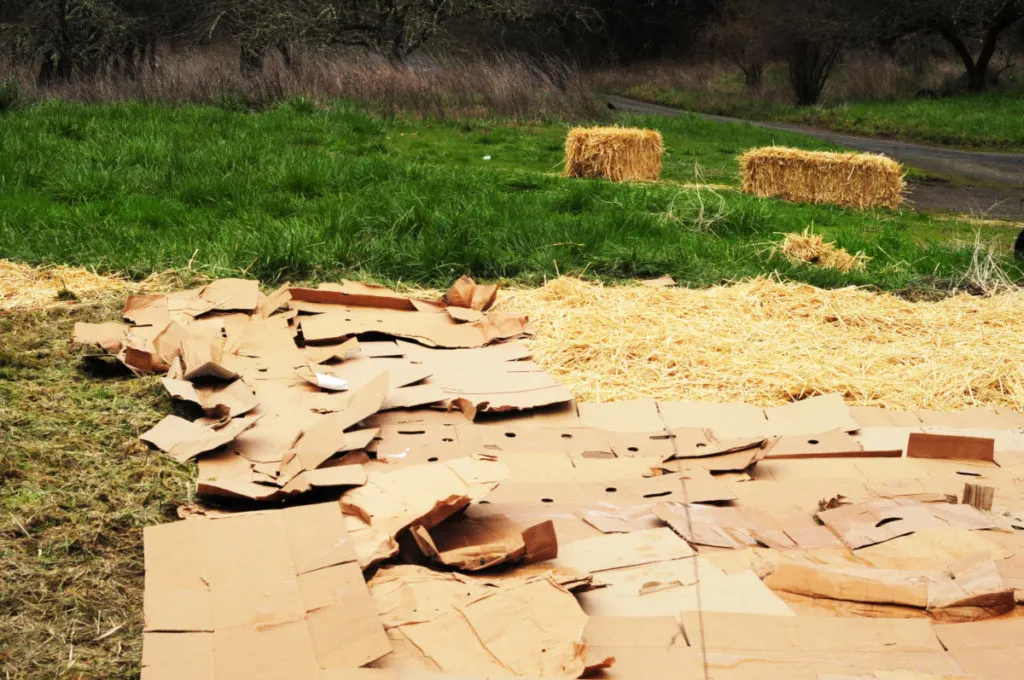
You’re in luck if you’ve saved your newspapers and Amazon boxes, as paper and cardboard make a near-perfect garden mulch. It’s 100% biodegradable, easy to apply, and decomposes over the winter months while protecting the soil below. Most contain soy-based ink, which is safe for plants and soil.
Plan to lay down newspaper at least five pages thick to get mulching benefits, and consider wetting it down immediately to prevent it from blowing away. Cardboard is excellent for suppressing weeds, so consider using it along your pathways even if you opt for a different mulch on your beds.
9. Bonus: Plant a “Living Mulch” with Cover Crops!
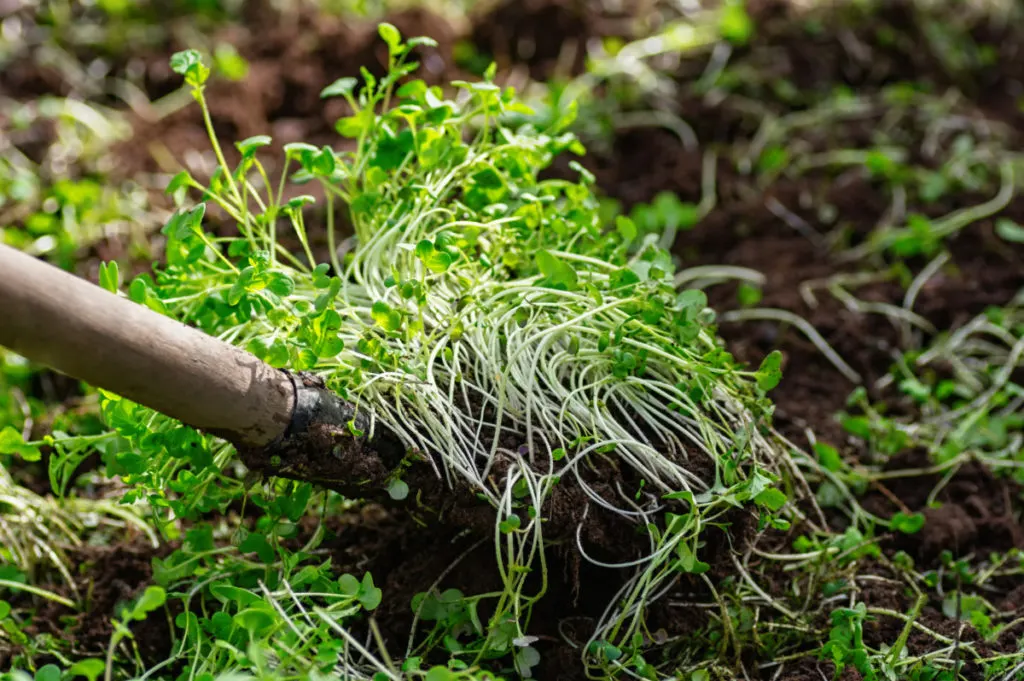
Go even further with your mulch by planting cover crops after finishing your fall garden. This living mulch (also known as green manure) will grow throughout the winter and can be tilled in before planting for an infusion of nutrients.
You can also plant cover crops throughout the growing season to shade out weeds.
How To Spread Mulch
Picking out your preferred mulch is part one. Next, you need to spread it.
The first step is to wait for a damp day or to drench your soil before starting. This both prevents the mulch from blowing away and makes it easier to pull out weeds. Remove as many as you can, pulling out the full taproots when possible. Don’t worry about the smallest weeds, as the mulch will smother them.
Next, spread the mulch over the top of your soil, using either your hands or a bow rake. Ensure you cover the ground evenly while leaving a few inches of space around the stems of any perennials so that you don’t suffocate them.
Once applied, it’s a good idea to water in the mulch. This weighs it down, ensuring it makes contact with the soil and prevents it from blowing away. Your mulch won’t require much monitoring over the winter, although you can add more in a few weeks if you notice it getting patchy.
7 Tips for Mulching Your Garden in the Fall
Though applying mulch to your garden is a simple process, there are steps you can take to ensure better results. Follow these tips to guarantee your garden is set up for success in the spring.
1. Don’t mulch too deeply.
Too much mulch can be worse than not enough. Restrict your application to three inches or less so that the soil underneath doesn’t stay saturated, which encourages rot. Consider using even less if you regularly struggle with slug infestations.
2. Keep mulch away from stems and trunks.
Not only can this suffocate them, but mulch rubbing against a tree trunk prevents it from ever drying and can lead to disease.
3. Mulch your yard.
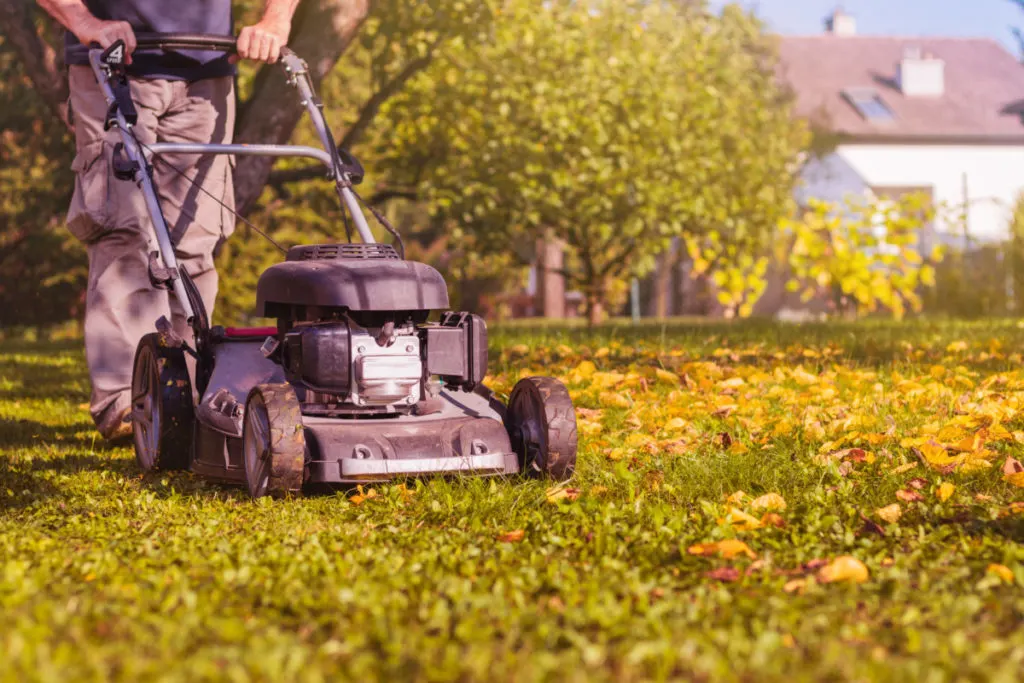
Consider mulching your lawn by mowing over fallen leaves and leaving them in place. They will decompose over the winter.
4. Late mulch is better than none.
Mulch can improve your soil no matter when you apply it, so don’t let the calendar dictate when it’s too late to start.
5. Consider removing mulch in the spring.
As the weather warms, you may need to remove some mulch around perennials to give them a better shot at growing. For example, it’s best to remove some of the straw around your strawberries so that new shoots can establish themselves.
6. Leave decaying mulch intact when possible.
Rotting wood chips create habitat space for beneficial fungi, microorganisms, and insects. Leave them in place to reap the soil benefits for vegetable production.
7. Apply fertilizer first.
Consider putting down a nitrogen-rich fertilizer before mulching, especially if your chosen material tends to leach it from the soil.
Put some time in now to protect your garden over the winter, and you’ll have better soil by springtime. Learning how to mulch your garden in the fall is an easy way to improve your homesteading skills and enjoy impressive harvests next growing season.

Get the famous Rural Sprout newsletter delivered to your inbox.
Including Sunday musings from our editor, Tracey, as well as “What’s Up Wednesday” our roundup of what’s in season and new article updates and alerts.

