
A visit to any trendy food vendor will yield some interesting ingredients on the menu. For example, my daughter recently tried squid ink ice cream at one of our favorite spots in East Aurora, NY.
It seems bizarre, pricey, obscure ingredients are the go-to for getting people in the door these days. Take, for example, mugolio, otherwise known as pine cone syrup.
What is Pine Cone Syrup?
Pine cone syrup is exactly what it sounds like – syrup made from pine cones. Mugolio is a traditional pine syrup made from the newly formed buds of Mugo pines in Italy. Oh, so fancy.
Now, come on, wipe that look off your face. (I made the same face the first time I heard of it, too.) I wasn’t sure what to expect when I tried it.
Bracing myself, I readied for something akin to drinking Pinesol.
However, I was instantly transported back to December and the smell of a fresh-cut Christmas tree in my home, warm toasty wool socks, mugs of tea by a crackling fire and the floor littered with crumpled wrapping paper.
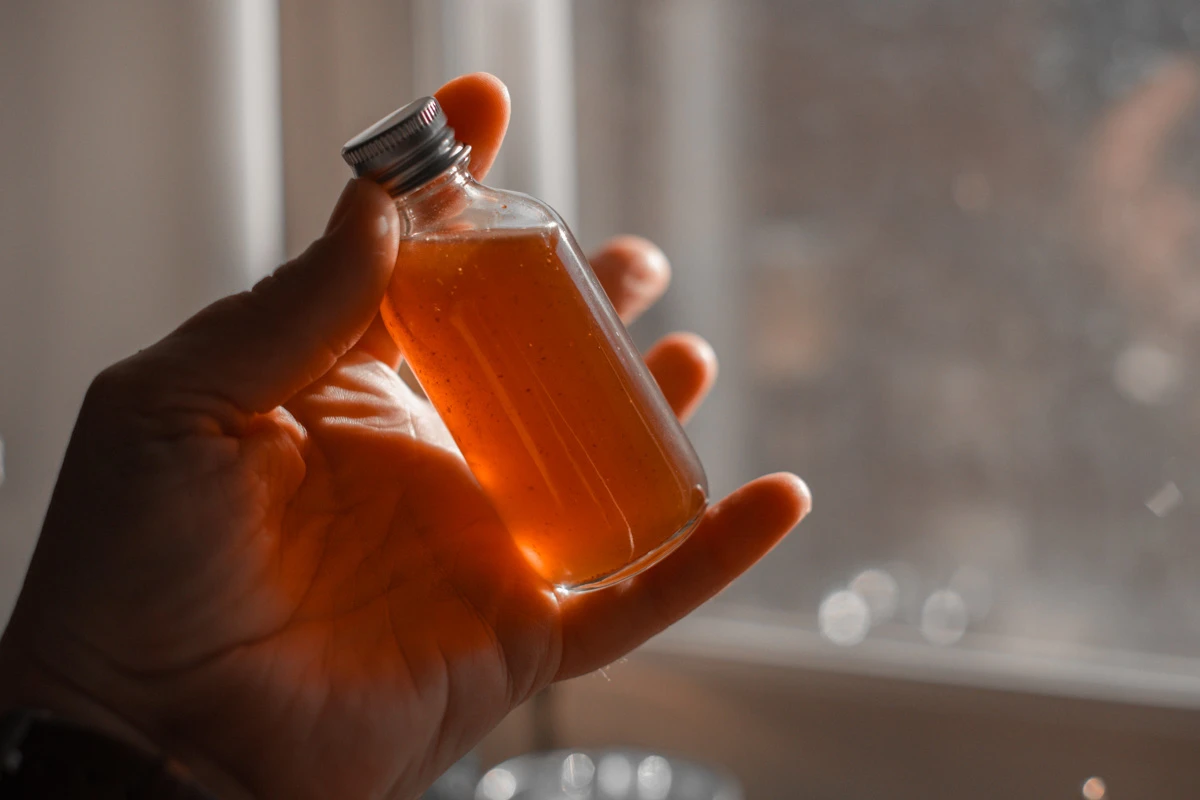
The reddish-amber liquid was warm and sweet, definitely piney, with a slightly dry resin finish. It was a bit like tasting liquid Narnia, pre-Aslan thaw.
Okay, I get the draw of bizarre, obscure and pricey ingredients now, especially this one.
And a tiny bottle of this stuff is pretty dang spendy, especially when you consider you’re getting slightly less than half a cup. The thought of ‘drizzling’ it on anything more than one precious drop at a time made me wince.
Which is why you shouldn’t buy it. You should make it instead.
No, you don’t have to use itty-bitty pine cones harvested from Mugo pines in Italy to enjoy this decadent syrup. Because the ingredients are dead easy to find and cost pennies. Get yourself a pen and paper, and I’ll tell you what you’ll need.
Ready?
Green pinecones and brown sugar.
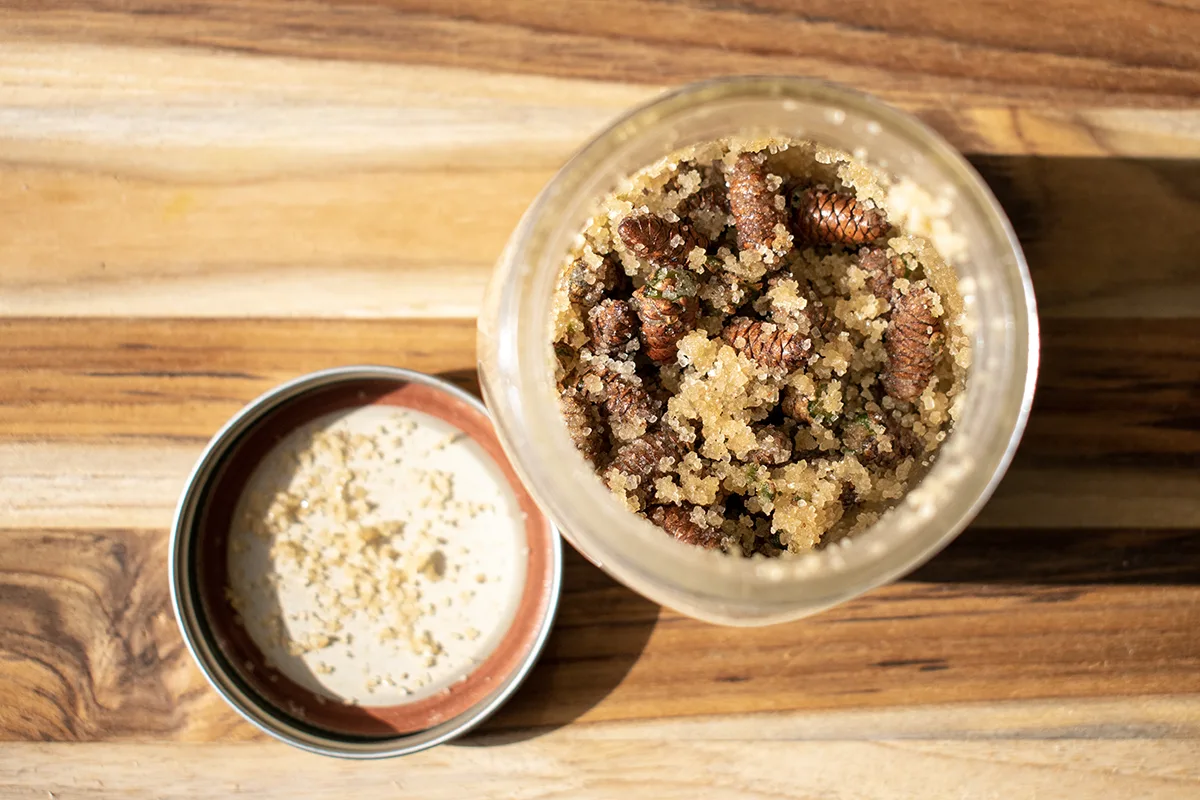
Did you get it all? I can repeat that if necessary.
Did I mention it’s dead easy to make, too?
Rather than spending a ridiculous amount of money on a teeny bottle, go for a hike this spring and pick some green pinecones. Make up a batch (or several) of pine cone syrup and drizzle it with abandon on flapjacks, roasted lamb, apple crisp, your favorite cocktail, oatmeal, ice cream, or whatever you like.
Heck, many of us don’t even have to take a hike; all we have to do is head to our yard.
My point is this – pine cone syrup tastes wonderful, looks and sounds deceptively fancy (making it an excellent gift) and is one of the simplest and most inexpensive gourmet treats you can make at home.
Fermenting Pine Cones
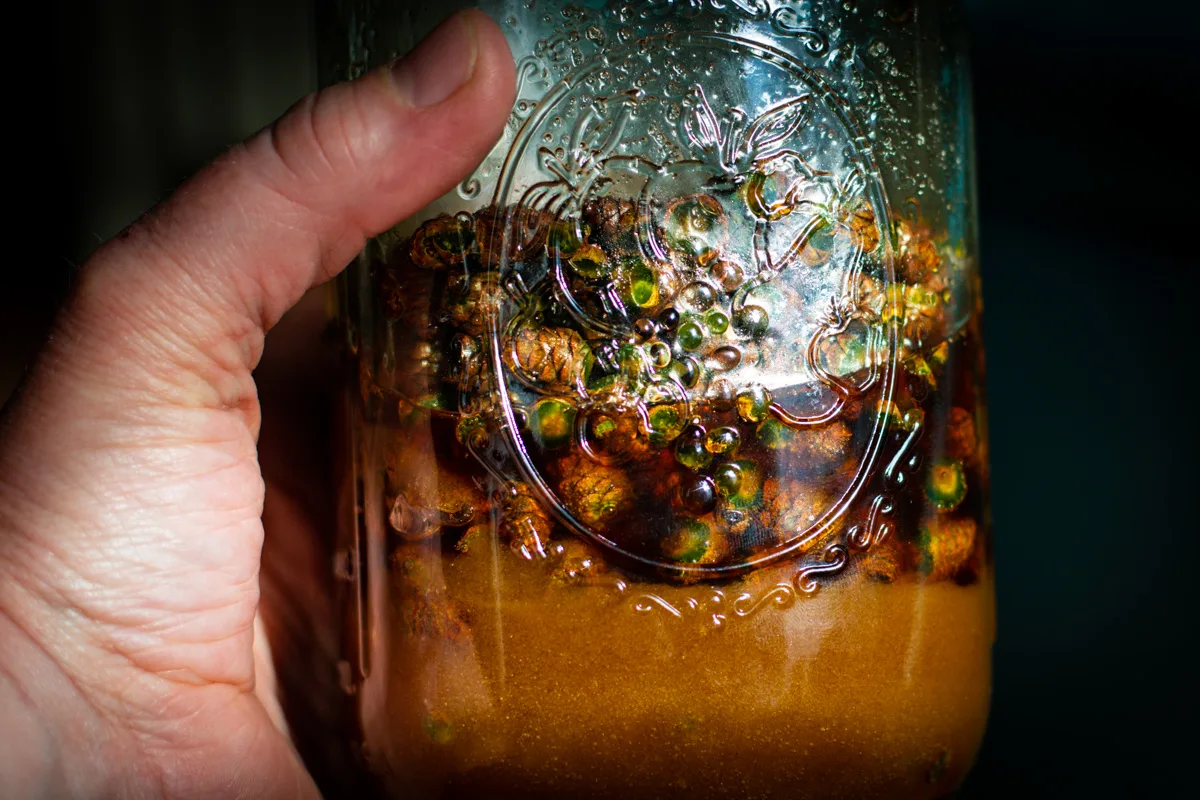
What makes this syrup different from making pine needle syrup is fermentation. We’re going to pick pine cones while they’re quite young and full of moisture. They will also be covered in naturally occurring yeasts. Mixing pine cones with sugar and macerating them (banging them around the jar a bit) will release liquid, allowing those little yeast to start eating the sugar and fermenting the syrupy liquid.
While it won’t be enough to make the resulting syrup alcoholic, it will be enough to impart some wonderful depth and flavor. Fermenting the syrup also lowers the pH, which allows us to store our syrup without refrigeration. Thank you, little yeasties!
When to Harvest Green Pine Cones
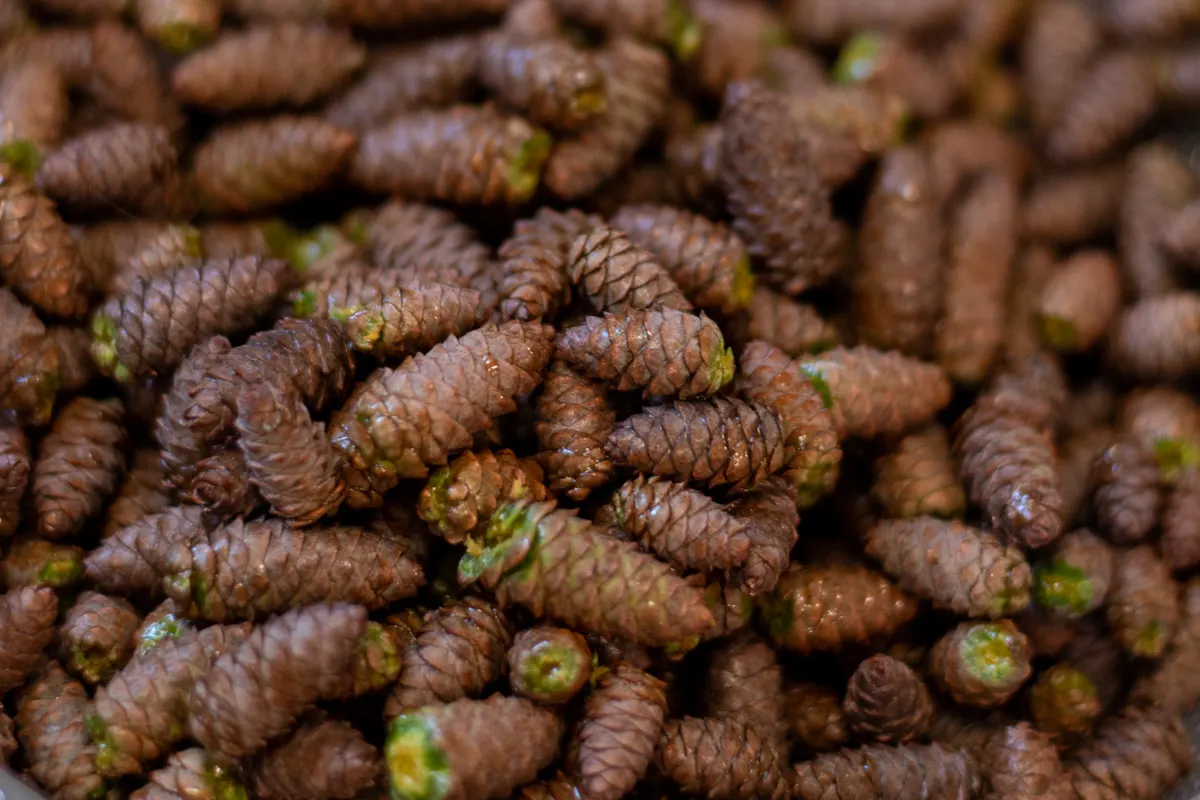
The best time to harvest pine cones is in late spring or very early summer. If you pick newly formed pine cones, they will be quite small and flavorful, but may lack enough moisture to ferment properly. You can still use them, but you’ll need to add a splash of water to your jar to jumpstart fermentation.
Picking pine cones too late in the season nets you the same issue but in reverse. Once the pine cones stop growing, they quickly begin to dry out and lose moisture (as well as flavor). Dried pine cones are better left for using around the home or making some fun Christmas crafts.
Pay attention to local conifers in the spring. When you start to notice light green tips and pollen cones developing, you know that seed cones will only be a few weeks away. While you wait, gather spruce tips and make syrup.
What Conifers Can Be Used
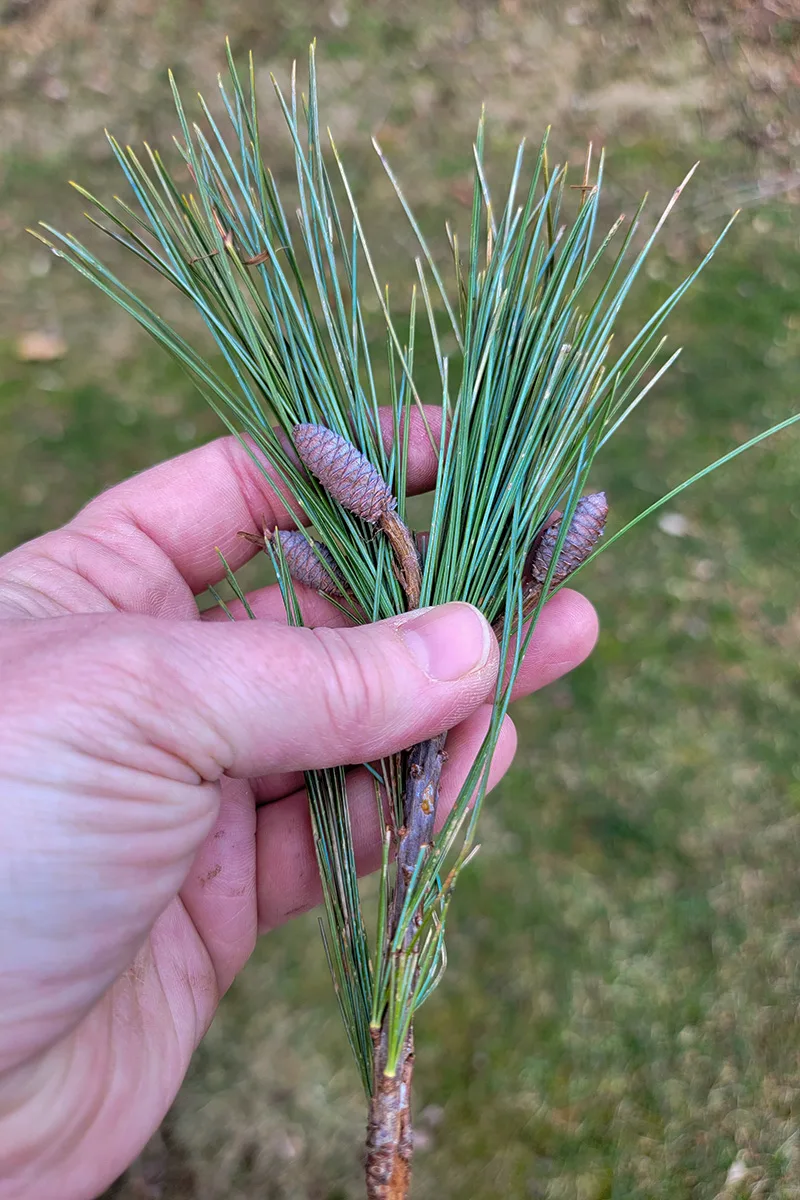
Nearly any conifer can be used to make pine cone syrup. I highly recommend making up a batch of each if you can get your hands on more than one species. There is a noticeable difference in flavor from pine to spruce to fir and even cedar.
We have loads of White Pine, Red Spruce and Eastern Hemlock out our way, so I’ve made those. Of course, I would love to get my hands on some fir cones to try.
Alan of Forager Chef has some excellent tasting notes for different conifer species if you want to check it out.
Avoid These Trees
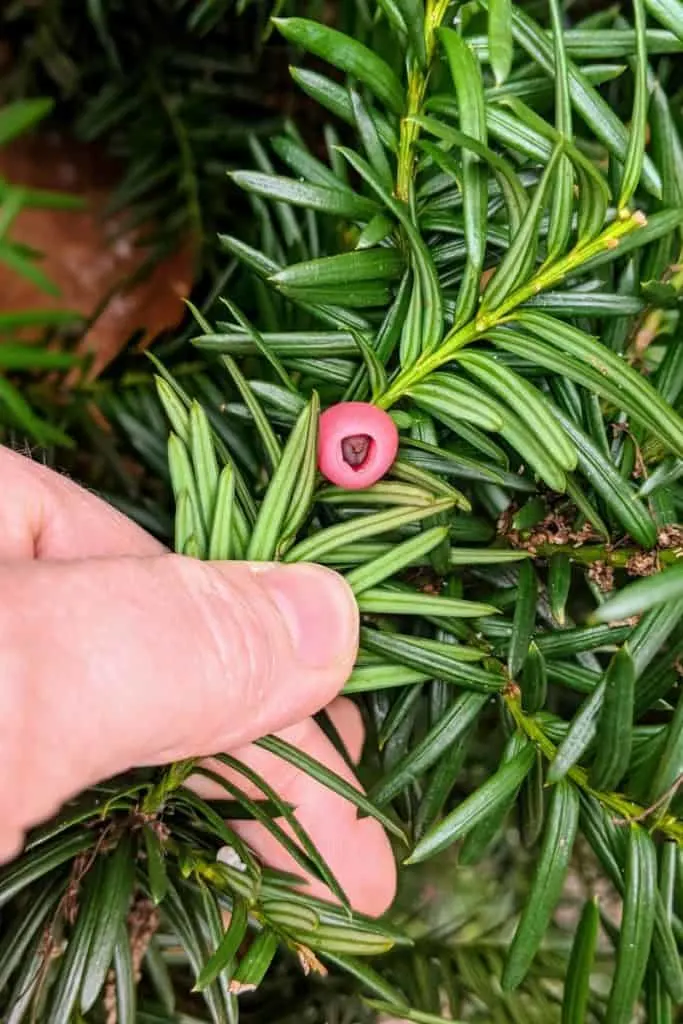
It’s important to note that the Ponderosa Pine (Pinus ponderosa) should not be used, as it is an abortifacient. English yew, or common yew (Taxus baccata), should also not be used, as the red berry-like cones are highly toxic, even deadly.
Reaching Pine Cones
Unfortunately, some species of conifers, such as firs, only produce cones at the top of the tree. But don’t worry; you can still luck out and collect green cones from them. It just takes a bit more planning.
Go for a walk after a storm; this is a great way to get unripe pine cones from extremely tall trees. Another trick is to pay attention to where there is logging. You can call forestry departments for state parks and ask where logging is happening. This is a great way to get green pine cones, as they always leave the tops behind. (This is how I scored the cones I used for the batch in this piece.)
Making Pine Cone Syrup
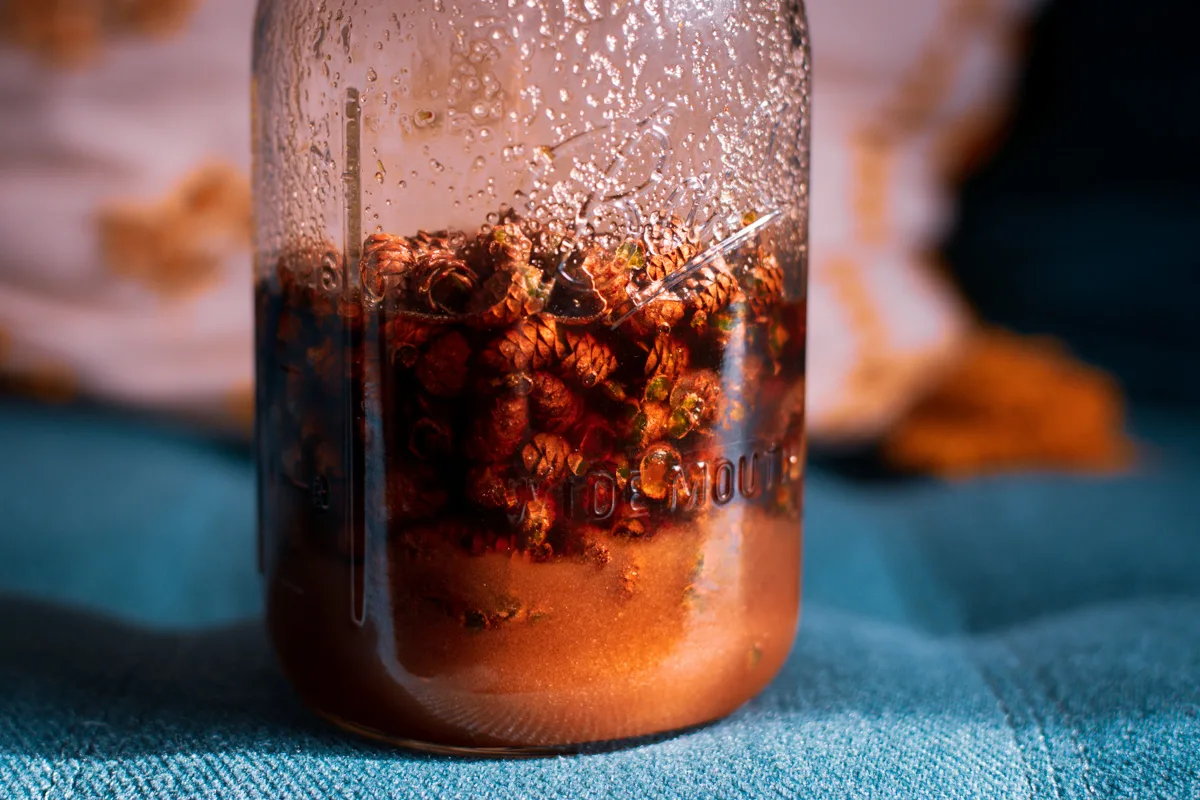
Cooking with foraged ingredients can be challenging, as you may not always find the amount you need to match up with a recipe. This is one reason I enjoy making pine cone bud syrup; your ingredients are measured in ratios. No matter how many or how few pine cones you find, you can make syrup.
The Ratio
You will mix green pine cones and sugar in a 1:2 ratio by weight. For example, if you end up with 8oz of pine cones, you will add 16 oz of sugar. It’s important to remember this is by weight, not volume.
Having a food scale in your kitchen is a must for the serious chef. Or even the not-so-serious chef. I have this one. It’s inexpensive and does the trick.
Choosing a Sugar
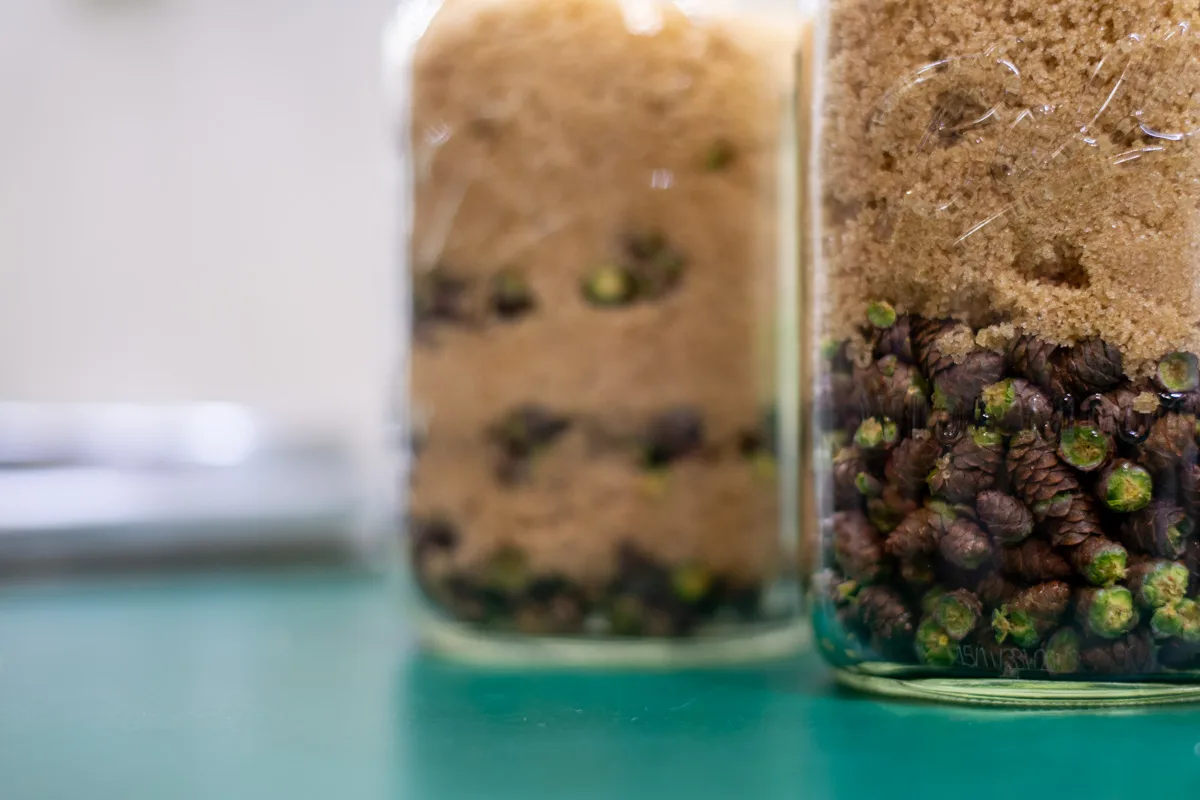
I prefer brown or turbinado sugar for pine cone syrup. You want a sugar that still has some moisture, as it will help fermentation and the maceration process. These more natural sugars also lead to a much smoother-tasting syrup.
Avoid using white sugar as it’s highly processed and much too dry. You’ll end up with a very astringent, overtly piney syrup.
If you want an incredible pine cone syrup, find some maple sugar. Syrup made from all the trees!
You Might Want to Wear Gloves
Because we’re using new pine cones that are green and still quite moist, this project can get sticky. Fast. Consider wearing gloves while harvesting and mixing everything up in a jar. If When you get sap on your hands, rub them well with olive oil and then wash them off using soap and hot water.
Remember to wipe down the outside of your jar well, too. Otherwise, you’ll go to shake your jar one morning and find a line of ants leading up to it. (Ask me how I know.)
How to Make Pine Cone Syrup
Fermenting
- Rinse off your pine cones with cold water and remove any debris. Put them in a colander to drain.
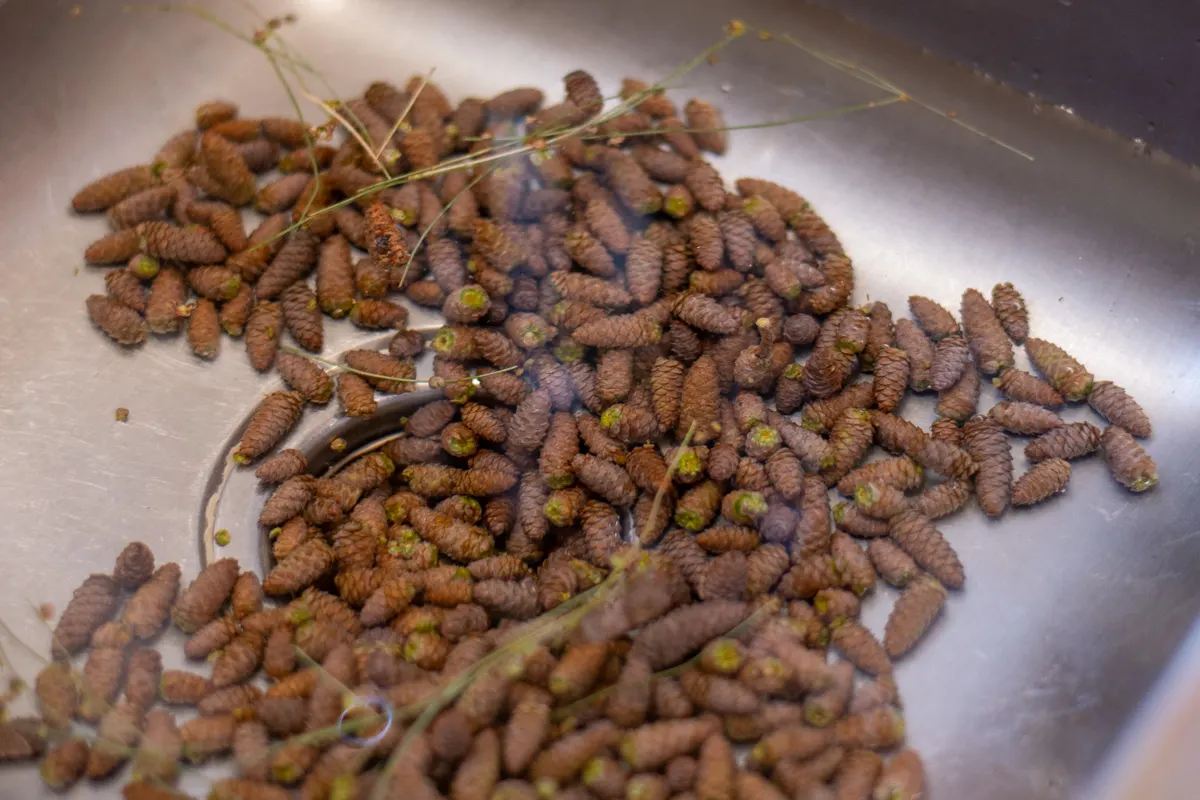
- Cut or break pine cones into smaller pieces, adding them to a mason jar large enough to fit all of your ingredients. (For exceptionally tiny pine cones, rough chop them with a chef’s knife.) Add in the sugar.
- Place a lid on the jar and shake the dickens out of it. You want all the sugar to be thoroughly incorporated with the pine cone pieces. You should start to notice some moisture within the jar.
- Place the jar somewhere warm for the first few days, like a sunny windowsill. If fermentation has started, you will notice an increase in liquid in the jar, and the contents will be syrupy within a day or two. You will also notice small bubbles moving their way up through the liquid.
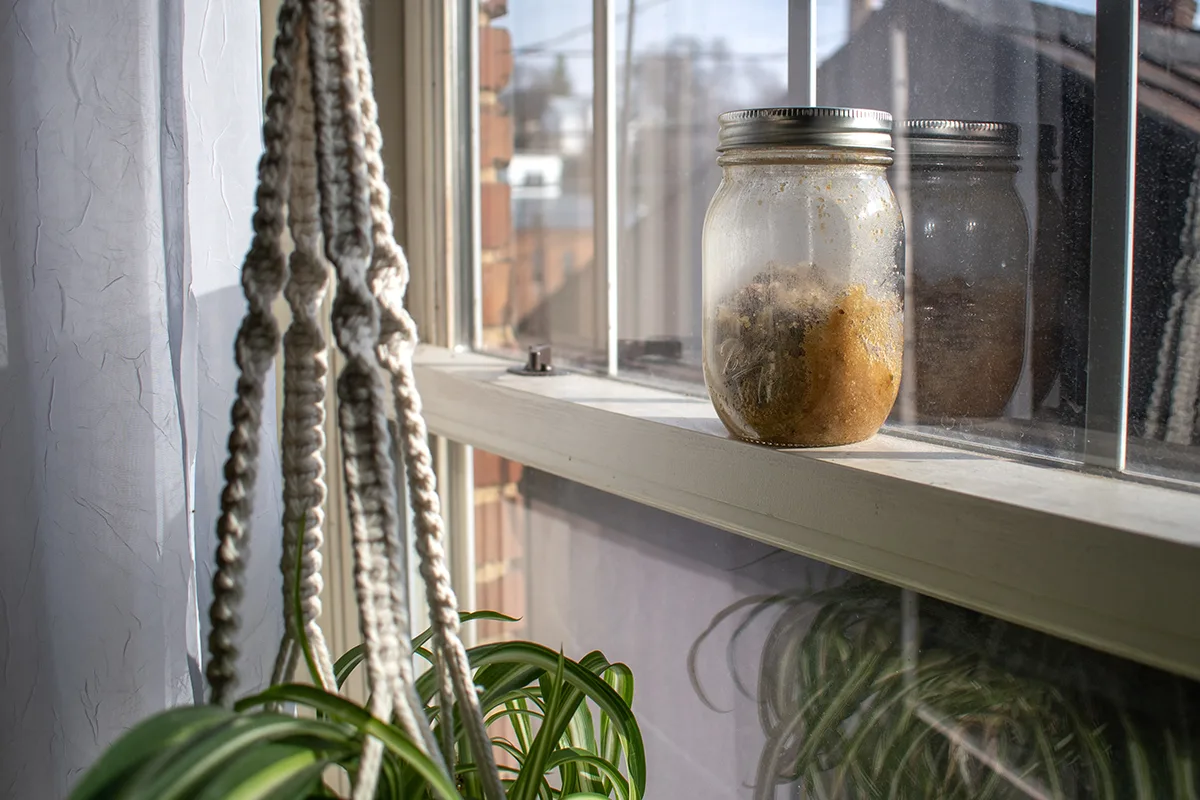
- You will need to burp the jar for the first few days or weeks as carbon dioxide is released and continue to shake the jar each day. Or if you’re like me, whenever you walk by it and think, “Oh crap, I haven’t shaken this in a while.”
- If you do not see an influx of liquid after the first couple of days, add a splash of water to the jar, put the lid back on and shake it up again. The added moisture should help the naturally occurring yeast to get started. It’s not essential for the syrup to ferment, but it does help the flavor and allows you to store the finished syrup without refrigeration.
- Continue shaking the mixture every so often as you remember it. If the sugar starts to crystalize and settle at the bottom, open the jar and stir it up again. You can add a little water to help. Recap it and let it sit.
And now you wait.
Finishing
- Let the whole thing sit for at least one month. Of course, if you have the patience, you’ll get a much more flavorful finished syrup if you let it infuse longer. Waiting until the end of summer to finish off the syrup and bottle is ideal. Just as fall arrives, you’ll have a wonderfully complex pine cone syrup that’s perfect for the coming colder months.
- Finish off the syrup by pouring and scraping the contents into a saucepan. Add a couple of tablespoons of hot water to the empty jar, put the lid on, shake it to help loosen any leftover sugar, and pour it into the saucepan.
- Heat over medium heat just until the syrup begins to simmer. Turn the heat down a little and let the syrup simmer gently for 5-10 minutes.
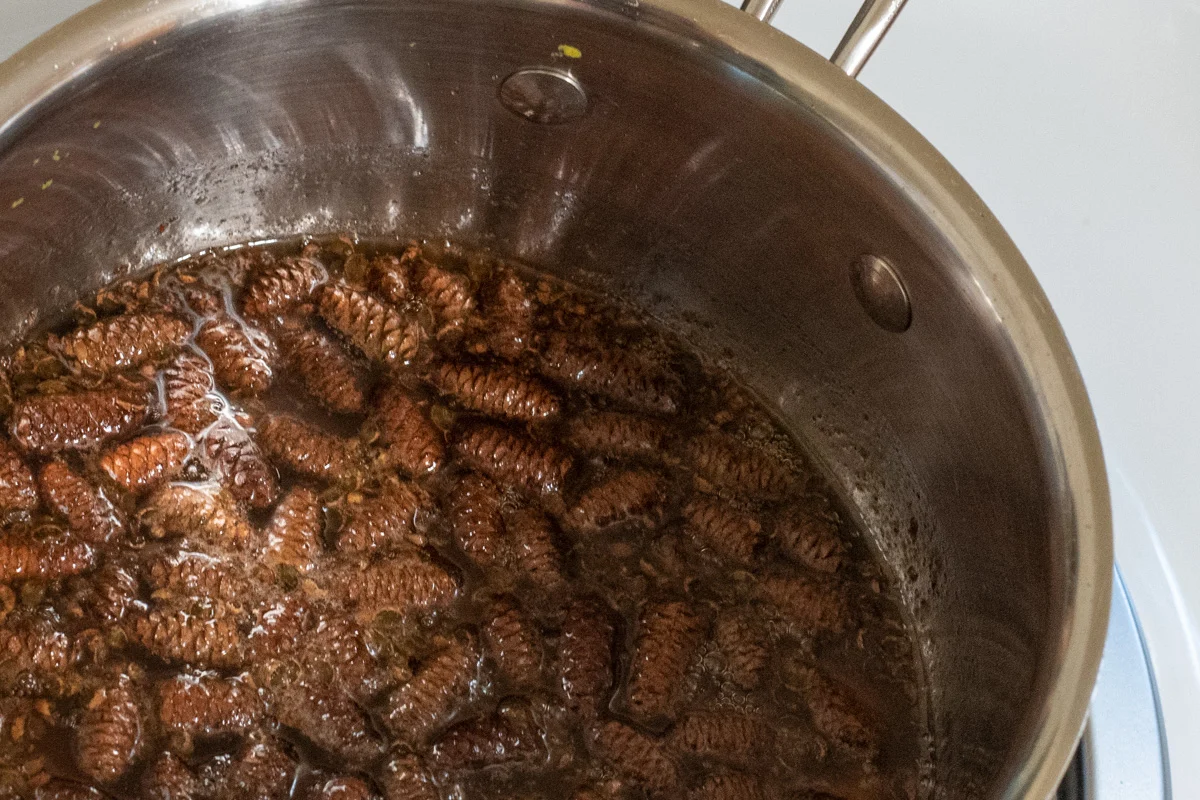
- Strain the liquid through a fine-mesh sieve and bottle your finished pine cone syrup. Now sell it to a fancy restaurant for a crazy amount of money. (I’m kidding. Sort of.)
Storing Your Syrup
The syrup is shelf stable but will last longer if you store it in the fridge once you open it. For the best flavor, I suggest bottling it in amber bottles and storing it somewhere cool.

Get the famous Rural Sprout newsletter delivered to your inbox.
Including Sunday musings from our editor, Tracey, as well as “What’s Up Wednesday” our roundup of what’s in season and new article updates and alerts.

