
Few things taste better than the summer’s first fresh strawberry. Take one bite of a sun-ripened berry, and you’ll never be satisfied with watery commercial varieties again.
Fresh strawberries are expensive—and deservedly so. These delectable berries are too delicate to travel far, and most taste best eaten within hours of picking them.
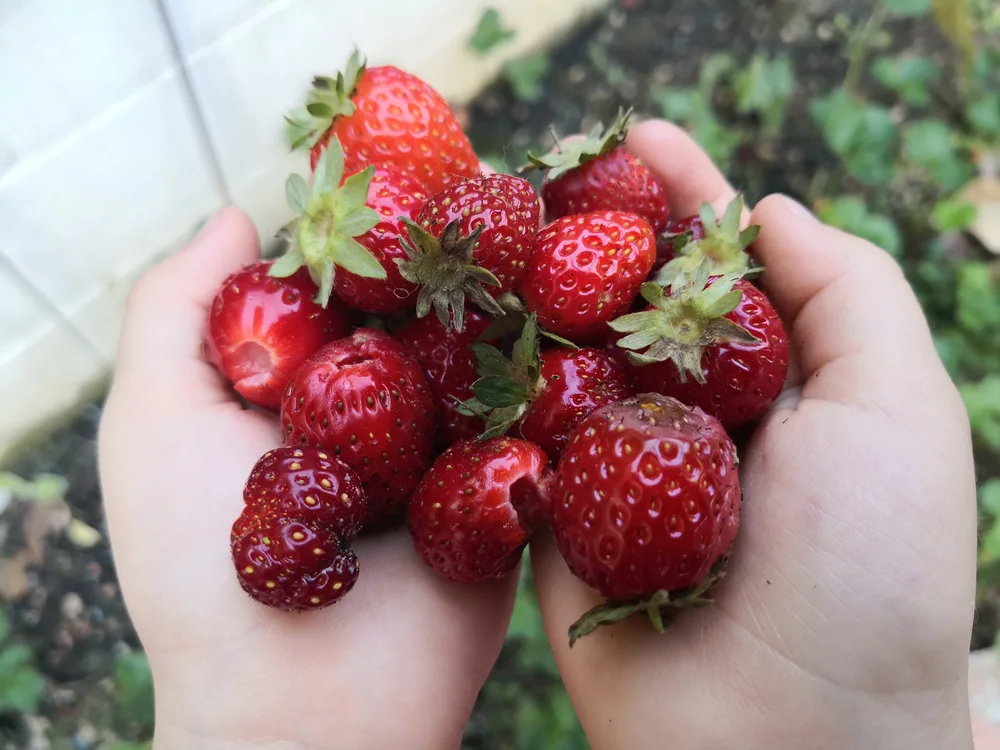
But here’s the good news.
It’s easier than you think to start a home strawberry patch. Lay the groundwork this spring, and you’ll harvest pales of ruby-red berries for growing seasons to come.
Here’s how to get started.
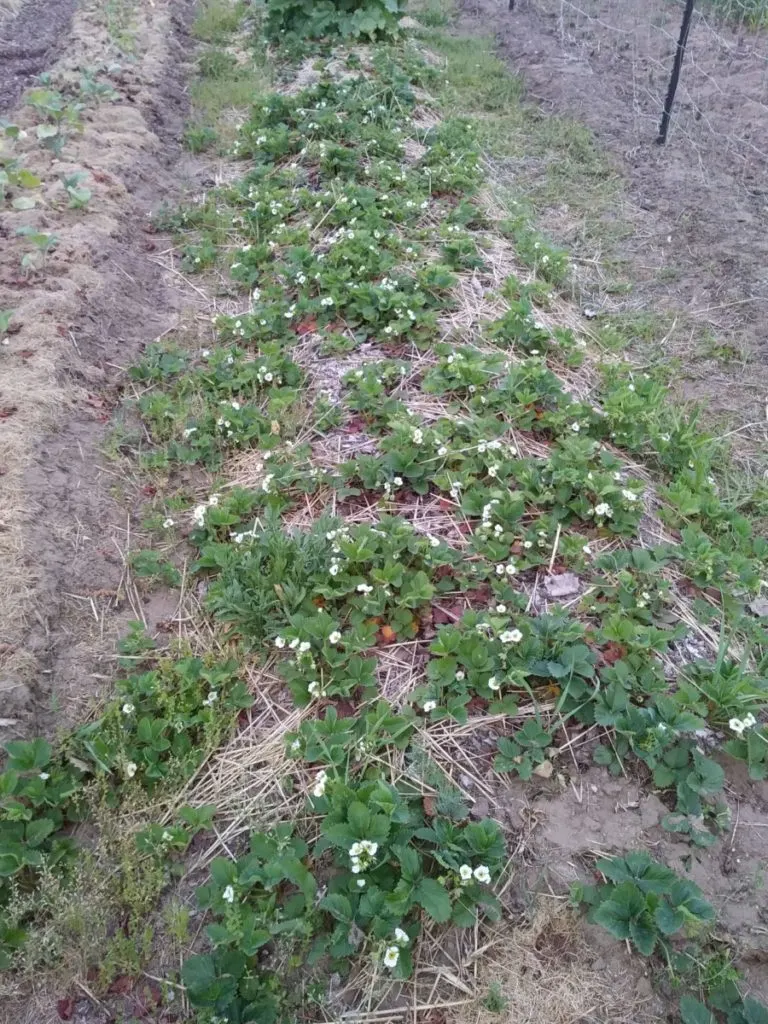
How to Choose the Best Strawberry Varieties
Strawberries are a hardy perennial that thrives in USDA plant zones 3 through 10.
However, finding success with strawberries comes down to careful preparation—including planting the best varieties for your interest.
June Bearing or Ever Bearing?
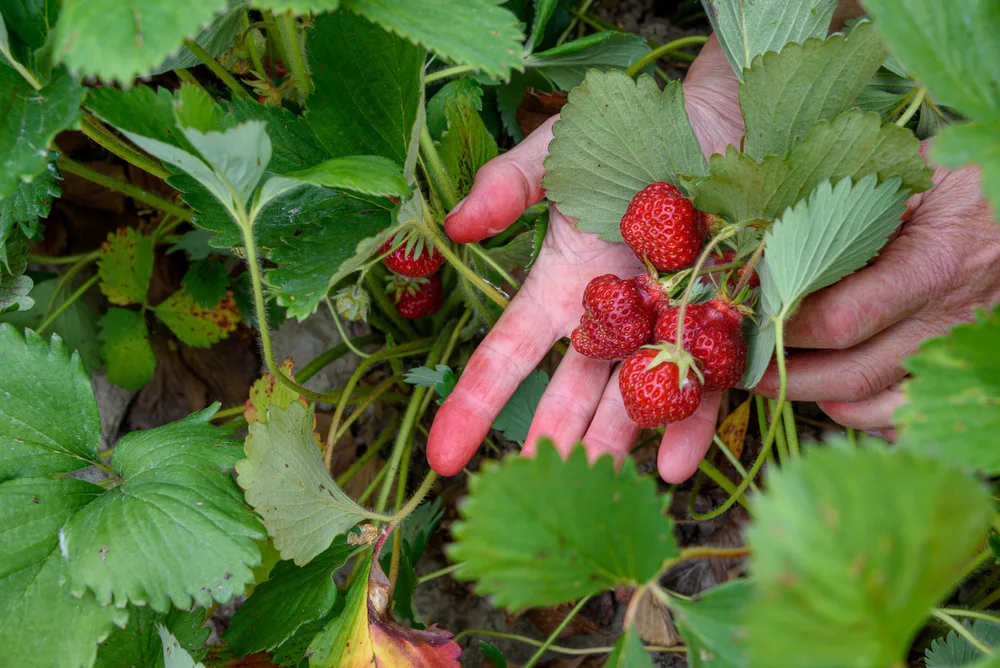
Most strawberry varieties are split into two categories: June-bearing and ever-bearing.
June-bearing plants produce all their fruit over a three-to-four-week period in the early summer. You’ll get more berries per plant on average, and the concentrated ripening time makes it convenient to use the berries for jams and other recipes.
Popular June-bearing varieties include Douglas, Chandler, Sequoia, All-Star, Chandler, Jewel, Mojave, and Seascape.
Ever-bearing strawberries, in contrast, produce a slightly smaller harvest over the entire summer. This makes the fruit ideal for those who want to snack on it fresh all season long, though you’ll need to commit to harvesting fruit every few days.
These berries also tend to be smaller and slightly less juicy than June-bearing. The plants are typically more compact, which makes them well-suited for growing in planters.
Some of the best ever-bearing strawberry varieties are Albione, Alpine, Eversweet, Festival, and Ozark.
Many gardeners plant a mix of both types to enjoy the best attributes of each.
How Many Strawberry Plants?
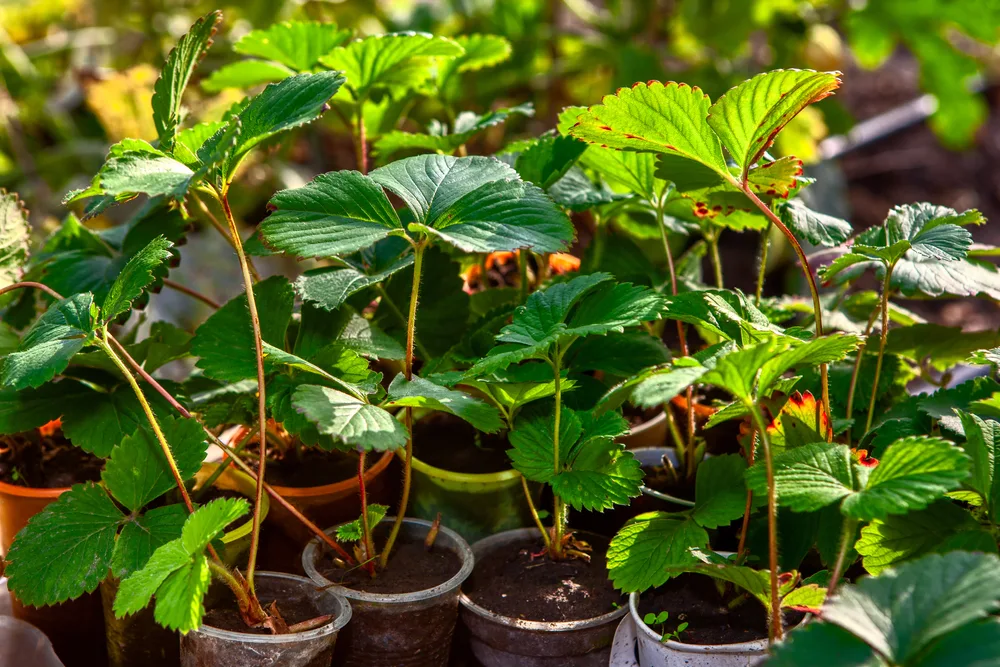
There’s nothing worse than putting time and attention into your strawberry patch only to find out you underplanted and end up with a scant handful of berries for your efforts. It’s best to calculate how many quarts you’ll want ahead of time so you can plan accordingly.
Plan to harvest approximately 1-2 quarts of berries per June-bearing plant and slightly less for ever-bearing. Assume you’ll get less than this the first year you harvest and that the bounty will pick up over the three to five summers after.
Even so, it’s best to err on the side of planting too few plants so you don’t get overwhelmed your first year. Strawberries are excellent self-propagators (more on that later), so it’s simple to scale up your patch over time.
How to Prepare the Soil for Strawberry Plants
Your strawberries selected, it’s time to prepare the patch.
Choose carefully, as strawberries are perennials that will thrive in the right garden plot for years to come.
These plants require full sun and well-drained soil with a pH between 5.5-7.5. Optimally, you should test the soil quality of your proposed location a year in advance to allow time to amend it as necessary, either by adding lime (to raise the pH) or sulfur (to lower it).
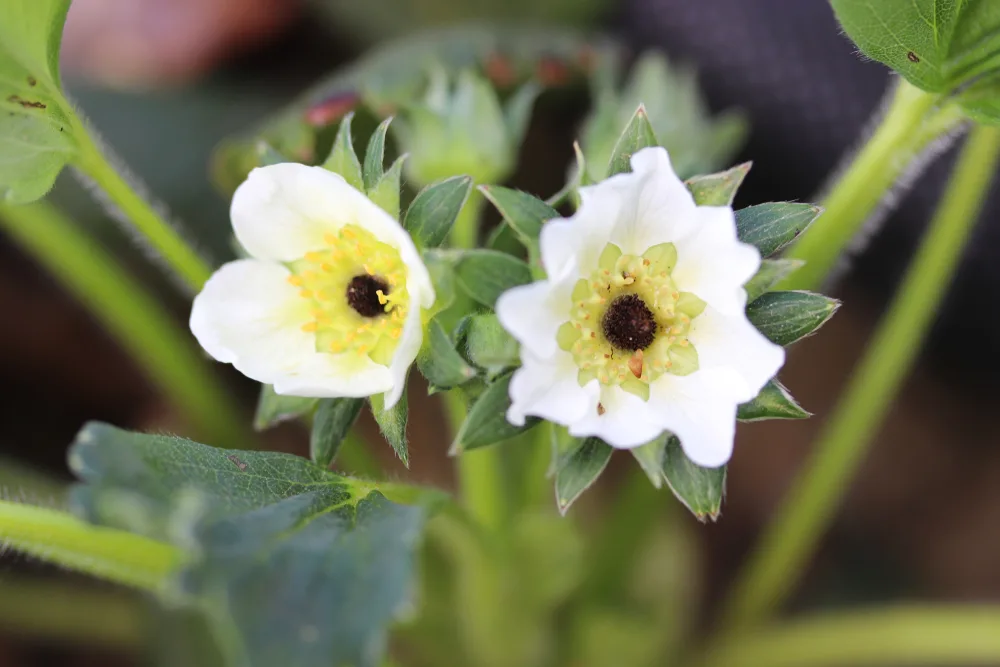
Look for warm spots without the risk of frost pockets so the delicate spring flowers can survive.
As strawberries have shallow roots, they need rich soil that drains well.
You may want to double-dig the ground before planting so you can amend it with well-rotted compost. Plan to use approximately one five-gallon bucket’s worth of compost per ten plants.
Strawberries thrive when planted close together but far away from other plant varieties. In essence, you want to create a thick patch. Be especially mindful to keep them away from roses, as the plants are related and share diseases.
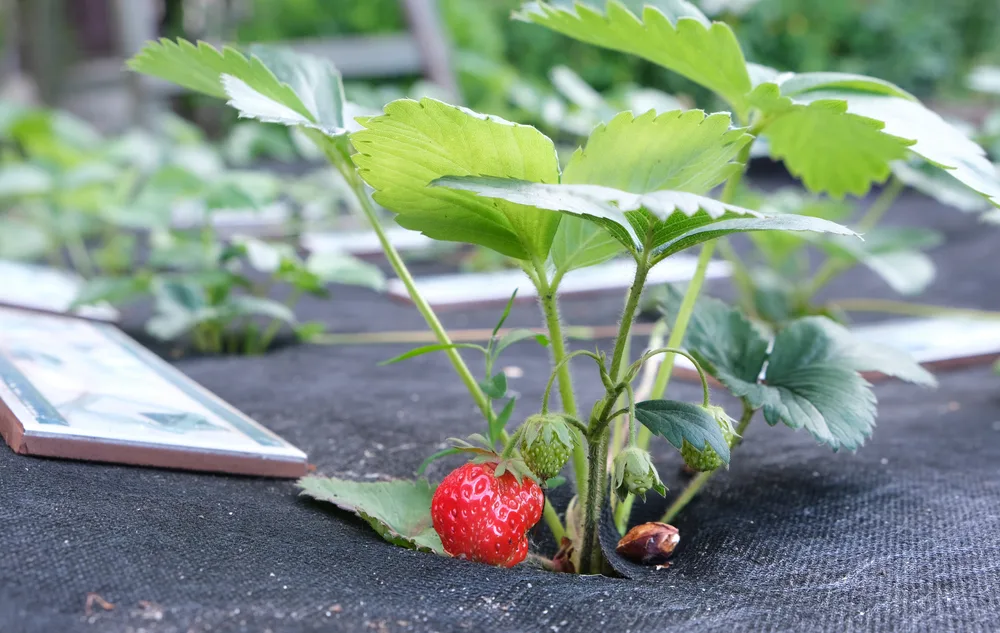
These low-lying plants can be quickly outcompeted by weeds. Stave off future problems by laying landscape fabric over the bed and cutting out a hole for each plant.
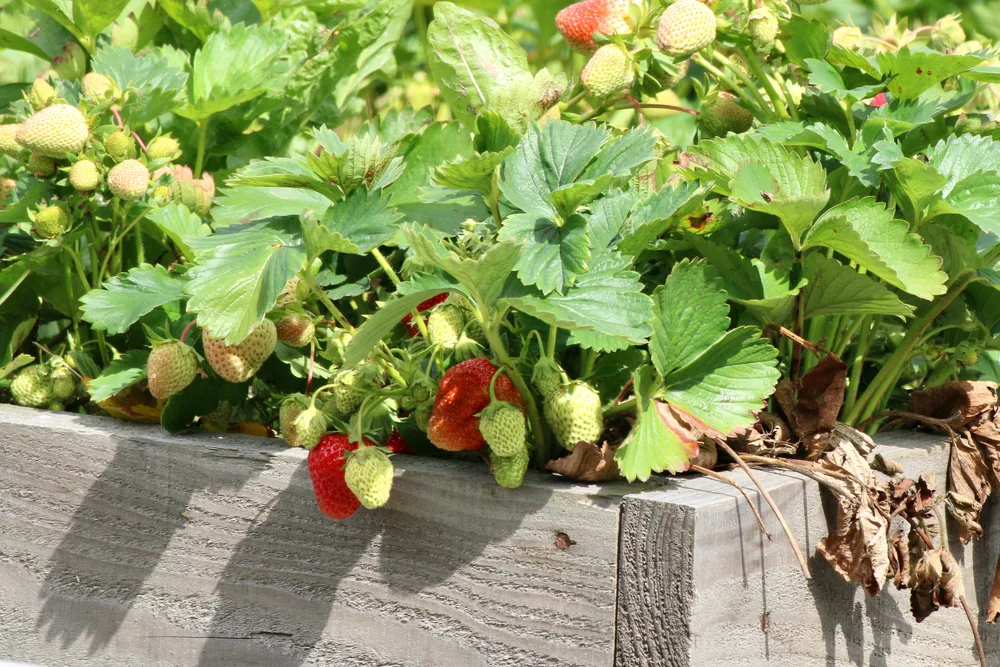
Raised beds for strawberries have a lot of appeal as well. Not only do they allow you to control the soil quality better, but the strawberries stay contained so the runners don’t spread into other beds.
Raised beds also make it easier to attach netting to the sides to protect the berries from hungry birds and rodents and—best of all—harvest them without bending over.
How To Plant Strawberry Crowns
Strawberry plants should ideally be planted in the early spring, though they can handle fall plantings in regions with mild winters.
Prep the Plants
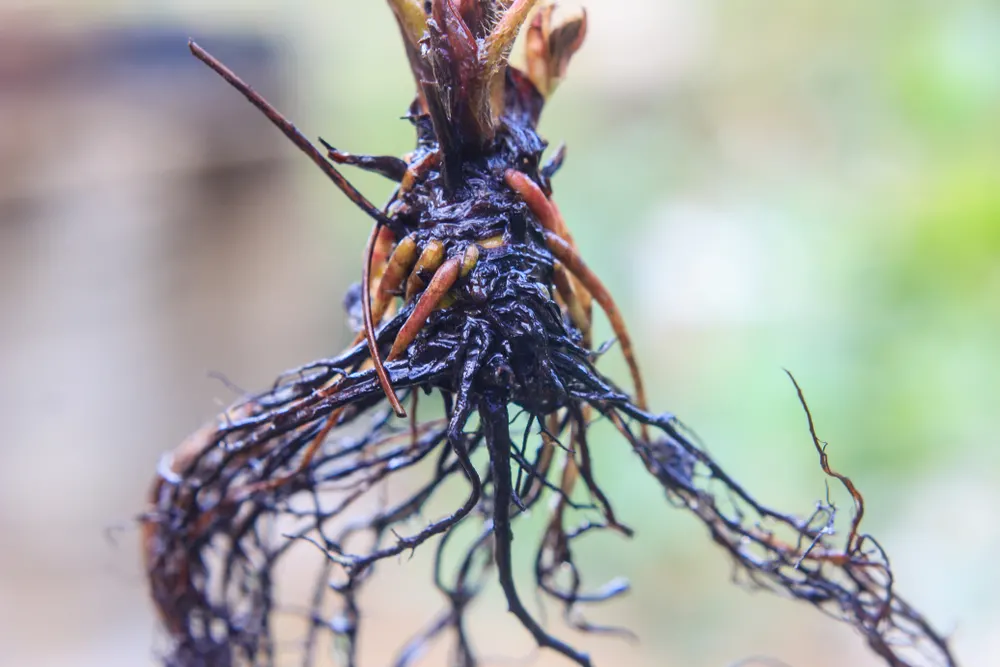
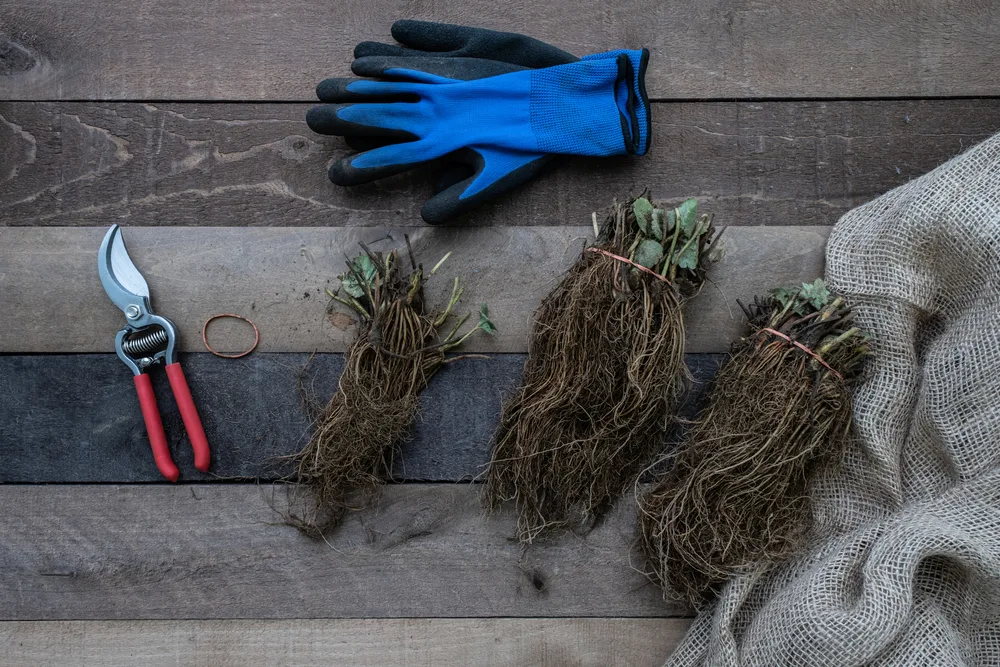
Regardless of your variety, the strawberries will likely arrive as bare-root bundles. Make sure they stay cool before you plant them. I store mine in the fridge wrapped in a damp paper towel if they arrive a few days before I can plant them out.
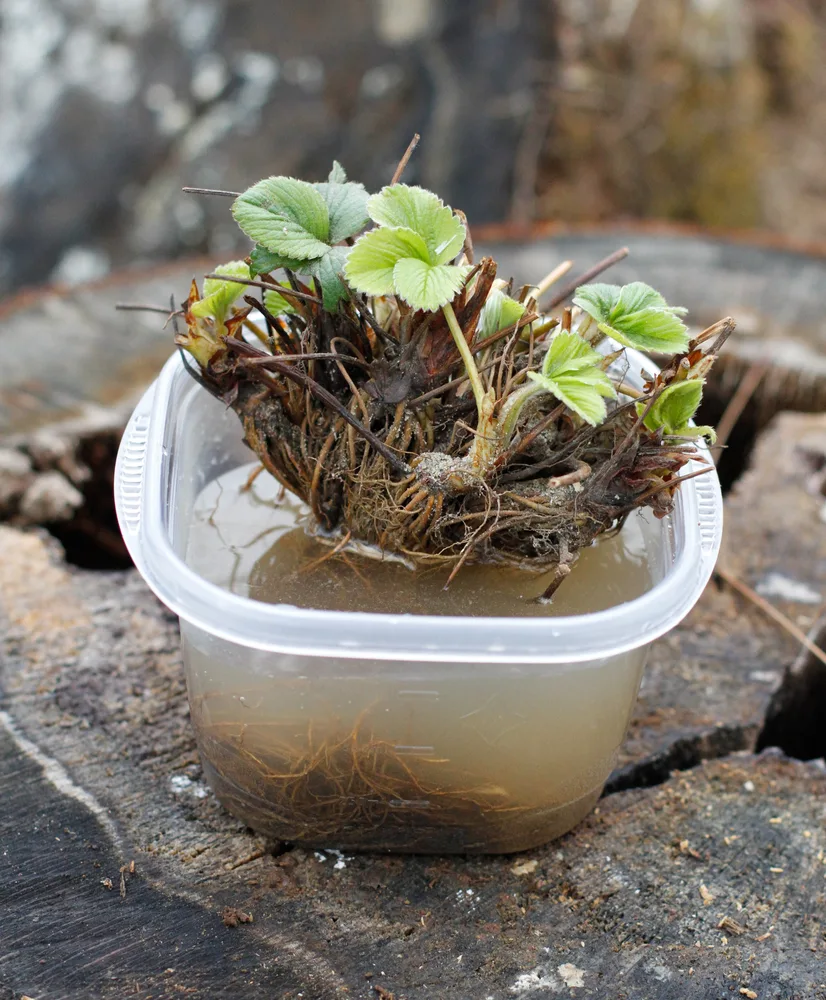
For the best planting success, soak the bare roots in a bucket of water for at least twenty minutes. Then, trim any roots that are longer than 10cm (4 inches).
Plant Each Crown
Mound the soil up a few inches in rows, tapered down to shed excess water. Dig holes within the mounds spaced 18-24 inches (45-60cm) apart. Compact beds are better than long rows because they are easier to cover with bird netting but keep them narrow enough to make weeding and harvesting manageable without stepping in it.
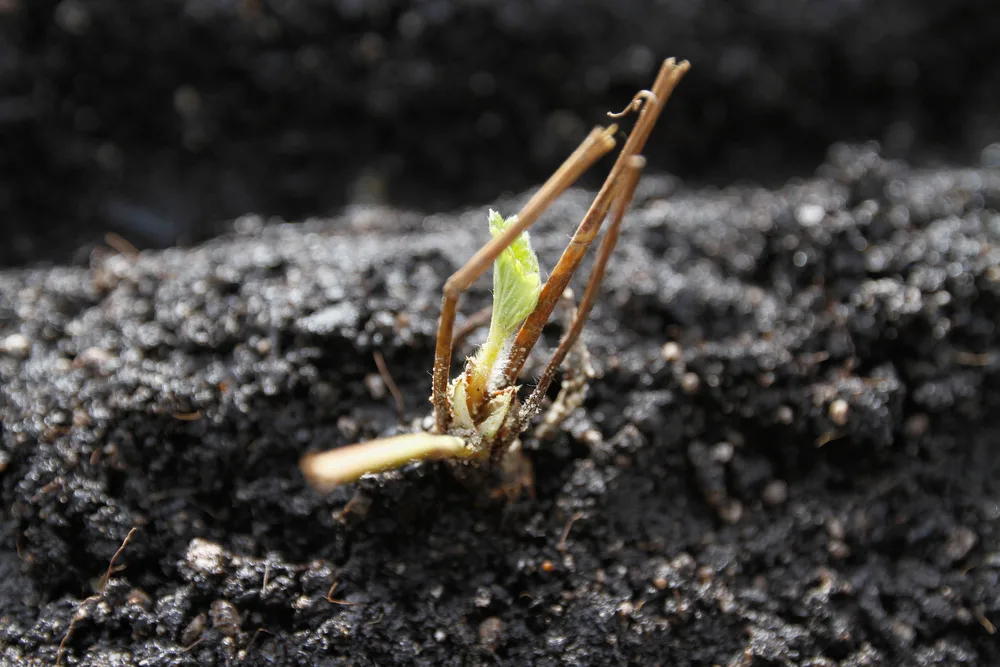
Each strawberry root bundle includes a “crown,” which is the growing point of the plant where the roots attach to the main stem. Flowers and foliage grow from this spot, so it’s critical you plant it directly on the soil line. Covering the crown in soil may cause the whole plant to rot, while putting it too high above the ground may cause it to dry out.
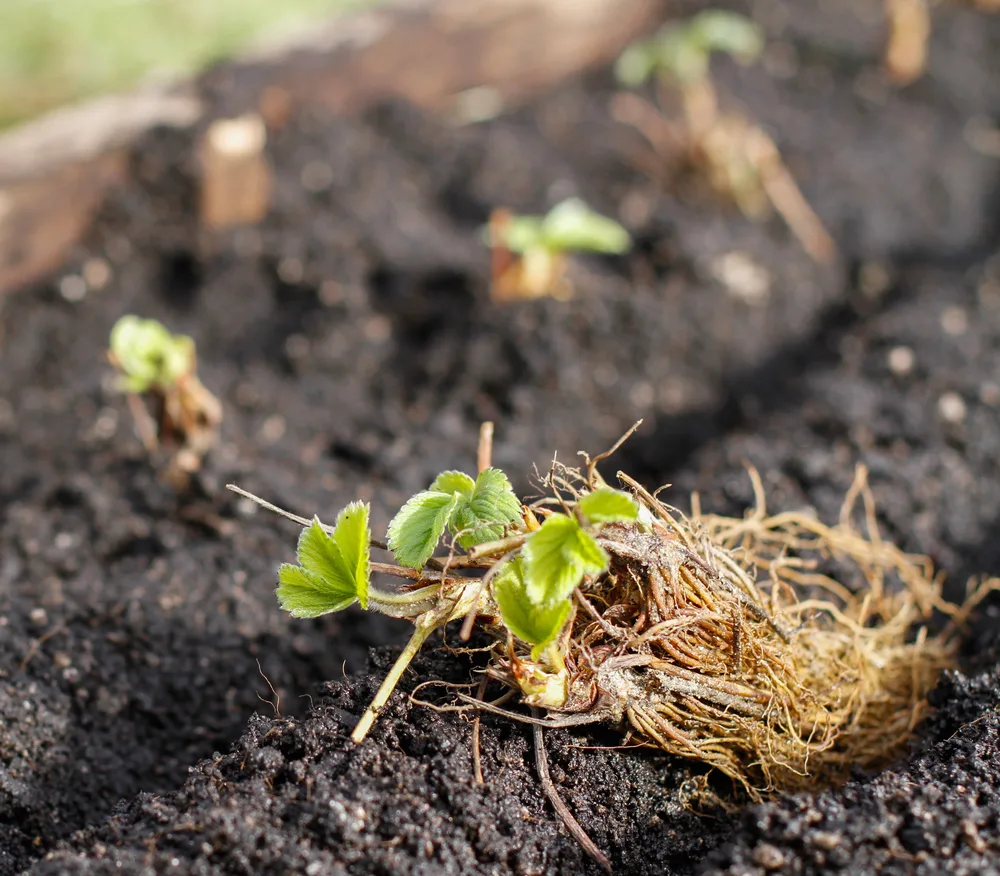
Place one plant within each hole, crown facing up, and spread out the roots so that they have plenty of space to spread out. Gently press soil against the roots to secure them in place.
Water and Mulch in Place
Water the plants immediately after planting and carefully monitor the soil moisture for the next few weeks. Give them about one inch of water per week, though it’s best to water whenever the soil seems dry, as strawberry’s shallow roots make them extra sensitive to drought conditions.
Mulching around the plants will minimize evaporation. Straw is the traditional choice—hence the name “straw” berry—but wood or grass mulch works as well. This mulch layer also keeps berries off the ground, which keeps them safer from slugs and other soil dwellers.
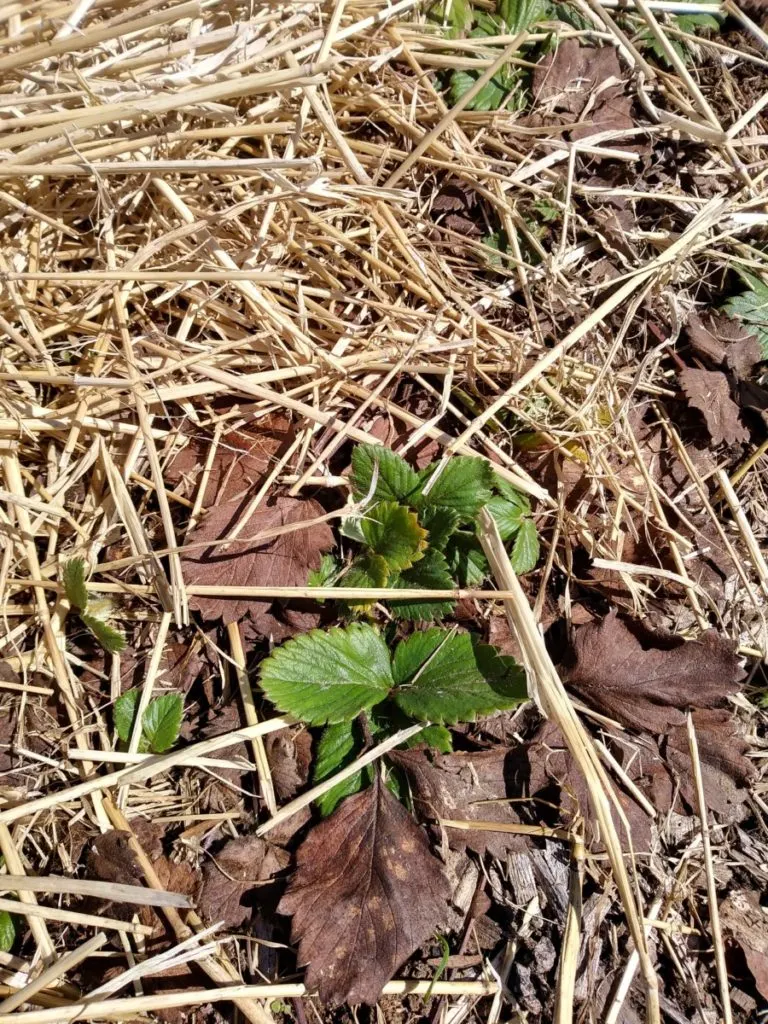
Many strawberry varieties thrive in containers. You’ll need to water them more often as the pots will dry out quickly.
If you add fertilizer, choose one higher in phosphorus to promote root growth and flower formation.
Support First-Year Strawberry Growth
Within a few weeks, the strawberry crowns should start to send out leaves and flowers. You now have the biggest challenge of raising strawberries—plucking off these first flowers before they form fruit.
This sacrifice will be worth it in the long run, as you’re convincing the plant to put all its energy into root production this season, so you’ll get a healthier plant with even more fruit potential next year.
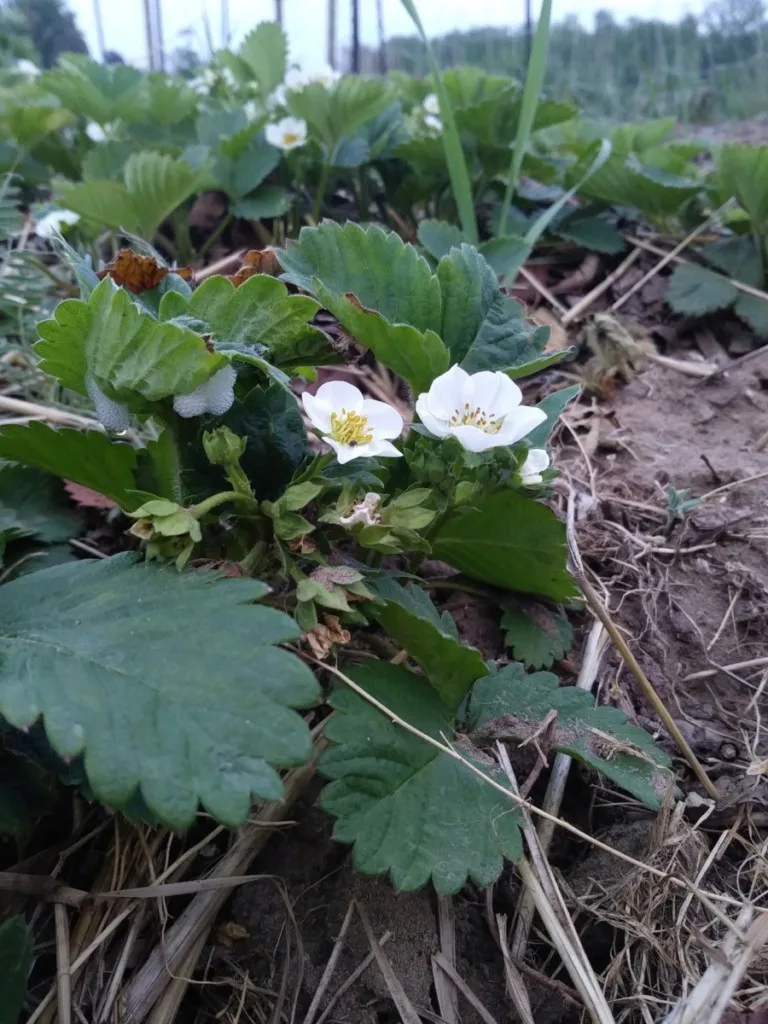
If the plants seem healthy and are spreading well, you can leave one batch of flowers in place through the end of June to get a smaller harvest.
By the second year of growth, you can plan to harvest berries off your plants. To increase production, consider applying a liquid seaweed concentrate to the plants every two weeks once the flowers appear.
How to Harvest Strawberries
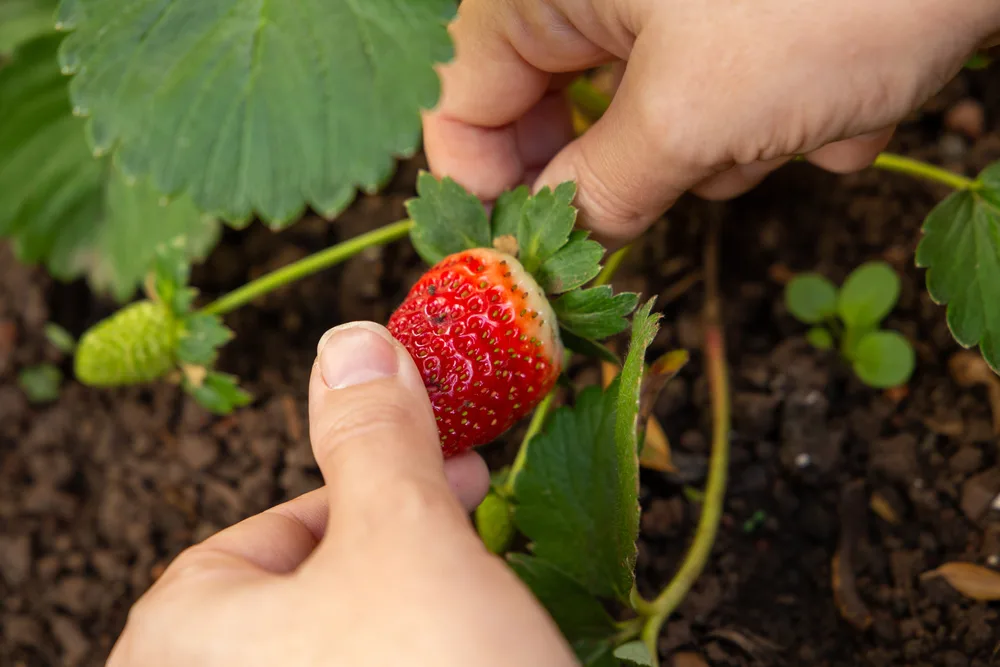
You can pick the berries as soon as they turn bright red. It’s best to harvest them in the morning before the temperature heats up, and refrigerate them immediately. They’ll last longer if you store them dry and only wash the fruit immediately before eating.
Check your plants daily as once the berries start to redden they will spoil quickly on the plant.
Be warned! Birds, rodents, and plenty of other garden creatures will lust after the fruit and love to bite into it the second it’s fully ripened. You may want to ensure your plants are well protected are harvest slightly before peak ripeness to ensure you get some.
Some people find success hanging bird netting or even aluminum pie pans around the strawberry patch’s perimeter or painting rocks red to act as fake fruit.
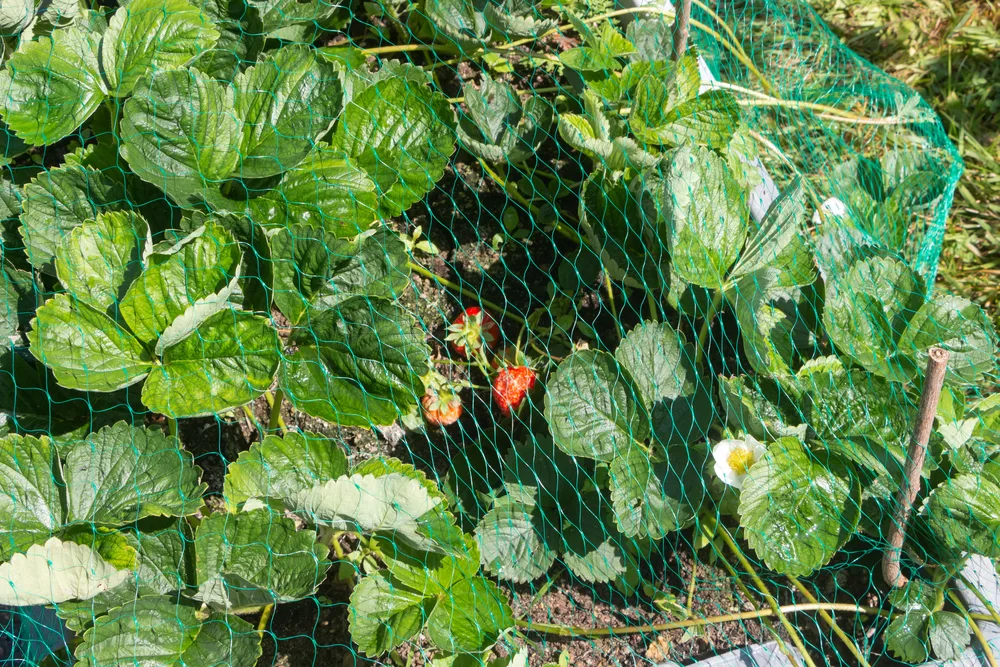
For me, the only method that’s worked is to beat the pests to the bounty.
How To Maintain Strawberry Beds Long Term
Strawberries are perennials, so it’s important you work to maintain the health of the bed for the long run.
At the end of each fruiting season, cut back the plants vigorously. This helps support a stronger root system and encourages new growth (and more blooms) for next summer. Don’t be timid—you can cut the plants back to soil height without a problem.
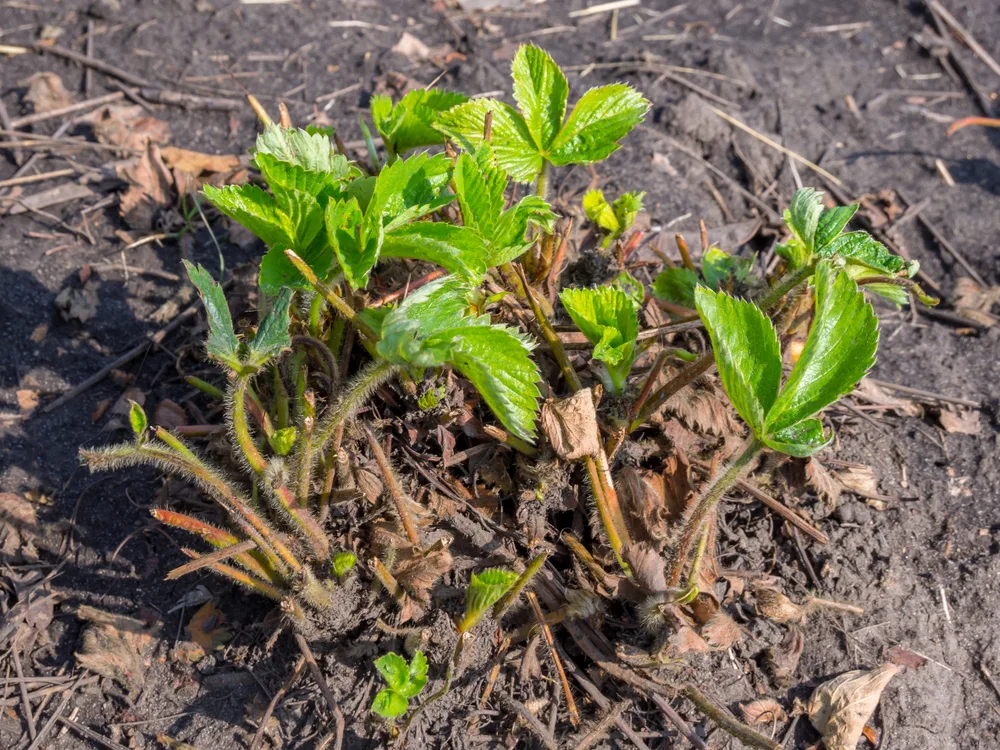
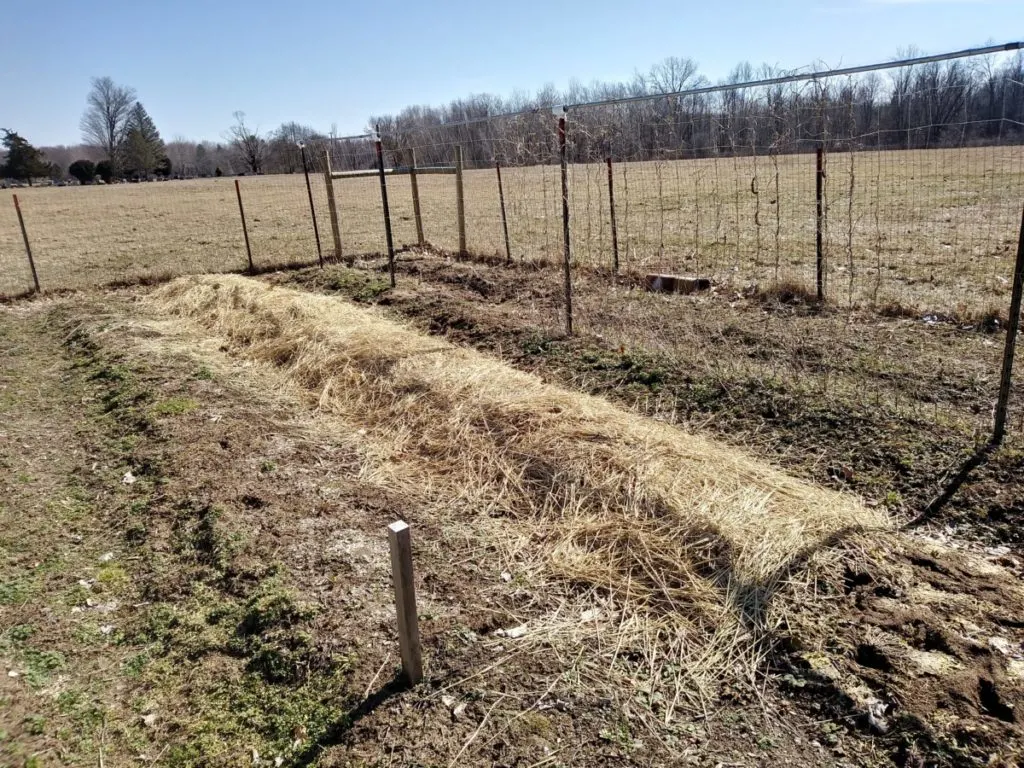
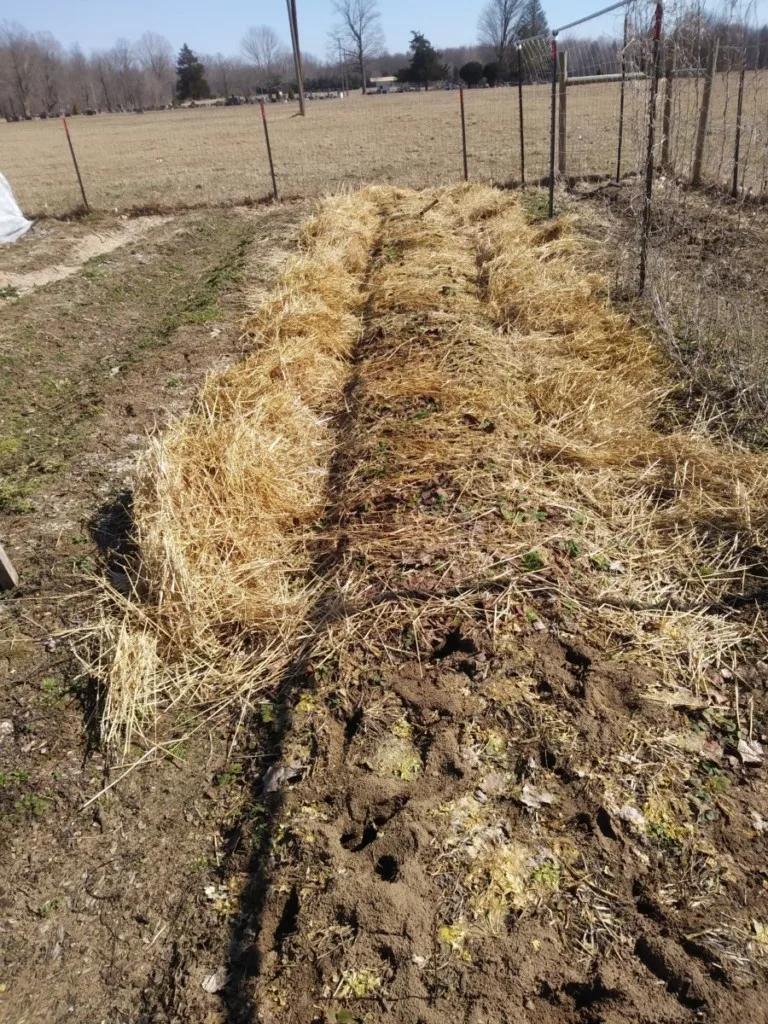
As the weather starts to cool in early fall, you can topdress your established plants with a rich compost mix. Cover them with six inches (15 cm) of fresh hay, shredded leaves, or pine needles to act as insulation over the winter. Keep this protective layer in place until early spring when the weather starts to break.
When given a good start, strawberry plants will produce fruit for five years. After this point, it’s best to replace the original plants with the runners they produce to keep production high.
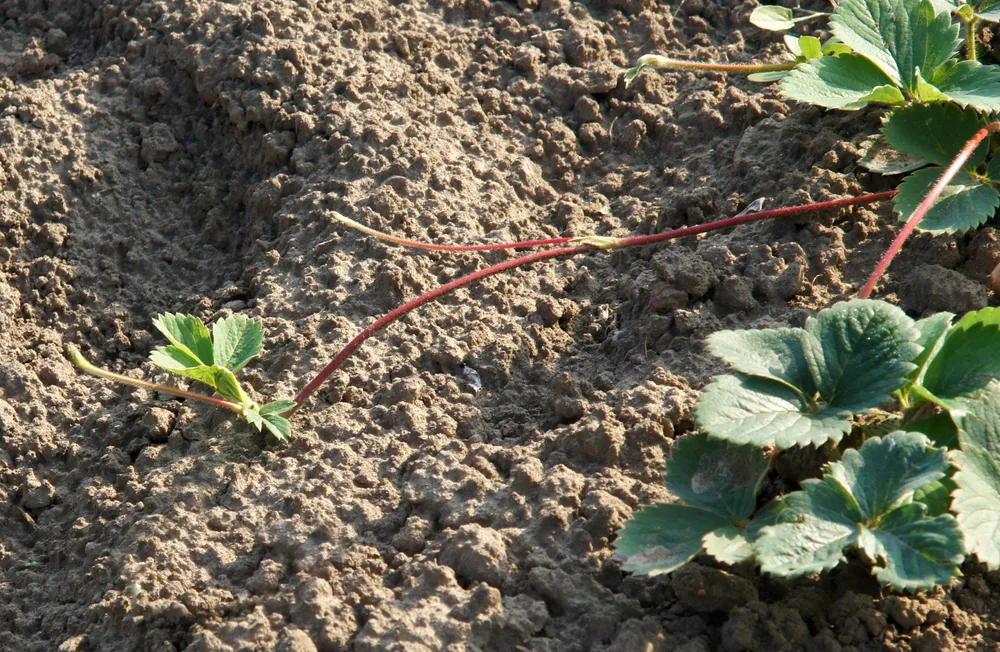
Simply remove the established part of the plant and transplant the smaller offshoots in its place. This helps the strawberry bed to keep perpetuating itself so you get stellar harvests every year.
Here’s a more detailed guide on how to propagate your strawberry plants from runners.
It takes time and effort to start a home strawberry patch, but the results speak for themselves. Invest your energy in this prolific perennial berry, and you’ll be reaping your reward for years to come.
More Strawberry Gardening Tutorials & Ideas
7 Secrets for Your Best Strawberry Harvest Every Year
15 Innovative Strawberry Planting Ideas For Big Harvests In Tiny Spaces
How To Grow New Strawberry Plants From Runners
11 Strawberry Companion Plants (& 2 Plants To Grow Nowhere Near)
How to Make an Easy to Water Strawberry Pot
10 Fantastic and Unusual Strawberry Recipes that go Beyond Jam

Get the famous Rural Sprout newsletter delivered to your inbox.
Including Sunday musings from our editor, Tracey, as well as “What’s Up Wednesday” our roundup of what’s in season and new article updates and alerts.

