


Every year, gardeners everywhere sow seeds indoors. After all, starting your own seedlings offers a host of benefits over buying them. But there are three things you need to do before you put those tender seedlings out in the garden. Skipping these tasks can mean disaster, but doing them can ensure you have a successful garden.
Take Care to Take Care
Starting seeds indoors opens up your garden to thousands of varieties of vegetables to grow, rather than the smattering of varieties available at your local garden center. Not to mention, you can start them extra early, so you have larger plants when it’s time to move them outdoors. Plus, it’s just plain fun starting seeds yourself. (Unless you’re this curmudgeon.)
Whatever the reason you choose to grow your own seedlings, don’t let all that hard work go to waste.
Making the move from indoors to outdoors can be tricky for tender seedlings. But with a little extra planning, you can make the transition as easy as possible.
You’ll want to start planning roughly two weeks before you intend to transplant your seedlings outdoors. You will need that long to plan and prepare. I’m terrible at remembering things if it isn’t written down, so I mark this date along with when I want to move things into the garden on my calendar.
While there are many things you can do to prepare your garden and seedlings for the growing season, these three are the absolute must-dos.
Harden Off Seedlings


Tender seedlings raised indoors need to go through a transition period before making the garden their permanent home. This is called hardening off. I’m sure you’ve read detailed accounts of how to do it, with all sorts of crazy schedules and instructions. It’s truly not that complicated.
Here are the basics because that’s all you need to know. About two weeks before you intend to transplant your seedlings outside:
- Put your seedlings outside
- Check on them every couple of hours
- Pay attention to the weather
- Bring them back inside later or before dark
- Repeat tomorrow, lengthening the time you leave them outside each day
Yup, it’s that simple.
As long as you aren’t putting them outside and then abandoning them for the rest of the day, your seedlings will be fine. Seedlings dry out quickly in the hot sun and have stems that can easily break in harsh winds or rain. Paying attention to changing weather and checking on your seedlings every couple of hours (setting a timer helps) to see if they need to be brought inside, given a drink, moved out of the sun, etc., is all you need to do to prevent any major catastrophes.
Forgotten seedlings and seedlings left at home by themselves all day while you are out and about are usually the ones that end up in the compost bin rather than the garden. Ask me how I know.
After two weeks of hardening off, you’ll have sturdy seedlings ready to go in the garden. These hardened-off seedlings will be less susceptible to transplant shock and will bounce back and get growing much faster.
Prepare the Soil


Take the time to prepare the soil for planting before it’s time to start planting. Aside from giving your transplants a good start, it makes the whole process easier if you don’t have to do everything all at once.
Head out to the garden a couple of weeks beforehand and do the following:
Break up compacted areas (if you aren’t a no-dig gardener). This will introduce oxygen into the soil and improve drainage.
Weed. Oh yes, they’re usually at it before we even start gardening. Taking care of weeds while they’re still small and the roots haven’t dug down deep yet can save you a lot of frustration later in the season.
Test your soil. (You knew I was going to say that, didn’t you?) Get your soil tested or use a soil test kit before the start of the growing season. It will make planning your fertilizing needs for the season so much easier.
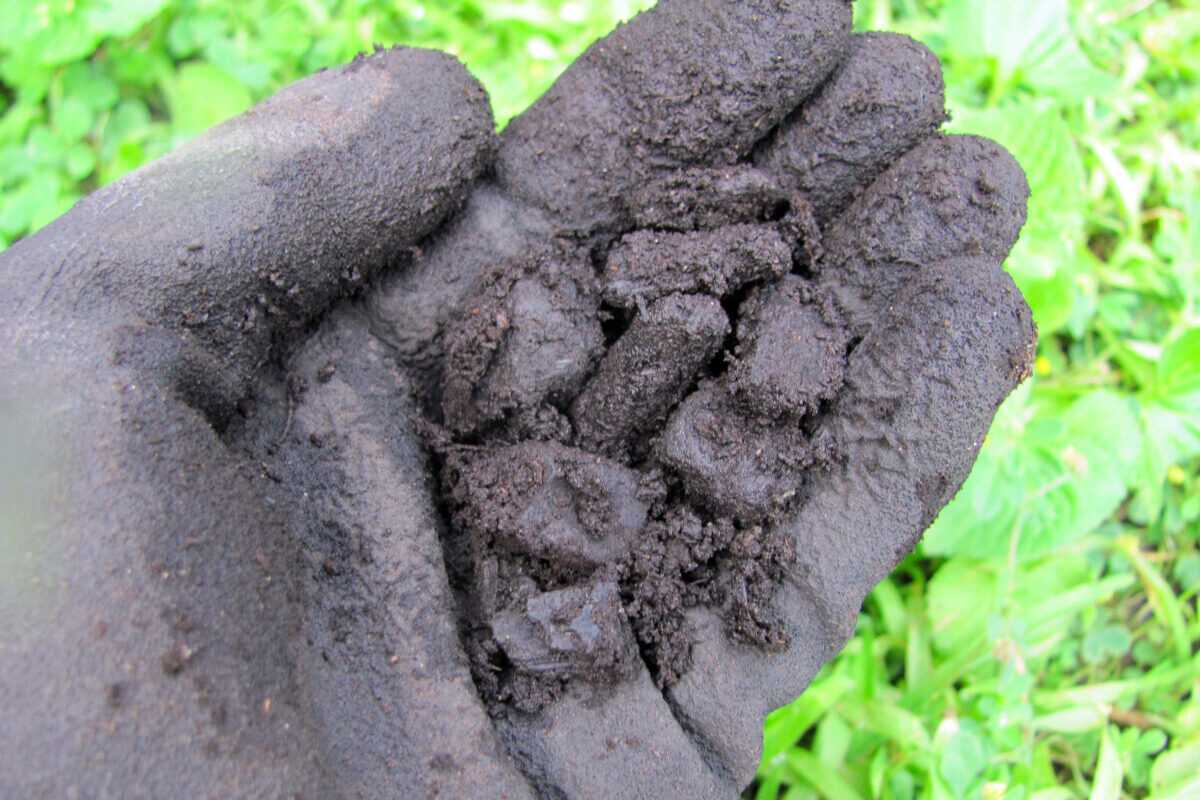

Mix in your compost/leaf mold/biochar/worm castings/etc. These are amendments that can (and should) be added to your garden every year as they will improve the soil structure and add slow-release nutrients, improving the soil year after year. Mixing them in ahead of time makes planting day easier.
Buy mycorrizae. While you won’t need it just yet, now is also a good time to buy mycorrhizae. That way you have it when you’re ready to plant and aren’t running around town trying to find some. Not that I have personal experience with this…


If you don’t know what mycorrhizae is or how it can help your garden, please click here.
Mulch. If you plan on mulching, and you should if you want fewer weeds and less watering to do, then putting down your mulch before you plant can help regulate soil temperatures in the spring when air temps tend to swing wildly from one extreme to the other.
Check the Weather


Finally, check the weather before you plant your seedlings outside. Ideally, you want to start keeping an eye on your 10-day forecast. Look for a day or two in a row with overcast skies but mild temperatures. Bingo! That’s when you want to plant outside.
Avoid planting right before periods of rain or storms.


Both types of weather tend to be more harmful than helpful in early spring when the weather tends toward the extreme. If it’s showing rain for several days in a row, it’s probably best to wait. A soft spring shower is great for newly transplanted seedlings, but days of heavy, pouring rain can drown plants with tiny root systems and lead to root rot.
Getting your ducks in a row before you plant your seedlings outdoors can be the difference in getting your season off to a good start or the start of a season that’s no good.
Read Next:


Get the famous Rural Sprout newsletter delivered to your inbox.
Including Sunday musings from our editor, Tracey, as well as “What’s Up Wednesday” our roundup of what’s in season and new article updates and alerts.