
French fries, fried potatoes, hash browns, baked potatoes with sour cream and chives, mashed potatoes with homemade gravy and all the fixings, Hasselbacked, butter-braised. Read that again very, very slowly and if there is any hint of salivation, perhaps you are either hungry, or you really happen to like potatoes in one form or another.
Or both. Who doesn’t love potatoes every now and then?
It’s one thing to eat them. However, it’s quite another to grow them. You’d think you could just toss them in the ground, round about spring time and just let them grow to their spud’s content.
If only gardening were that easy!
Spoiler alert – it’s not.
Let’s get to the heart of the matter, so you can easily and effortlessly grow your own potatoes in record time.
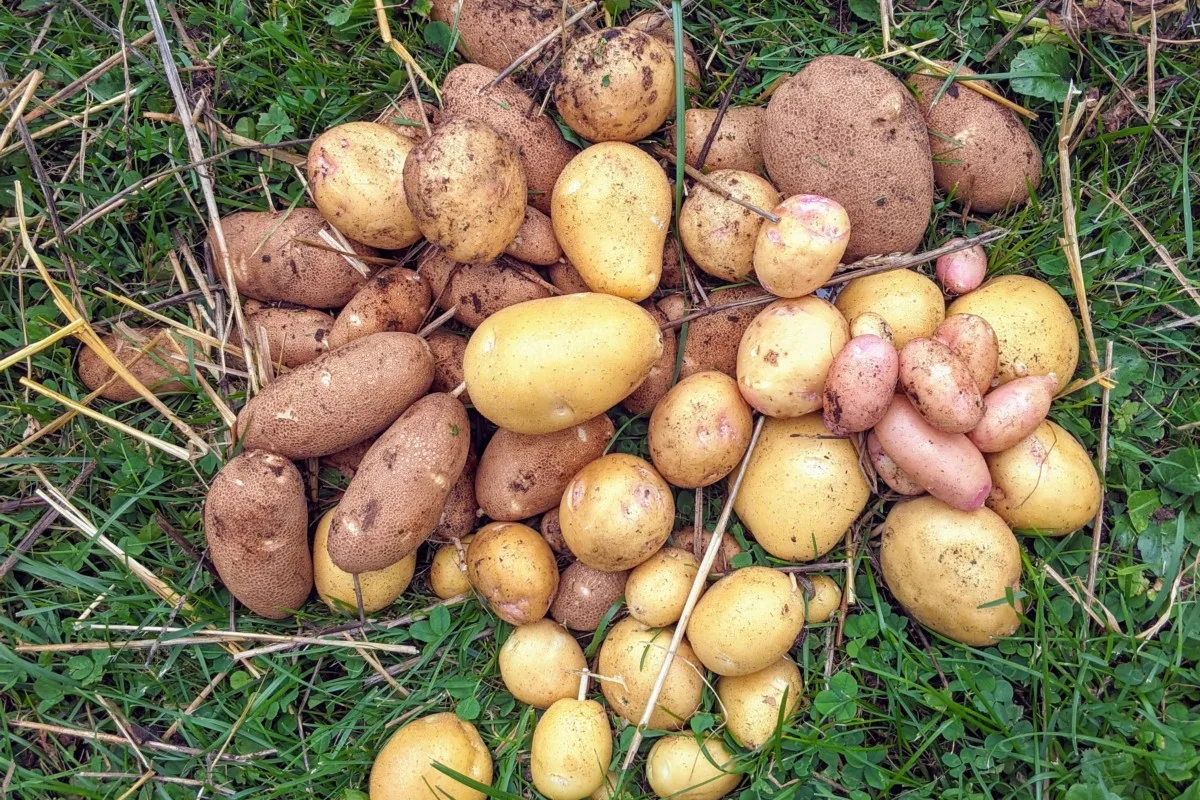
A few important things you need to know before putting potatoes in the ground…
1. How Will You Eat Your Potatoes?
Even before you get around to the actual planting, it’s best to know how you want to eat your homegrown potatoes.

Baked? Fried? Boiled or mashed?
You might have fallen for a deal one time at the grocery store, buying a huge sack of potatoes on sale. Only to come home, cut them up into the right shape and size for French fries, get them in the cast iron pan with plenty of fat, or in the air-frier for a lighter option, and then they turned to mush. Absolutely and completely fell apart when you stirred them up.
What you had there were the wrong potatoes for the recipe that would treat your belly right.
Before you get ahead of yourself in planting terms, it’s best to know what your potato eating preferences are. Then choose the correct variety that will get you to your favorite meal.
That being said, you can plant several varieties of potatoes even in a small space; given the fact that they are primarily self-pollinated.
In general, there are 3 main types of potatoes:
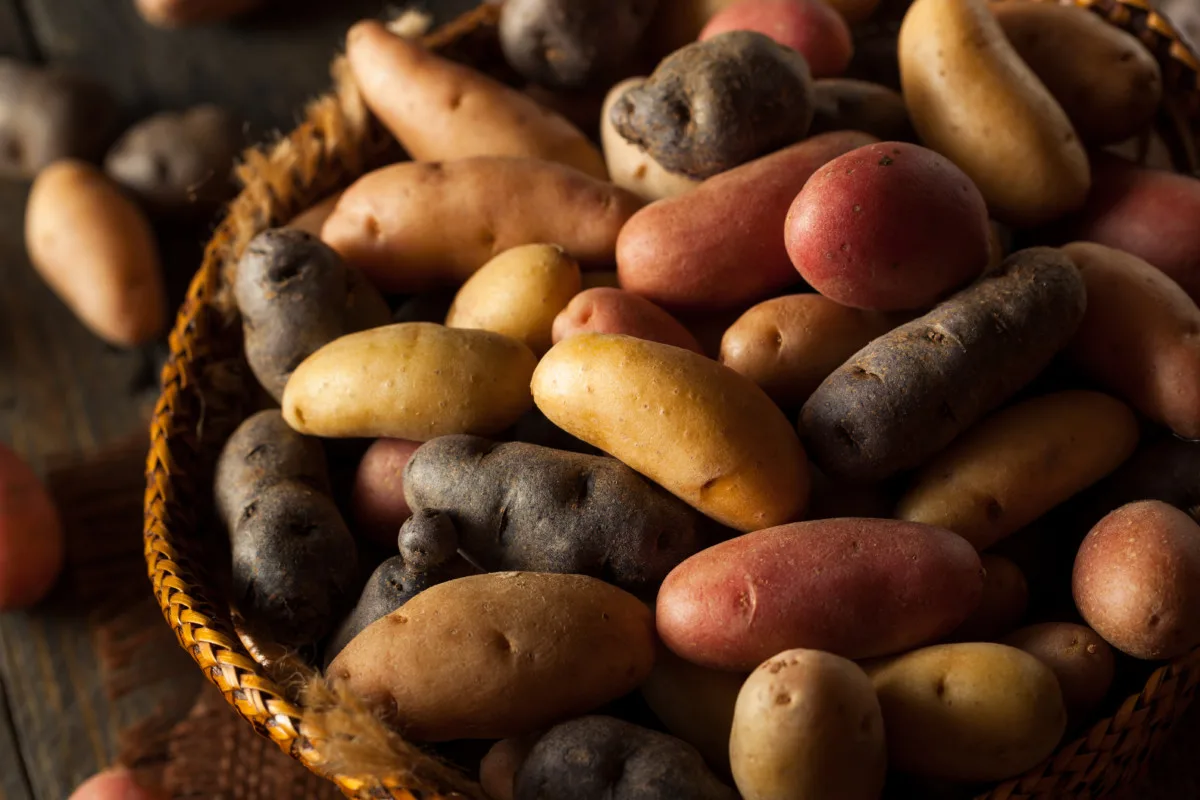
- starchy – these potatoes have low sugar and moisture levels, with a higher starch content. They are best for mashed, baked, fried or roasted potatoes. Russets, Idaho and Yukon gold are top-notch standards.
- waxy – these potatoes have a lot of moisture and not so much starch. They are perfect for casseroles and salads where you expect the potato to maintain its shape. Charlotte, Maria, Annabelle, Red Bliss , fingerlings and new potatoes which are often small in size fall into this category.
- all-purpose – as the name implies, they are somewhere in the middle in terms of starch and moisture. They hold together better than starchy potatoes when boiled. For example, round white potatoes and yellow potatoes.
Once you’ve thought about future meals, it’s time to meet the varieties.
2. Hundreds of Potato Varieties to Choose From
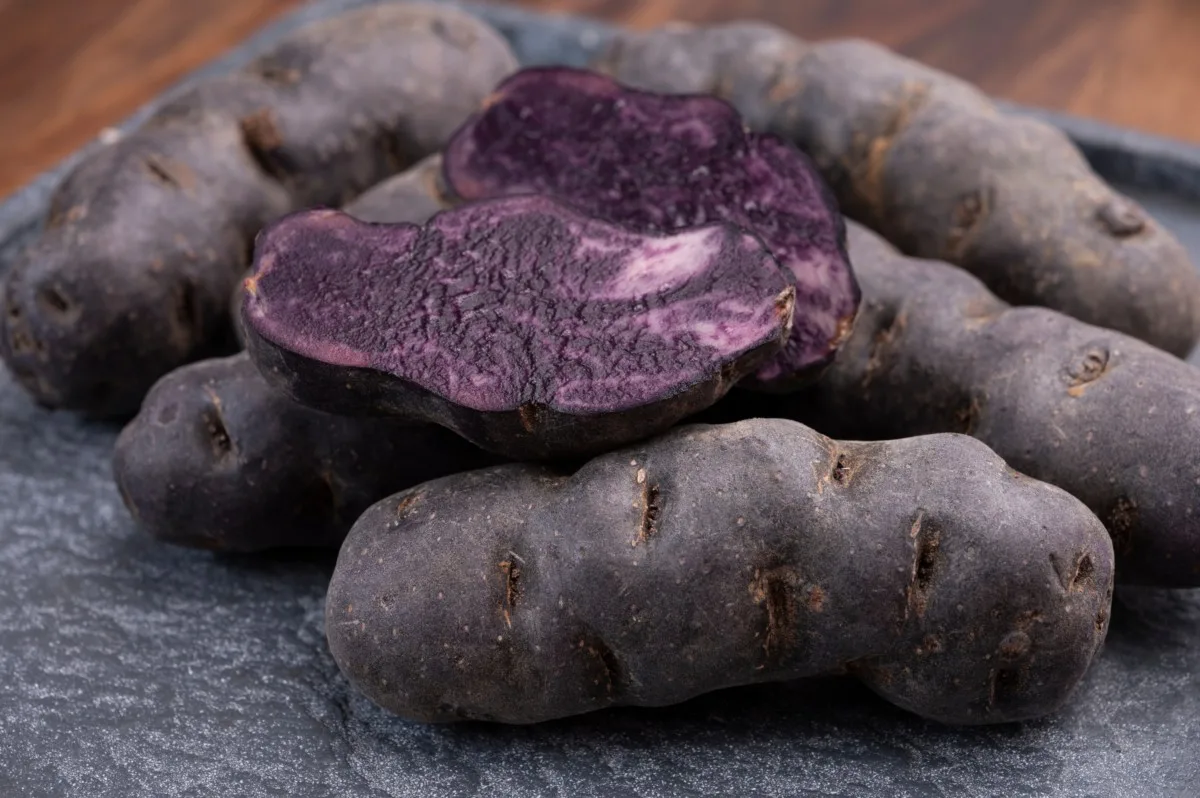
There are a whole lot more potatoes to choose from than the selection that is offered at the grocery store. One look at a seed catalog will prove that in an instant. With a quick look around, you’ll soon discover that there are varieties you’ve never heard of: Dark Red Norland, Satina, Chieftan, Laratte, Magic Molly, Red Thumb, Bintje, German Butterball and hundreds more.
With more than 5,000 varieties of potatoes worldwide and 200 varieties sold in the States alone, it isn’t too far-fetched to think that you could easily diversify your diet. Especially when you grow your own.
As long as you can find quality seed material, you can grow it. More instructions on sowing seed potatoes in a moment.
For the time being, it’s important to focus again on a subset of potatoes:
- early-season potatoes – these spuds reach maturity in 75-90 days, great varieties for an emergency garden. Wonderful for eating in season, though with thinner skins, they can’t be stored very long.
- mid-season potatoes – reach a peak harvest in 95-110 days. Viking, Yukon Gem, Ida Rose, Gold Rush and French Fingerling are some more common varieties.
- late-season potatoes – or longer season potatoes, mature in 120-135 days. Late-season potatoes have thicker skins and are perfect for winter storage.
When growing potatoes, there is definitely something for everyone.
Just know that growing takes time. Late-season potatoes taste great, but you will have to wait for those delicious bites.
My potato growing advice to you is this: plant as many potatoes as you can comfortably fit in your garden. Make sure to plant some that will hold up in potato salads, as well as those that can be puréed.

Most of all, spread out your harvest by growing early, mid and late-season varieties if time and space allow.
3. Knowing When and Where To Plant Your Potatoes
As a cool-season vegetable, potatoes are known to tolerate light frosts in early spring. They also have the ability and drive to grow during cooler autumn months. Climate does matter, however – temperatures greater than 80°F (26.7°C) are too hot for growing potatoes.
Planting potatoes is often done in early spring, March or April. It doesn’t matter if they are early, mid or late season potatoes, so long as the soil isn’t too wet to promote rot. And the temperatures must not dip down too low to cause freezing.
In general, mid-season tubers should be planted about two to three weeks before the average last frost date.
Where to plant your potatoes?
Obviously in the garden. But not just.
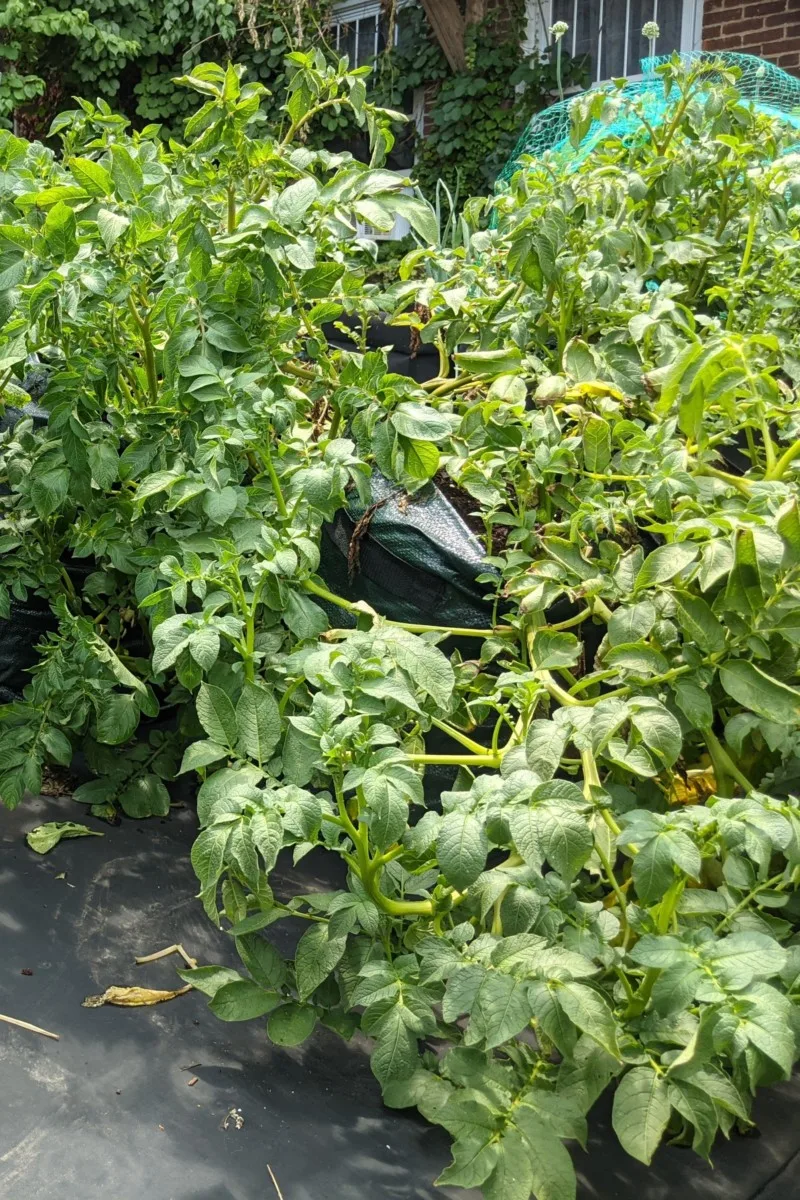
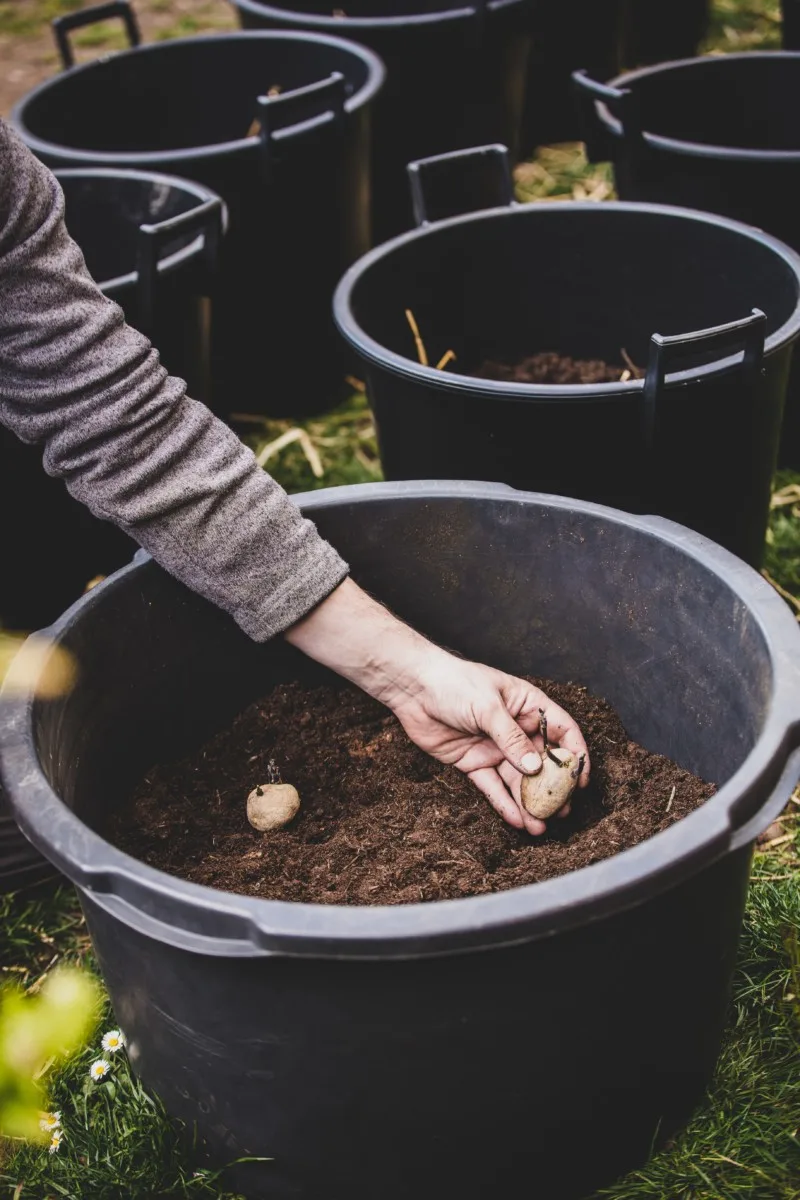
Potatoes can also be grown in 5-gallon buckets, sacks, cardboard boxes, laundry baskets and natural woven baskets. They can be propagated in raised beds, in straw bales, Hügelkultur beds and even plopped on top of the soil and covered with mulch in a no-dig garden.
If you think you don’t have space for potatoes in your garden, explore the possibilities above and rethink whether or not potatoes play a big enough role in your diet.
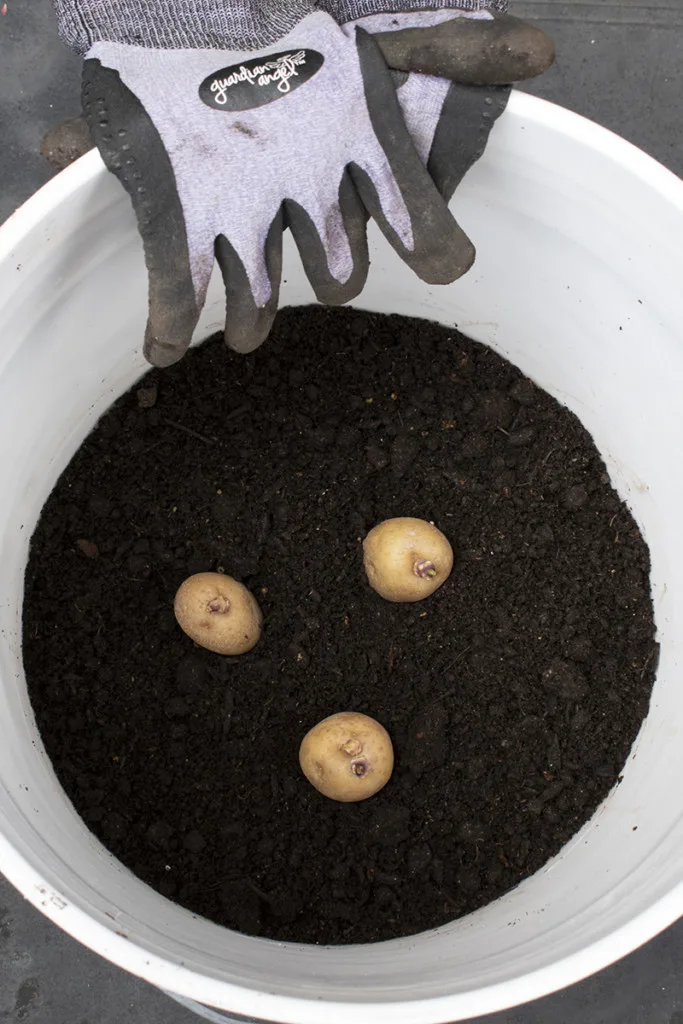
One other thing to consider is that potatoes also appreciate full sun.
They also perform the best in loose, well-draining soil. Not rocky, not too sandy and not in a sticky-wet clay. It’s the green part of the plant that needs the sun. The tubers below the soil need full protection. Otherwise, you’ll end up with green potatoes – don’t eat those!
4. Basic Potato Knowledge
It’s always good to know some basic information about the plants you are growing in your backyard. For starters, it’s wise to become familiar with the Latin names and know for certain which parts are edible.
Potatoes (Solanum tuberosum) are a staple food in many parts of the world. In 2020, over 359 million metric tons of tubers were grown and harvested worldwide. That’s way more potatoes than you could shake a stick at.
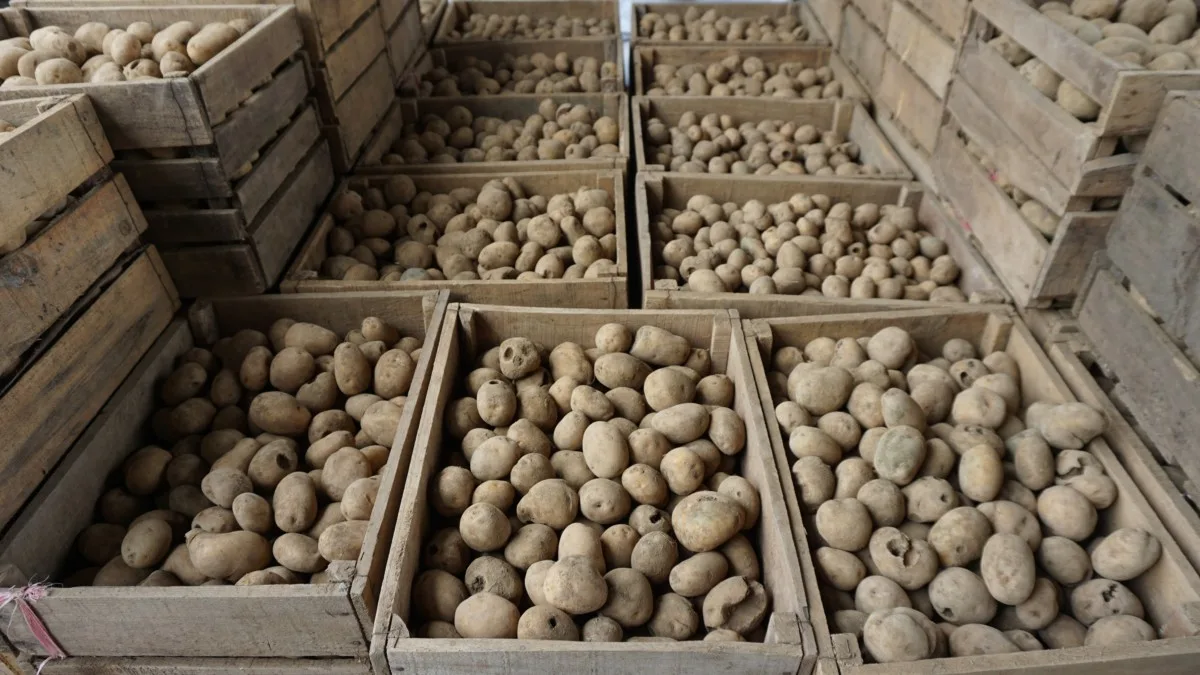
Because potatoes are relatively inexpensive to purchase, many people leave them out of their backyard gardens. However, if you’d like to avoid as many chemicals as you can in your diet, it’s definitely worth growing some of your own.
Outside of that, you should know that the leaves, flowers and other green parts of the plant above the ground are toxic. The same goes for other nightshade family members: eggplants, tomatoes and peppers.
5. To Chit – Or Not To Chit
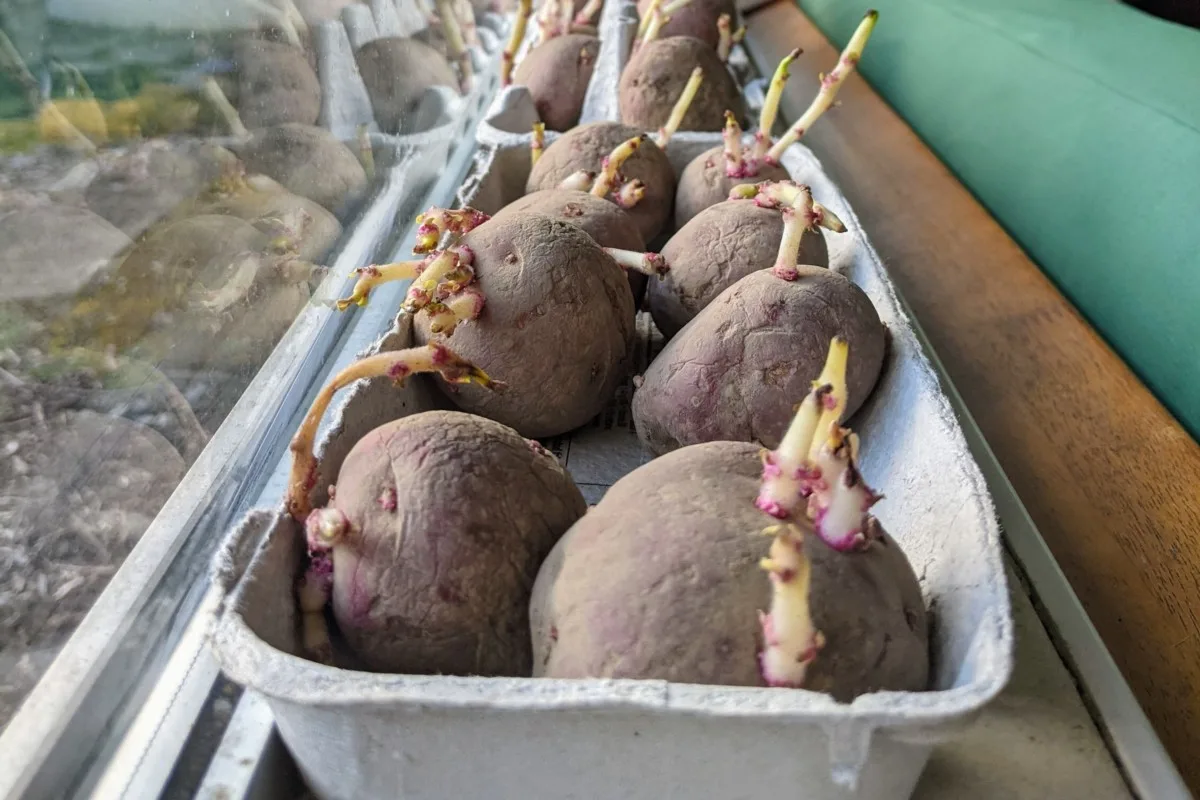
Chitting your seed potatoes gives them a head start on the growing season. This can be a beneficial thing, especially if you have a shorter than average growing season.
But you have to be careful. Not just any old potato will do well in your garden. For the best potato harvests, you should be purchasing seed potatoes from a reliable source.
Of course, if you need to get something in the ground fast, or don’t have a lot of money to spend on starting a garden, store-bought potatoes will work in a pinch. The most common problem with this method is the potential harboring of diseases, which creates more work down the line.
Back to chitting.
Still not completely sure what it means to chit your seed potatoes?
Chitting is a process of breaking dormancy that encourages shoots to emerge. This is done prior to planting. Basically, you leave the potatoes in a sunny, indoor area to sprout your spuds before planting. Elizabeth’s article covers everything you need to know about how to chit seed potatoes.
If you choose not to chit your seed potatoes, all you have to do is place them straight in the ground and proceed with planting as normal.
6. Eyes Up or Down?
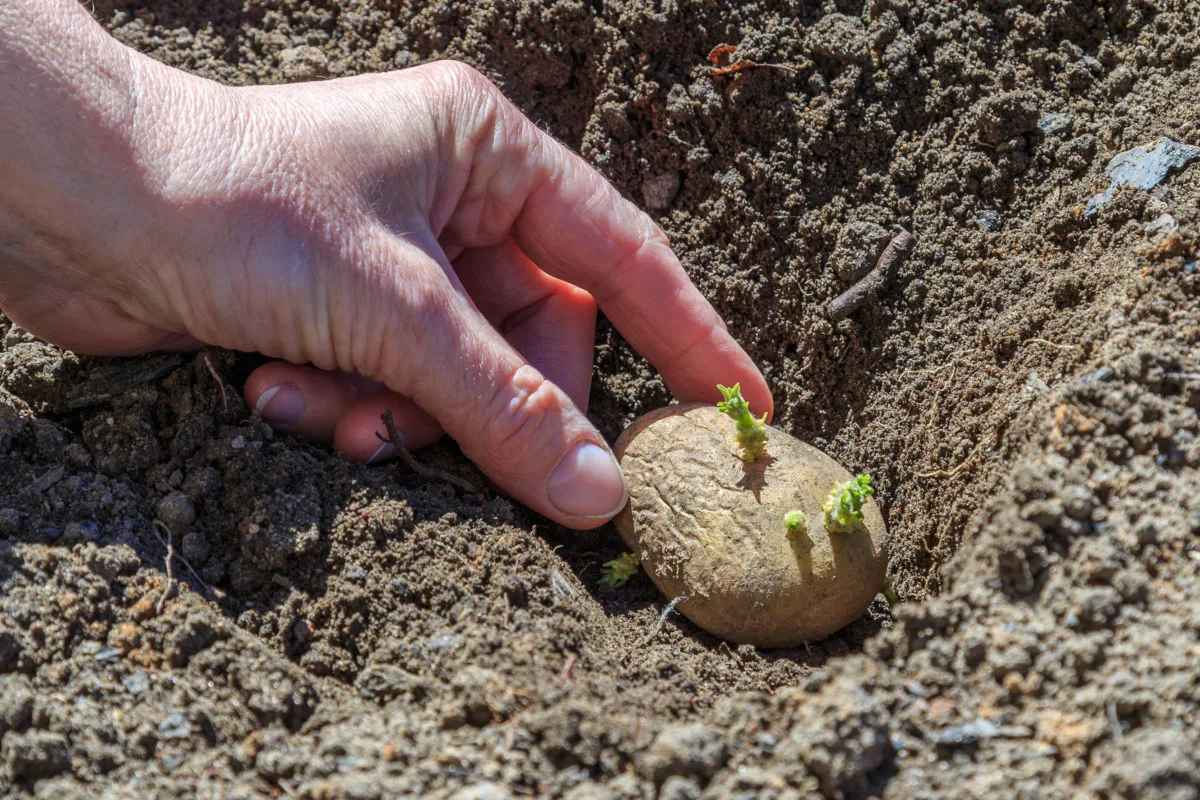
If you have chosen to chit your seed potatoes, you’ll notice that the “rose end”, the one with the most eyes, will form shoots.
As with laying turf – green side up. In the case of potatoes – shoots up.
Before planting, be sure to leave only 3 or 4 of the most vigorous chits. Otherwise, you’ll get a lot of small potatoes, instead of a handful of large ones.
In the simplest of terms, eyes up.
If you choose to go the less energy-intensive route and direct plant in the soil, you don’t need to worry so much about which part of the potato is up or down. Potatoes have many eyes and can figure this out for themselves.
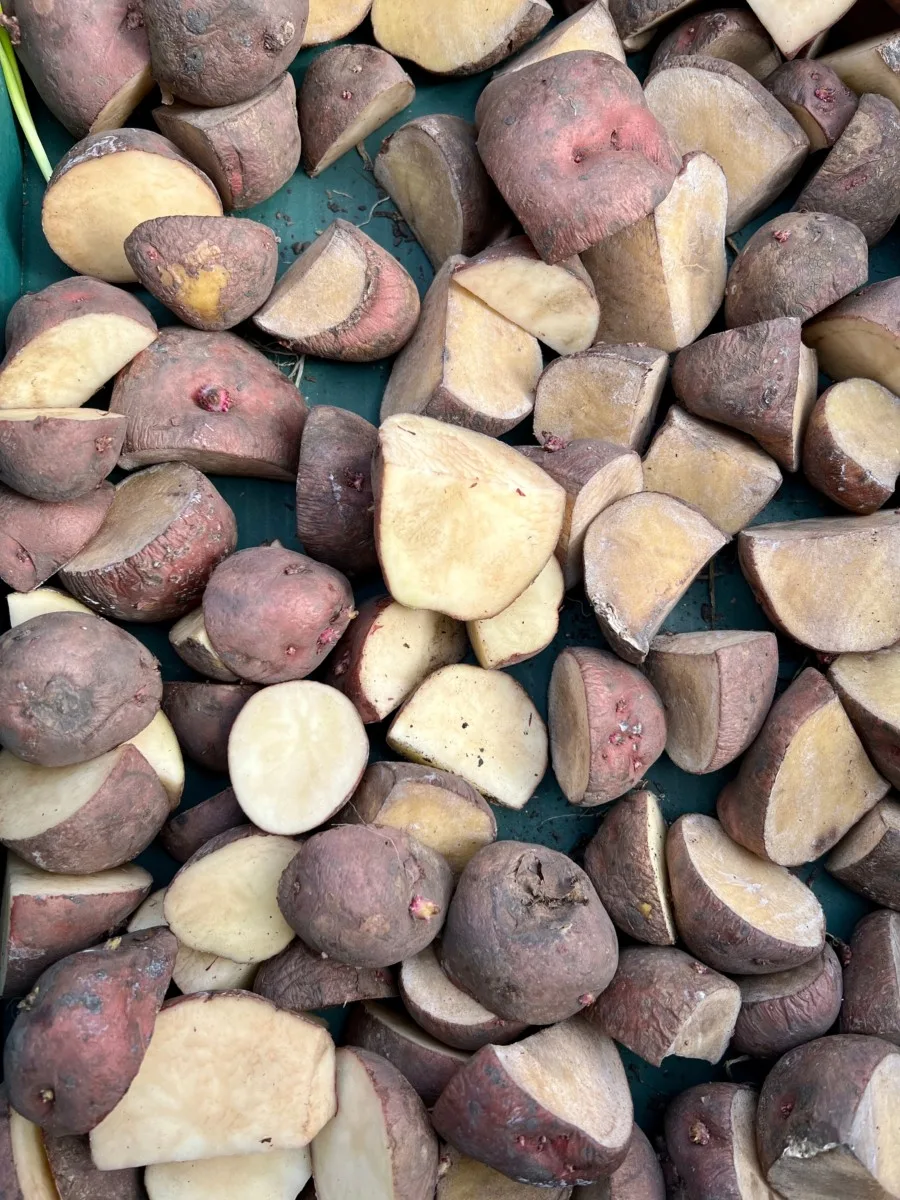
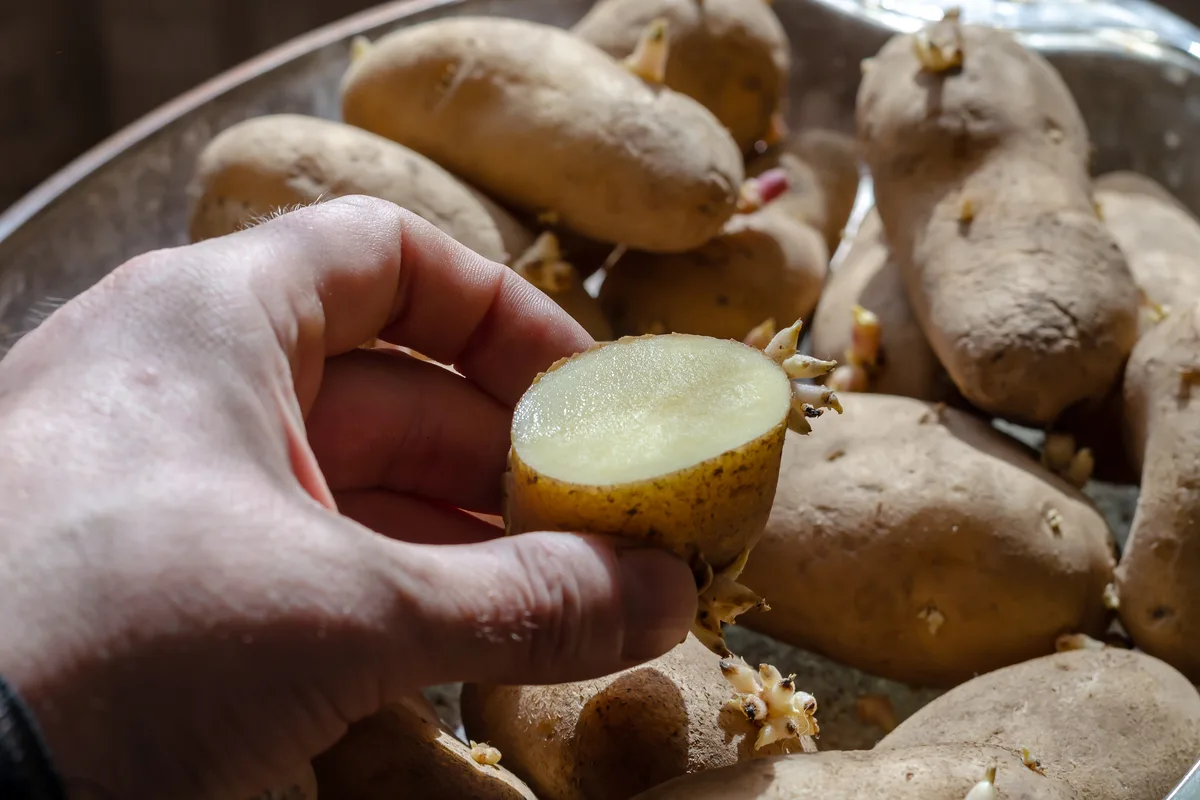
Another way to save money as you plant potatoes, is to cut larger potatoes into chunks. Be sure that each cut piece has at least one eye.
Don’t cut your potatoes immediately before planting. Try and cut them four to five days before planting so each cut piece can form a callus. This will help prevent it from rotting in damp soil.
7. Watering and Fertilizing Tips For an Abundant Potato Harvest
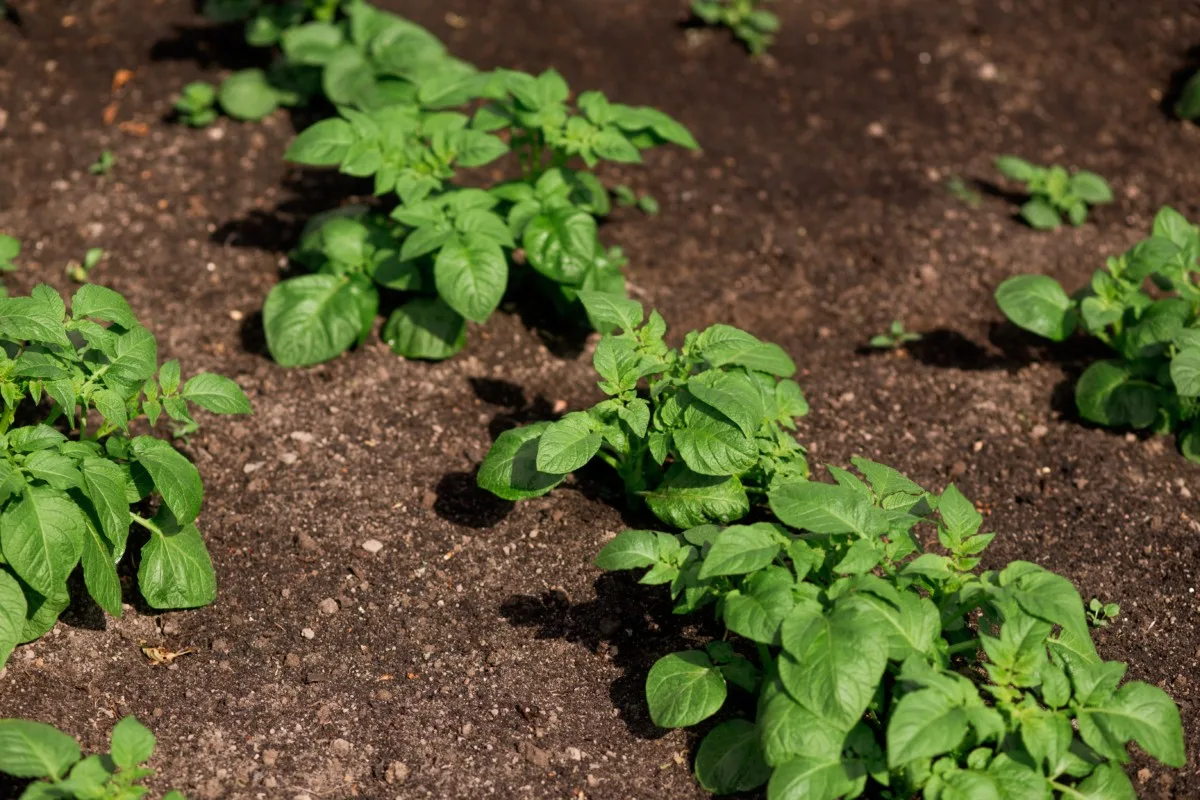
Potatoes prefer about 1-2″ of fresh water every week. Consistency in watering is key for their overall growth, though you need to take care not to overwater them.
Overwatering after the green tops die back can cause potatoes to rot. Too much water at the beginning of the season, can lead to odd shaped spuds.
Find a happy medium between the rain and irrigation methods, but never assume they need water just because they are wilting in the sun. A better method to determine if your crop needs more water is to check soil moisture levels.
Watering deeply and thoroughly is far better than wetting the surface when it comes to irrigating your potatoes.
Fertilizing Potatoes
Many people use bone meal in their potato beds, for good reasons: high mineral content, slow-release fertilizer, increases microbes and more.
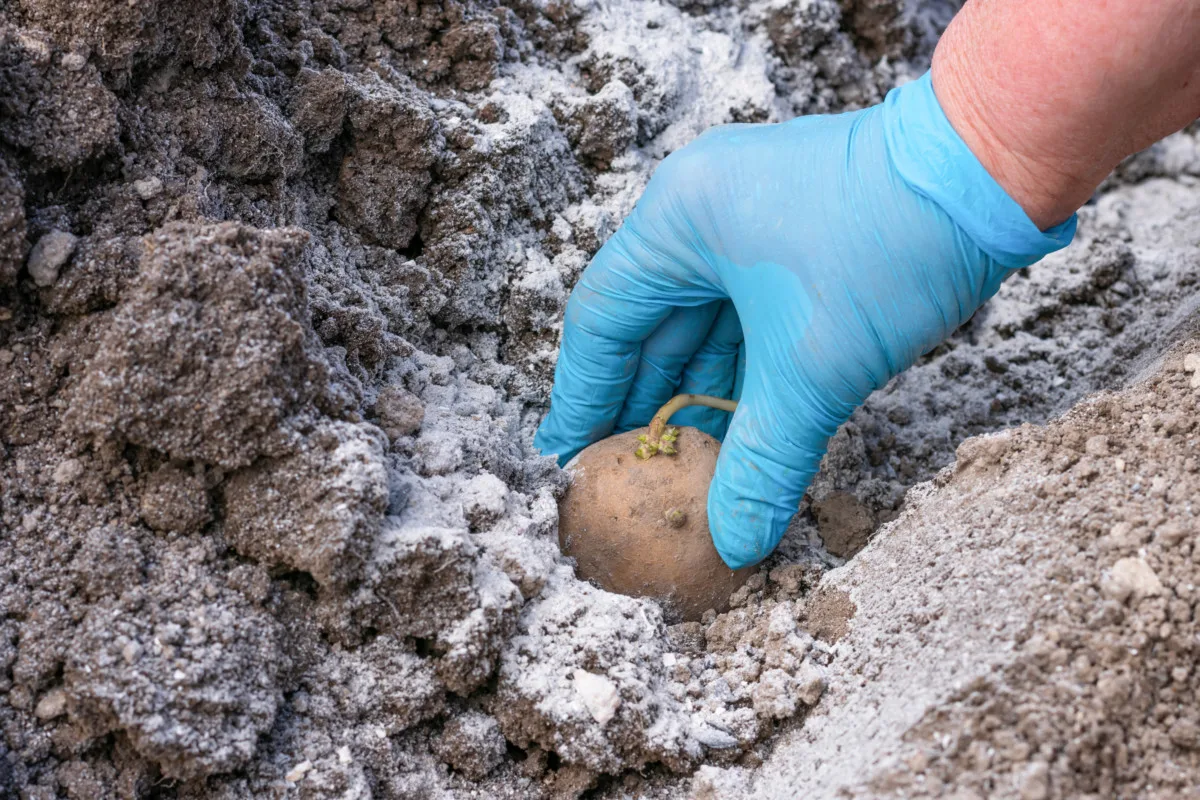
Naturally, freshly planted potatoes will also benefit from some compost and well-rotted manure.
If you aren’t using an all-purpose commercial granular fertilizer (5-10-10 or 8-24-24), you can also amend your soil with wood ash or seaweed, should you have those items on hand.
As far as the rate of fertilization goes, apply the first batch 2 weeks after planting, then once a month after that. End the nutrient surplus at least 2 weeks before you intend to harvest since there is no need to water during that time.
8. Harvesting Potatoes
Depending on the variety of potatoes you planted, you should have a round-about harvest date in mind. Be sure to mark it on the calendar or in your garden planner.
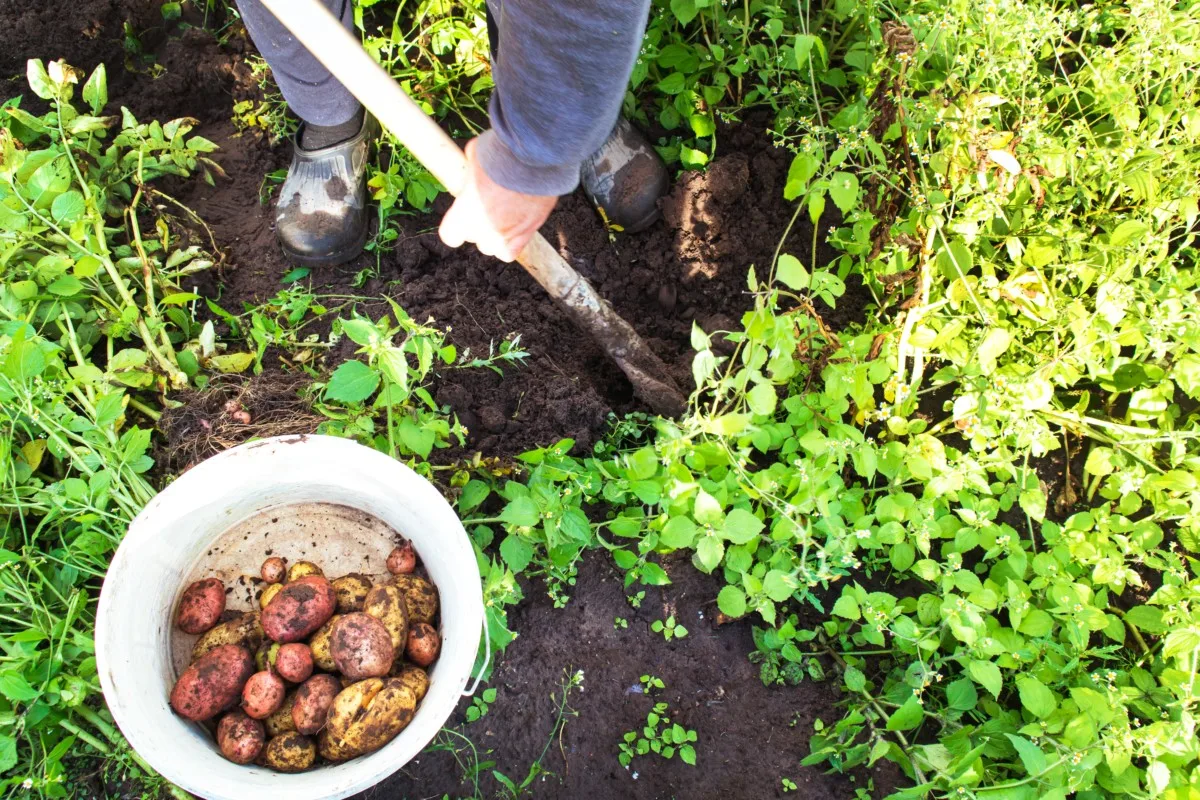
Other signs that let you know your potato harvest is nearly afoot:
- when greens have completely died back.
- with hard frost in the forecast, harvest time is now.
- hunger? Dig up a nest and gently pick the largest tubers.
A shovel or spading fork are the two usual tools of choice for harvesting potatoes. It’s inevitable that some tubers will be sliced with this method. You won’t be able to store those potatoes, but you can eat them for dinner.
Another tried and true method for knowing when your potatoes are ripe for the picking, is to test a nest. If the skins are becoming tougher, they are probably ready for storing. Always look at the weather forecast for potential rain (it’s no fun to harvest potatoes in wet soil) and possible frost.
9. Companion Planting With Potatoes
Some gardeners swear by companion planting, others shake their heads and think maybe next season.
The reality is, companion planting never does any harm. So, why not try it?
Companion planting can increase yields which is always a good thing. It also helps to prevent insects from damaging your crop.

Let me tell you, Colorado potato beetles are the most destructive potato pest and if you grow spuds, chances are grand that they will find your garden. And they will devour the leaves of the plants until you find a way to stop them. Even then, they’ll appear out of thin air and feast again.
From my perspective, companion planting with potatoes is the only way to grow.
Try to integrate these vegetables into your potato plantation for bountiful potato harvests:
- horseradish
- garlic
- onions
- peas
- beans
- corn
- thyme
- yarrow
- chamomile
- marigolds
- calendula and more
Plant a few from this list with your potatoes and see if you notice any benefits.
10. Crop Rotation
Potatoes generally don’t perform well if planted year after year in the same location. They much rather prefer a 3 or 4-year crop rotation. This will help to avoid or eliminate diseases. This is also true of other nightshade family members: tomatoes, peppers and eggplants.
Let’s describe the crop rotation of potatoes in more detail.
In the first year, you plant potatoes. The second year, you move your potato patch and replace it with legumes, onions and/or roots. In the third year, plant any Brassicas and leafy greens where the potatoes were in year one.
If you are simply running out of space for crop rotation in your garden, there are a couple of ways to solve this problem. Expand your garden to the extent you are able to adopt some elements of container gardening, never forgetting that potatoes can be grown in 5-gallon buckets or burlap sacks.
Now, that you know nearly everything about potatoes, why don’t you give it a go this season in your very own garden?
Happy spudding!

Get the famous Rural Sprout newsletter delivered to your inbox.
Including Sunday musings from our editor, Tracey, as well as “What’s Up Wednesday” our roundup of what’s in season and new article updates and alerts.

