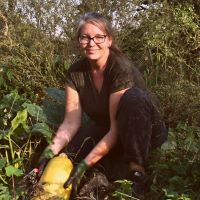
Gardeners – and gardens – come in all shapes and forms, with loads of experience, or none at all.
Some of us are great at growing tomatoes, while others are better at looking after herbs. A few may have even mastered the difficult art of growing celery, as others are just learning what it takes to tend to sensitive cucumbers.
The point is that you are on your way to a garden harvest, knowing that we are all more than capable of growing food. Once again, we are realizing that backyard gardens are the way to go – just as our grandparents and great-grandparents did to provide wholesome sustenance for their families.
To start a garden takes more preparation than just investing in quality seed stock. It also means preparing the very soil you are going to be planting in.
If you were ahead of the game, you might have already prepared your garden beds for winter late last fall. Yet, it is never too late to get started!
Preparing your garden for spring
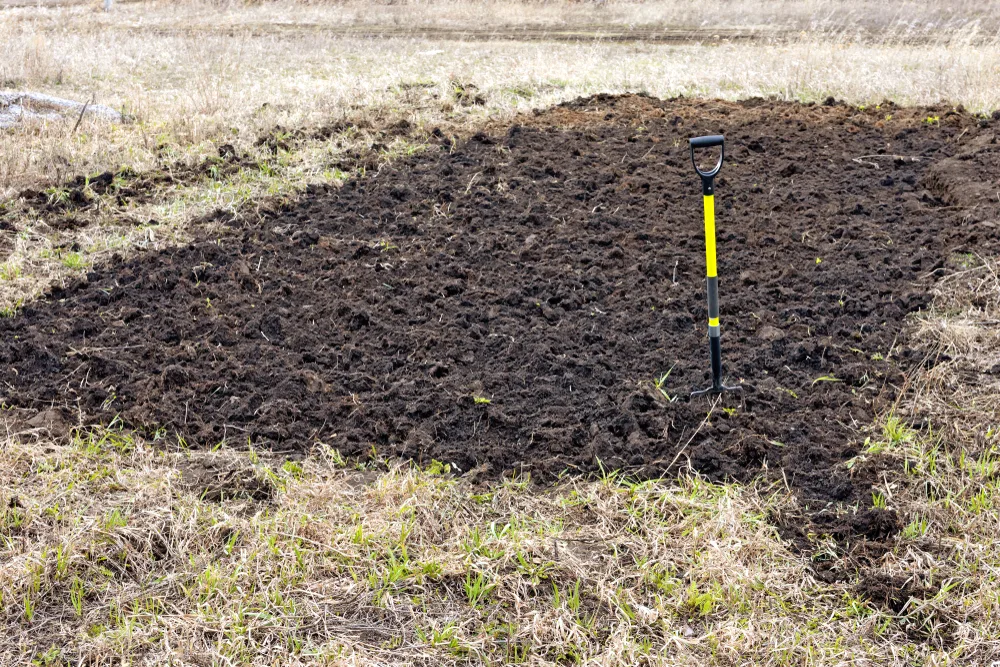
With an existing garden already in place, you’ll most likely have a spring cleaning routine of your own, yet gardens always have room for improvement.
A beginner gardener may even be overwhelmed with the idea of so much “work” to do, some of it quite physical. The larger the garden, the more lifting, shoveling, digging, bending over, stretching and pushing of the wheelbarrow you will have to do!
Indeed, growing a garden can be taken for a good exercise regime. And in the end, you will be rewarded with the healthiest of fruits and vegetables, conveniently grown the local-most possible.
Planting a garden is a win-win situation. Whether you are just getting ready to plant, or are thinking about next year’s garden, here are the top 10 tips to think about as you get started with preparing your garden for spring.
1. Purchase and organize seeds
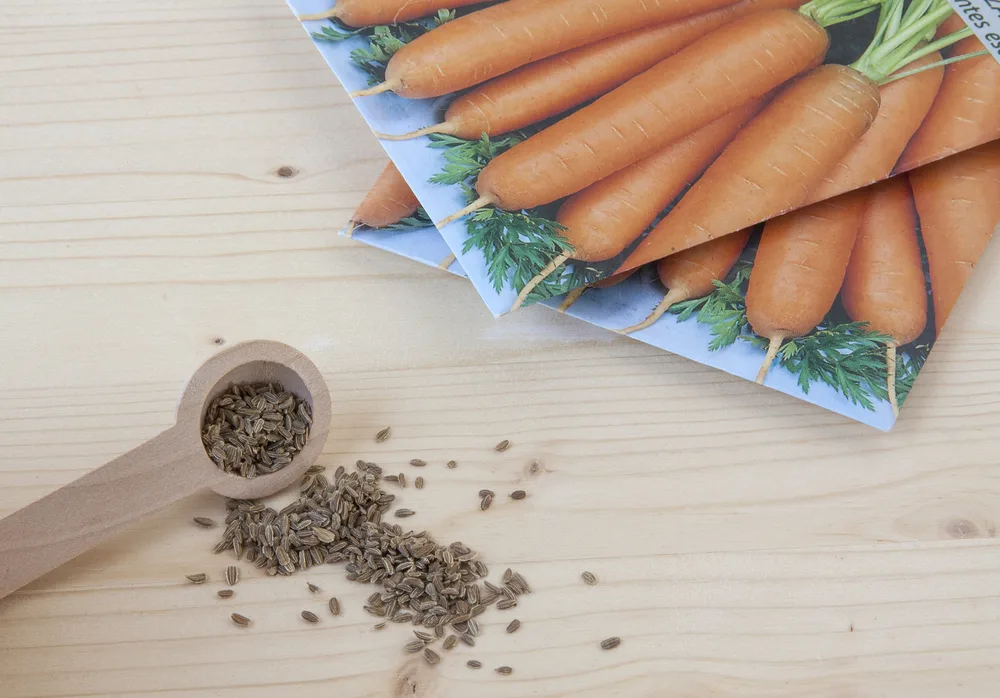
Assuming that you have already spent some time deciding where your garden will be, you’ll want to be ready with either sun-loving, or shade-loving plants, perhaps a combination of the two.
Then it is onto perhaps the most fun part of gardening – selecting seeds.
You can buy just about any seed you can imagine online, heirlooms included, though it pays to purchase locally, as well from other gardeners who have saved seeds from what grows in your area.
If you have gardened for several seasons and will be planting your own seeds, it is beneficial to check amounts, as well as to examine the condition of the seeds. If they are moldy, or eaten, they will not do. In this case they will need to be replaced, immediately.
Planting too late, can result in immature crops – so do pay close attention to the maturation dates.
Which brings us to creating a garden log, or journal, to track your garden progress.
2. Create a planting calendar
My husband and I have spent many a moment trying to remember what time of year it was when we planted a particular garden seed. Even long trying to recall when it was ready for harvest.
That is, until we made a planting/harvesting log in a trusty notebook.
It doesn’t need to be sophisticated or high-tech, though you can go those routes if you are willing and have the design skills to make it happen. Creating a planting calendar can be quite simple.
It will help you to avoid all the confusion of maturity dates, it will also give you space to take notes about diseases, successes and harvests.
Try this one on for size and see how it suits you:
Create a Planting Calendar: How to Make an Easy Garden Schedule @ Home for the Harvest
3. Sow long-season seeds
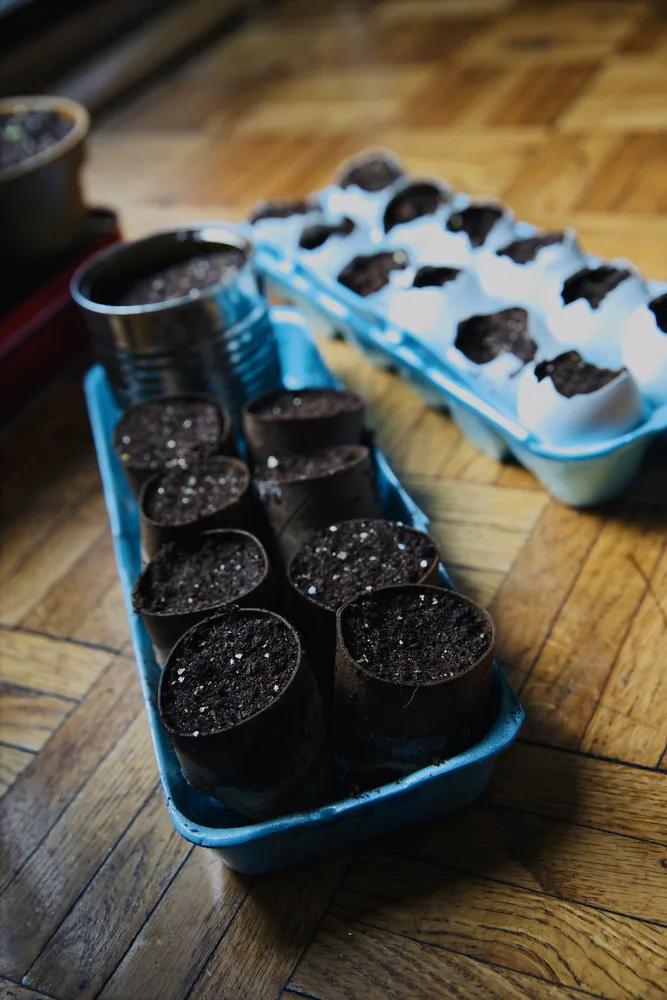
Before many seeds can be direct sown into the sun-warmed soil, others will benefit from being planted inside, in pots.
Starting plants indoors is a particularly efficient way to grow more vegetables if you have shorter, colder summers, in essence a shorter growing season.
You don’t need to rush out to the store for plastic planting containers. It is possible to use many materials that you already have at home to make biodegradable seedling pots.
Some of the easiest seeds to start indoors are:
- broccoli
- Brussels sprouts
- cauliflower
- cabbage
- eggplants
- kale
- marigolds
- okra
- peppers
- tomatillo
- tomatoes
- watermelon
When time comes to transplant your seedlings outside, the soil will finally be warm enough to support their needs. And you will be one step closer to a bountiful harvest date.
4. Start collecting rainwater
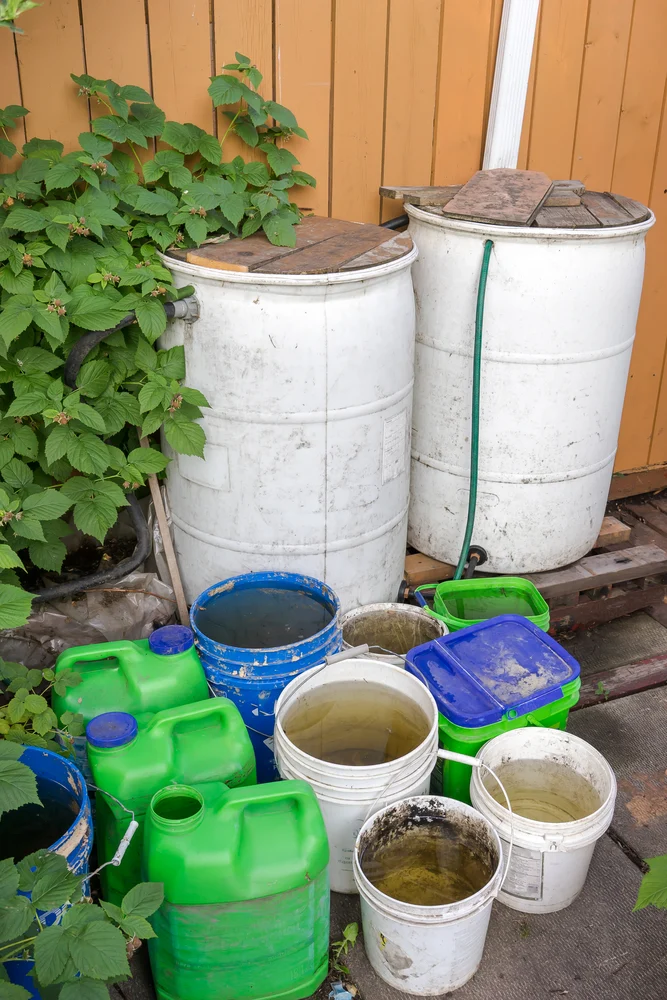
It might feel too early to think about watering your garden, but summers can be unpredictable at best.
One year you may experience downpours that wipe your seeds out from the very start. Another year you may find them growing happily for a month or two, till the rain dries up and the sun shines down every day.
Neither scenario is ideal, though you’ll have to adapt if you want a modest harvest.
If you have too much moisture in the soil, you may have to replant. With too much sun you may need to create shade in your garden for the hottest parts of the day, and you’ll need to irrigate at the best possible time of day. Hint: it pays to wake up early!
Check with state regulations as to whether or not you are allowed to harvest rainwater, then read into this article for rainwater harvesting ideas.
5. Add compost to your garden
Adding the right kind(s) and the right amount of compost to your garden, can only improve it. Not only does it serve to benefit the health of the soil, it can improve water drainage as well, if that is an issue in your garden.
There is no right or wrong way to add compost. It is one of those grey areas that leaves plenty open for interpretation.
Add one inch of compost directly to the top of the soil and plant directly in it, or dig it deeper into your garden when you till.
And of course, you can either buy your compost locally, or make your own with kitchen, yard and garden scraps. If you’ve been putting off the plans of having a compost pile or compost bin in your backyard, now is the time to install it. Start in spring, so at the same time next year, you will have plenty of aged compost to add to your garden.
If the thought of moving too many wheelbarrows of compost strains your back, or your garden is too small to warrant a compost pile of its own, know that you can always make a smaller batch of compost tea to feed both the soil and your plants.
There are plenty of options to get started. You can either buy a ready-made compost bin or go ahead and make your own compost bin.
6. Other soil amendments
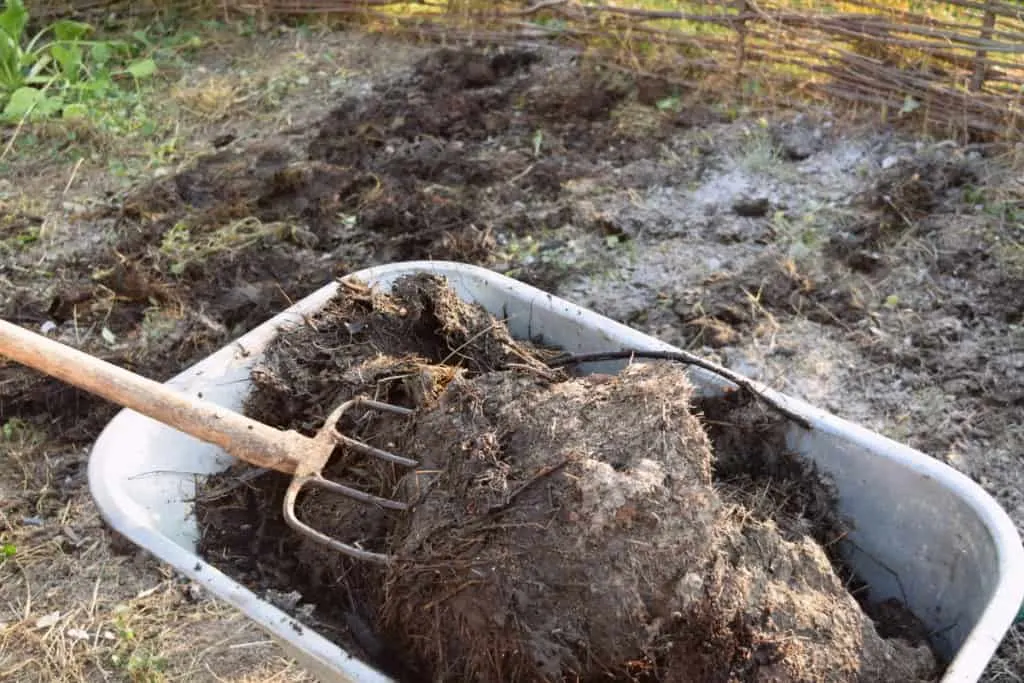
Manure is an excellent source of nutrients for your garden, though it is best applied in fall. Naturally, there are exceptions. If your manure is completely aged, you can add it to your garden 90 days prior to your first garden harvest, if what you are growing, the actual edibles, do not come in contact with the soil.
You’ll also want to refrain from sprinkling manure right where you plant lettuce and other leafy greens.
To find out what your garden soil needs, without guessing, you may want to do a soil test. You can purchase a basic one at a garden store, or work with your state’s cooperative extension service to get your soil tested.
With a proper test, you can find out the pH of your soil and adjust it accordingly. To raise the pH of your soil add wood ash or lime; to lower the soil pH add peat or more compost.
It is also useful to know your N-P-K. That is, the levels of nitrogen, phosphorus and potassium. Now is the time to find a good balance of fertilizers, before your veggies get growing in the garden.
7. Do a general garden clean-up
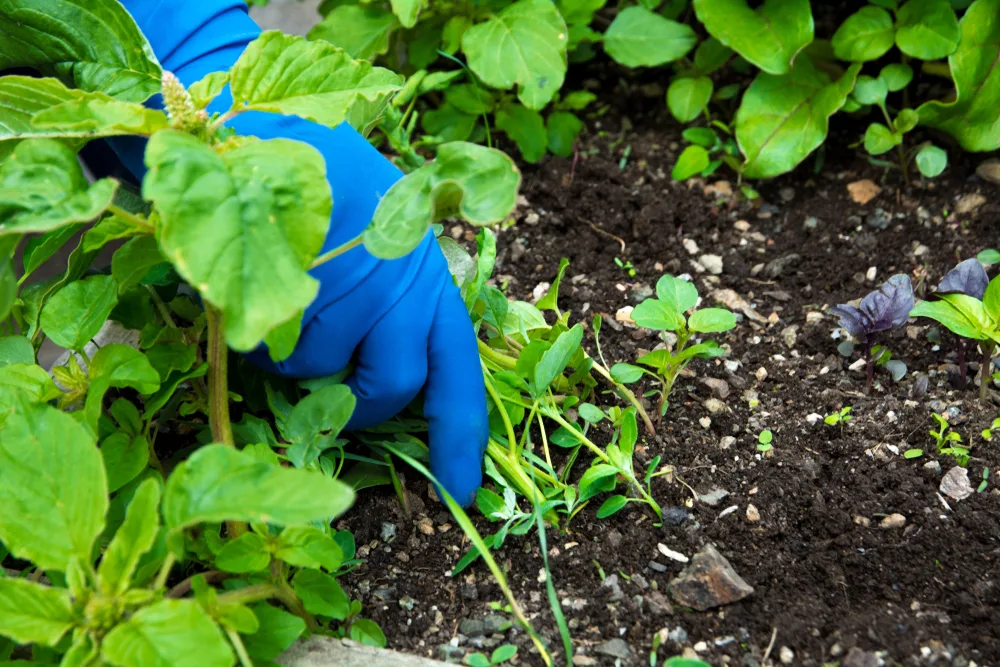
If you haven’t gotten around to your spring garden clean-up yet, do it now!
- Go around the edges and pull up anything you consider a weed.
- Maintain garden paths.
- Remove debris from last season and add it to your compost pile.
- Pull dead annuals.
- Remove dead branches/growth from perennials.
- Divide and move perennials that need to be transplanted.
- Start putting out stakes where you imagine planting – the sooner the better!
Don’t forget that a spring clean-up includes the greenhouse too. Carefully and thoroughly wash out all of your planting pots in order to prevent disease from one season to the next. Ventilate and air out your greenhouse or planting tunnels, checking for holes and leaks, then make the necessary repairs.
8. Sharpen and clean garden tools
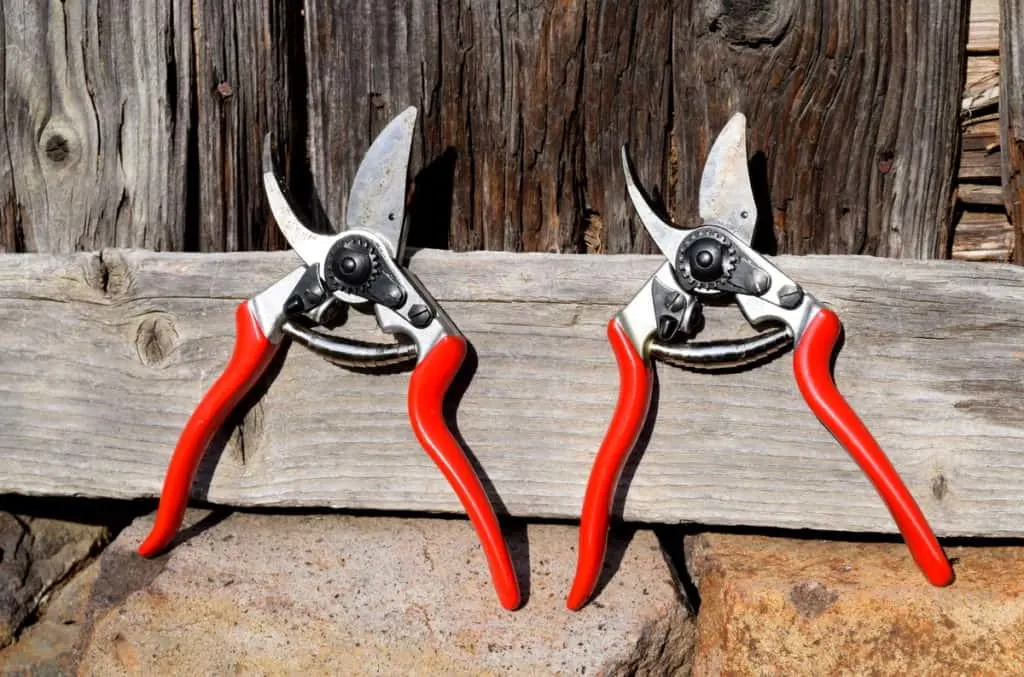
Perhaps you’ve accomplished this already in fall, yet there will often be tools that are used throughout the winter months that are in need of cleaning.
Pruners/secateurs are the first that come to mind. We use our pruners every month of the year from taking cuttings, to foraging for and trimming back raspberry and blackberry canes/leaves, for pruning fruit trees and harvesting in the garden. In order not to transmit bacteria and other fungi to other plants, they are cleaned regularly.
We also have shovels, spades, pitchforks, scythes and all manner of hand tools that are kept in good condition throughout the growing season. Yet, with constant work, the edges wear down and need to be resharpened.
Wash your tools in hot water first and scrub with a wire or stiff brush to remove hardened soil. Sharpen your garden tools as needed, apply a natural oil to the metal parts, and boiled linseed oil to the wood to keep it in wonderful condition for ages to come.
Related Reading: How To Clean & Sharpen Pruning Shears
9. Maintain gates, fences and trellises
Spring is a wondrous time of renewal, not only for plants and animals, but for fences too.
The winter snow, rain and winds can take a heavy toll on them, and in order for them to do their jobs in keeping out chickens, rabbits, deer, dogs and other animals, they will need to be repaired.
Depending on your type of fence you may need to use a pressure washer to remove dirt and mildew, followed by a wood preservative on a sunny, dry day. Metal fences may need new posts, and woven fences require a bunch of fresh material.
Bottom line – keep them in good working order. We’ve had geese who love lettuce, chickens who love tomatoes, even a rooster who expertly flew into our cherry tree for the ripest pickings (mostly for himself!). But there is no fence for that.
Safeguard your future harvest, by making sure that your fences, gates and trellises are all in strong, good working order.
10. Find a source of mulch
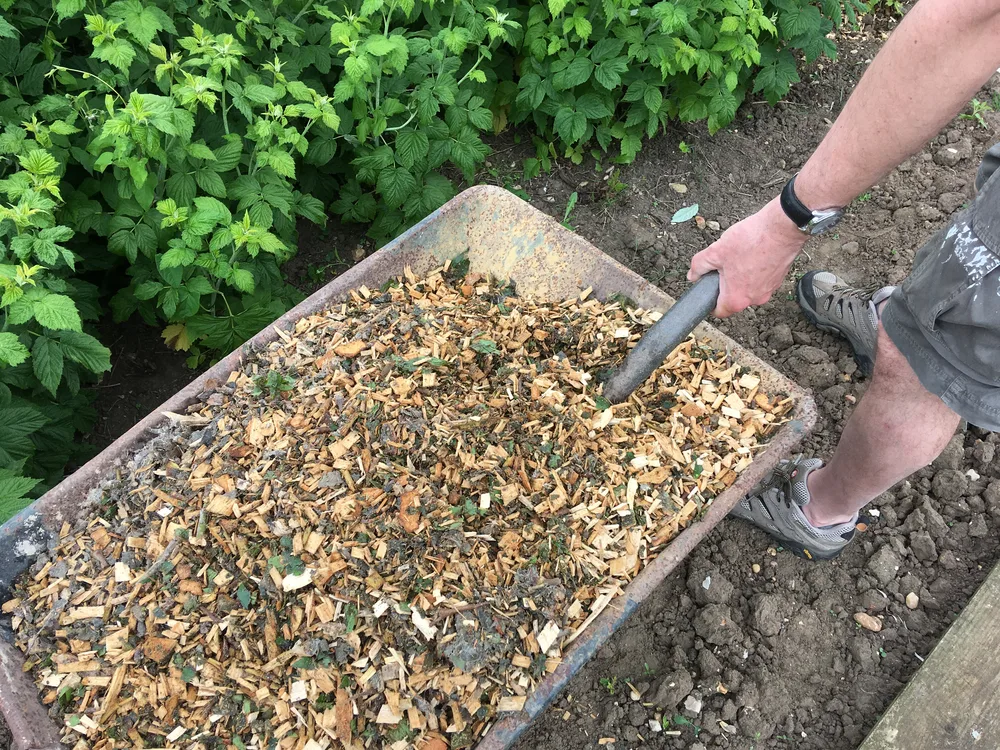
One last thing to do in spring, is think about mulch. What kind, organic or inorganic, how much, where will you store it, etc.
Once your garden gets growing, you’ll have plenty of other jobs to do, and sourcing mulch when everyone else is, will only get in the way of spending more time in the garden.
Mulch is terrific for so many reasons:
- to discourage weeds
- retain moisture
- add organic matter and improve soils slowly
- prevent erosion
Decide soon whether it will be grass clippings, straw or hay, chopped leaves or wood chips in your garden, and find out where you can buy them locally if you don’t already have a pile or a source of mulch on hand.
Here’s our guide to mulching your garden – including nineteen organic and inorganic garden mulches you can choose from.
Excited to get in the garden yet?! We certainly are.
As temperatures warm up and the sun begins to promise that spring is indeed finally here, we’ll be right out there with you, tending to the backyard garden – the ultimate source of wholesome food.

Get the famous Rural Sprout newsletter delivered to your inbox.
Including Sunday musings from our editor, Tracey, as well as “What’s Up Wednesday” our roundup of what’s in season and new article updates and alerts.

