
Many houseplant lovers enjoy propagating and sharing their plants. But Christmas cactus, in particular, are often part of a family legacy, with cuttings handed down from a family member’s plant for generations.
These cuttings are often much more meaningful than your average propagated plant.
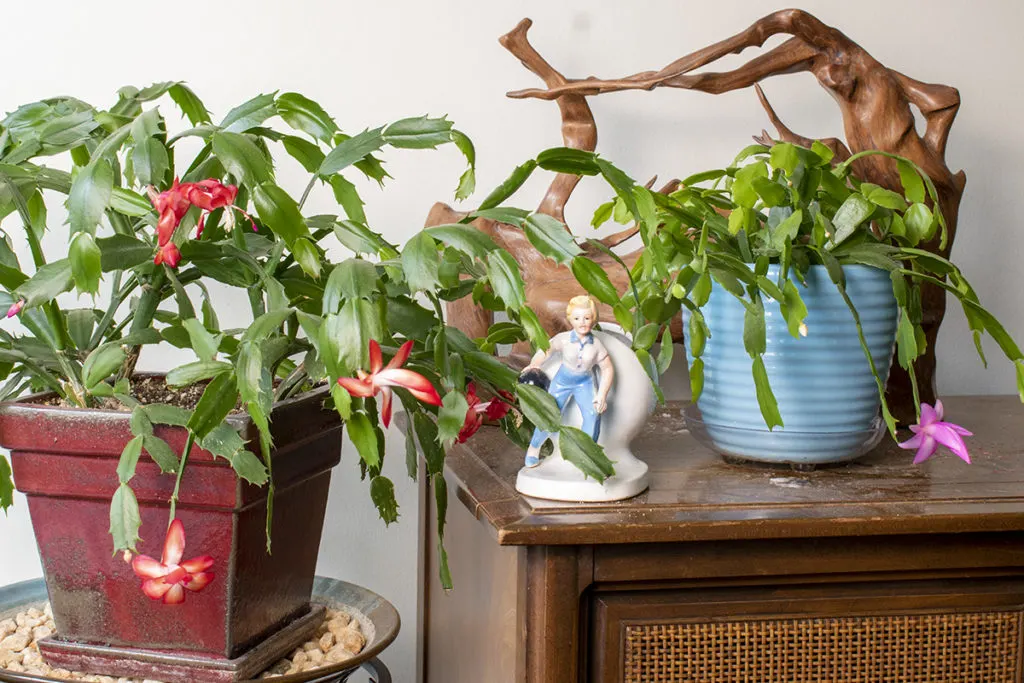
My largest Schlumbergera, a Thanksgiving cactus, started as a cutting given to me by my grandmother-in-law nearly twenty-two years ago.
Now, my daughter has her own, started from a segment taken from my plant. Her small thanksgiving cactus is a living reminder of her great-grandmother, who has been gone for some time.
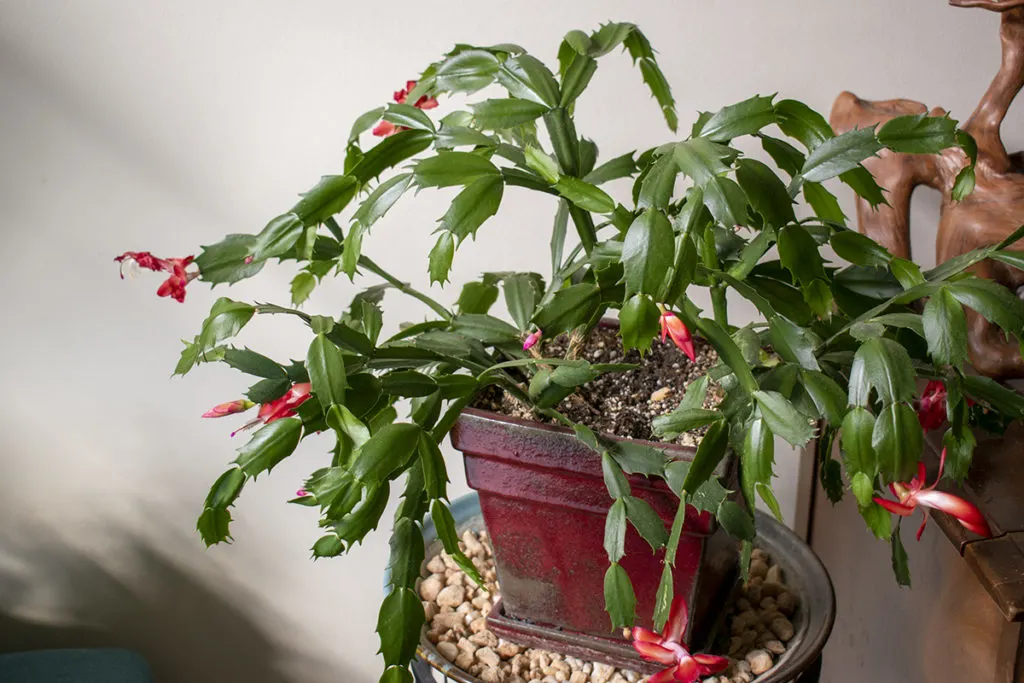
Christmas cacti (Schlumbergera bridgessii) are one of the easiest houseplants to propagate, and not just the Christmas variety, but all members of the Schlumbergera family – Thanksgiving cactus and Easter cactus as well. These particular plants are collectively known as holiday cacti, each named for the holiday they bloom closest to.
If you have no idea which kind you have, you’ll want to check out our full Christmas Cactus Guide
Read More: Christmas Cactus Care & How to Identify Each Variety
Part of their popularity as family gifts stems from how easy they are to propagate.
Whether you’re starting a plant as a living heirloom or just grabbing a cutting from a friend, I’ve got a few secrets up my sleeve that will ensure you end up with large, beautiful plants instead of a spindly twig sticking up out of the dirt.
Related Reading: 13 Common Christmas Cactus Problems & How to Fix Them
Let’s get our hands dirty and propagate some Christmas cactus!
Sanitize Your Tools
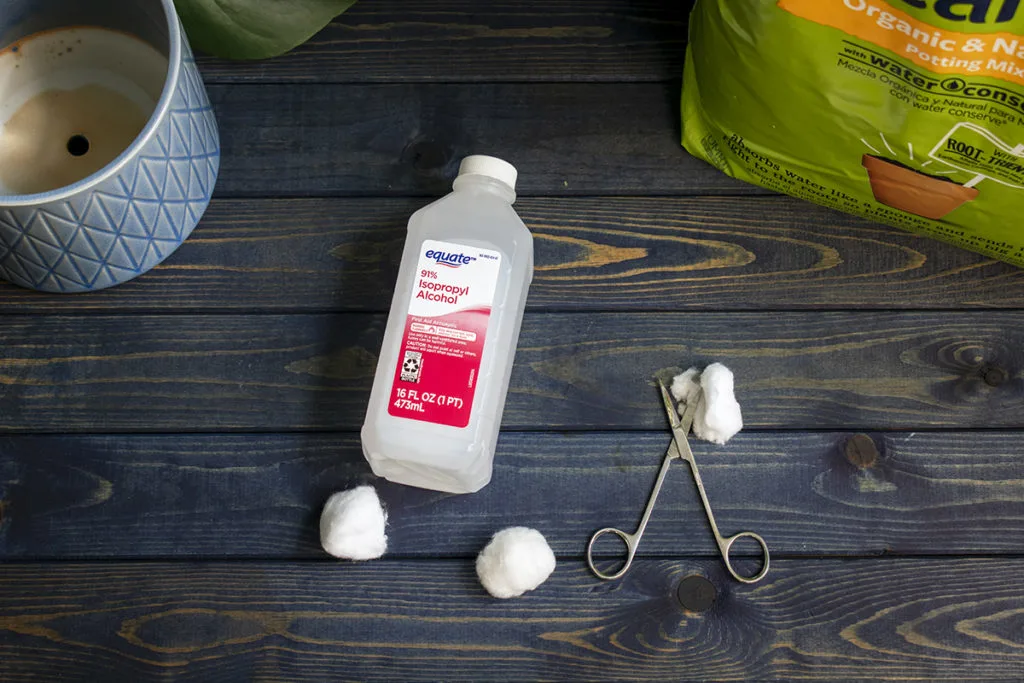
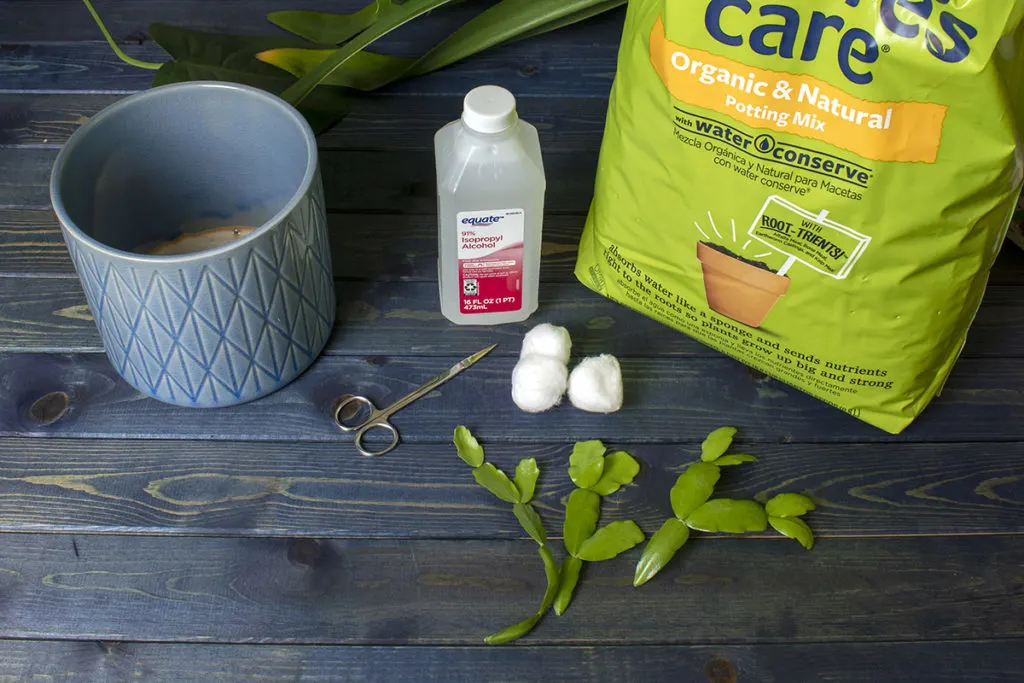
Whenever you’re taking a cutting from an established plant, it’s important to use clean and sterilized scissors. It only takes a few seconds to swipe your scissor blades with an alcohol-soaked cotton ball. This little extra step ensures you won’t transmit any disease-causing microbes to your plant.
Select Your Segment
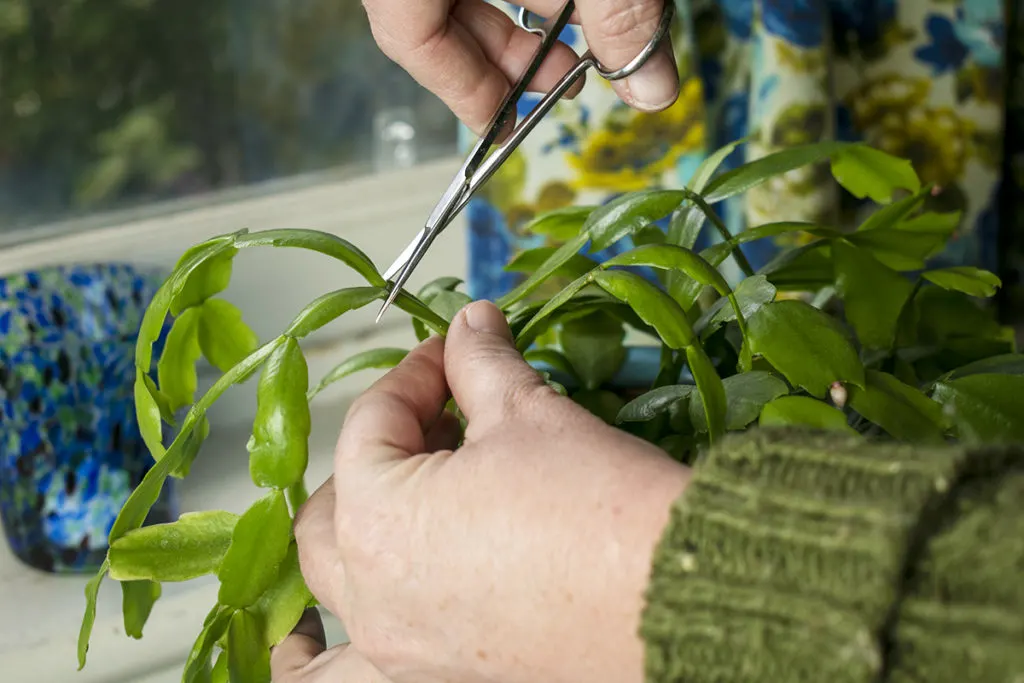
When choosing a section to propagate, you want to pick a y-shaped piece with at least three leaf segments. The larger the piece, the more sections you will have to stick in the dirt.
Cut the piece from the cactus where two leaf segments meet. This area is where the root nodes are. If you cut your section here, the part left behind can continue to grow.
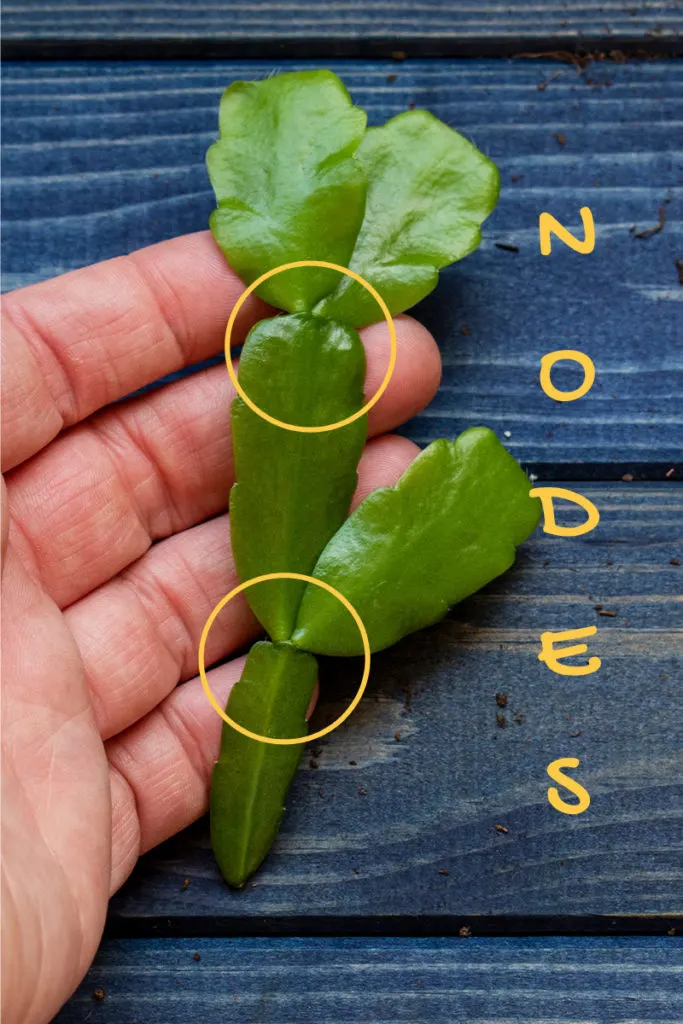
Now cut your main cutting into smaller segments, making sure each one has at least three segments to it.
Callous
These cuttings will need to callous over for a couple of days. Let them sit somewhere dry, out of direct sunlight. The open cuts on the plant are highly susceptible to rot until they callous over, which is why you can’t immediately poke them in the soil.
Christmas Cactus Propagation Secret #1
Start with a Full-Size Pot
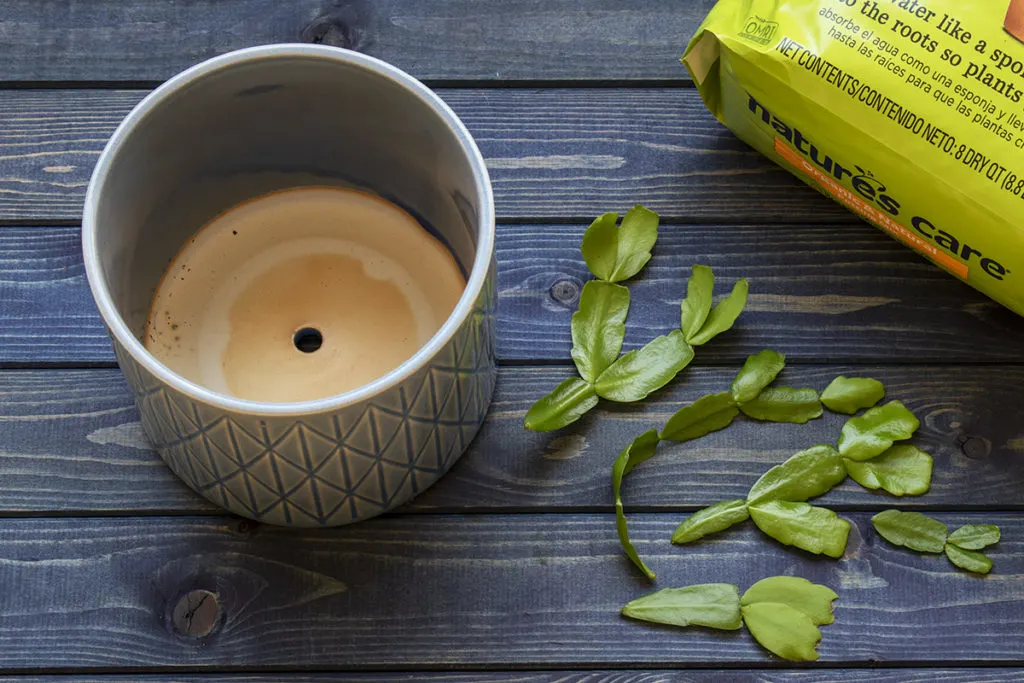
It’s not always advisable to start plants in a large-sized pot. The general rule is to start small and let them grow into their pot before potting up. However, I’ve found it’s a little different with Christmas cactus.
If you’ve ever tried to repot a Christmas cactus, then you know how delicate their segments are. You usually end up with a bunch of broken segments, no matter how careful you are. Christmas cacti do not like to be repotted and prefer to be a bit rootbound when they’re fully grown.
When starting a Christmas cactus cutting, start with a 6”-8” pot. This sized pot is the perfect size for a fully established Schlumbergera. You’ll be amazed at how quickly they grow and fill out if you start it in its permanent home.
And you won’t end up breaking off tender segments repotting it as it grows
Add Soil to Your Pot
Technically, Schlumbergera are succulents, not cactus so good drainage is important as they are susceptible to root rot. Premixed potting mixes specifically for succulents are great, but you can use any well-draining potting mix.
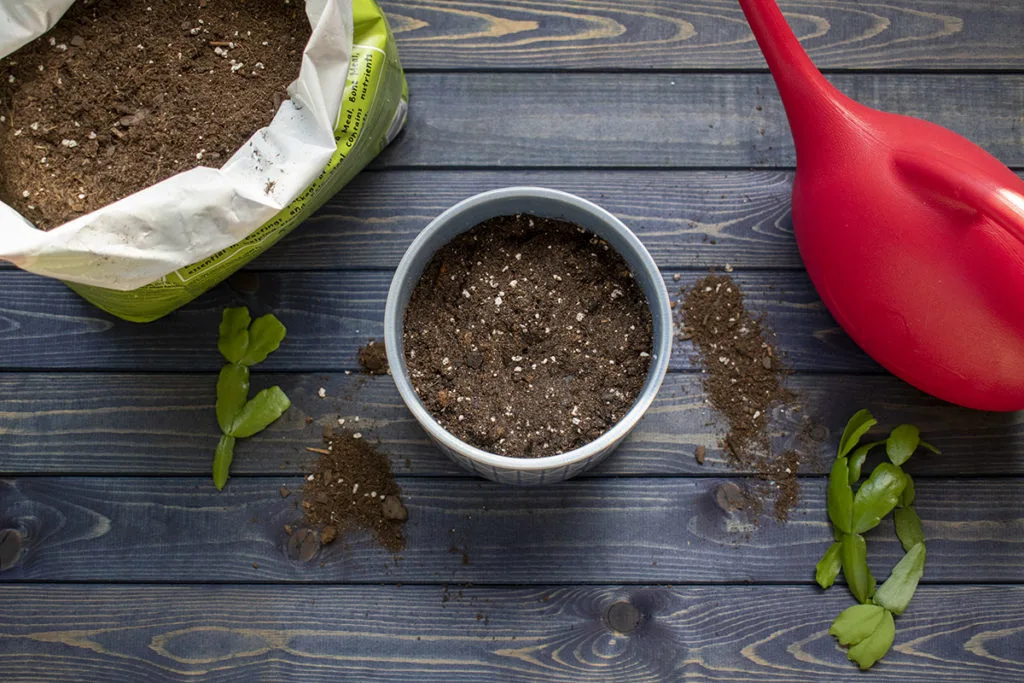
Fill your pot to within an inch of the top with soil and pre-moisten it. You want it to be quite damp but not soaking wet.
Christmas Cactus Propagation Secret #2
Plant Several Cuttings Together
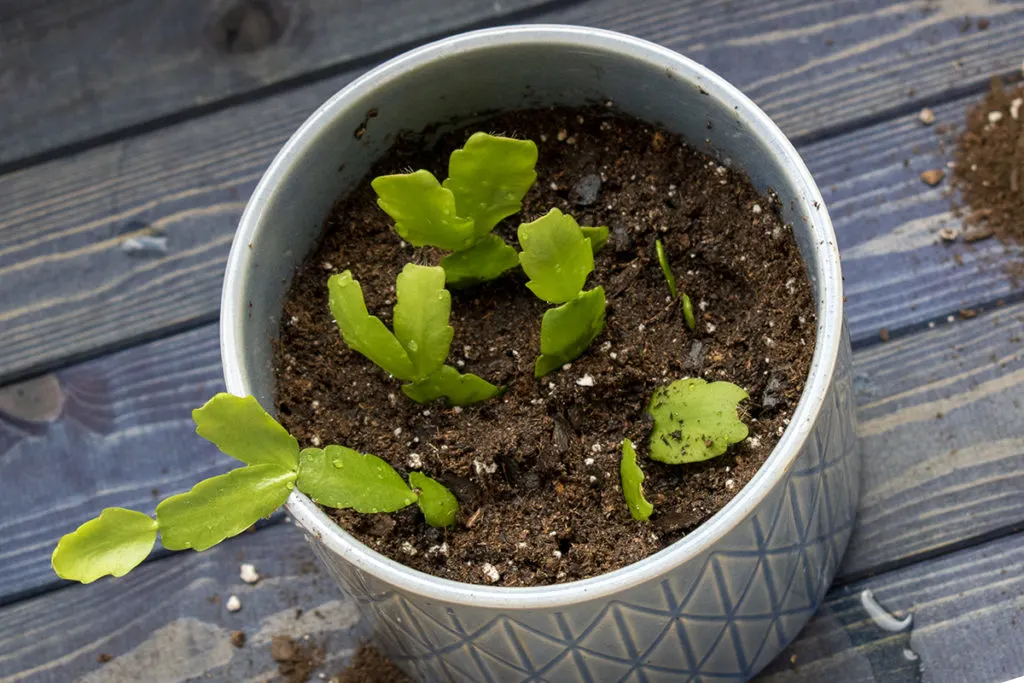
If you want a nice bushy Christmas cactus, it all starts right here.
Sure, you can poke a cutting in the middle of your pot, and it will grow, and eventually, new branches will begin to form. However, planting several cuttings at once, close together, ensures that the cactus will fill out the pot faster.
And, if you check out all those Thanksgiving cactus that hit the stores during the holidays, you will notice most of them were started with two to three cuttings placed in the center of the pot as well, ensuring a nice bushy plant goes to market.
Plant each segment so that the soil covers ½” above the node; this is where the new roots will develop.
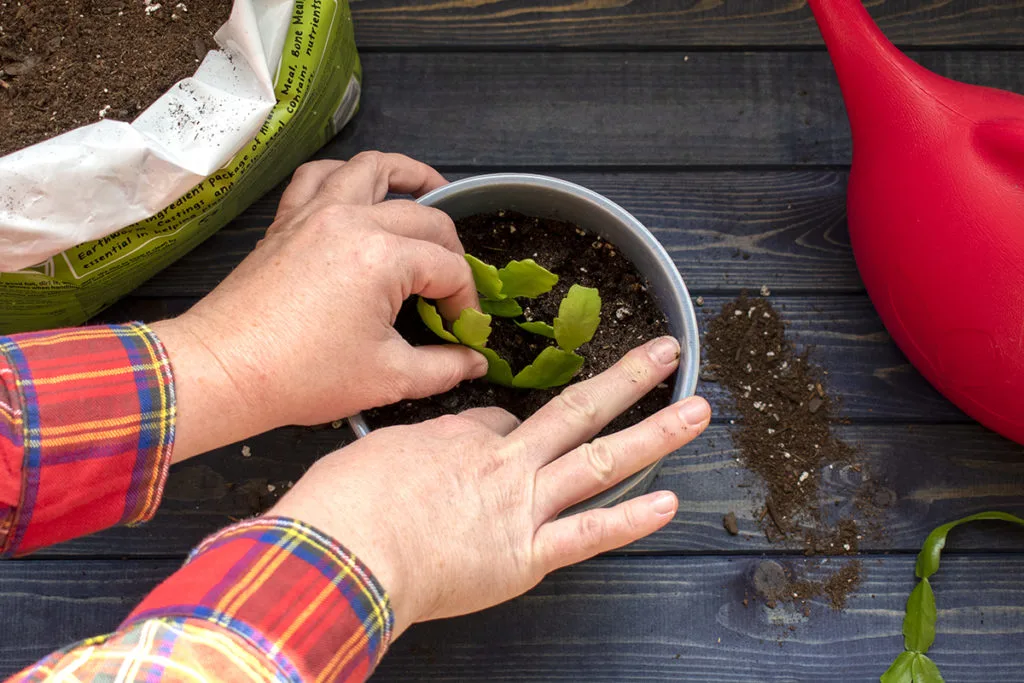
Place your pot somewhere that will receive bright indirect sunlight. Your cuttings may look a little wilted for a few days, and that’s just fine. Don’t be tempted to water it thinking it’s wilting because it’s drying out. Wait until the top of the soil is dry before watering your new cuttings again. Then continue watering in this way as the roots are established.
After about a month, you should notice new growth on your newly established plant. New segments are often red around the edges as they grow.
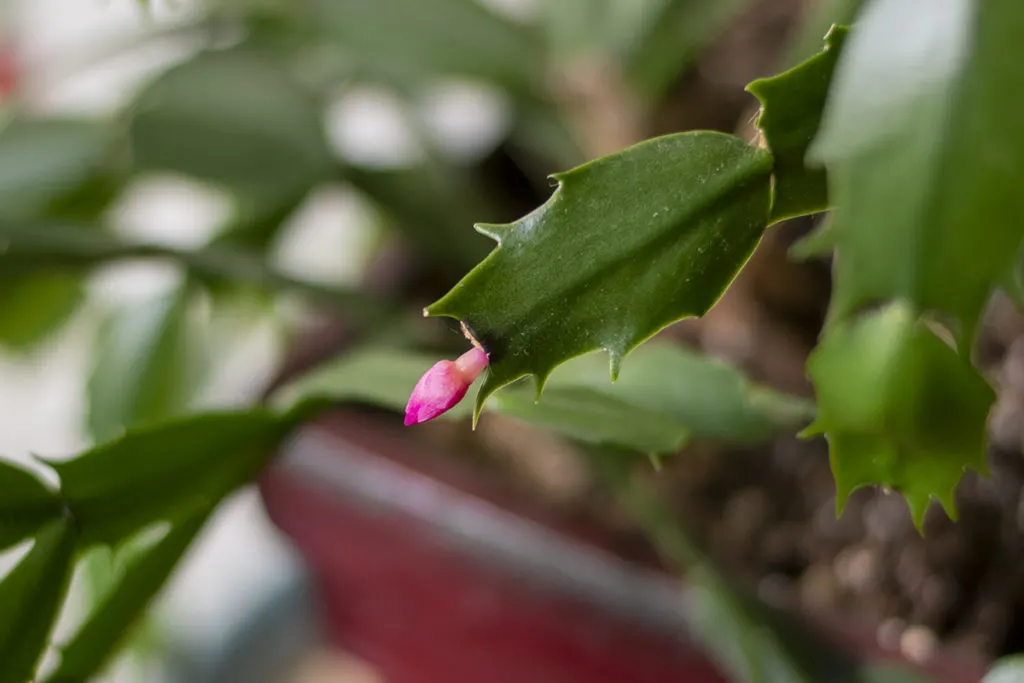
Before you know it, you’ll have a full and lush Christmas cactus with tiny buds, ready to share with friends and family.
Can You Propagate Christmas Cactus In Water?
Yes, you can propagate a Christmas cactus using the water propagation method. For many plant lovers, half the fun of propagation is watching the roots develop underwater.
For Schlumbergera, the best and fastest method of propagation is directly in the soil.
While roots may develop faster in water, you still need to plant them once they develop, and as we’ve already discussed, Christmas cacti are delicate and break easily. The less handling they receive, the better.
It’s also important to be sure you let the cutting callous over well if you’re using water; otherwise, the cutting will rot and die.
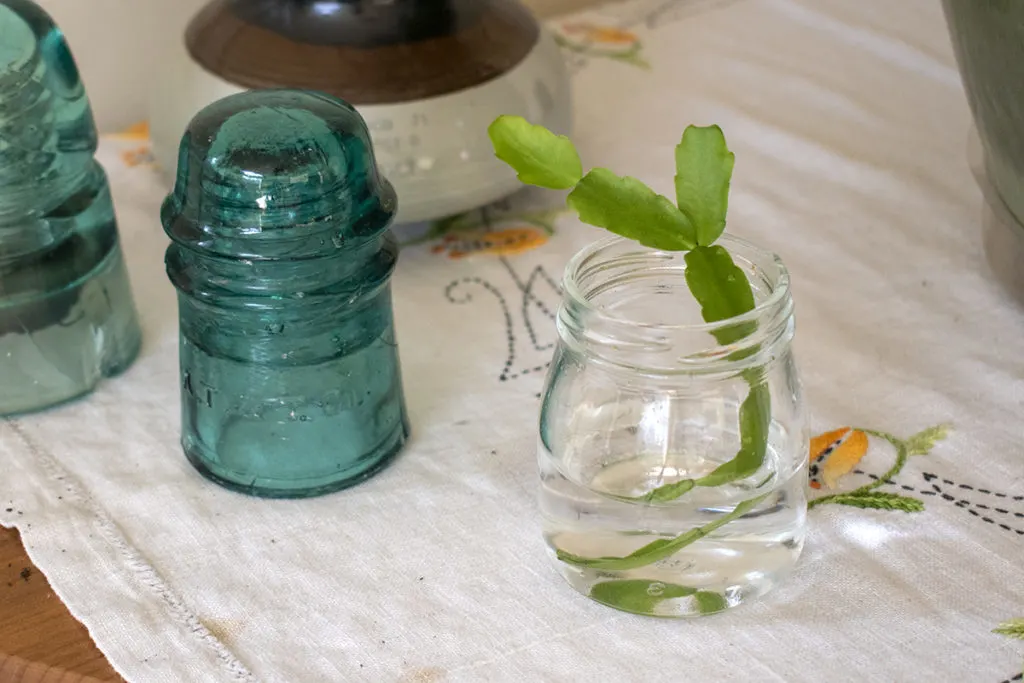
But for you water propagation lovers, place the end of your segments (with at least three leaf segments attached) in a small container of water. Make sure the bottom node is submerged. (The space where one segment ends and the next begins.) Put your jar someplace where it will get bright indirect sunlight.
Within 4-6 weeks, you should have roots, and your tiny Schlumbergera will be ready to plant.
And that’s that; pretty easy, right?
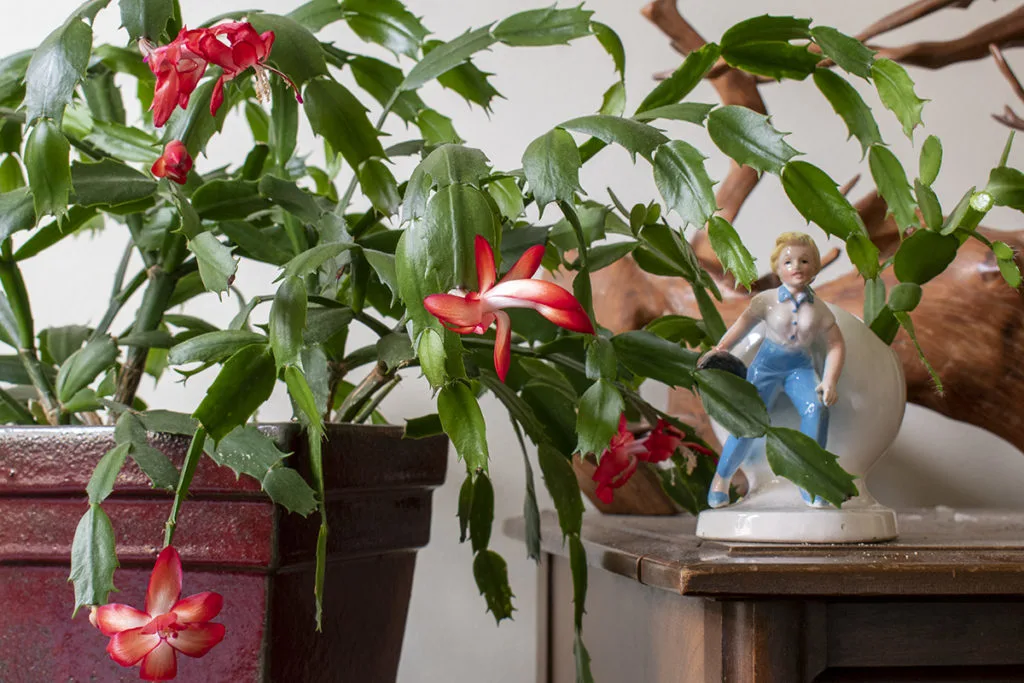
Don’t forget to check out our total Christmas Cactus Care Guide as well.
And if you’re looking for even more great houseplants, you’ll want to check out these articles:
How To Propagate Spider Plants – With and Without Spiderettes
6 Signs Your Houseplants Need To Be Repotted & How To Do It
12 Houseplant Mistakes Almost Everyone Makes

Get the famous Rural Sprout newsletter delivered to your inbox.
Including Sunday musings from our editor, Tracey, as well as “What’s Up Wednesday” our roundup of what’s in season and new article updates and alerts.


