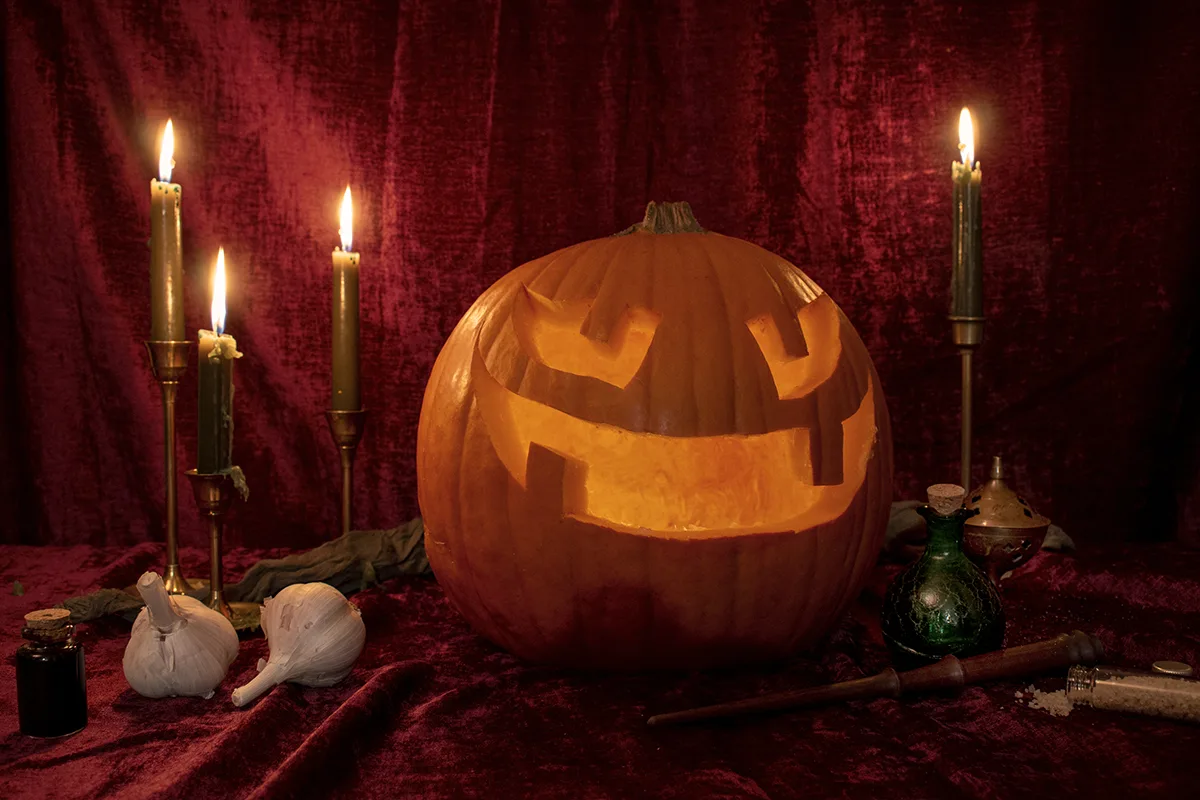
Greetings, Witches and Vampires! Welcome, Werewolves and Zombies! The glow of ghostly grins on the front porch means Halloween is nearly upon us.
Carving Jack-o-lanterns is a time-honored tradition that most of us look forward to each year. That is until we’re up to our elbows in pumpkin goop, and we’ve bent three different knives trying to cut into the silly thing. It’s about this time that we remember how much work this tradition is.
I’ve got a dozen pumpkin carving hacks to make this year’s jack-o-lanterns your easiest, longest lasting and best looking yet.
1. Give Your Pumpkin a Vinegar Bath
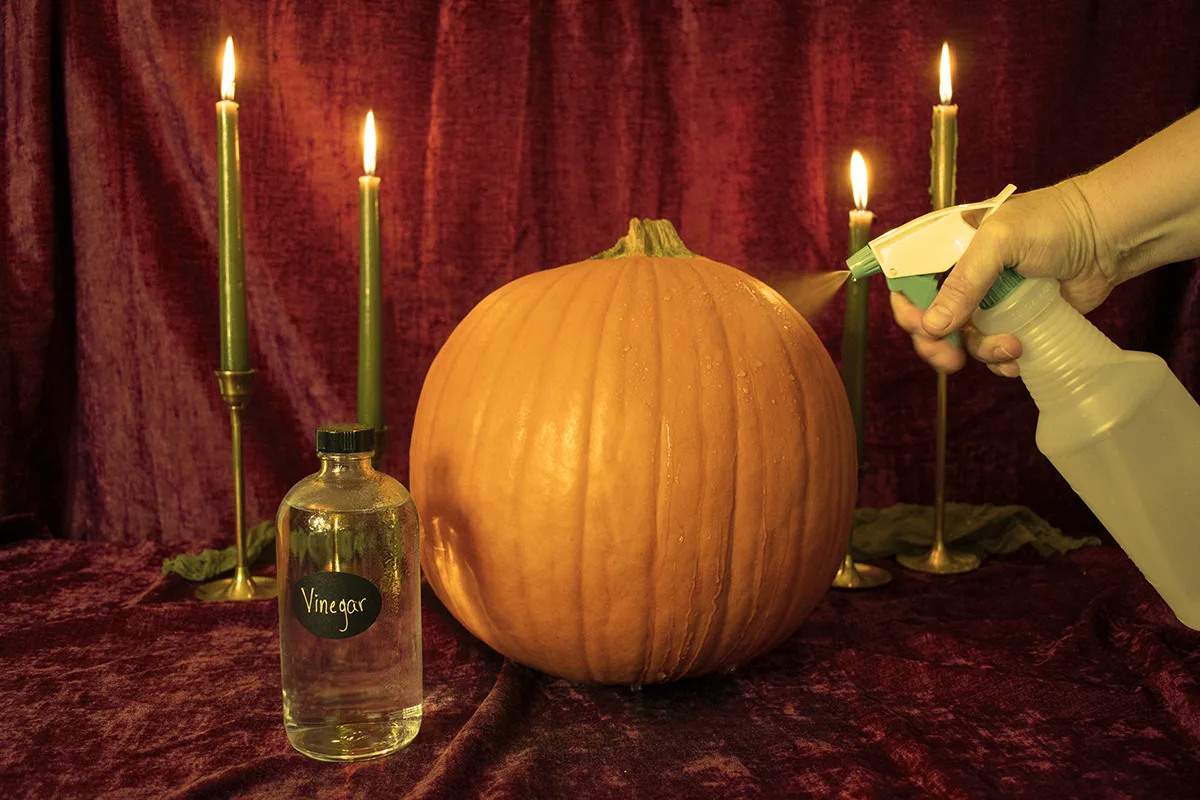
Make your pumpkins last longer with vinegar.
An hour before you carve your pumpkins, spray them down with a water and vinegar solution. Mix water and white vinegar 10:1 and either spray or wipe down the outside of the pumpkins until they glisten. Let the vinegar solution sit on your pumpkin for fifteen minutes before wiping it dry.
The vinegar will kill any surface yeasts or bacteria that can cause your pumpkin to rot faster.
2. Bottoms Up!
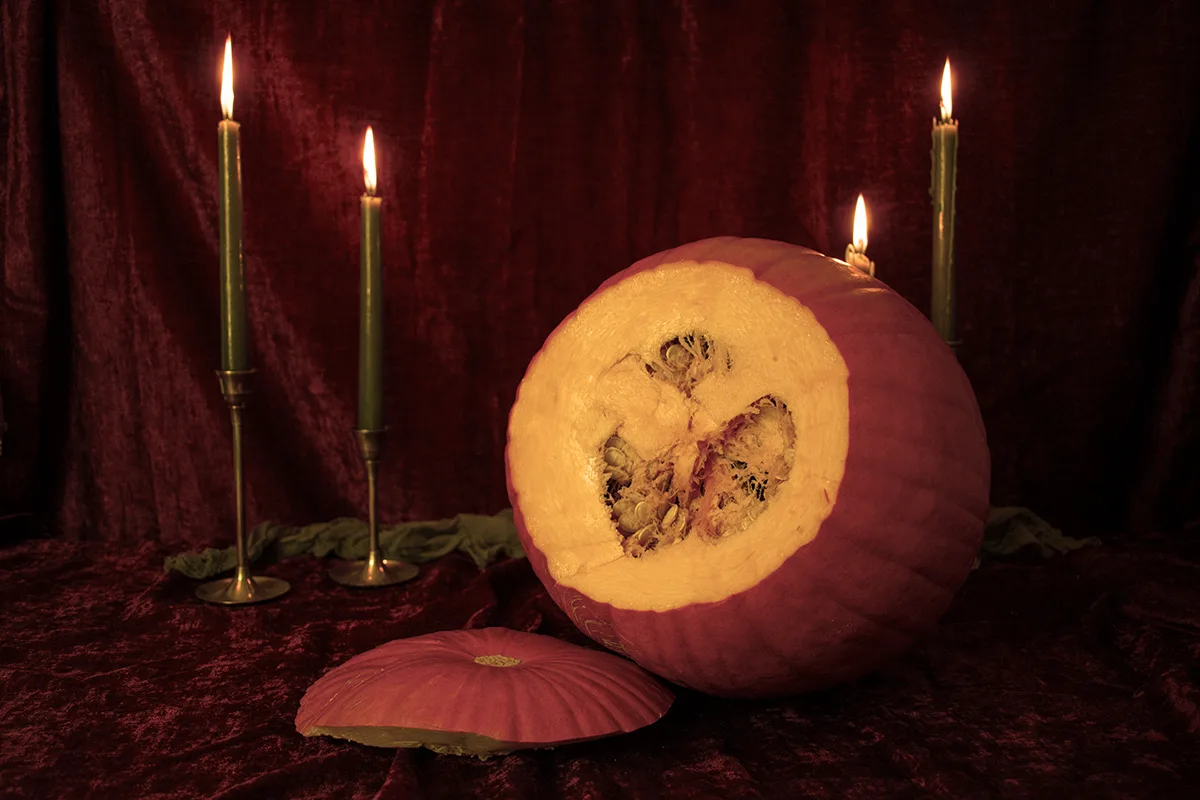
Cutting the top of the pumpkin to remove the insides always presents problems.
- If you cut it too straight, the lid falls inside the pumpkin after a day or two
- Trying to get the lid back on the right way
- Getting a candle to sit upright on the slick and lumpy pumpkin bottom
- And the awful sagging and sinking that starts to happen after a few days
Save yourself the headache and cut a hole in the bottom of the pumpkin instead. Set it on your lap or in a bowl to scoop and carve. When you have finished, you can set the pumpkin over the candle or light you’re using. If you cut a large enough hole, it allows the pumpkin to sit level.
3. Wear Gloves and Long Sleeves
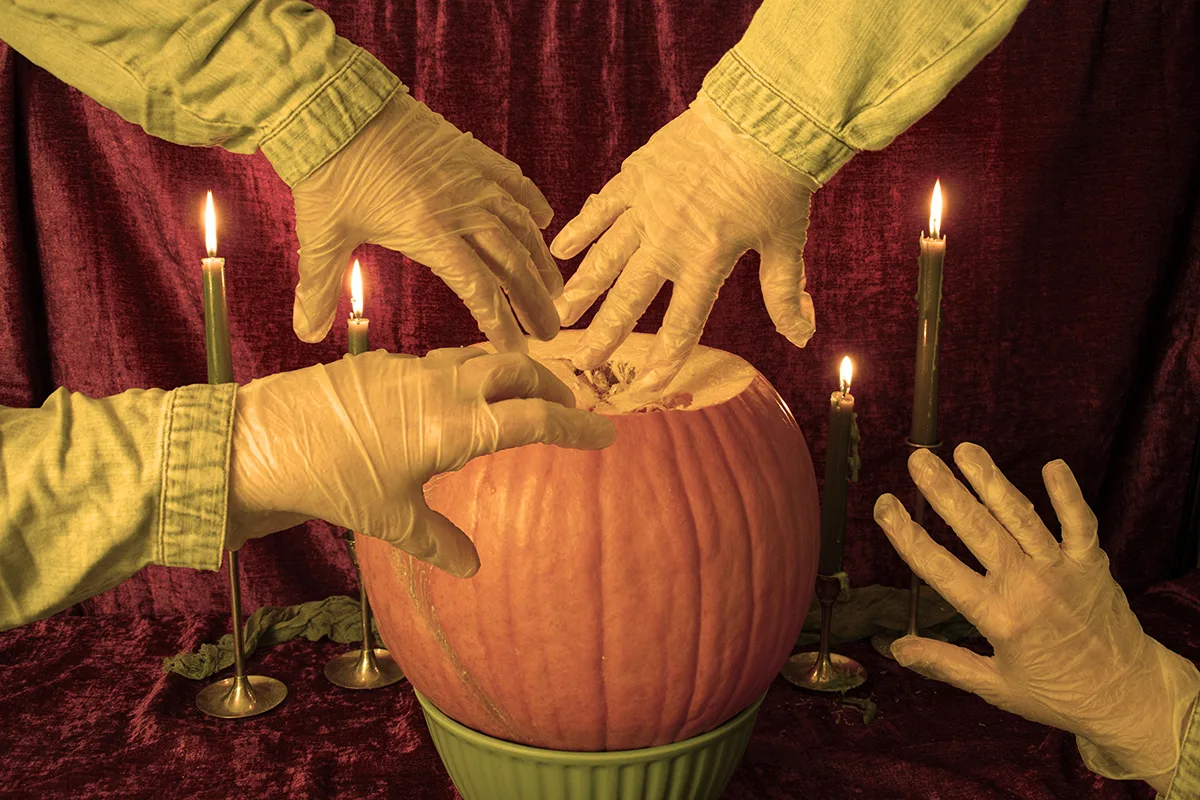
Pumpkins contain three different naturally occurring acids – citric, malic and fumaric. Quite a few high-end beauty products contain pumpkin for this reason. But for those with sensitive skin, carving a pumpkin can leave our hands and arms itchy and tingling.
Protect delicate skin by wearing disposable or kitchen gloves and a long-sleeved shirt that you don’t mind getting dirty.
4. Grab Your Trusty Hand Mixer for ‘Pumpkin Guts’
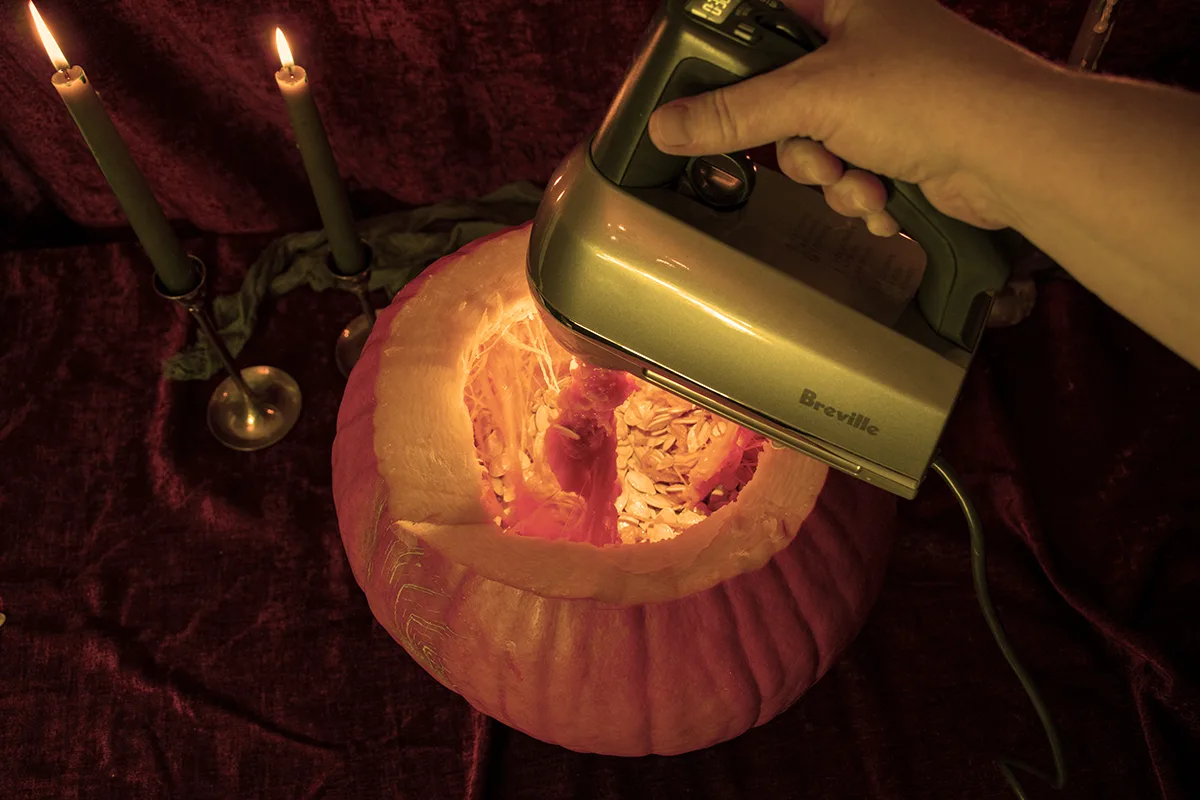
Whip out your trusty hand mixer and use it to wind up and scrape away the worst of the mess. This trick works best with just one beater attached. Make circular passes inside the pumpkin, clean the beater, and dump the remains. Now you’ve only got a little bit of scooping left to do.
5. Ice cream scoop
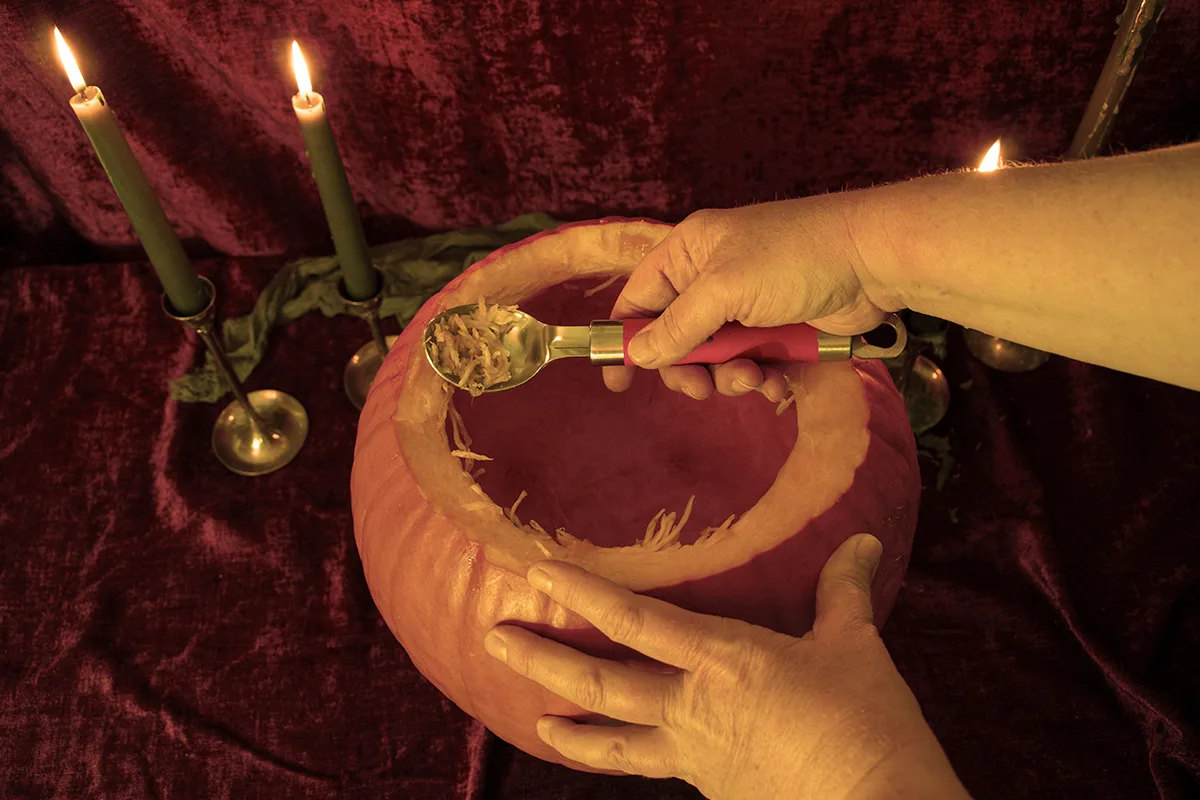
Speaking of scooping, use an ice cream scoop to remove the remaining stringy flesh inside your pumpkin. Metal ice cream scoops are meant for scooping rock-hard ice cream, so a pumpkin is no match for them.
If you have an especially thick pumpkin, use the ice cream scoop to thin the inside wall of the side you wish to carve. Thinning out the walls first will make carving much easier.
6. Ditch the Sharpie
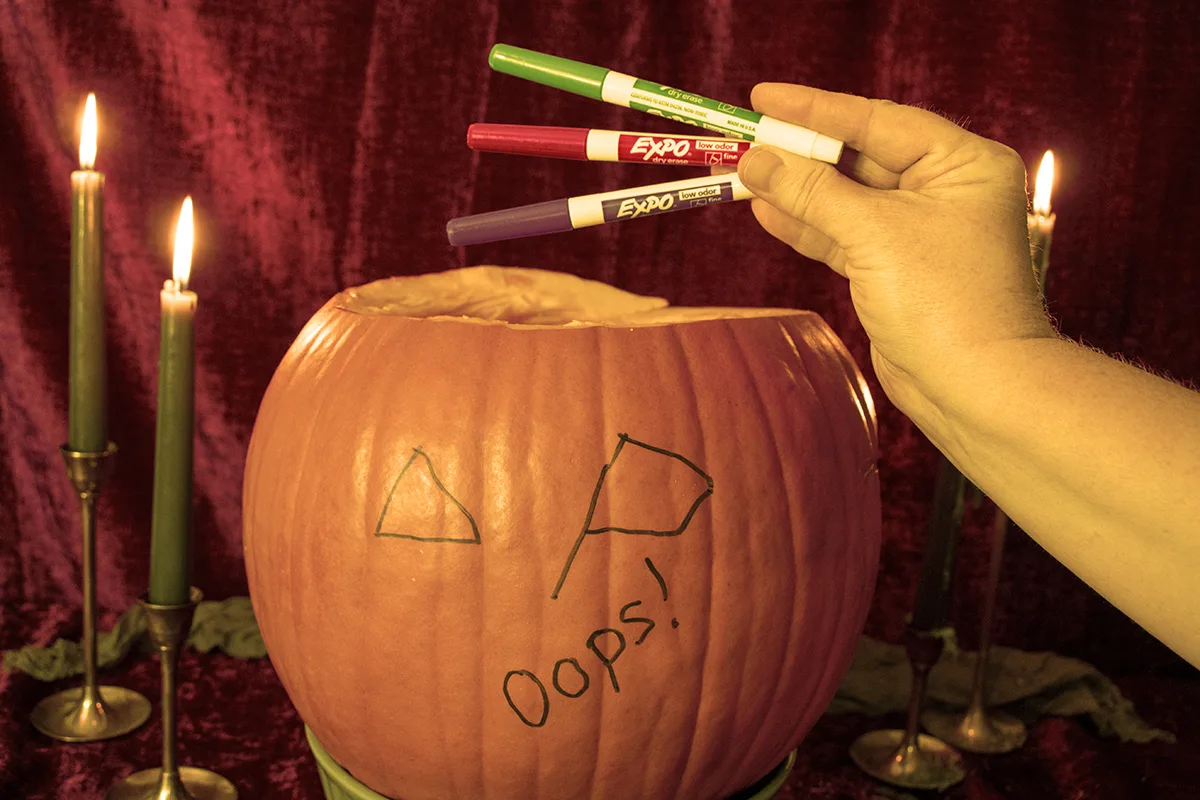
Rarely does a design get drawn perfectly on the pumpkin in the first go. Using a permanent marker often leads to frustration in the smaller pumpkin-carving artists of the family. (And swearing in the older ones.)
Instead of a Sharpie, use a dry-erase marker. That way, if you make a mistake, you can easily wipe it off and try again. When you’re finished, if you still have any visible tracing lines, they will wipe right off.
7. Choose the Right Knife
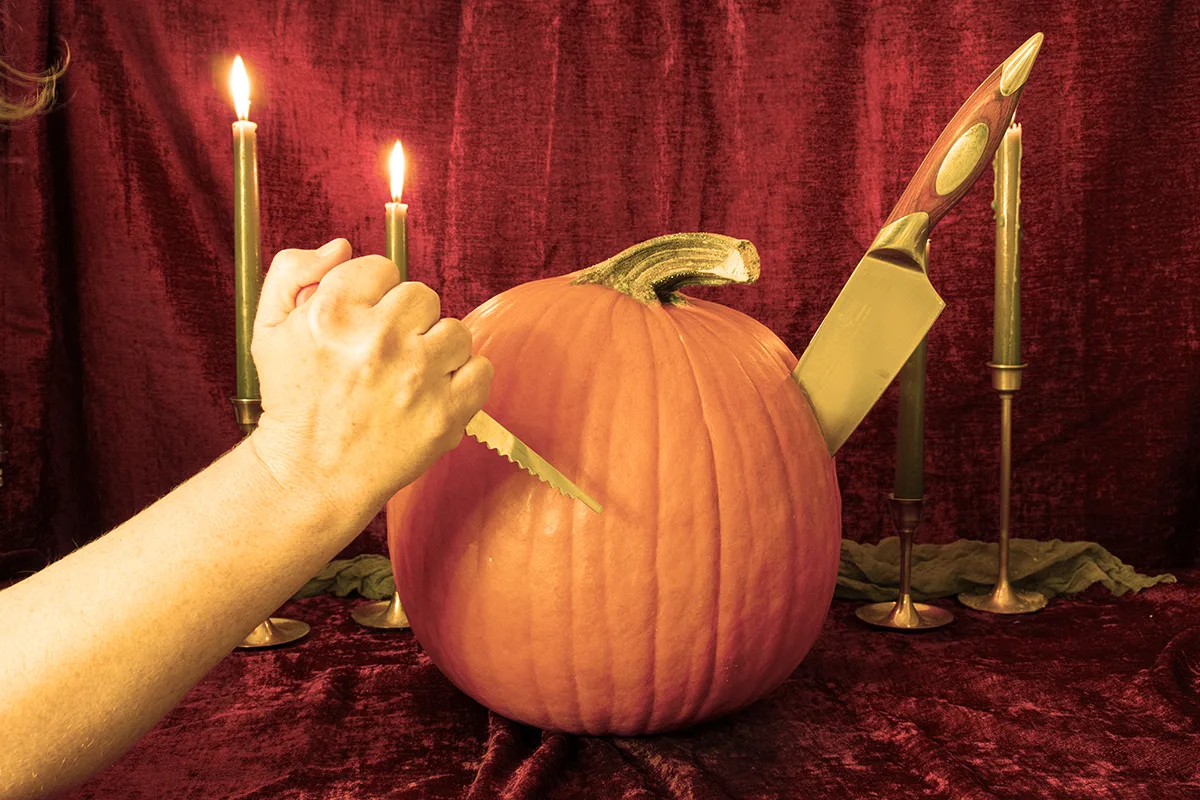
Skip the kitchen knives for carving pumpkins. We want Halloween to be spooky-scary, not go-to-the-ER-scary. Use a serrated pumpkin carving knife. The teeth are not sharpened, making them much safer for all ages.
Plus, because they are sawing through the pumpkin flesh, space is created where you cut. A knife easily gets pinched and stuck in the pumpkin when slicing into it. Not that I’ve ever had that happen personally.
8. Get Out the Power Tools
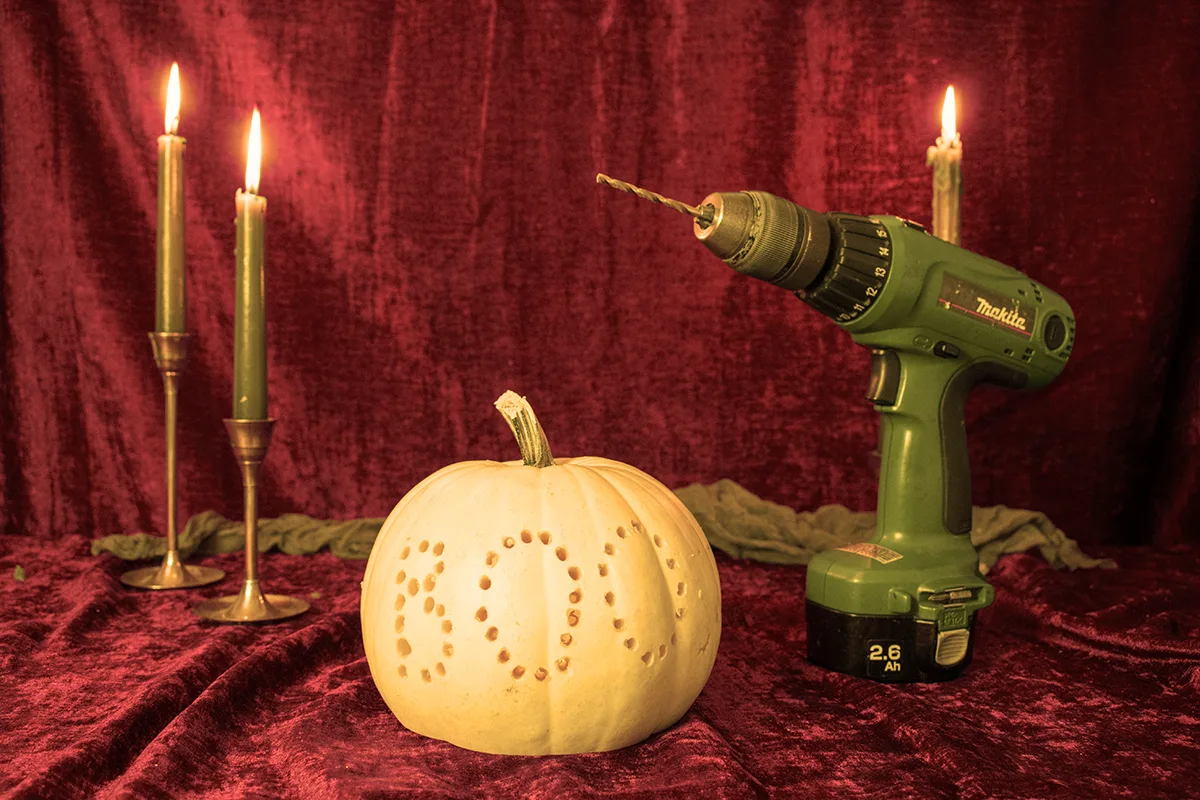
Have an adult grab the drill and drill bits. Using an electric drill, you can make some cool designs, like your favorite constellation or a dot-to-dot of your favorite Avenger.
If you use a tiny drill bit, like a 1/16, you can use it as a tiny saw and cut out shapes quickly and easily. But again, let’s avoid the ER, wipe down your pumpkin with a towel, so it’s nice and dry and only let an adult operate the power tools.
9. Rubber Mallet & Cookie Cutters
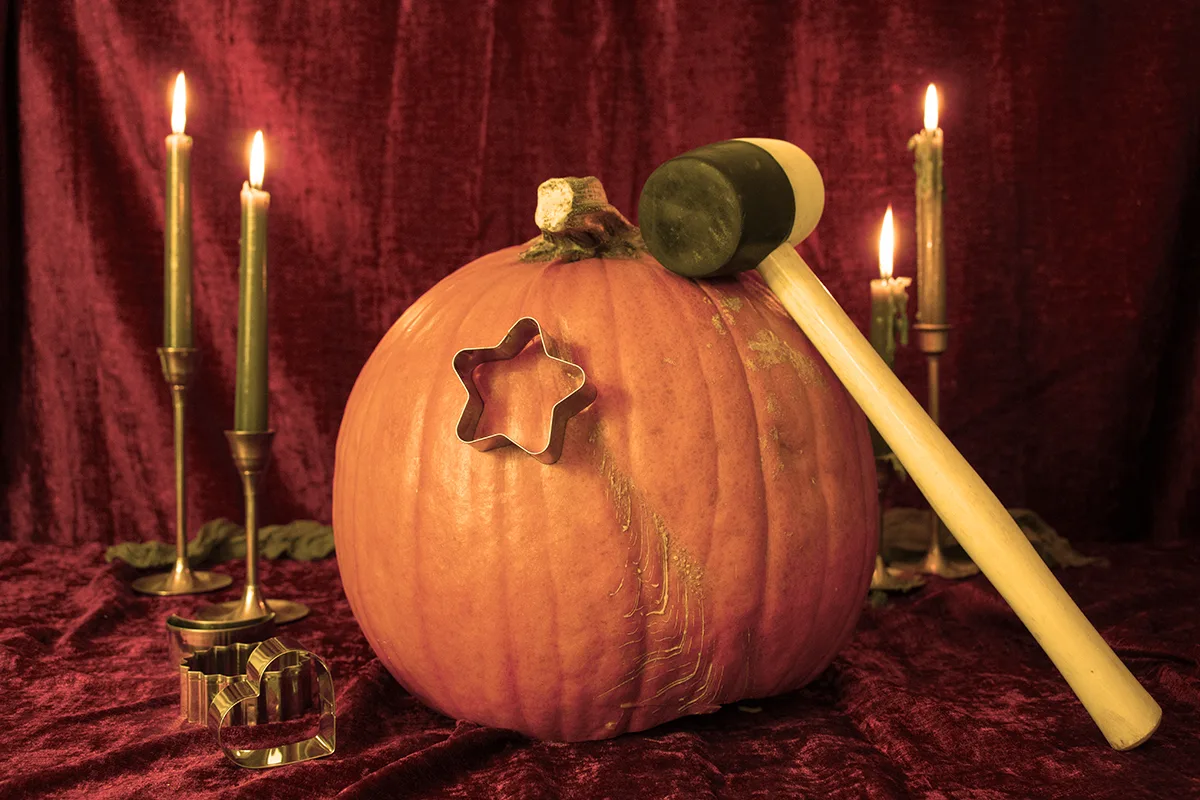
If you want a quick and easy jack-o-lantern, dig through your cookie cutters. Use a metal cookie cutter and a rubber mallet to cut shapes and letters into your pumpkin. Just be sure the pumpkin is thin enough for the cookie cutter to penetrate all the way through. If it isn’t, see tip #5 again.
10. Make Sure Jack Doesn’t Get Chapped Lips
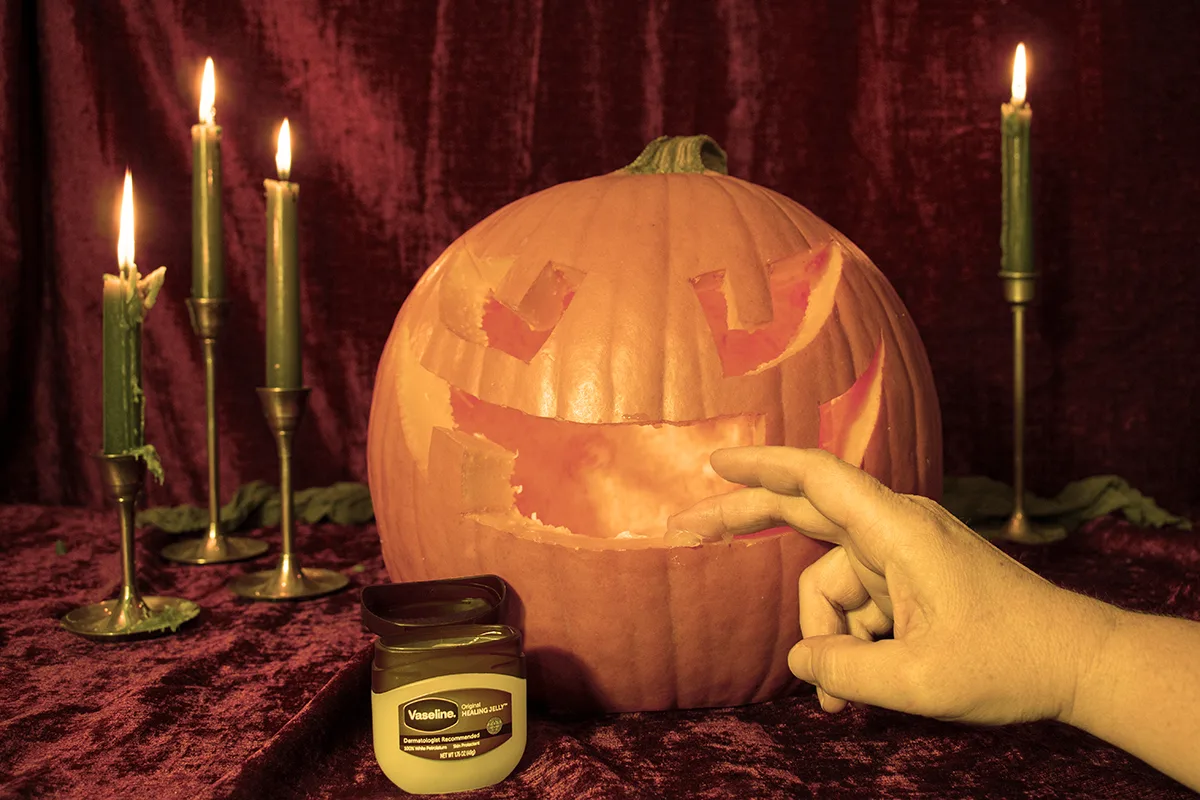
Once you’re all finished, use petroleum jelly to line around the cut edges. This creates a barrier that prevents your pumpkin from drying out and keeps mold, yeast and bacteria (which will cause it to spoil faster) from getting in.
11. Ground Cinnamon
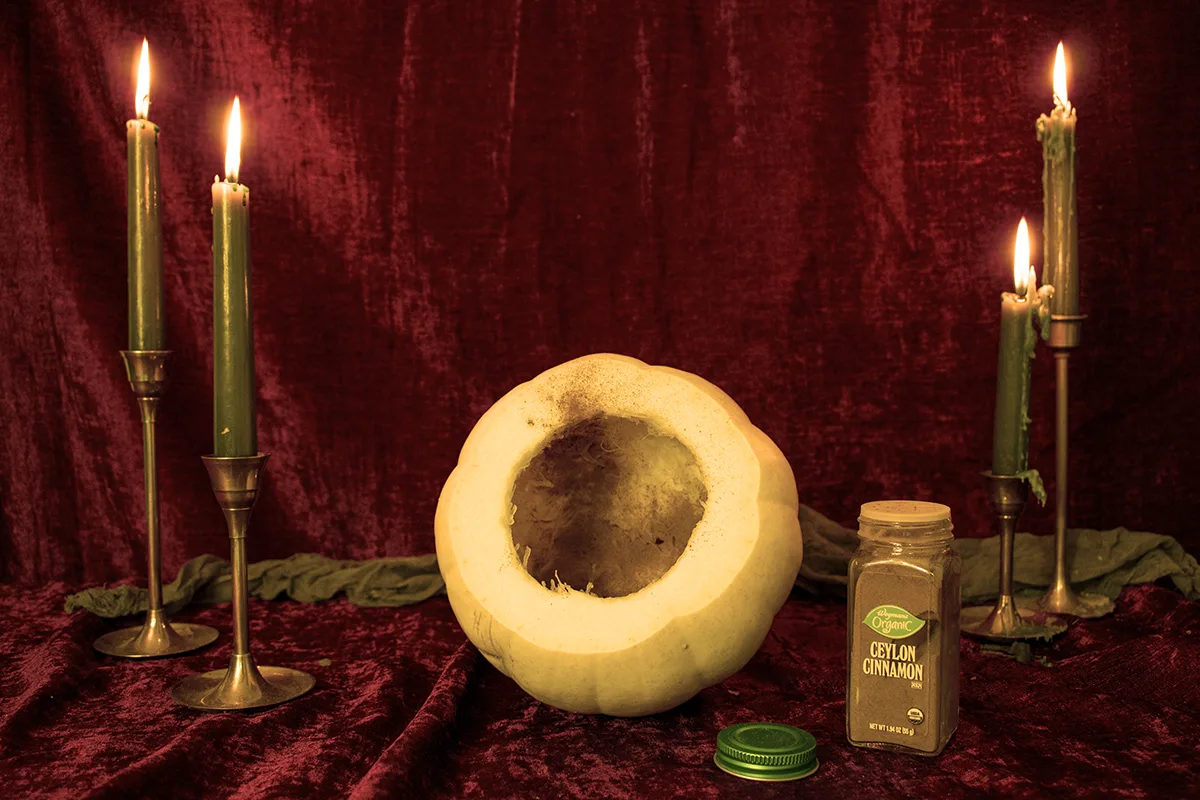
If you use the traditional candle to light your pumpkins, sprinkle the inside of your carved pumpkin with ground cinnamon. The heat from the candle will turn Jack into a natural pumpkin spice air freshener. Mmm, it smells like pie in here!
12. Don’t forget to save the seeds
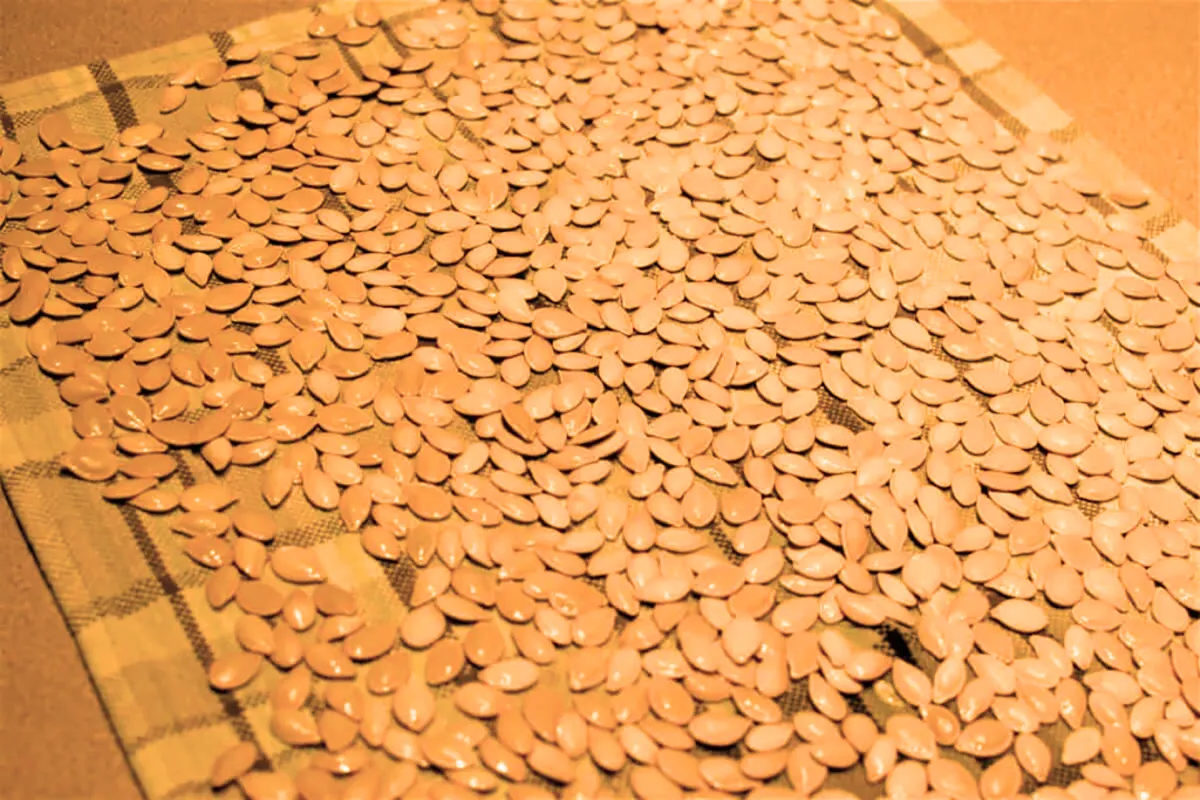
And, of course, don’t forget to save those seeds! I’ve got a trick to get the tastiest and crunchiest roasted pumpkin seeds ever.
You might even want to save a few to grow your own pumpkins next year.
If you’ve got more pumpkins than you know what to do with, we’ve got you covered there too.

Get the famous Rural Sprout newsletter delivered to your inbox.
Including Sunday musings from our editor, Tracey, as well as “What’s Up Wednesday” our roundup of what’s in season and new article updates and alerts.


