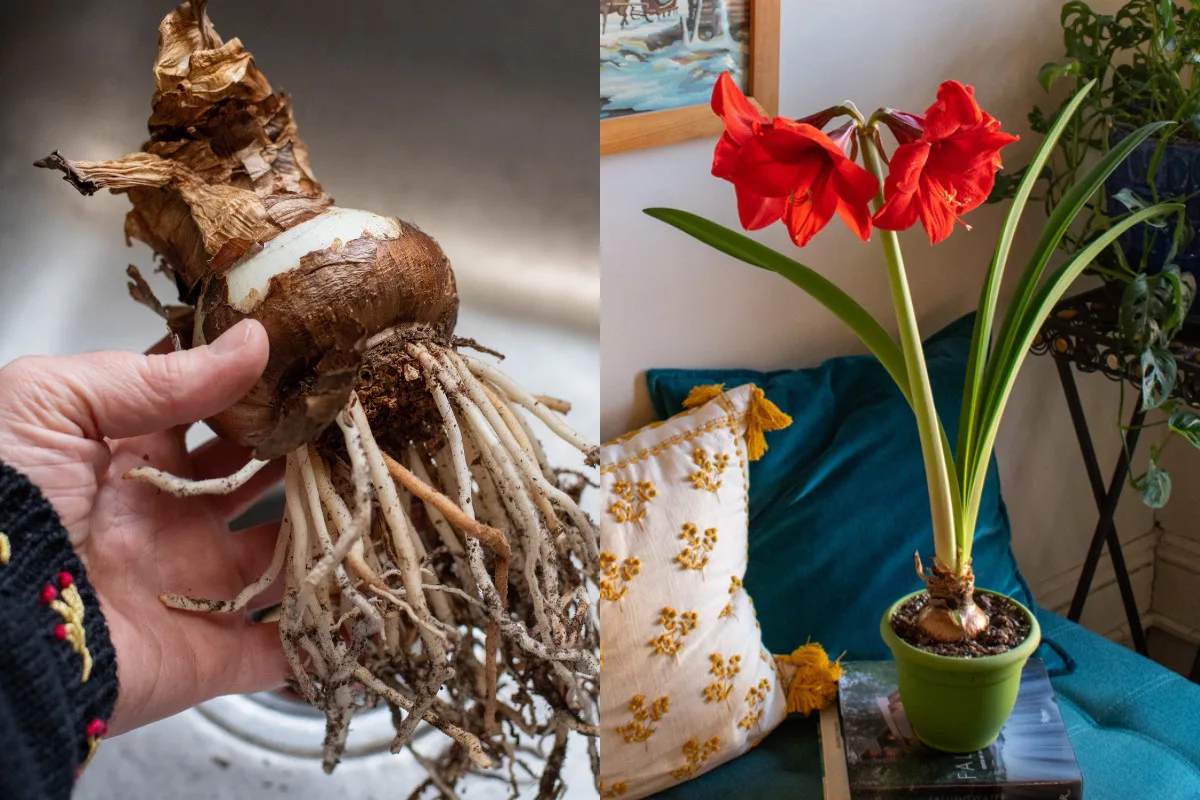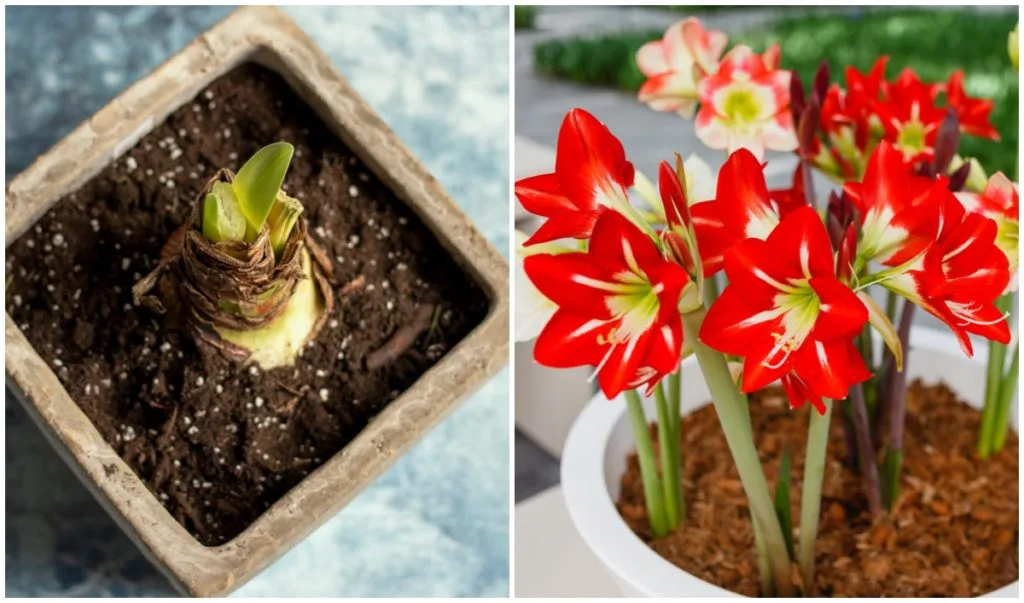
Many folks enjoy the annual tradition of blooming an amaryllis bulb at Christmas time. Their bright, showy blooms bring festive cheer to the winter holidays. If you’ve got an amaryllis, then I’ll bet you’ve got some gorgeous blooms right about now. Or maybe your lovely Christmas flowers are coming to an end.
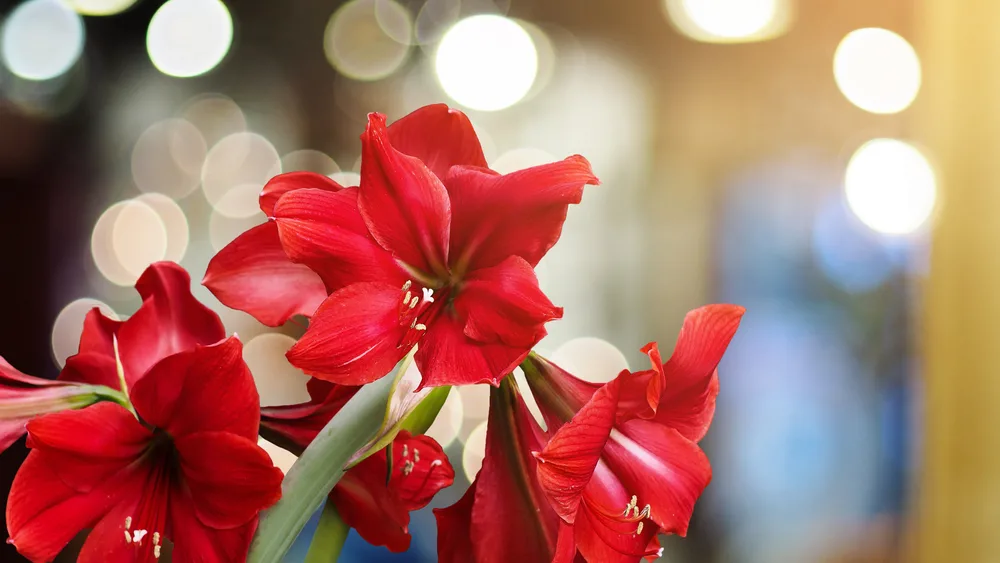
In either case, as the holidays wind down and the new year begins, you’re probably scratching your head and wondering…
“What should I do with my amaryllis bulb once it has bloomed?”
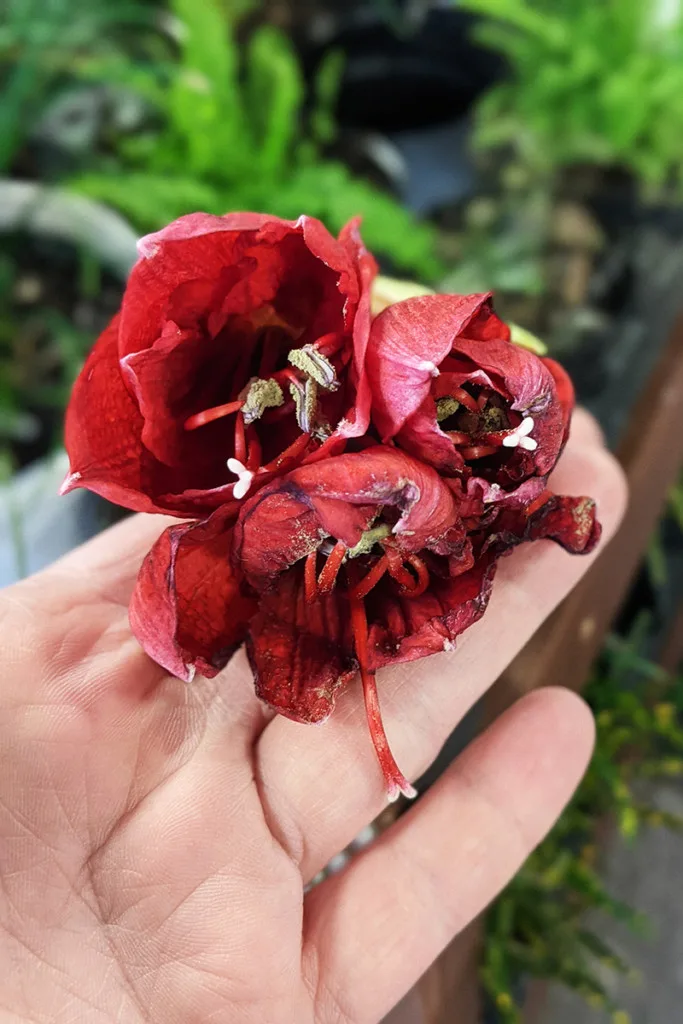
For many people, the answer is the trash bin.
But it’s so easy to save your bulbs so they can bloom again next year. With very little fuss, you could have the same bulbs blooming on your windowsill year after year. Or you could save the bulbs to give as gifts next year, ready to bloom for their new owner.
Rather than pitching these bold beauties, read on to find out how to save your amaryllis bulb so it will bloom again next year.
A Quick Note About Wax Covered Bulbs
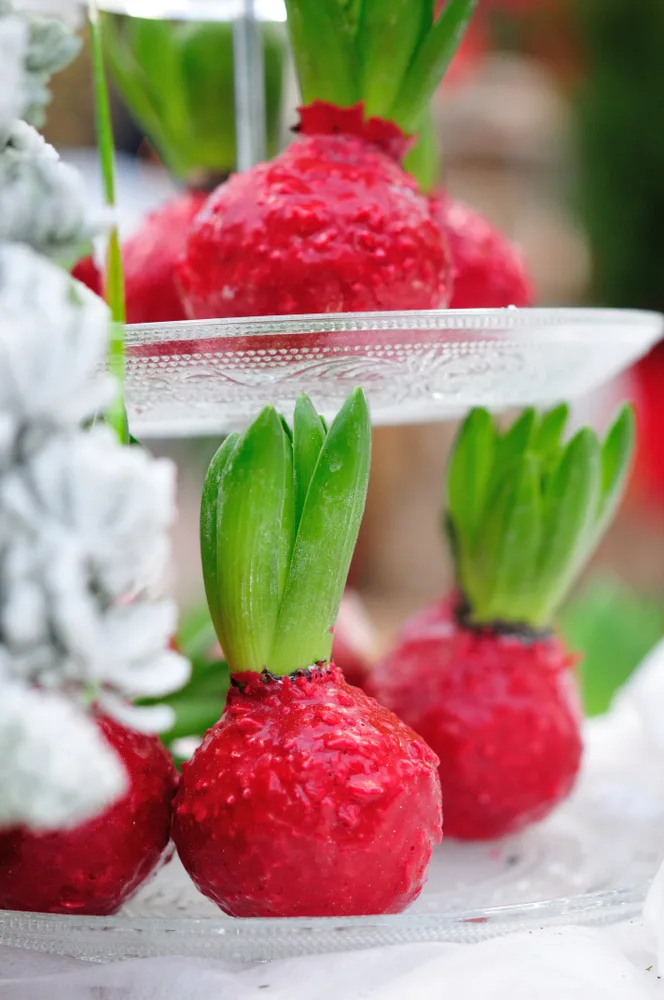
In recent years, amaryllis bulbs covered in wax have become increasingly popular. They don’t require soil or a pot, so they’re super easy to grow. Unfortunately, because of how the bulb is prepared before being dipped in wax, they’re pretty much a single bloom bulb. The bulb can’t breathe encased in wax, and any water added will rot the bulb over time.
And to allow the plants to stand upright without a pot, the roots and basal plate are cut off of the bulb, and usually, a wire is inserted into the bottom to keep it steady. Without roots or the basal plate to regrow them, the bulb won’t bloom again.
If you’re hoping to start a collection of amaryllis to bloom year after year, skip these novelties and opt for the good old-fashioned bulbs each Christmas.
A Bulb Like Any Other
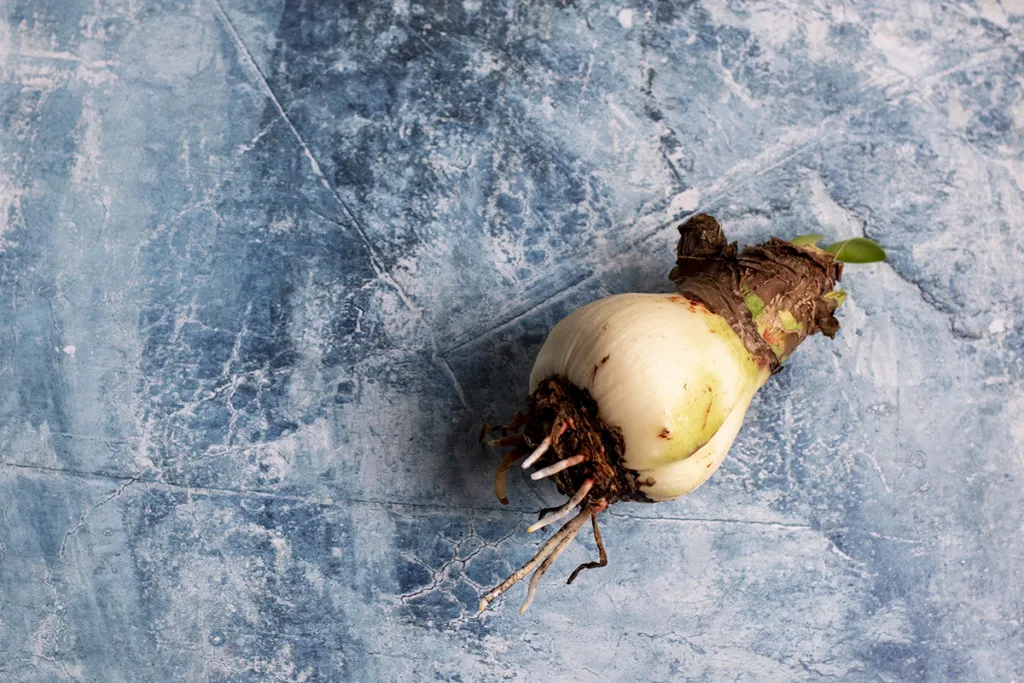
Amaryllis grow in much the same way as any other bulb. They bloom, then store nutrients in their leaves, and after a period of dormancy, they start the cycle all over again.
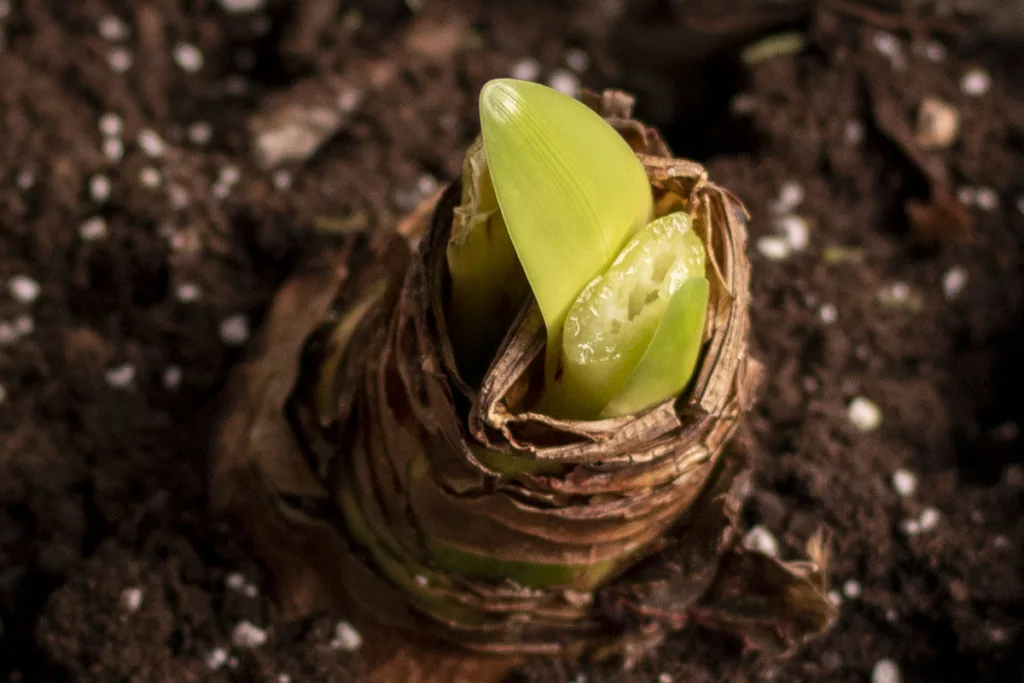
Once your amaryllis is finished flowering, cut the flower stems to within an inch of the top of the bulb. Don’t cut the leaves, though; these are needed to make and store energy within the bulb. Let the leaves continue to grow. Think of them as long, green solar panels.
Repotting
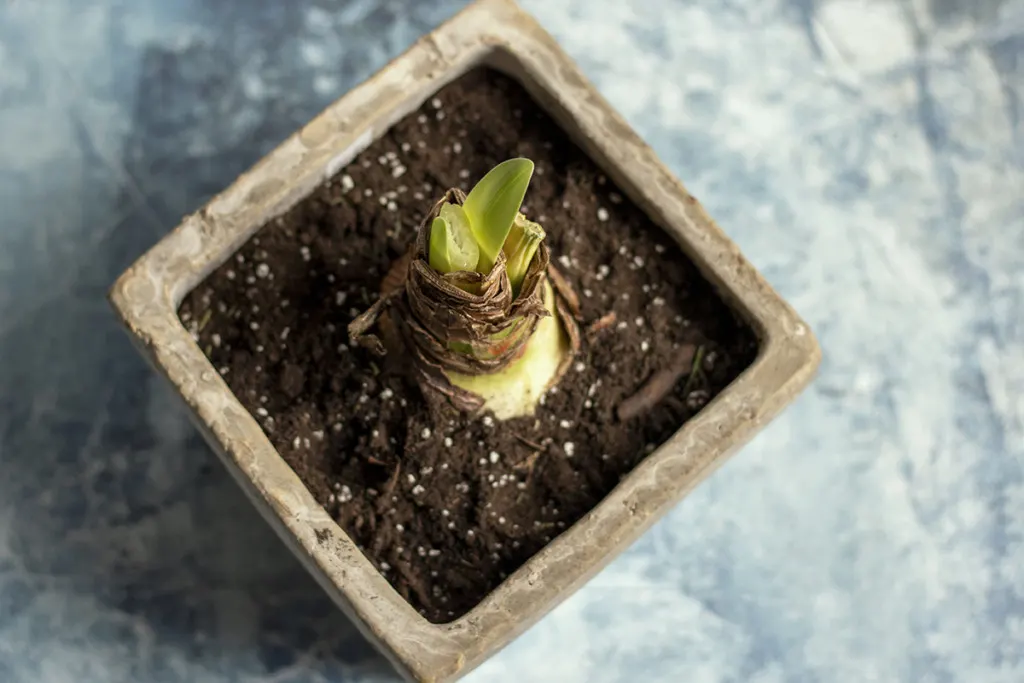
If your bulb was sitting in a dish of water or pebbles with no soil, it’s time to give it a more permanent home. Plant your bulb in a pot with a well-draining potting mix. Be sure the pot you choose has a drainage hole, as bulbs are notorious for rotting when left sitting in soggy soil.
You’ll want to make sure the bulb has at least an inch of room on all sides and that the pot is deep enough for the roots to grow down 2-4”.
Plant the bulb, roots downward, and keep the top third of the bulb up out of the dirt.
Sun and Water
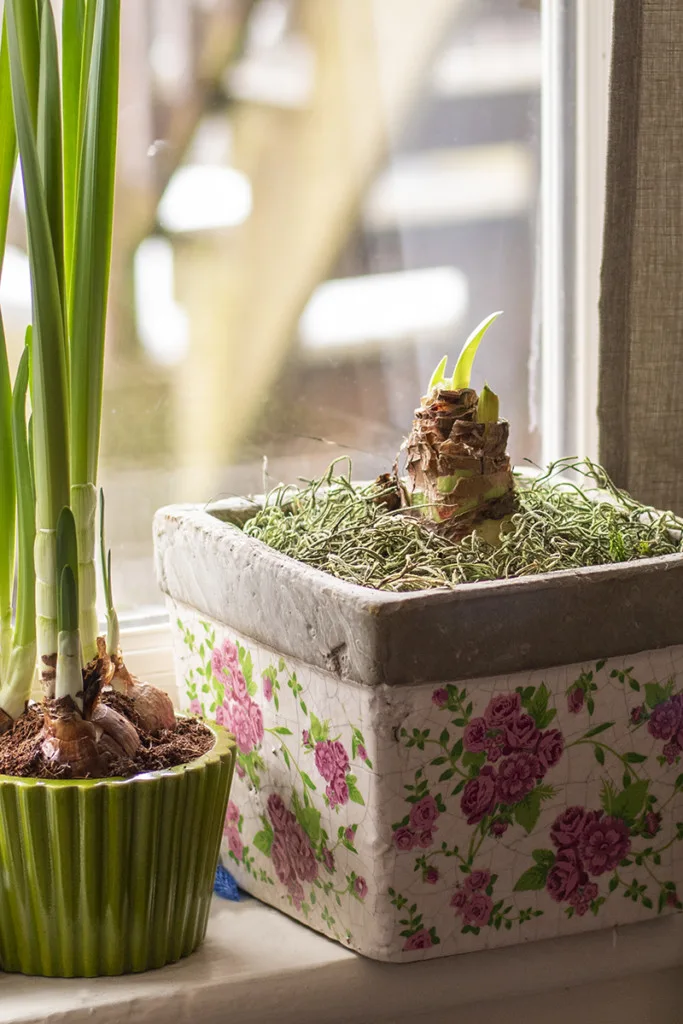
Keep your newly repotted bulb on a windowsill in a sunny location. It’s going to need that sun to store energy in its leaves so it will bloom again next year.
Water your amaryllis bulb whenever the soil is dry. It’s important not to let the bulb dry out.
Time to Move Outside
Once the weather has warmed and nights remain above 50 degrees, you can move your bulb outside if you like. They do best in partial shade but will tolerate full sun. Remember, it needs that sun to make energy. Just be sure to continue watering your bulb whenever the soil dries out. If the soil remains dry, the bulb will go dormant, and you don’t want that to happen until the fall.
The Dormancy Period
Towards the end of September, you’ll need to bring your bulb inside before any frosts. Choose a consistently cool location (around 40 degrees), like a shed or garage or even a dry basement.
At this point, you’ll stop watering the bulb and let the leaves die off. This will take between 2-3 weeks. Once the leaves are brown, you can trim them off of the bulb.
Keep the bulb in this location for around 6-8 weeks total.
Blooming
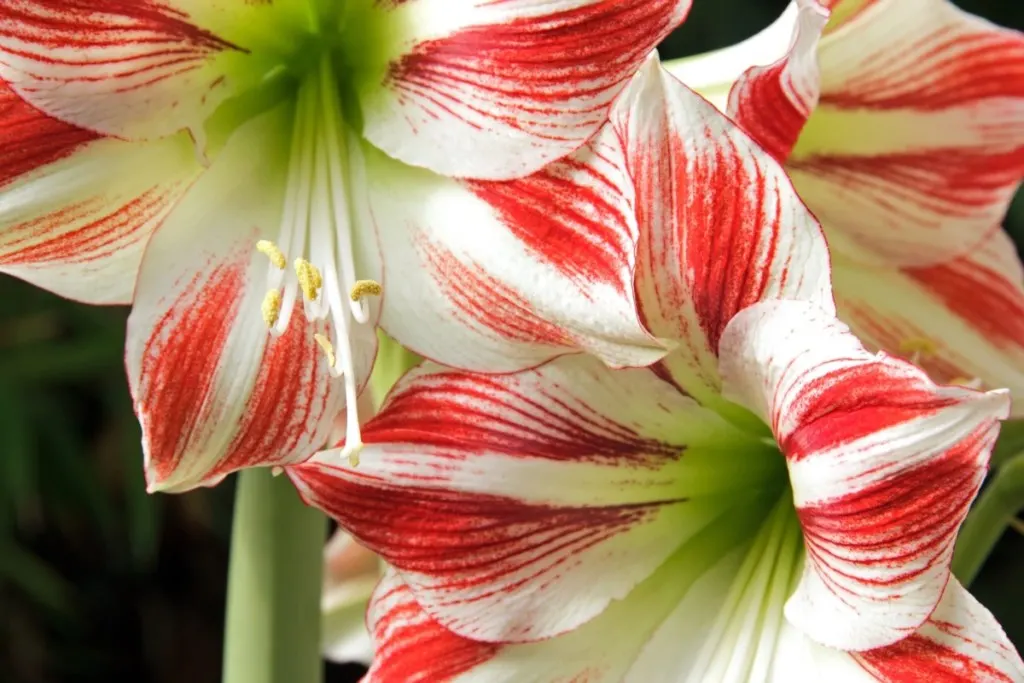
When you’re ready, bring the pot inside where it’s warm, and place it on a sunny windowsill. Give the soil a good drink, again draining off any standing water. Continue to water the soil as it dries out.
Your well-tended bulb will happily bloom again just in time for the holidays.
Can I Grow My Bulb Outside?
For those who live in USDA Hardiness Zones 9 and above, the answer is yes, absolutely. Even those living in zone 8 can grow them outside if they cover the bulbs during winter frosts.
For the rest of us, it’s best to stick to growing these gorgeous plants inside.
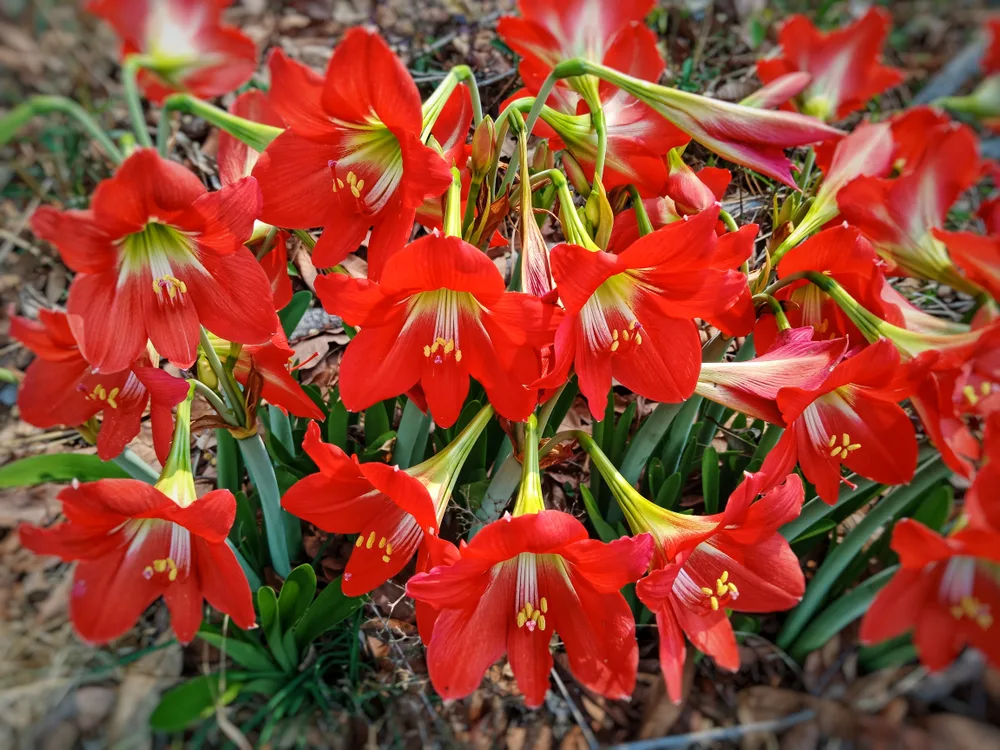
To grow your amaryllis bulb outside, you’ll need to plant the bulb in a sunny location, much like you would repot it – shoulders above the soil, roots down. If you’re planting more than one bulb, space them about a foot apart.
Because your bulb was forced to grow in the winter, it may take an entire growing season for it to revert to it’s natural growing cycle of blooming in the spring. So, if you don’t see blooms the first year, don’t give up on it.
If you’re lucky enough to live somewhere you can plant amaryllis outside; I highly suggest you do. The blooms are just as gorgeous outside, and the bulbs are resistant to both rodents and deer making them a hardy addition to your landscape. You could start a whole flower bed, adding a new Christmas bulb each year.
See You Next Christmas
See? I told you it was easy. With no more care than you’d give your average houseplant, you’ll be enjoying this year’s amaryllis bulb next Christmas. And many Christmases to come.
Update December 2023:
Below you’ll find my guide to reviving your amaryllis bulb so it blooms again for the holidays.

Get the famous Rural Sprout newsletter delivered to your inbox.
Including Sunday musings from our editor, Tracey, as well as “What’s Up Wednesday” our roundup of what’s in season and new article updates and alerts.


