
For the longest time, I didn’t understand the popularity of growing amaryllis and paperwhites at Christmas. In my book, it seemed like one more thing that demanded my time in an already hectic month.
That is, until one year, on a whim, I grabbed one of each from the giant stack of boxes in the seasonal aisle at my favorite grocery store.
I figured I would give them the bare minimum of care I could afford, and if they made it, great; if they didn’t, I wouldn’t be too upset.
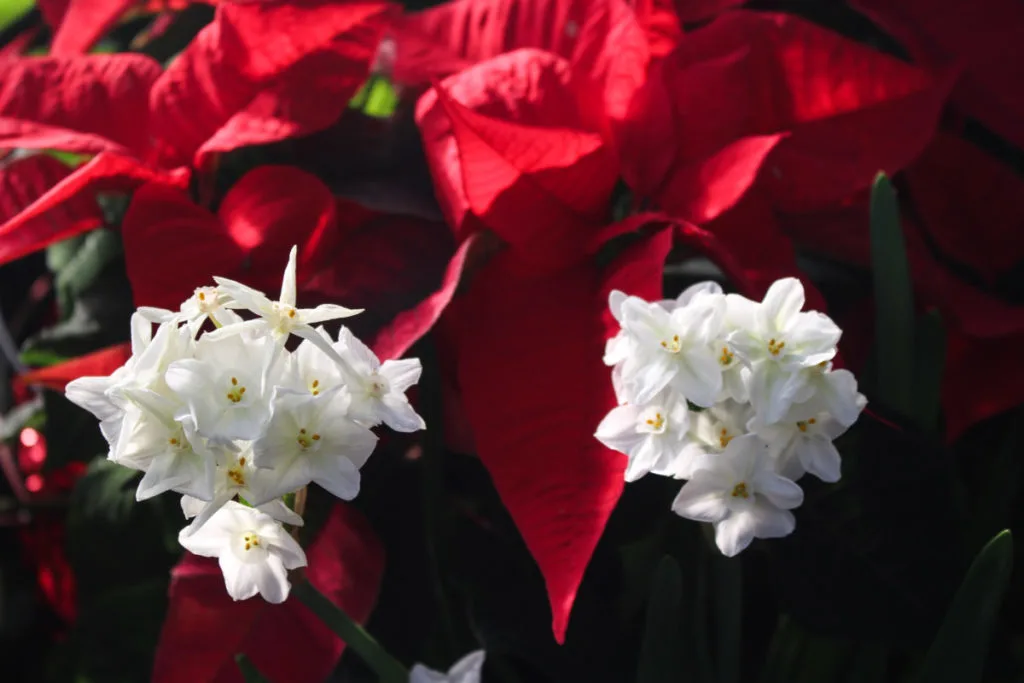
Lucky for me, both thrived on that level of care, and I spent Christmas and the New Year with beautiful blooms.
Since then, I have grown paperwhite and amaryllis bulbs every winter. I can’t begin to tell you how easy it is to do. This small act reminds us in the dead of winter that green growing things are right around the corner.
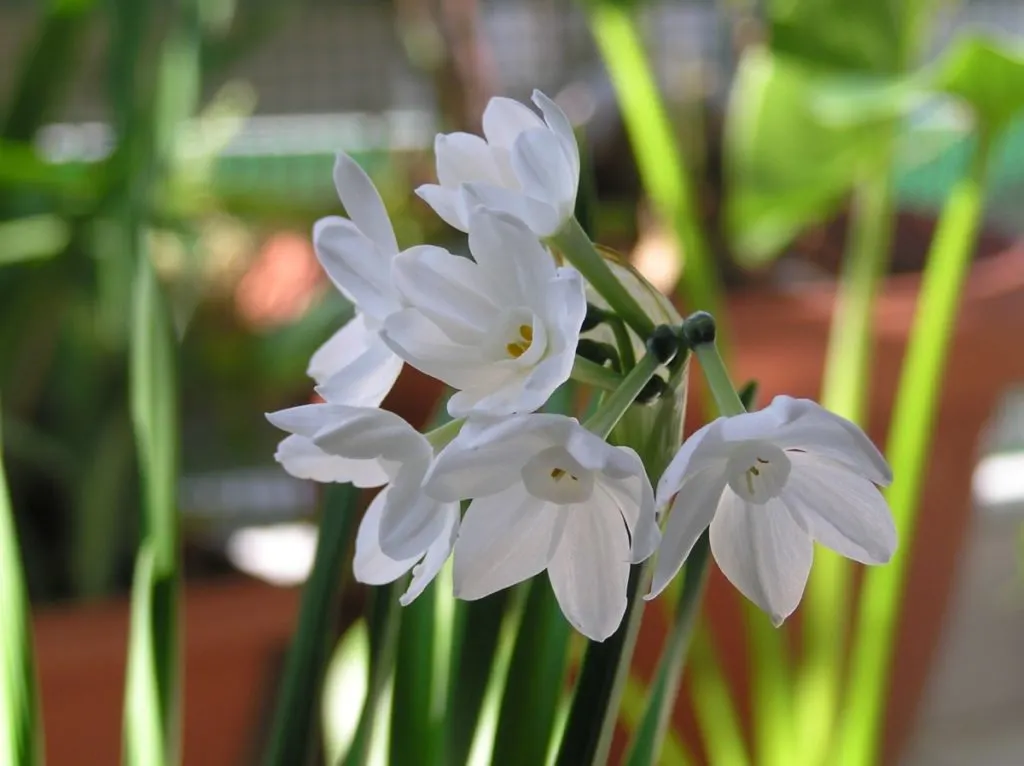
For anyone who suffers from seasonal affective disorder (hi, friend), I highly recommend adding these bulbs to your regular winter therapy.
On the bleakest of days, there they are, a huge red bloom on bright green stalks and the clean, delicate white stars of paperwhites. Just the boost you need to beat the winter blahs.
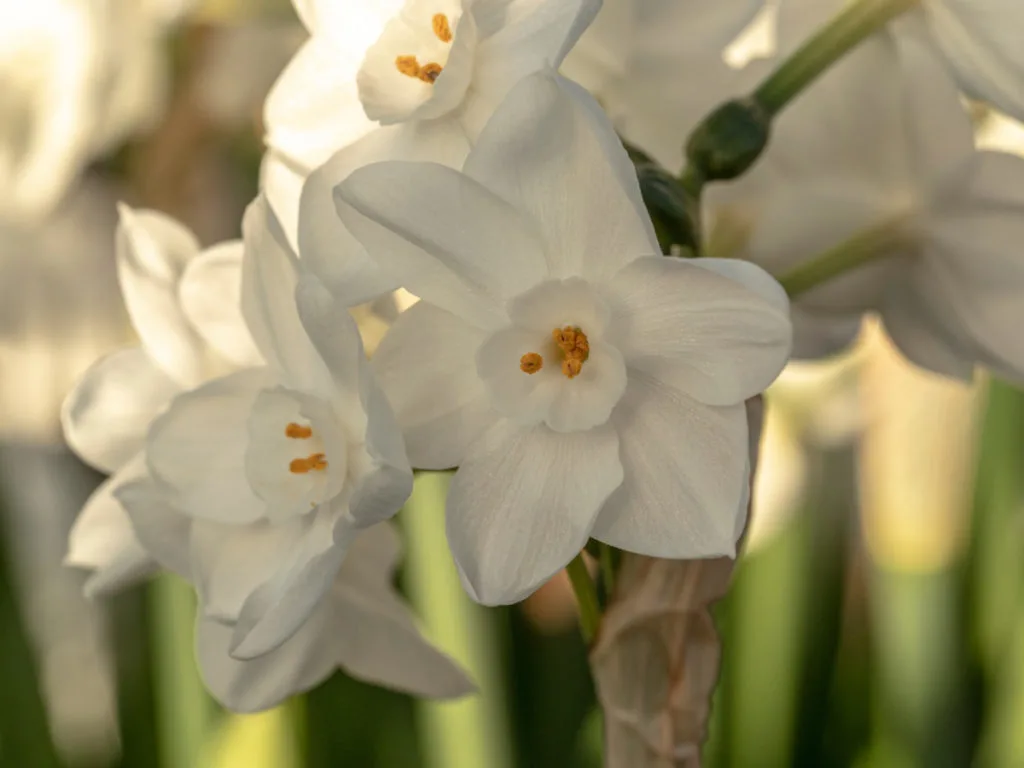
The paperwhites are my favorite, mainly for their scent and the delicate star-shaped flowers. If you’ve never had the pleasure of sniffing a paperwhite, I highly suggest you grow them for that alone. It’s a heady, clean white floral. And after a month of cinnamon and spice and sugary treats, it hits just right.
The scent gets me thinking of fresh spring rain, and the next thing I know, I’m making garden plans while pouring over seed catalogs in January.
Forcing Bulbs
Growing paperwhites in the middle of winter is known as forcing the bulbs. You are, in essence, encouraging them to grow outside their normal blooming period.
Paperwhites are ridiculously easy to trick into blooming. Most bulbs need a cold period (spending the winter in the ground) to bloom, whereas Narcissus papyraceus, or paperwhites, do not.
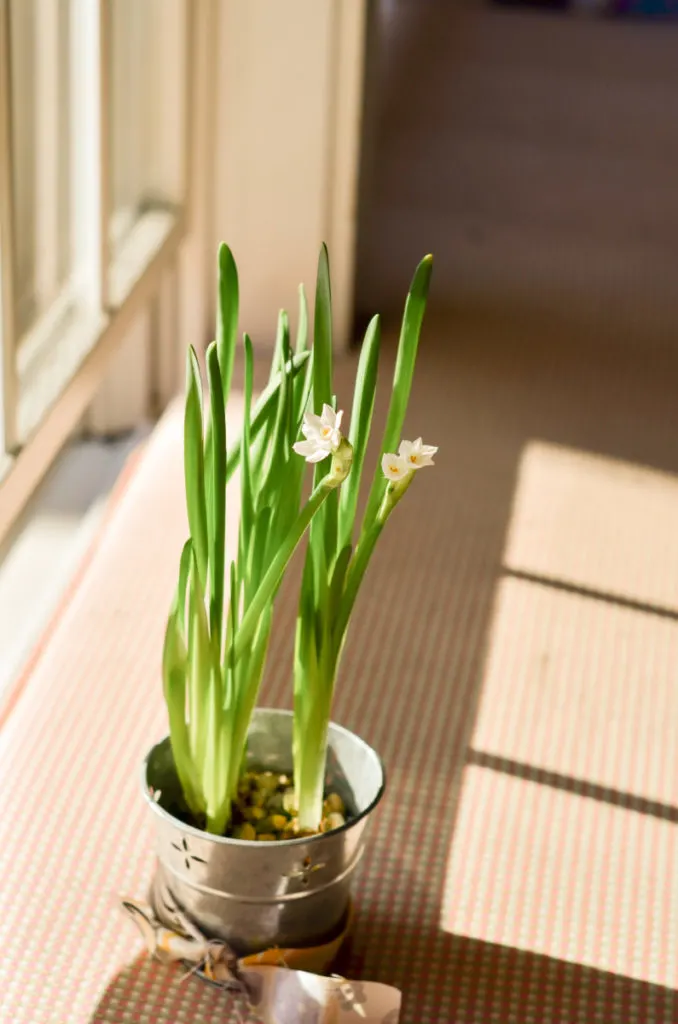
To force paperwhites to bloom in the winter, place the bulbs, root side down, in a pot filled with potting soil and keep the soil moist but not soggy. Place your pot near a sunny window, and then go about your holidays.
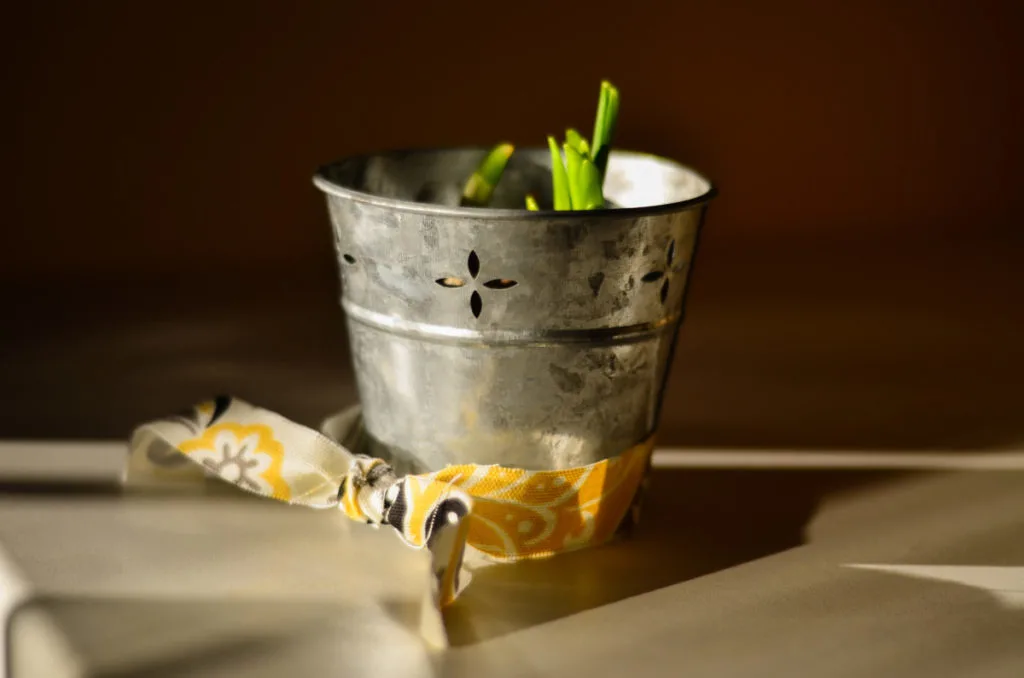
Before you know it, you’ll be walking through the room and catch a whiff of the most wonderful scent, and lo and behold; you’ll be greeted with pristine white flowers.
Will They Bloom Again, or Won’t They?
You’ll find that the most common suggestion for spent paperwhite bulbs is to compost them because they won’t bloom again.
This piece of advice is not altogether true.
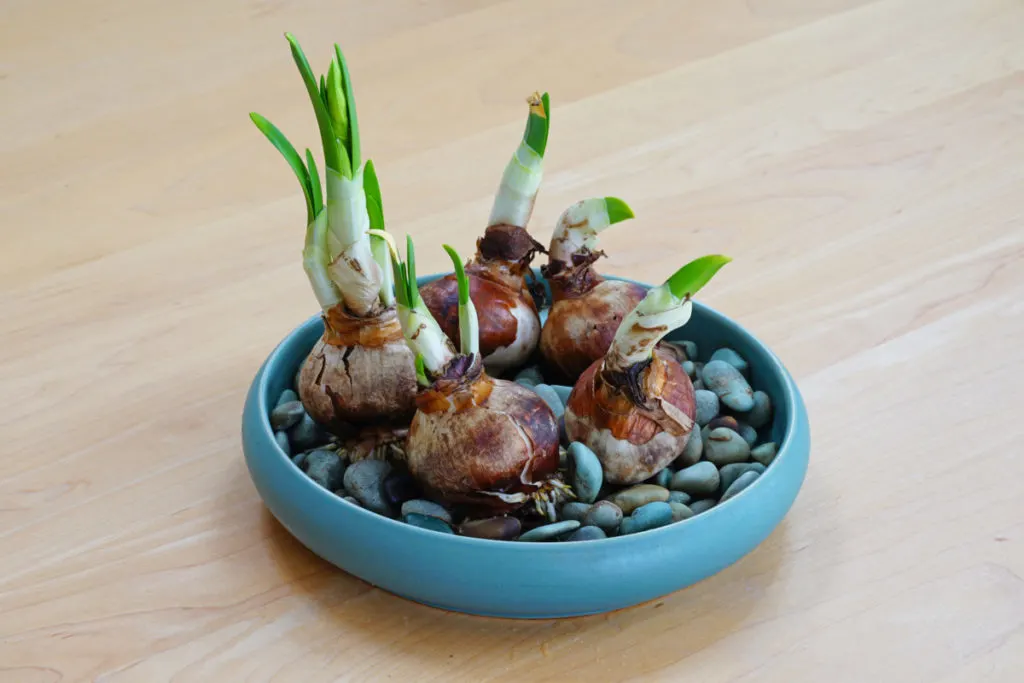
Granted, if you forced your paperwhites in a dish of water and pebbles, they wouldn’t bloom again; they didn’t’ get any nutrients during their blooming period.
If you planted your paperwhite in a pot with soil, you can get them to bloom next year with a bit of extra effort.
An Incredibly Slow Rechargeable Battery
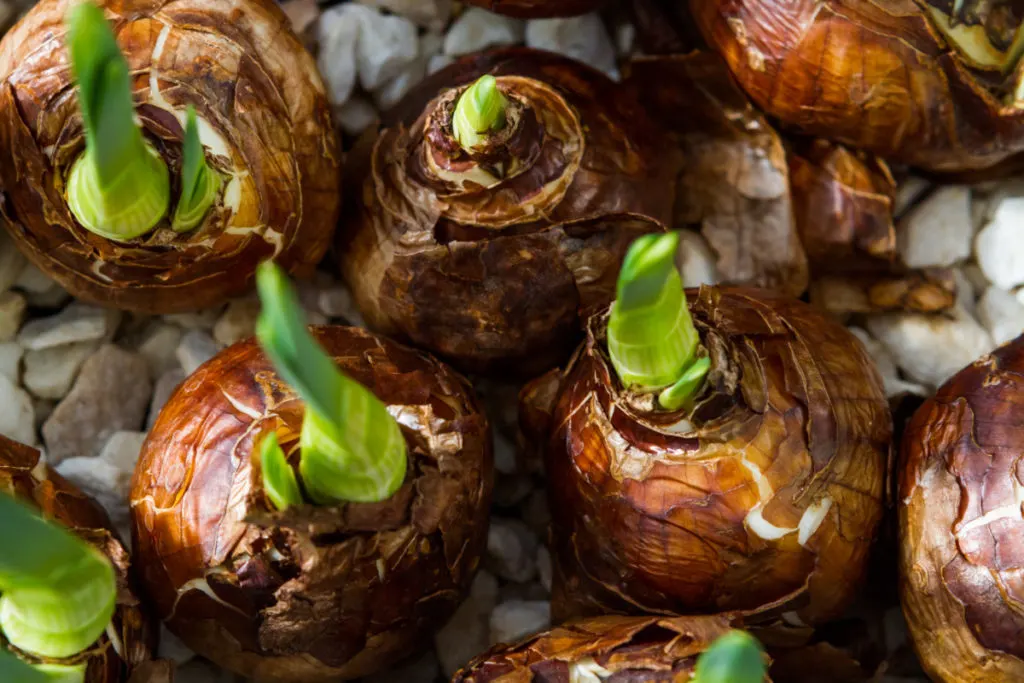
To understand why forced paperwhites don’t often bloom the following year again, you have to know how the bulb works.
Think of a bulb as a battery.
A solar-powered rechargeable battery.
A ridiculously slow charging solar-powered battery.
And to power the device (the bloom), the battery has to be charged to full power. None of this charging halfway; it’s just not going to cut it. To power the bloom, the bulb-battery has to be charged to maximum capacity. In other words, that bulb needs to be packed with energy and nutrients.
While the plant is blooming, the bulb uses the stored nutrients, so the battery is depleted once again. And that brings us to the question of will it bloom again?
No.
That is to say, not without a little extra effort. For many folks, it’s easier to compost the old bulbs and buy new ones each Christmas because they’re inexpensive and easy to get ahold of.
And that’s completely fine.
However, if you’re one of those gardeners who hear you can’t do something and your immediate response is, “Challenge accepted!” then keep reading. I will walk you through everything you need to do to recharge the bulb battery and get your spent paperwhites to bloom again.
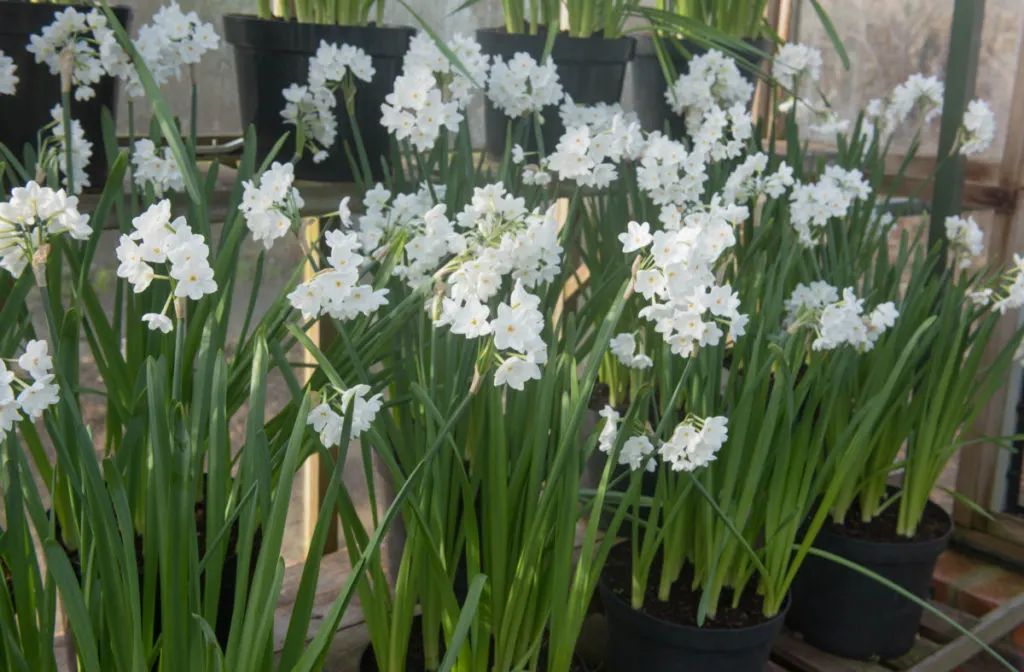
If you grew your paperwhites in water or pebbles instead of soil, then this probably isn’t going to work, and you can compost those bulbs and try again next year.
Keep the Greenery
Many people make the mistake of cutting back the leaves after the bulbs have stopped blooming. But those leaves act like solar panels allowing the plant to consume and store energy inside the bulb. You need to let the leaves grow and pack away energy inside the bulb.
Do not cut the leaves until they begin to yellow. Only then should you trim them back. This can happen as late as July or August.
Fertilizing is the Key
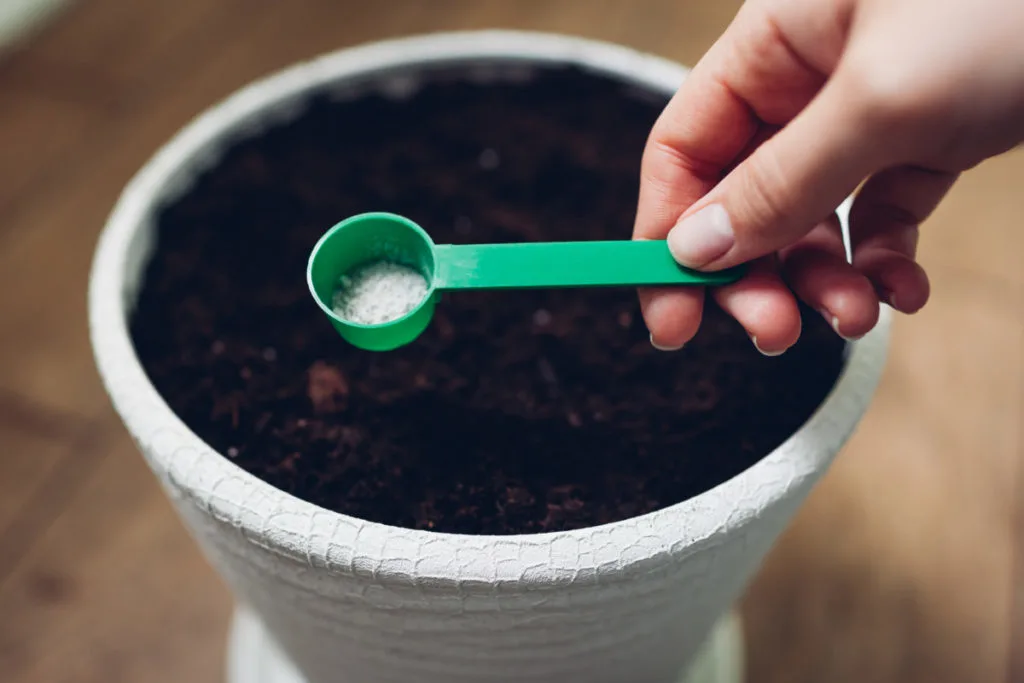
If you want to give your spent bulbs the best chance at storing up enough energy to bloom next year, then you have to replace their nutrients. Use a fertilizer made just for bulbs, and fertilize them once a month after blooming.
The two most important nutrients for bulbs are phosphorous and nitrogen.
Phosphorous is essential to growing large, healthy bulbs. Phosphorous plays a huge role in photosynthesis and the plant’s ability to store the energy it makes.
Nitrogen is important for healthy foliage development. Despite what we may think, leaves are incredibly important to flowering bulbs; this is why we continue to let them grow long after the flowers are gone.
Here are a few great bulb fertilizers:
Dr. Earth Spectacular Organic Premium Bulb Food
Burpee Organic Bonemeal Fertilizer
Pennington Ultragreen Color Blooms and Bulbs
Catch Some Rays
It’s important for your plant to store as much energy as possible, so it needs plenty of sunshine. Once the weather warms up, the best place for your pot of paperwhite bulbs is outside. Let the soil dry out between waterings, and then give them a good soaking. Continue feeding them once a month.
Now You Can Trim the Leaves
In mid to late summer, the leaves will turn yellow and then brown. Now you can trim the dead leaves away.
After this, let the bulbs dry out in the pot for a few days before gently removing the bulbs from the soil. Let the bulbs dry out of the sun for a few days.
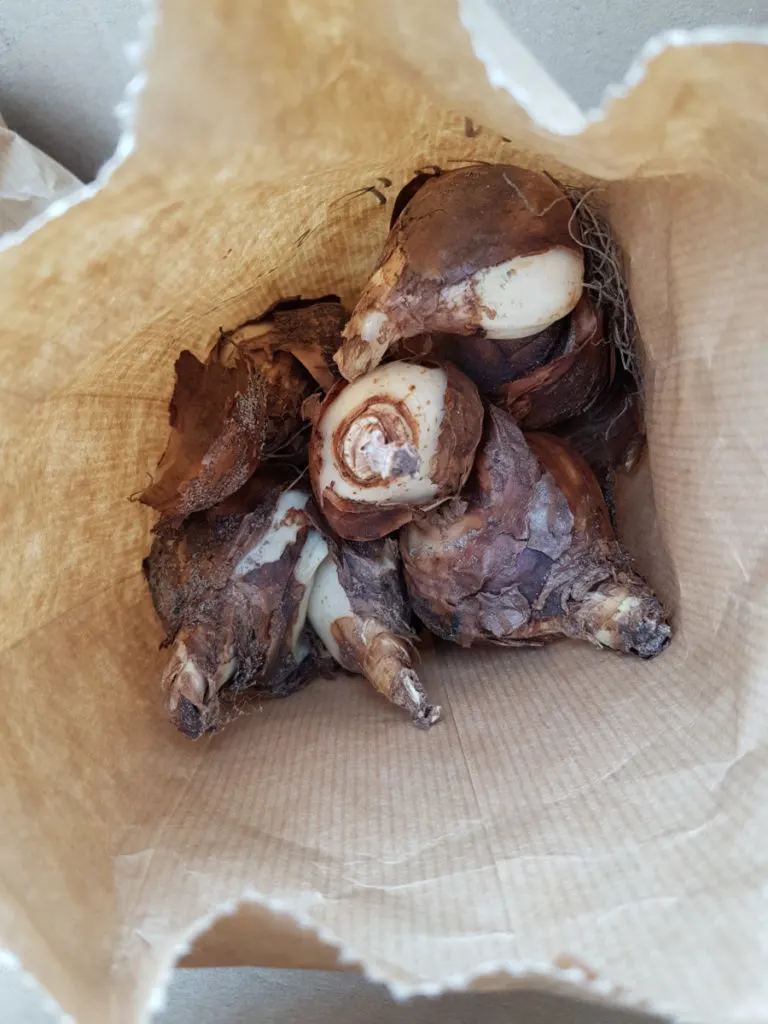
Once they’re completely dry and the skins begin to get papery, store the bulbs in a paper bag, where they won’t get wet.
The Month Before Blooming
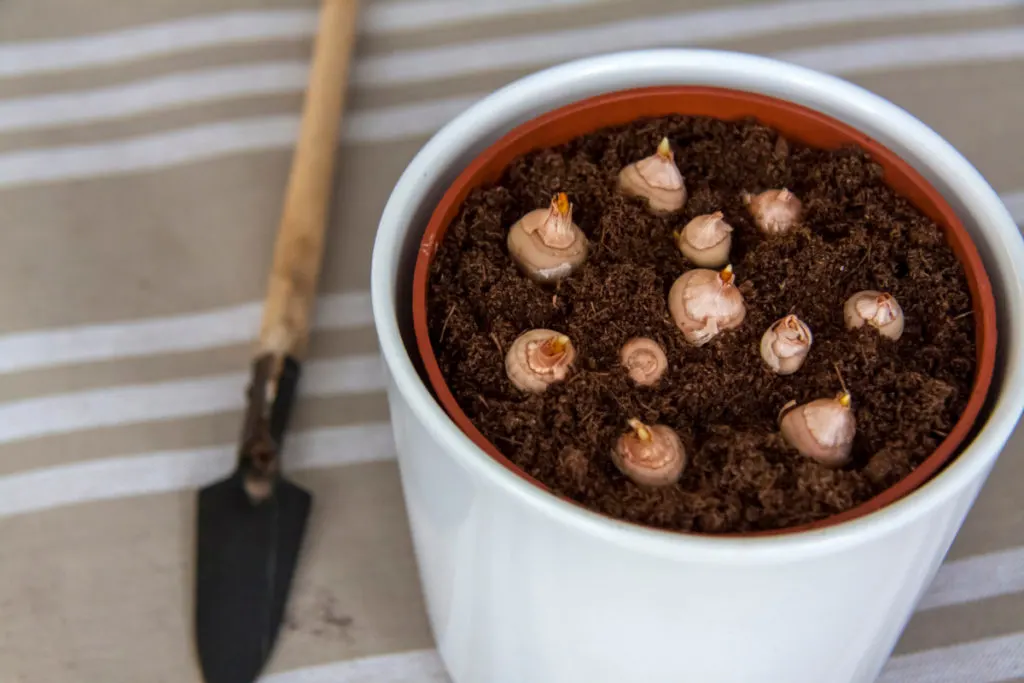
About a month before you want the paperwhites to bloom, add some potting soil to a pot with a little bulb fertilizer mixed in. Gently press the bulbs into the soil. You don’t need to cover them. Just push them down a bit so they won’t fall over. Water them well and place them in a sunny window.
When you remove them from the paper bag, you will probably notice some of the bulbs have pale yellow sprouts growing from the top of the bulb already. This is a good sign!
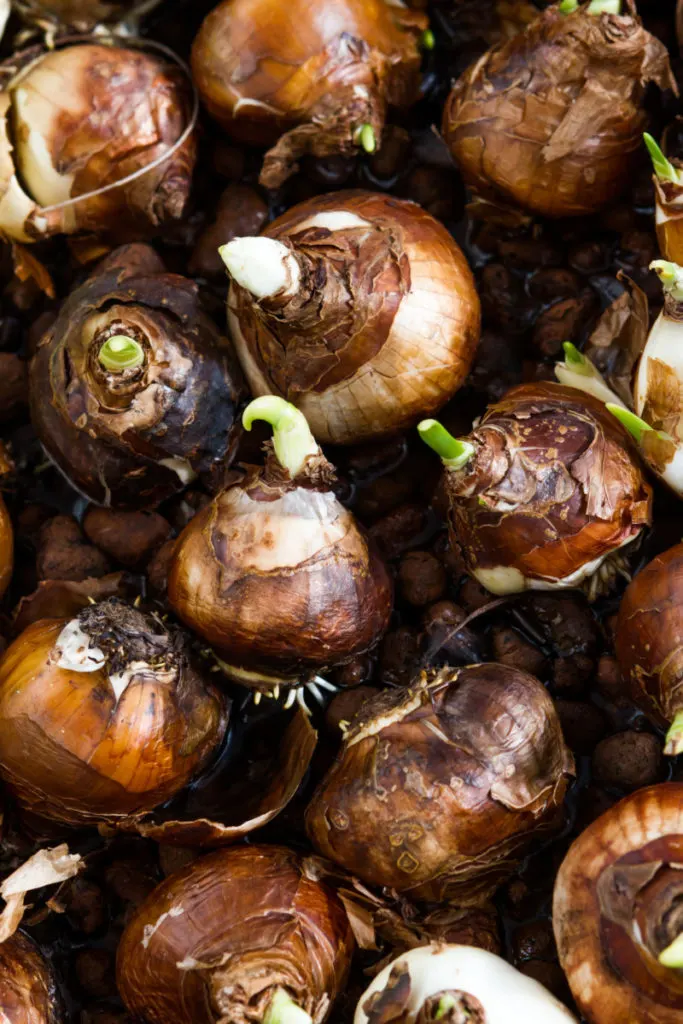
Continue to water the bulbs as the soil dries out, and you should have blooms again within a few weeks.
USDA Hardiness Zones 8 Through 11
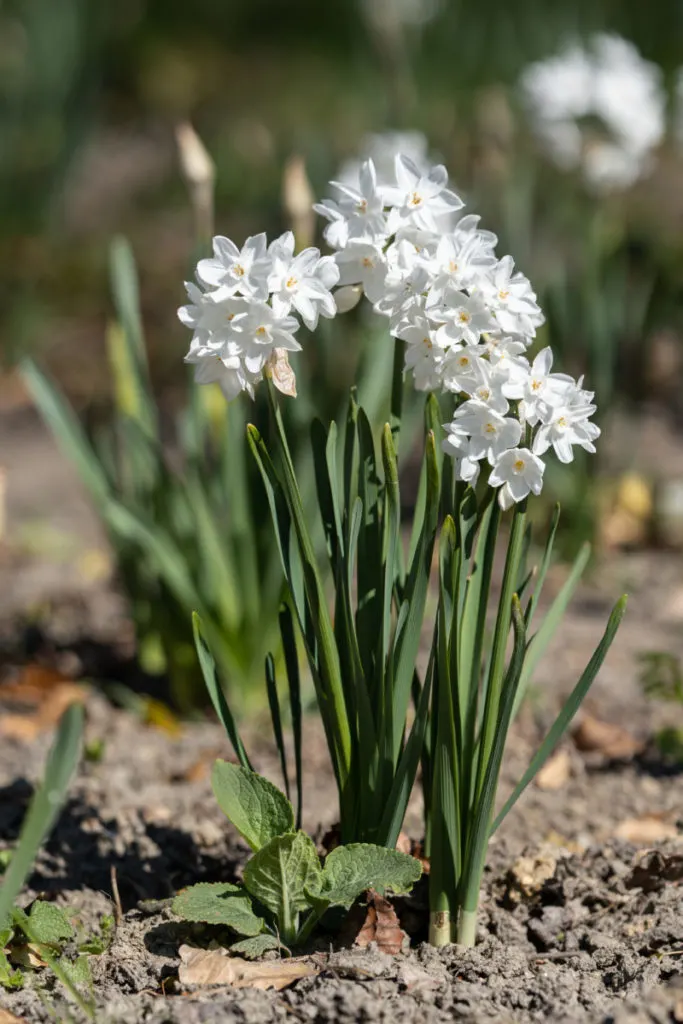
You folks are the lucky ones. You can poke your spent paperwhite bulbs in the ground in the spring with a little fertilizer. It will take 2-3 years for them to bloom again this way, but once they’re in the dirt, you can forget about them until they start blooming again.
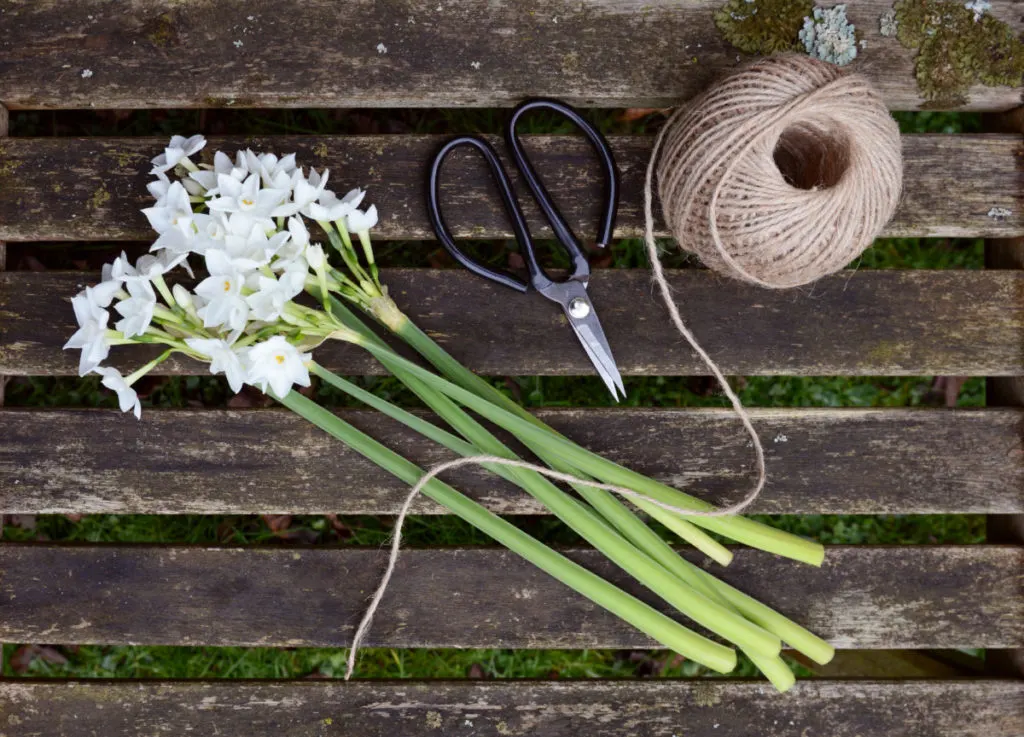
The best part about growing them outside is that the bulbs will multiply in the soil, giving you more new bulbs over time and the possibility of fresh-cut flowers.
And that’s that
So you see, this idea that you can’t get forced paperwhites to bloom again isn’t necessarily the case. And the amount of work involved in recuperating the bulbs so they will bloom the following year isn’t terrible. It is up to you whether or not you want to put in the effort.
If you’re a gardener that loves a project or a challenge, this might be just the thing for you.
For more fun and interesting gardening projects, check out:
How to Save Your Amaryllis Bulb To Bloom Again Next Year
10 Reasons To Plant Daffodils This Fall
How to Keep A Poinsettia Alive For Years & Turn It Red Again

Get the famous Rural Sprout newsletter delivered to your inbox.
Including Sunday musings from our editor, Tracey, as well as “What’s Up Wednesday” our roundup of what’s in season and new article updates and alerts.

