Spring is the beautiful time of year when most gardeners are out buying new garden seeds, if not sorting through their leftovers from last season.
It’s a time of hope and the opportunity to sow an abundant crop. Best of all, sowing seeds gets you back outside in the fresh air after a long winter of staying in.
At this time of year, you may be eager to get those store-bought seeds quickly in the ground, but it’s never wise to rush planting in cold soil. While you can’t beat the weather, you can make a plan.
When you start the gardening season with the idea of saving seeds already planted in your head, your chances of future successful harvests are already in the making.
Are you storing your garden seeds in the best possible way?
Most gardeners, at the beginning of their food-growing career, are excited first of all if anything grows. Secondly, if it grows well, and thirdly that their crop actually produces seeds.
But not all seeds are equal, as you’ll find out a bit later. (You need to know whether they are viable or not, whether they are open-pollinated or hybrid, or maybe won’t produce seeds till next season – as is the case with a biennial plant.)
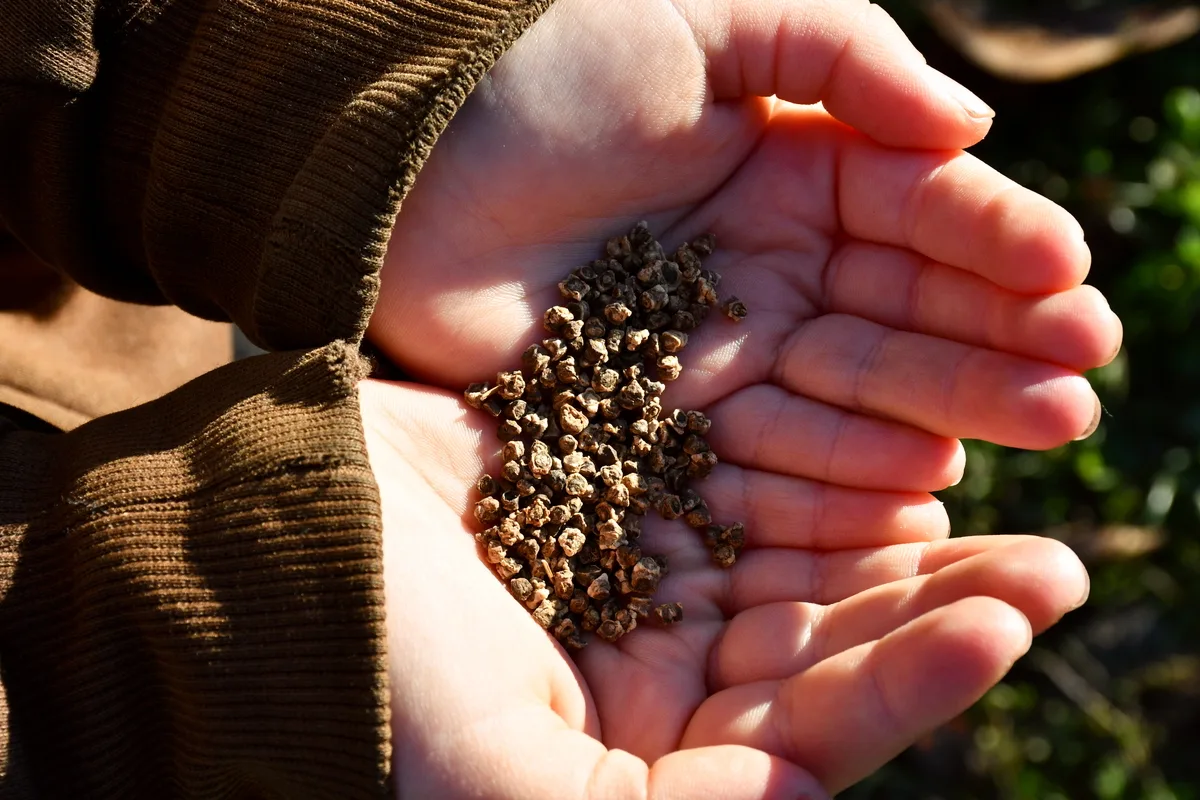
The same goes for chard which looks very similar – don’t forget to label your seeds if you save them both.
When it comes time to actually save those garden seeds, there are a few more questions to ask: is the timing right? Are they mature enough? Do they need to be fermented? And so on.
After your seeds have sat too long drying on a plate, they often find their way into paper envelopes and sit somewhere, hopefully safe, till the next season. This is a set-it-and-forget-about-it method of saving seeds that we’ve used for a long time, our grandparents did too.
Storing Seeds for Long-Term Storage
Saving garden seeds can be a lot of fun. It’s also a fantastic way to save money, or even make money, if you have a natural affinity for it. Plus, there’s the assumed responsibility of passing down heirloom seeds to the next generation, which takes continual sowing and saving depending on the plants being saved.
However, seed saving comes with disappointments.
Have you ever sown three long lines of carrot seeds and waited and waited, only to find a few scraggly shoots pop up? I have, and it’s not fun. All that wasted time and space! Luckily it wasn’t too late to overplant with some starter plants from the market of another kind, but it did cost a pretty penny to fill the space.
If you, too, have faced difficulties in growing carrots and you really want to know how to grow your best carrots ever, from seed to harvest, check out Lydia’s article here.
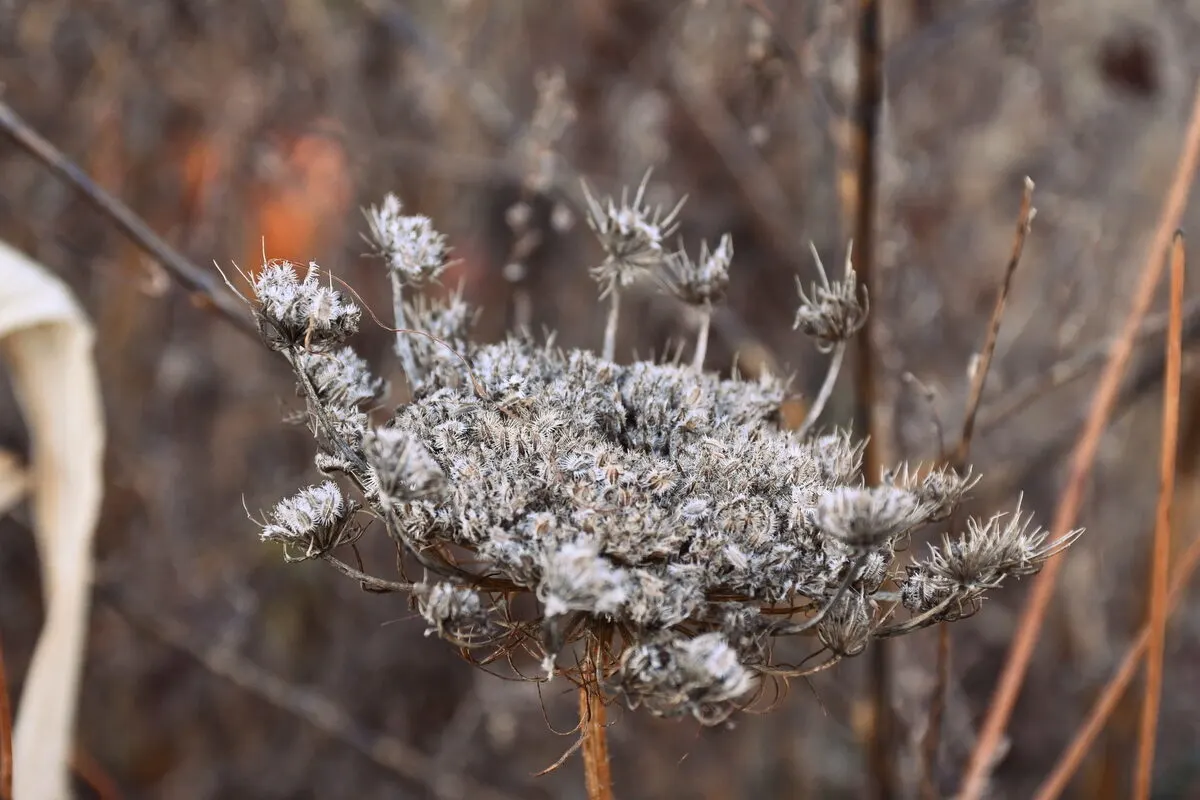
To prevent gardening sorrows, make sure you know from the start of the season how to take care of those potential seeds that will soon be growing in your garden.
The first step in saving seeds is starting with seeds you can actually save.
“Are you saying there are seeds that aren’t worth saving?” Exactly.
Hybrid seeds (F1) are often found in gardening centers and online stores, promoted as easy-to-grow or good-tasting varieties with plants that produce larger fruits with higher yields. What’s not to like about that?
While it may seem that hybrids have some advantages, especially to the commercial grower, such as complete uniformity and a more exact harvest time, saving seeds is not possible. At least not with a reliable outcome.
In fact, saving seeds from hybrids is totally unpredictable. You will never get the same fruit or vegetable that was on the original label, and the yield will drop if replanted. I want you to avoid this seed-saving disappointment.
The best way to do this is by starting with open-pollinated and heirloom seeds.
Heirloom varieties easily adapt to local soils and climates, and they’re often associated with superior flavor. Have you ever seen these amazing vegetables in the grocery store? Crystal apple cucumber, red orach or kalibos cabbage?
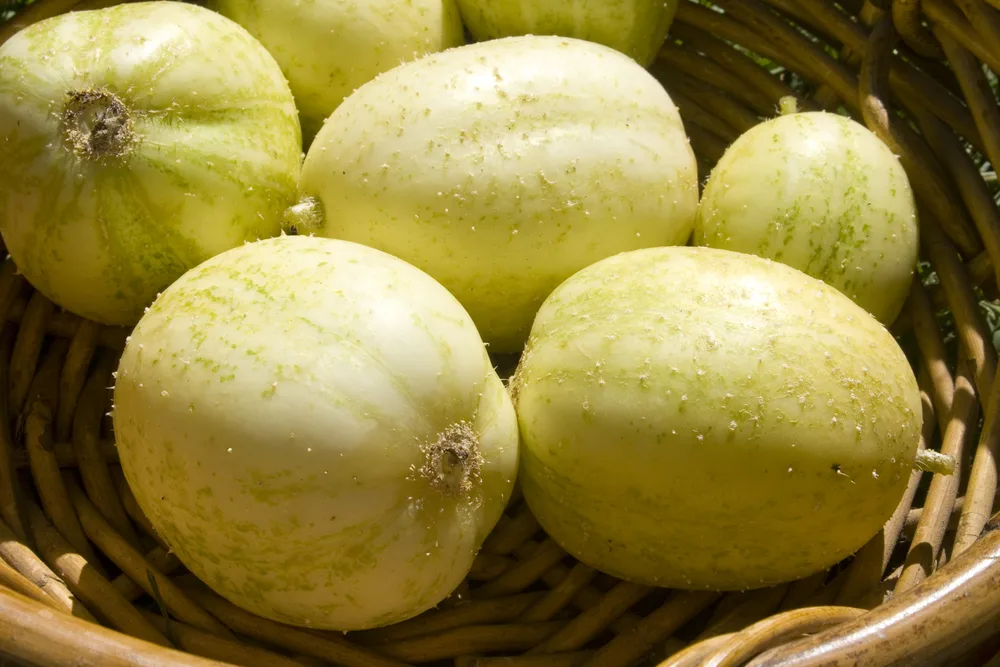
What about heirloom tomatoes that have been passed down through generations?
All in all, heirlooms (seeds that have been grown for 50 years or more without the plants crossing with another variety of the same species) are easy seeds to save.
Heirlooms are open-pollinated seeds, but not all open-pollinated seeds are heirlooms.
Open-pollinated seeds will produce more or less plants that are identical to the parent plant.
You’ll always want to save seeds from the plants that produce the best flavor, shape, heat and cold tolerance, uniformity and size. Here, as opposed to hybrids, you’ll get what you expect season after season.
Start With Easy-to-Save Crops
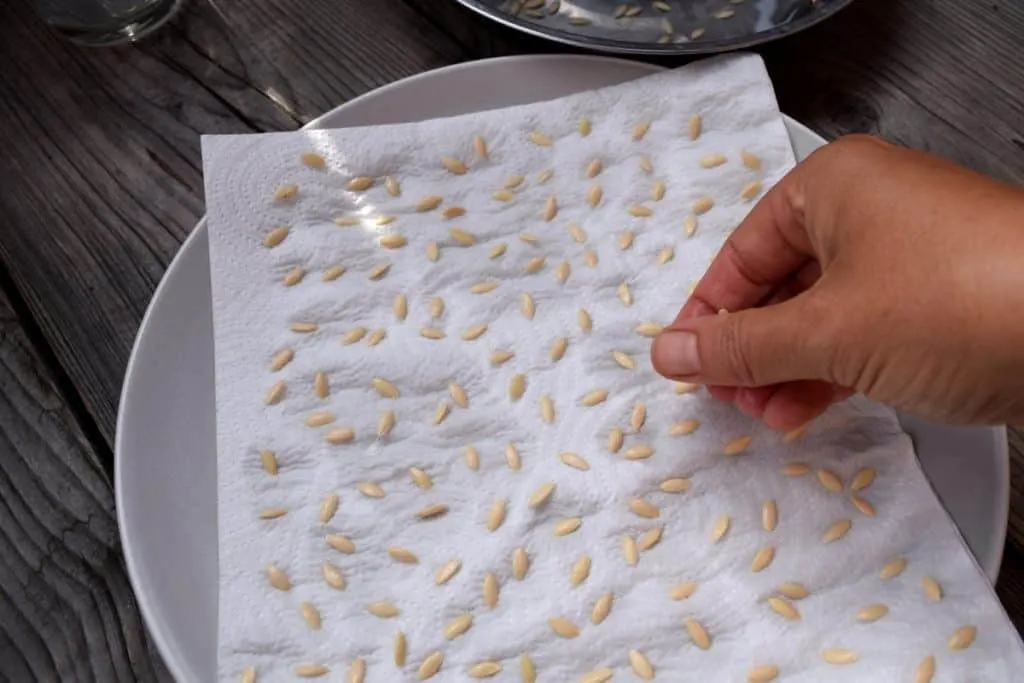
When it comes time to save your garden seeds, you’ll need to know just enough about saving the seeds of each plant to keep you out of trouble.
Start with the most rewarding and easiest seeds to save:
Most of these easy-to-save seeds come from annual, self-pollinating plants. As each plant produces numerous seeds, you’ll only need to leave a few plants for seed production.
Once you’ve mastered the easy-to-save seeds, you can move on to the more challenging ones, such as corn, onions, broccoli, beets, cabbages and kale, as well as other biennials. It’s not all that hard to save seeds from any plant once you get the timing right.
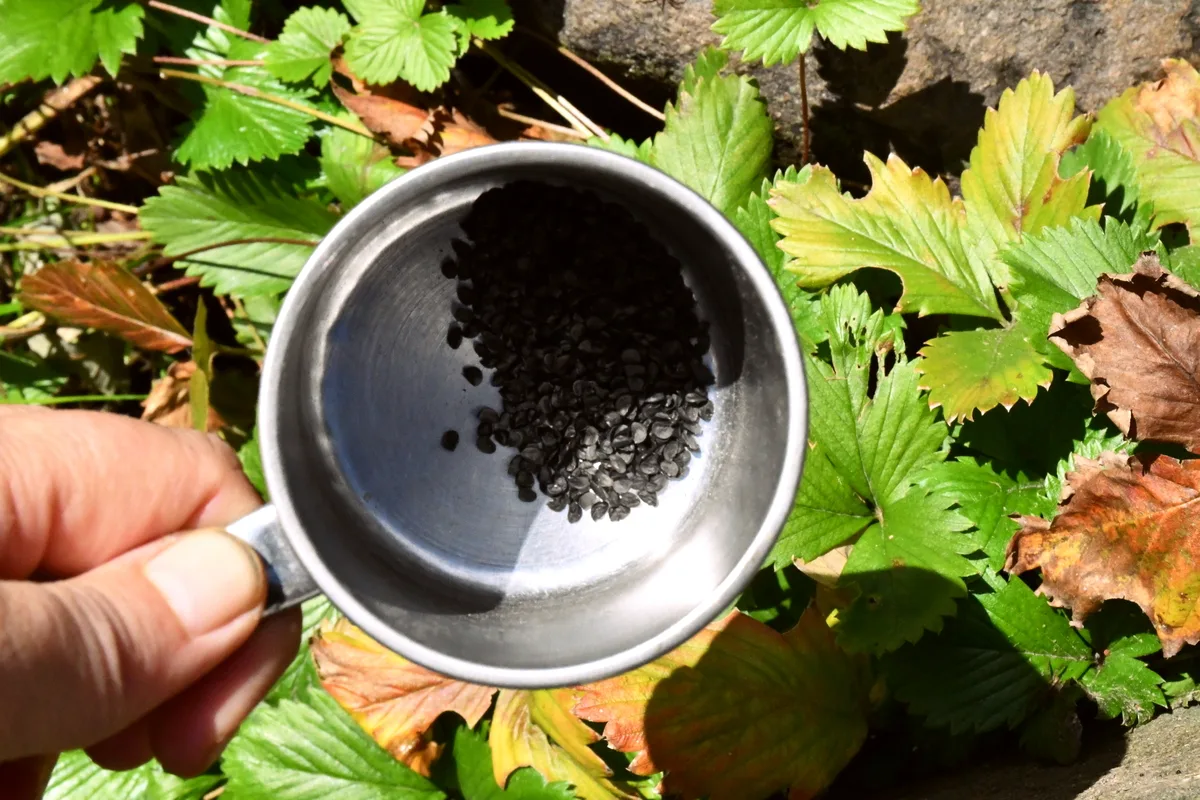
One other thing you must learn as you go is to know how long stored seeds are viable.
Some seeds, such as onions and parsley, will last for only one year with ideal storage conditions. That being said, they should be grown yearly as well, with seeds saved on a recurring basis.
On the other hand, chard, eggplant, lettuce, tomatoes and turnip seeds can all last four years or more in storage. As your garden grows, you’ll inevitably find a seed-saving routine that works for you. Just be sure to keep some garden notes!
Related reading: How To Quickly Test Garden Seeds For Viability (+ How Long Do Seeds Last?)
If you’re going to save seeds, you need to grow enough plants.
Usually, you only need to save a plant or two for seeds; however, to keep the genetic pool larger, you may want to diversify and save seeds from ten tomatoes instead of two from several different plants.
And I hope it goes without saying that if you save seeds from larger-sized tomatoes, you’ll likely end up with larger sized-tomatoes. If you save seeds from early-ripening tomatoes, you’ll get plants that ripen earlier than the rest. That’s the theory, anyway.
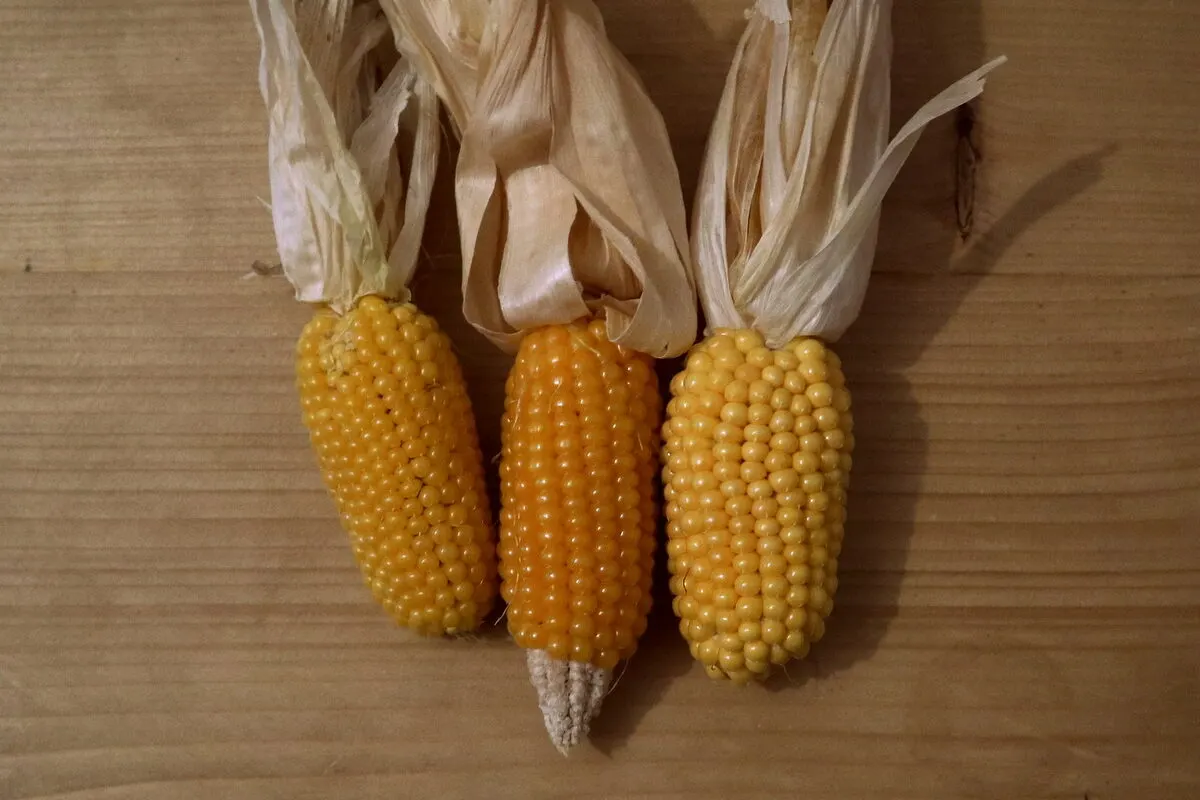
In any case, you’ll always want to save seeds from the best, disease-free plants.
Here’s another example where you need to think about how much is enough. If you want to save bean seeds for both planting and eating, a family of four would need about 40-45 plants or 10-20 plants per person.
Pro gardening tip: Always save more seeds than you think you need.
Any excess is always welcome as a backup stock or for sale or trade.
Growing Garden Seeds: Plant Spacing Is Essential
If you aren’t familiar with cross-pollination in the garden, it’s time to learn a thing or two about it before saving seeds.
When cross-pollination occurs, you won’t see any changes in the plants themselves. In fact, you’ll probably have eaten them without a second thought.
However, when those cross-pollinated and saved seeds are sown the following year, they may not always have the exact characteristics of either of the parent plants.
This activity occurs between different plants of the same species, not between plants of different species.
So, if you have two varieties of squash growing in the same small space, or any combination of pumpkins or gourds trailing around, there is a good chance for cross-pollination.
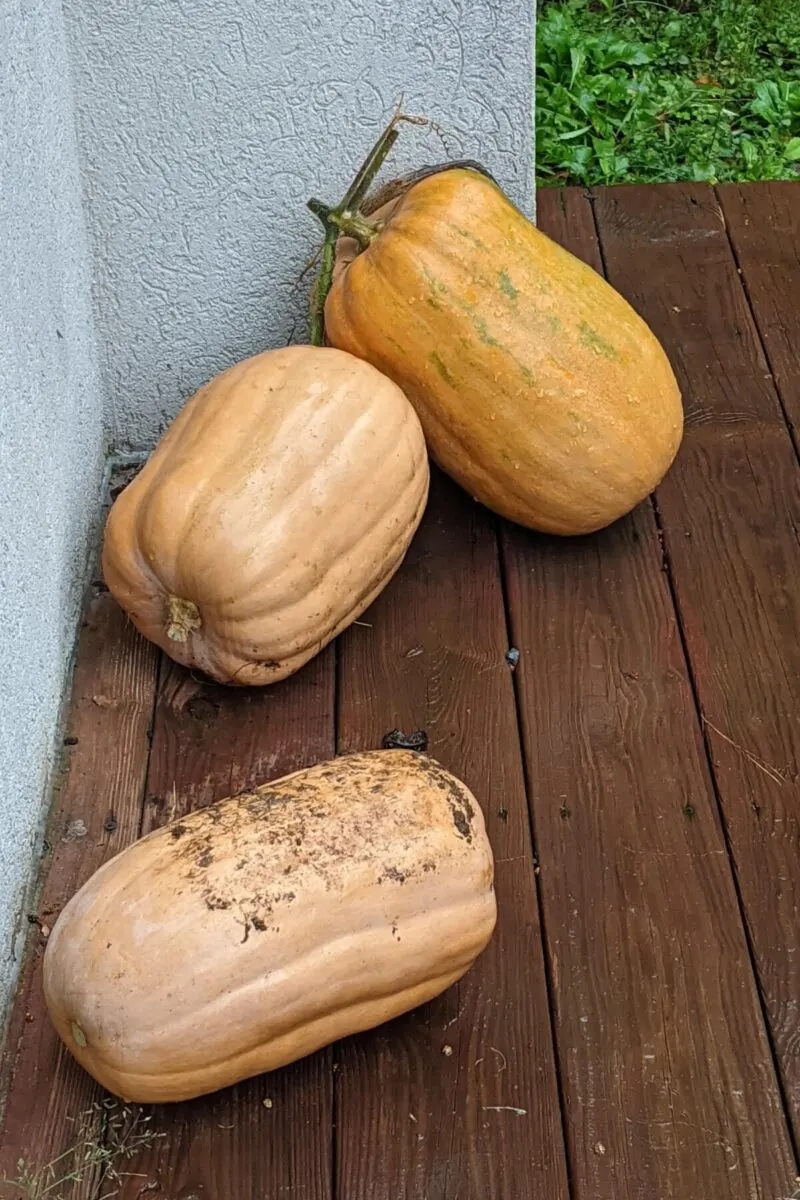
If you aren’t saving seeds, the plant proximity doesn’t matter too much. If your plan is to save seeds, you’ll need to protect the blossoms when they are flowering if you want future fruit that is true to type.
To save seed in a small garden, plant only one variety to prevent cross-pollination. With larger gardens, you are more free to plant in blocks and give each crop the space it needs buffering other species in between.
When Are Seeds Mature?
Beans and peas are ready to harvest when the seed pods are rattly and dry.
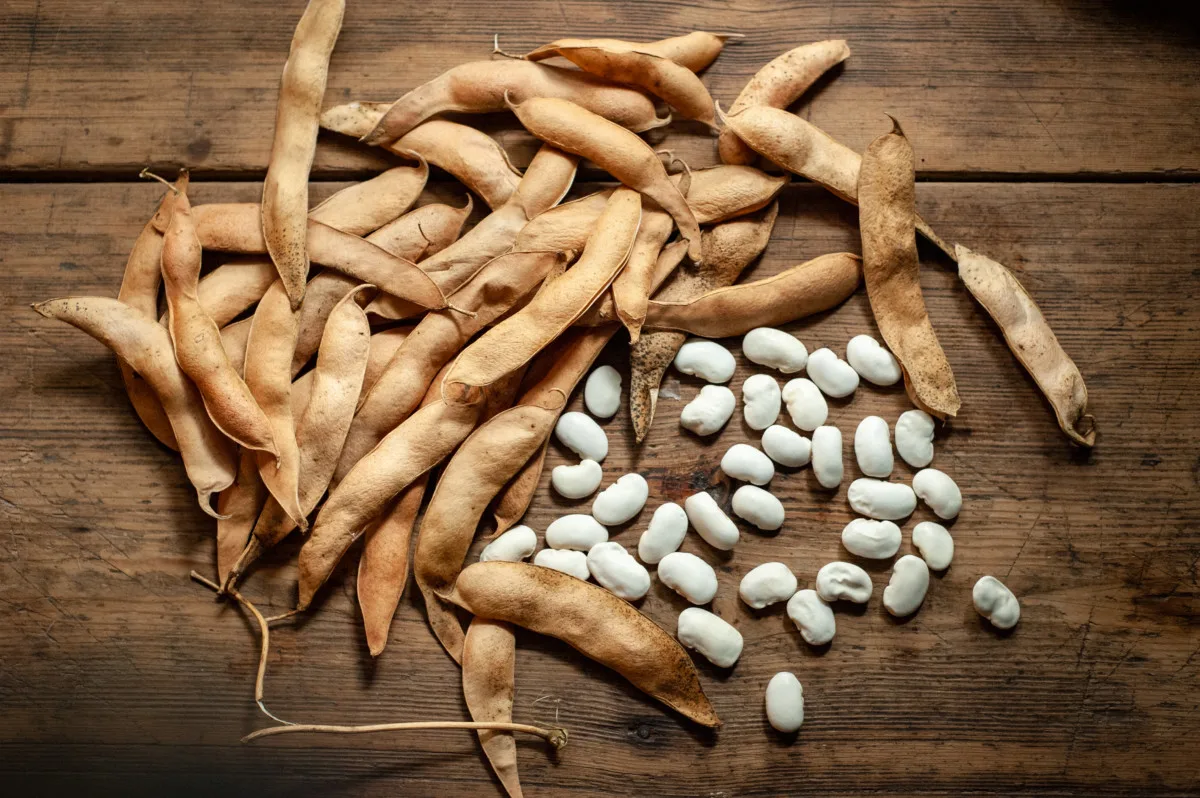
Seeds from lettuce and lovage are ready to harvest before the seeds start falling off on their own.
Tomato seeds are encased in a sticky, moist flesh which takes fermentation to get off the seeds, making them better for long-term storage. In fact, not all seeds from wet fruits (eggplant, cucumber and summer squash) are mature when the fruit is ready to be eaten. In this case, you’ll need to leave crops a little longer in the garden before saving seeds, even up to a month or more.
Cucumber seeds are ripe when the cuke turns yellow. At this point, it is inedible to you. Cucumber seeds, like tomatoes, also need to be fermented to get the soft gel off. The process is a bit stinky, so don’t do it in your kitchen.
Winter squash seeds are ready to save when the skin turns hard.
And mustard seeds? Well, I know from first-hand experience that the outer hull of the seed pod is pokier than your fingers can take. Take caution and wear leather gloves for threshing the seeds.
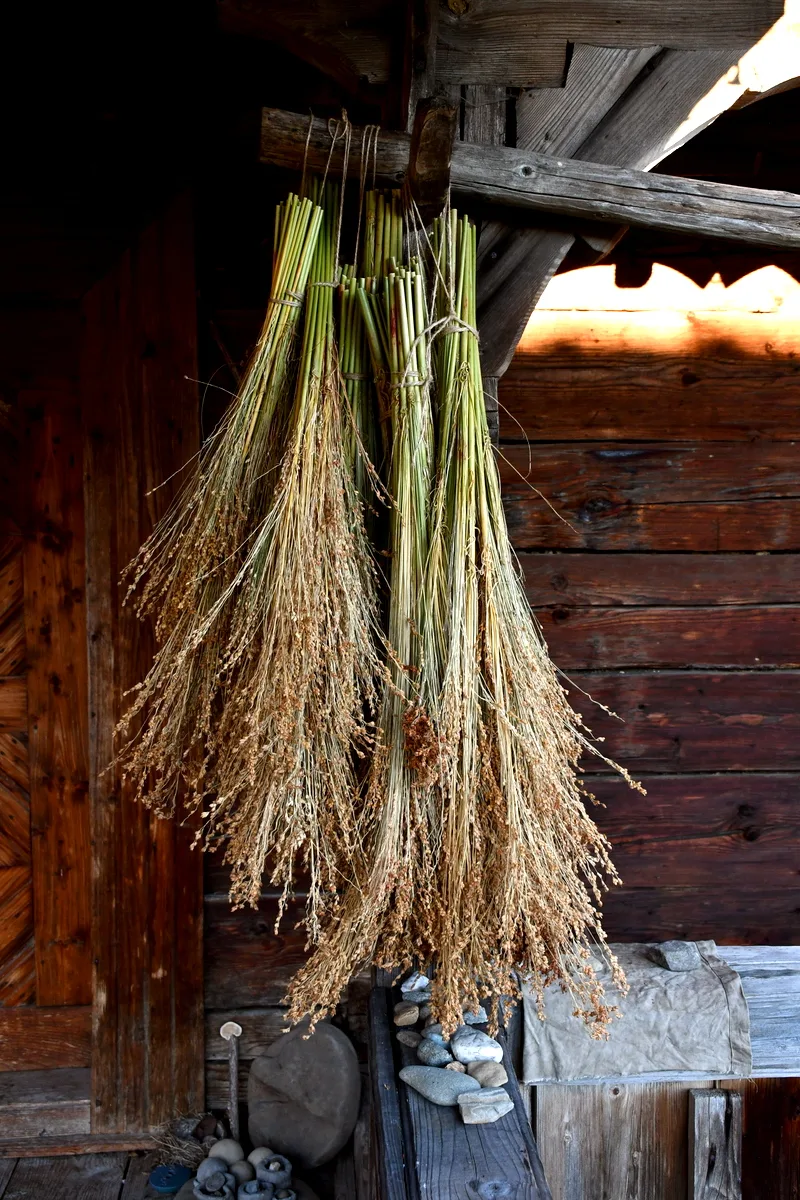
Broom sorghum is an untypical garden plant. If you want to grow your own broom, you can end up with a hundred seeds from a single seed. Seems like a good way to grow a broom business really fast.
The Key to Saving Seeds
No matter what kinds of seeds you are saving, the essential thing that must happen before they are stored away is that they are completely and totally dry.
Now, you don’t need a machine or any kind of tech device to measure the moisture content. It’s enough to feel if the seeds are dry. Pinch them with your fingers, and press your nail into them. If they are squishy in any way, wait longer for them to dry.
Rural Sprout tutorials on seed saving:
- The Secret To Successfully Saving Tomato Seeds For Next Year
- How To Save Cucumber Seeds (With Photos!)
- Pumpkin Seeds – How to Save and How to Toast
- How To Save Zucchini Seeds – 500 Seeds Per Zucchini!
Storing and Organizing Garden Seeds
As I’ve just mentioned, seeds must be completely dry before storing. Get this one wrong, and you’ll send out an invitation for mold even before you know it.
For example, beans from the garden may appear to be dry, but if you put them in a plastic bag or jar and if you see any kind of condensation, you’ll know they aren’t dry enough. Not yet.
To make sure all seeds are completely dry, lay them out in a baking dish or a drying screen, being sure to mix them by hand a few times per day.
Once your seeds are at this stage, it’s time to store them.
Where to Store Seeds?
Depending on your climate, most of the time, seeds can easily be stored at room temperature in a dark and dry place. As long as the temperatures aren’t extreme, saving seeds is easy.
Remember that moisture is what seeds need to grow, so keep your seeds dry at any cost.
One of the best ways to do this is to put the seeds in envelopes (add a bit of wood ash), enclosing them in an airtight container, preferably glass.
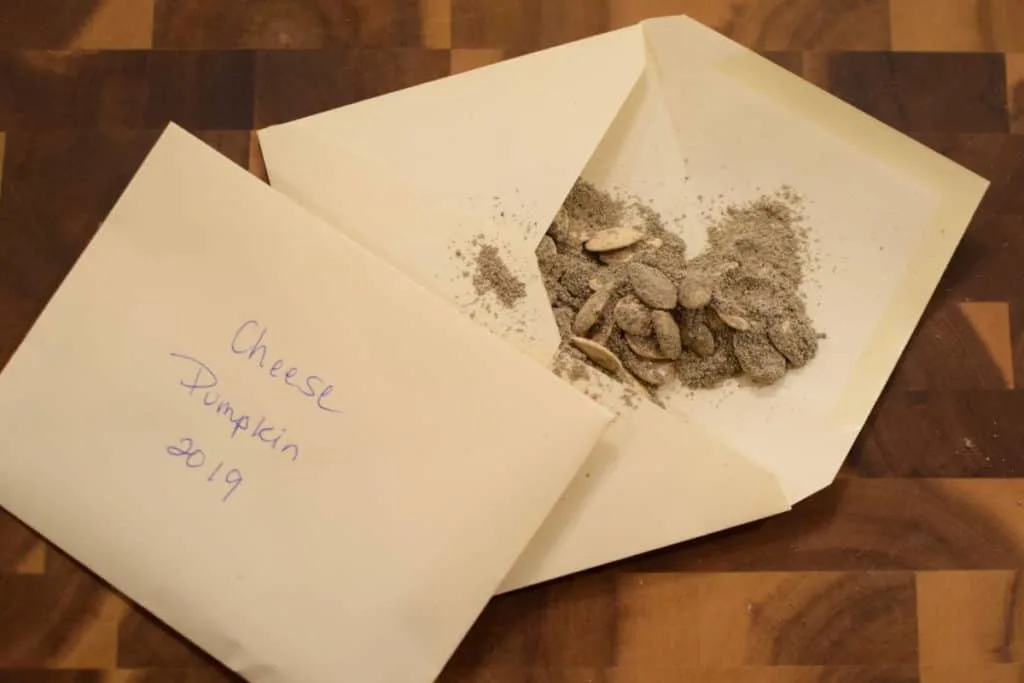
It’s enough to store your garden seeds in a cool spot, such as a closet, a drawer or a north-facing room.
A fridge or freezer isn’t necessary or recommended without using an envelope of silica gel for two days only to remove excess moisture from the seeds.
Be sure to label your seeds with the Latin name (this will help you remember it forever) and variety, as well as the growing conditions, in case you plan to gift seeds to someone else.
As long as your garden seeds have had a month to dry out, you should be able to save them for as many years as they can be saved. Good luck and happy seed saving!

Get the famous Rural Sprout newsletter delivered to your inbox.
Including Sunday musings from our editor, Tracey, as well as “What’s Up Wednesday” our roundup of what’s in season and new article updates and alerts.

