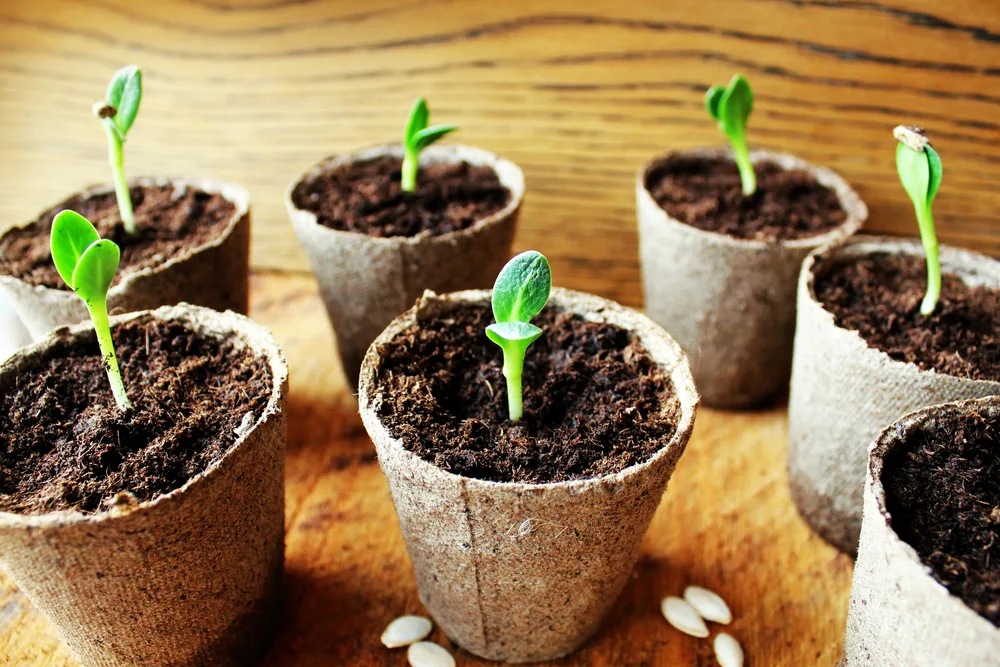
As spring approaches and seed sowing comes into full swing, you’ll be hit with tons of advice on how to get it right.
This advice can help beginner gardeners, or those who just can’t seem to get anything to germinate no matter how hard they try.
But, it can also be conflicting.
One of the commonly recommended steps in sowing seeds is soaking.
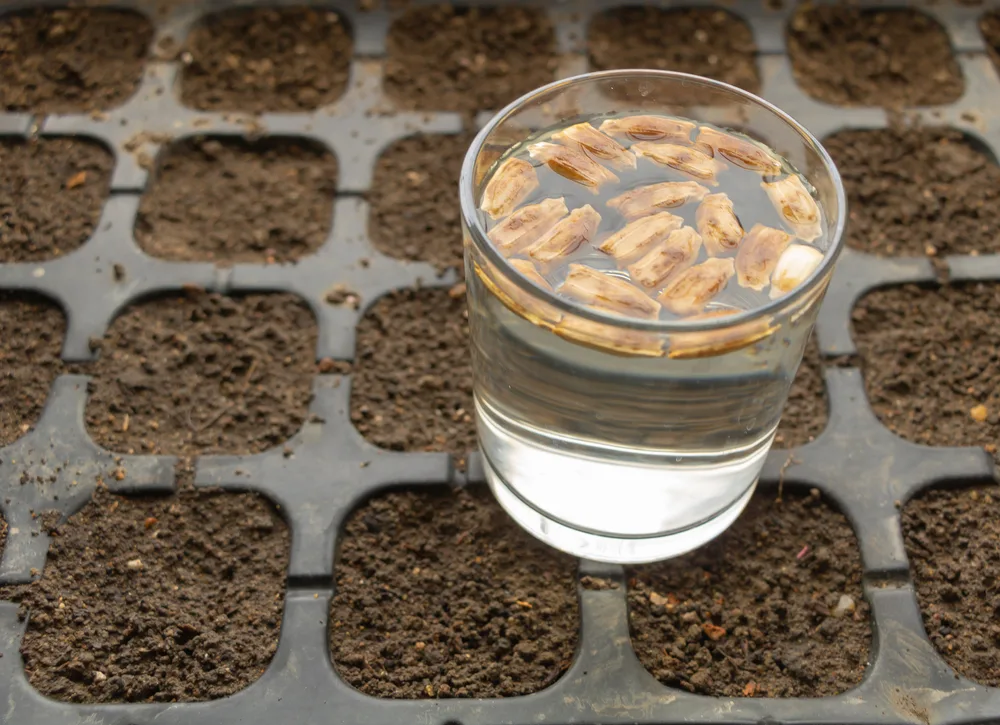
Since soaking needs to be done at least a few hours before planting, and preferably overnight, impatient gardeners may wonder if this step is really necessary, or if it’s one of those nice-to-haves that won’t make much of a difference in the long run.
Well, we’re here to give you the low-down on seed soaking and why it’s so important in the germination process.
And, once you’ve been convinced, we’ll cover which seeds you should soak before planting, and which you shouldn’t.
Is Soaking Seeds Necessary?
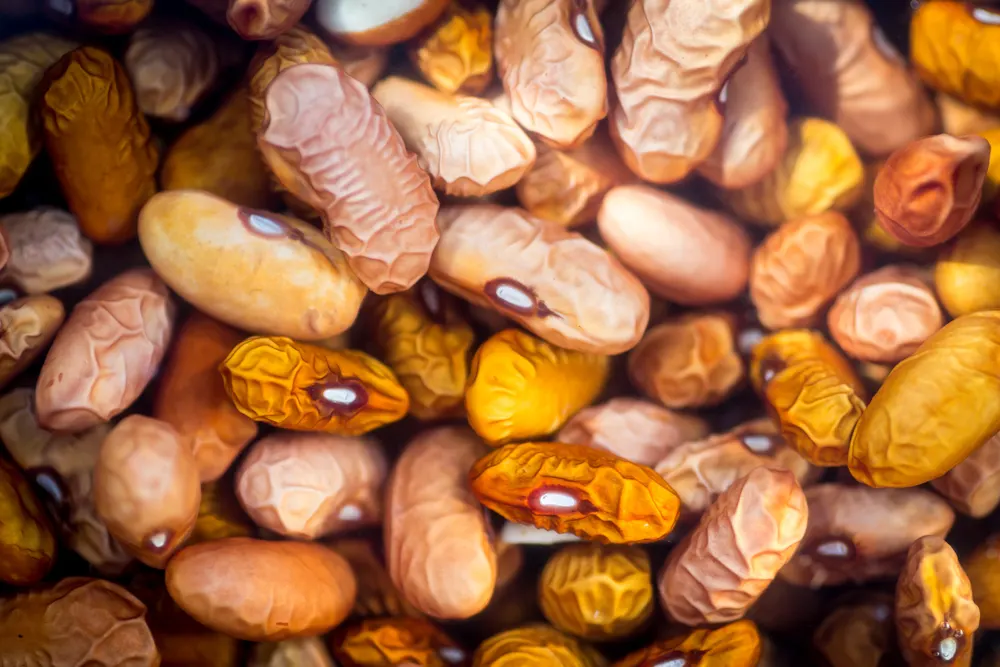
Let’s get the first question out of the way. Is soaking seeds an absolute necessity?
Technically, no.
As we all know, seeds out in the wild germinate just fine without our help. They have evolved over millions of years to reproduce without the pampering received by home gardeners.
That means your seed sowing endeavors can be successful without this extra step. Simply sow into trays or into the soil, water, and wait for the first growth to emerge.
However, soaking does provide a number of great benefits that make it worth the effort.
While you can germinate certain seeds without soaking, your chances of success and the speed of germination can be greatly increased if you do. It can mean the difference between one or two seeds germinating or almost the whole batch when done correctly.
There are several reasons why this is the case. Let’s take a look.
5 Reasons To Soak Your Seeds Before Sowing
1. Trigger Germination
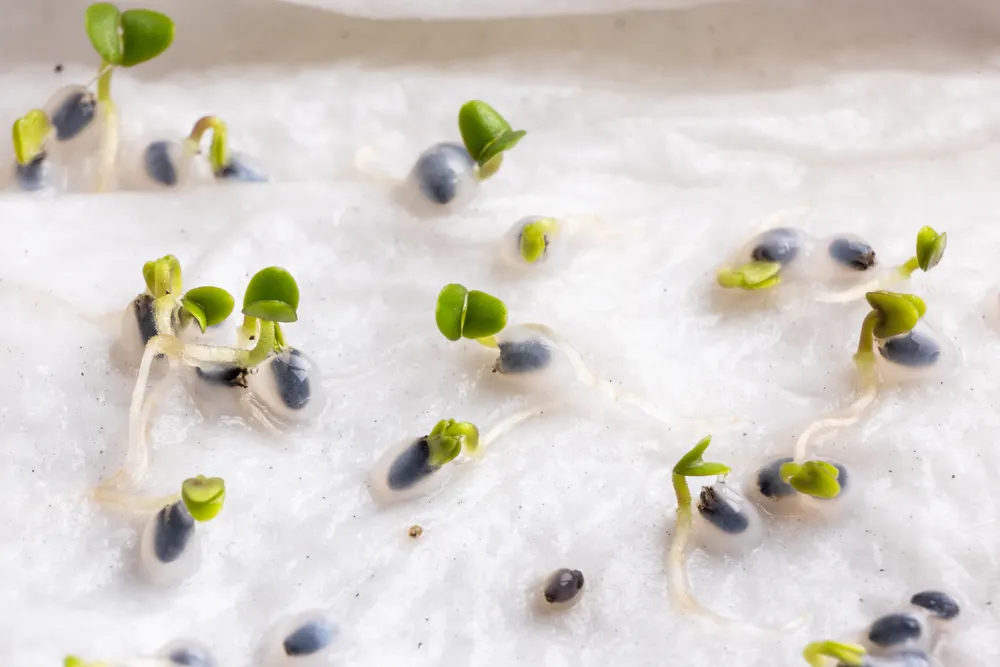
As we already know, seeds require moisture to germinate.
Different seeds are triggered by different levels of moisture, based on the rainfall in their native regions. Once the rainfall has increased the moisture around the seed to a sufficient level, the plant knows it is safe to begin germinating.
By soaking the seeds before you start, you can trigger this moisture gauge in any seed to encourage them to start germinating. You don’t need to wait for your seed starting mix to get them to that level, which may take longer.
Instead, they will be ready to go as soon as you plant them.
2. Speed Up Germination
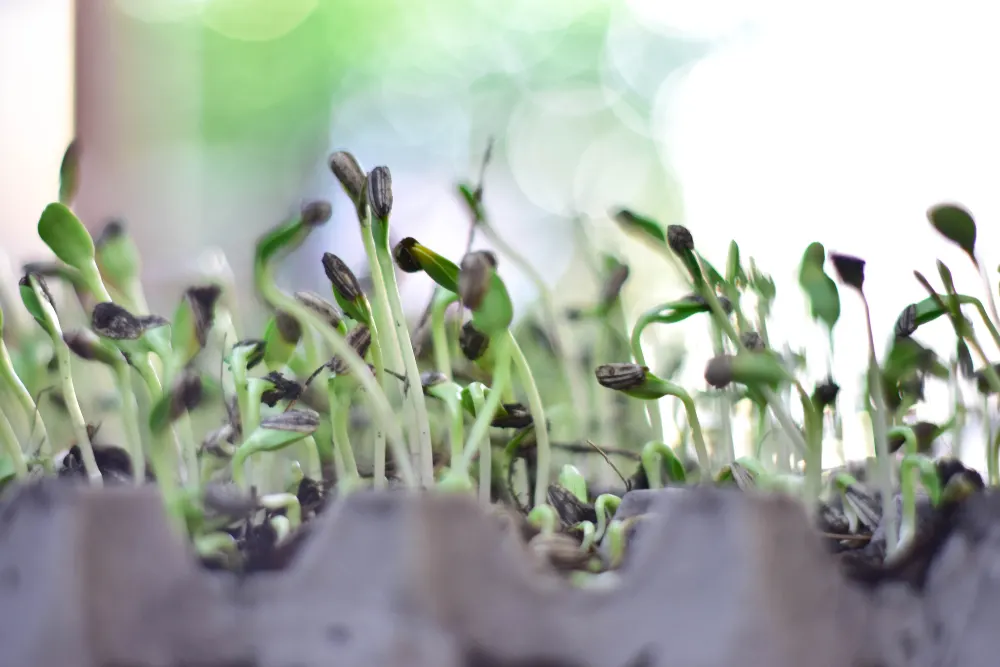
By triggering germination before you put the seeds in the ground (or in trays), you can drastically reduce the time it takes for your seeds to go from sowing to transplantation-ready. There is no moisture barrier to cross, meaning your seeds should germinate in the shortest time possible.
Using warm water also helps speed up this process.
While they have moisture levels that need to be met before they can germinate, seeds also have temperature sensors. These prevent the seeds from germinating when it is still too cold, risking damage to the new and vulnerable growth.
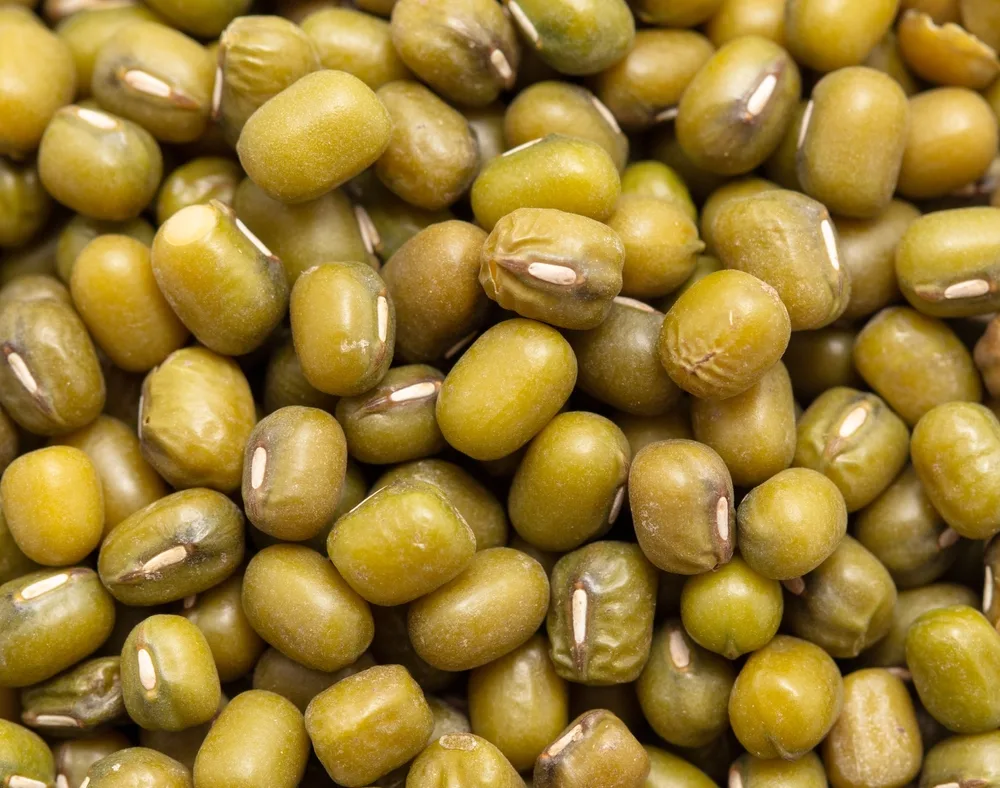
The warm water matches the temperatures required to start germination and provide the ideal environment for the quickest germination possible. This, combined with a heating mat to keep the soil warm (especially when starting seeds early) will give you seedlings far quicker than you expected.
This is great for late season planting too, as it gives you that final boost when time is against you, allowing you to get your seedlings in the ground before it’s too late.
3. Remove Germination Inhibitors
Although it may seem counterintuitive, some seeds are actually surrounded by germination inhibitors. This is designed to prevent them from germinating inside the fruit and at the wrong time.
These inhibitors are usually removed naturally by wind or rain, but the natural process can take a while. Soaking your seeds will wash away any materials that may inhibit germination, increasing your chances of success.
4. Break Down Natural Defenses
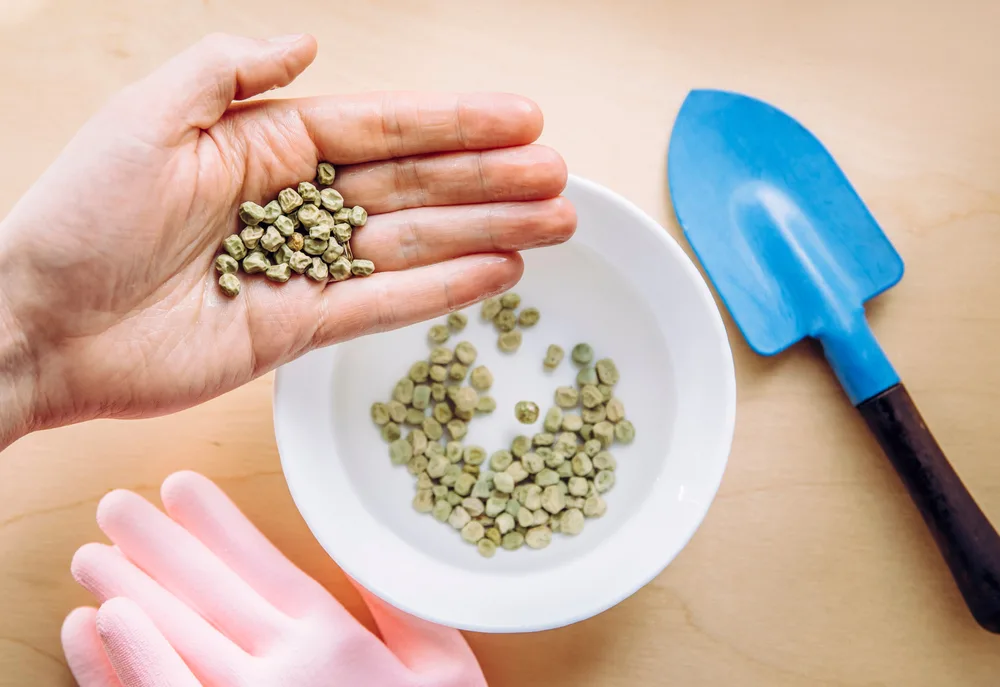
Seeds are used to being battered and bruised before settling in their final resting place. Whether it’s being carried by wind, pelted by rain, or surviving stomach acid from the various animals that may ingest them, they’re used to some abuse before germinating.
Many seeds have hard outer shells to allow them to withstand these elements. By soaking your seeds, you can break down these defenses in a matter of hours, rather than the days or weeks it would take Mother Nature to do it.
After soaking, they will be ready to plant without anything standing in the way.
5. Increasing Your Odds
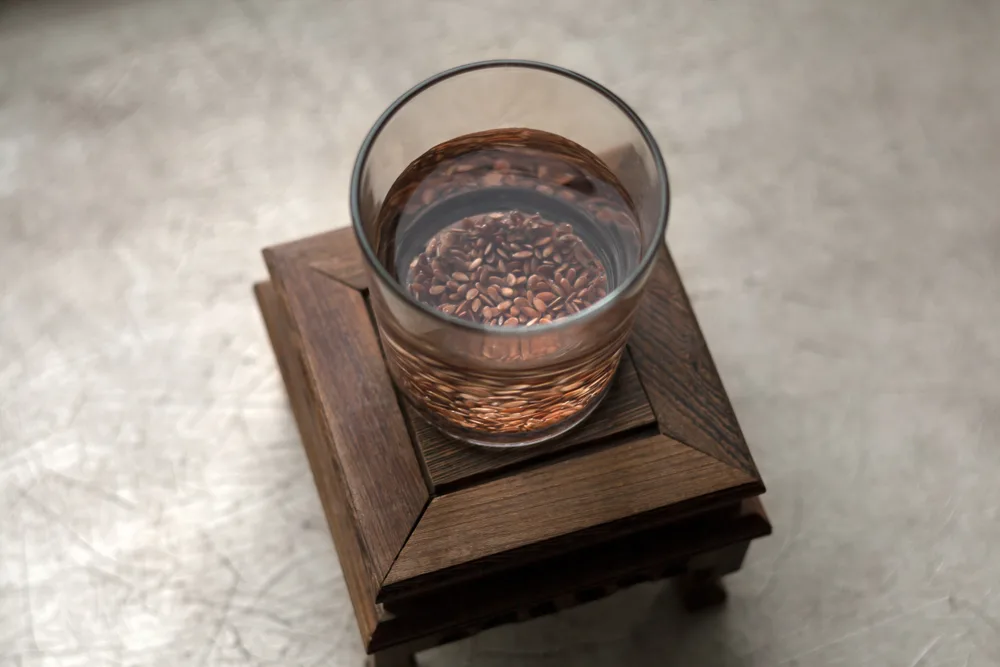
Plants produce trillions of seeds each year. But, not all of them will germinate, due to the many obstacles we mentioned before.
They put out so many seeds in the hopes that just a few will take, meaning not all of them have to germinate to successfully reproduce.
When you’ve spent money on rare or expensive seeds, or even regular seeds, relying on luck to germinate them won’t be enough.
Although seeds can germinate without soaking, it does greatly increase germination rates (depending on the plant). If you want more reliable results, this extra step is well worth the effort.
How To Soak Seeds
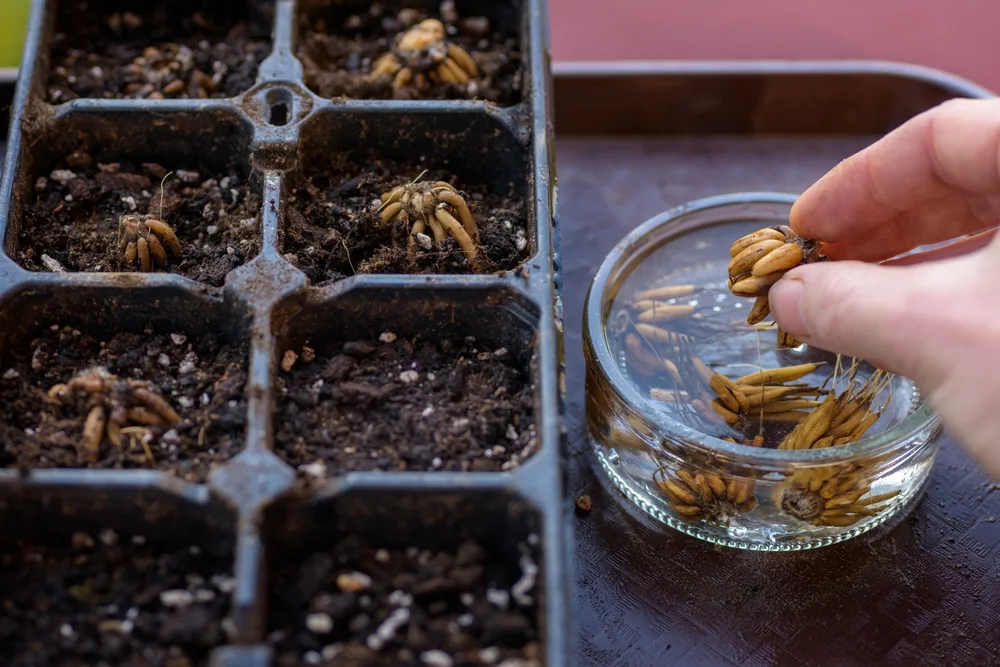
Now that we know why, it’s time to get down to the how.
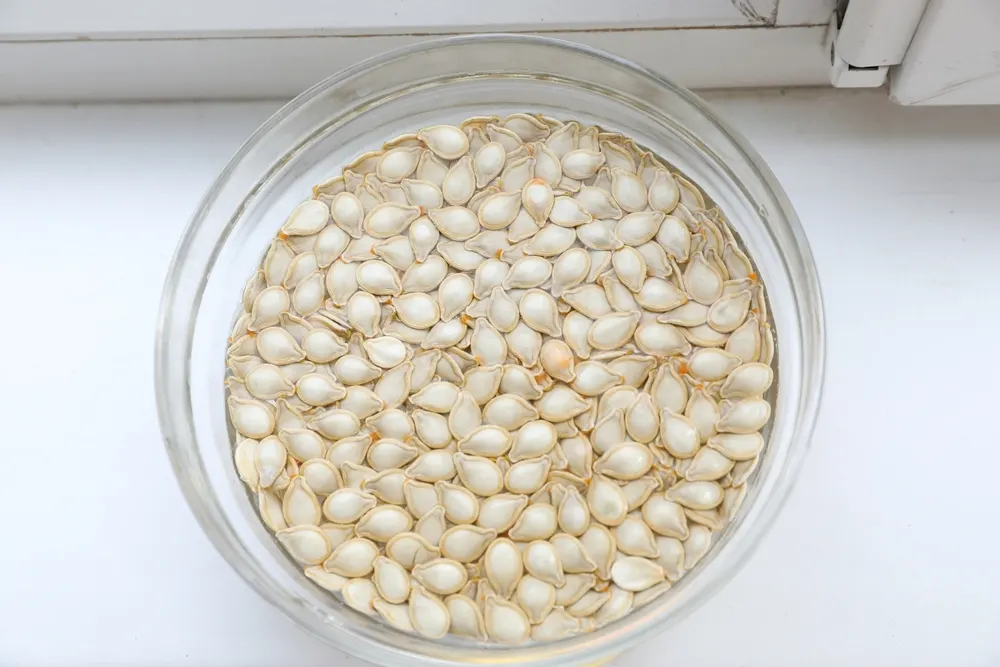
Start by grabbing a sterilized jar or clean bowl. Fill it with your chosen seeds and cover with warm water – as hot as you can make it while still touching the water is preferred. Don’t use boiling water, as these temperatures are too hot for most seeds and can actually inhibit germination.
Leave the seeds in the bowl in a warm spot for at least 8 hours – preferably overnight. You can soak seeds for longer, but most shouldn’t be kept in water for longer than 24 hours. Aim for 8-12 hours for the soaking sweet spot.
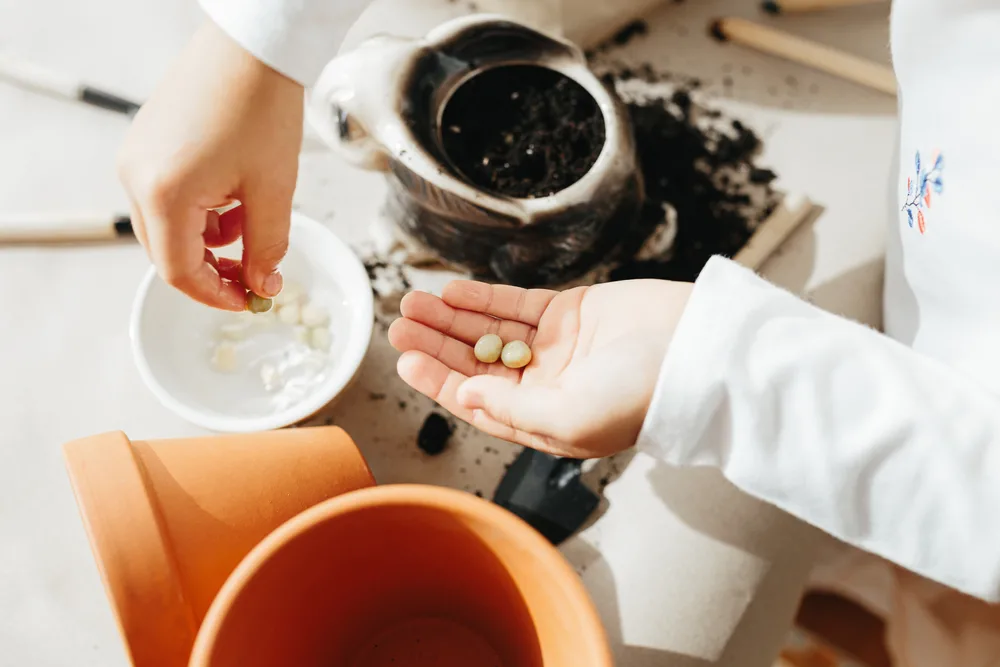
If your chosen seeds have a very hard outer shell, they may benefit from a process known as scarification. This involves wearing down the outer shell in some way before soaking to allow the water to penetrate it.
Scarification can be done with fine sandpaper, a sharp knife, or even a hammer. But, be gentle and make sure you don’t overdo it to avoid damaging the seeds beyond repair.
After soaking, plant your seeds immediately into moist soil. The seeds cannot be left to dry out again after soaking or they will likely not germinate. Make sure you keep the soil moist until the seeds have fully germinated to avoid ruining the effort of soaking.
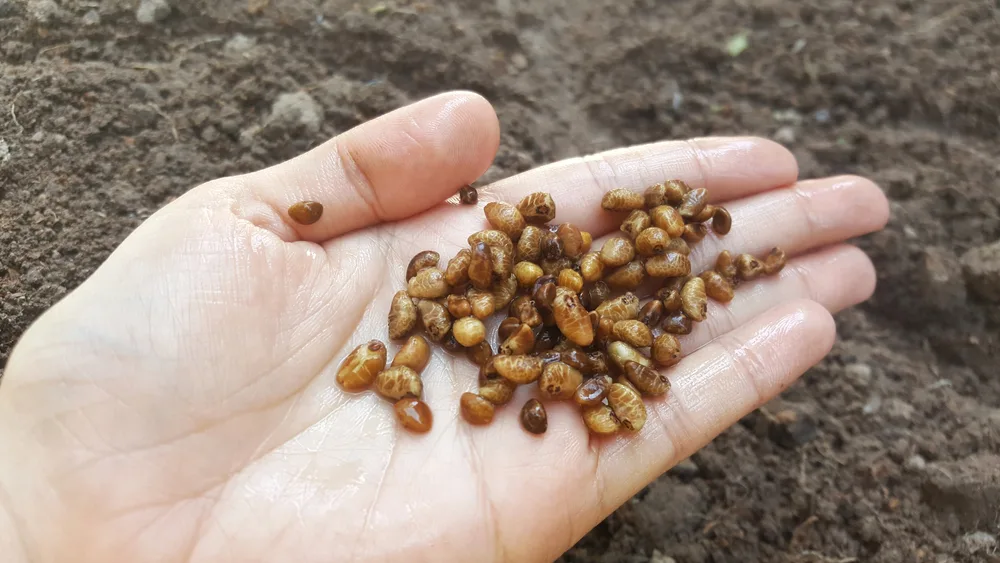
Which Seeds Are Suitable For Soaking?
As a general rule, smaller seeds do not require soaking, while larger ones with hard shells do. Small seeds tend to stick together during the soaking process and are incredibly difficult to separate, leading to overcrowding.
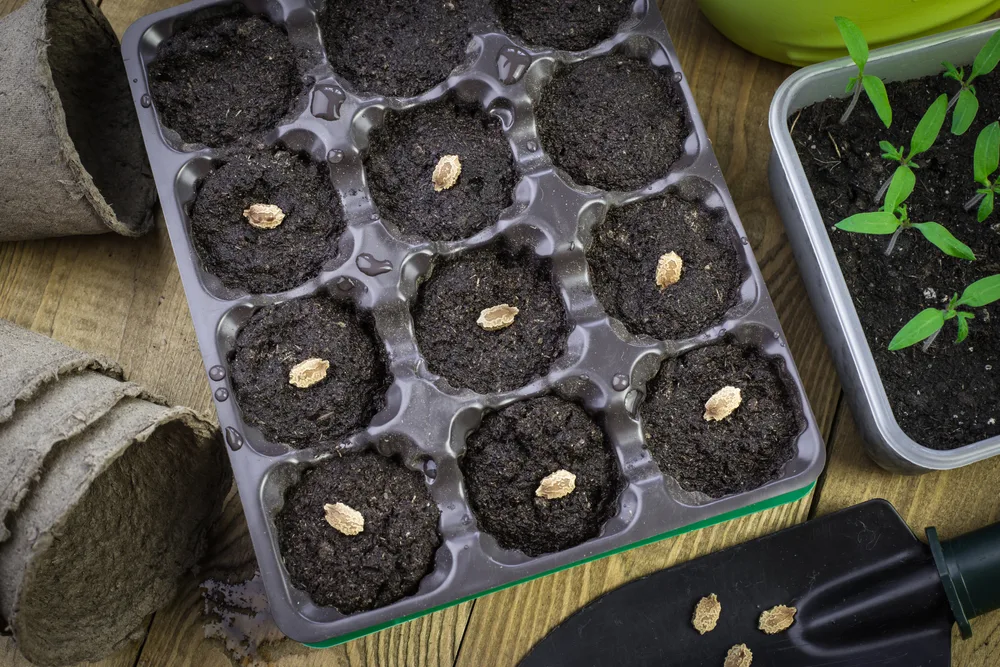
Larger seeds or those with hard shells are typically the ones that are most difficult to geminate and are best soaked before planting. These include:
- Beans
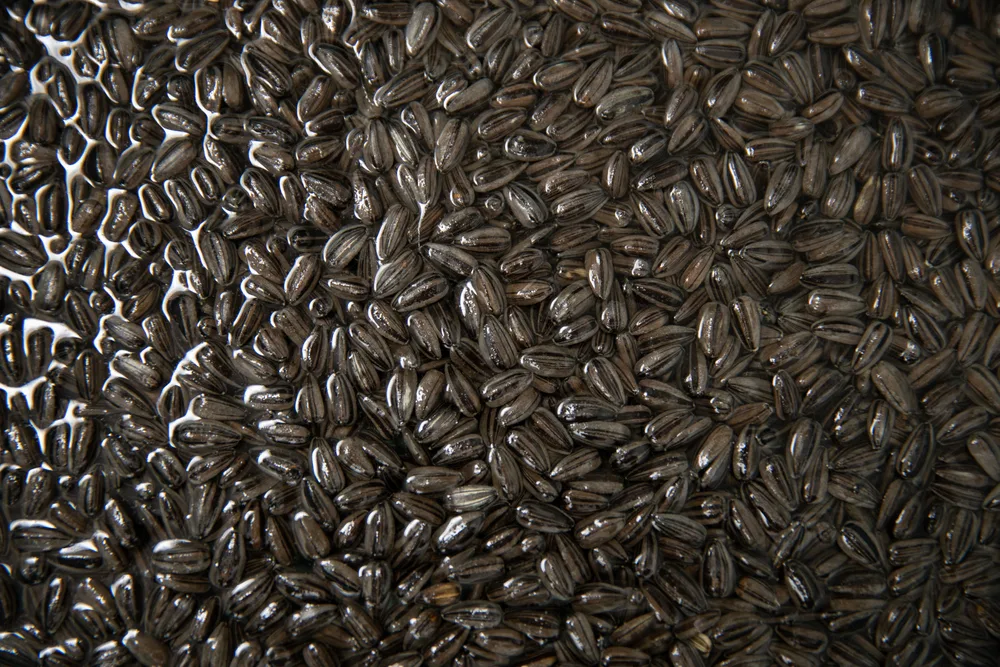
- Sunflowers
- Cucumbers
- Peas
- Squash
- Beets
- Pumpkin
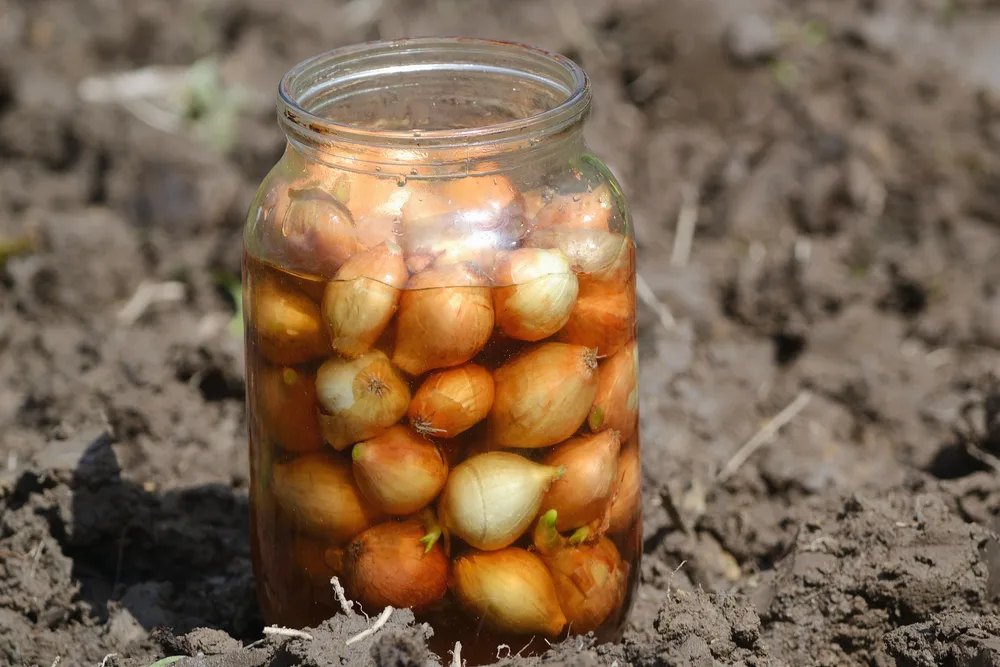
You can also soak onion sets and garlic cloves to speed up germination before planting outdoors.
Seeds You Shouldn’t Soak
Some small seeds become impossible to handle and space out once soaked. Avoid soaking these seeds before planting:
- Lettuce
- Chia
- Radishes
- Carrots
- Basil
- Foxgloves
- Zinnias (Will germinate at the first sign of moisture and so don’t need prior soaking)
Soaking will greatly increase your germination rates and the speed of the process.
But, after planting, seed care is still important. Make sure you keep the soil moist and the tray warm enough to continue the hard work you put in in the beginning.
Read Next:

Get the famous Rural Sprout newsletter delivered to your inbox.
Including Sunday musings from our editor, Tracey, as well as “What’s Up Wednesday” our roundup of what’s in season and new article updates and alerts.


