
Move over plum chutney, there’s another jar that needs to fit on the shelf – or in the fridge.
It has something to do with plums and a whole lot of sweet and sour, with a generous amount of exotic spices tossed in for good measure.
In late summer and early fall when plums are in season, it’s definitely a recipe worth trying.
Where Do Spiced Pickled Plums Come From?
Growing up, I never had the golden opportunity to eat pickled plums.
If the chance had ever come along, however, I’m pretty sure I would’ve taken a bite. I wasn’t a picky eater, though I knew of a couple kids who were. Something tells me they may have wanted to sample it too, especially when it was served with something else they liked. Go ahead and skip to ‘How To Eat Spiced Pickled Plums’ if you think you know the answer.
As far as history of the preserved plums is considered, a typical search will bring you results like umeboshi and umezuke which are salted Japanese plums. Not quite the kind you’ll find here.
You will find, however, that a man by the name of George Macculloch (1775-1858) was a proficient gardener of his time. His wife, Louisa, wrote several recipes in her cookbook, including one of pickled plums which is a more simplified version with fewer spices than the one you’ll be making down below.
Choosing Plums
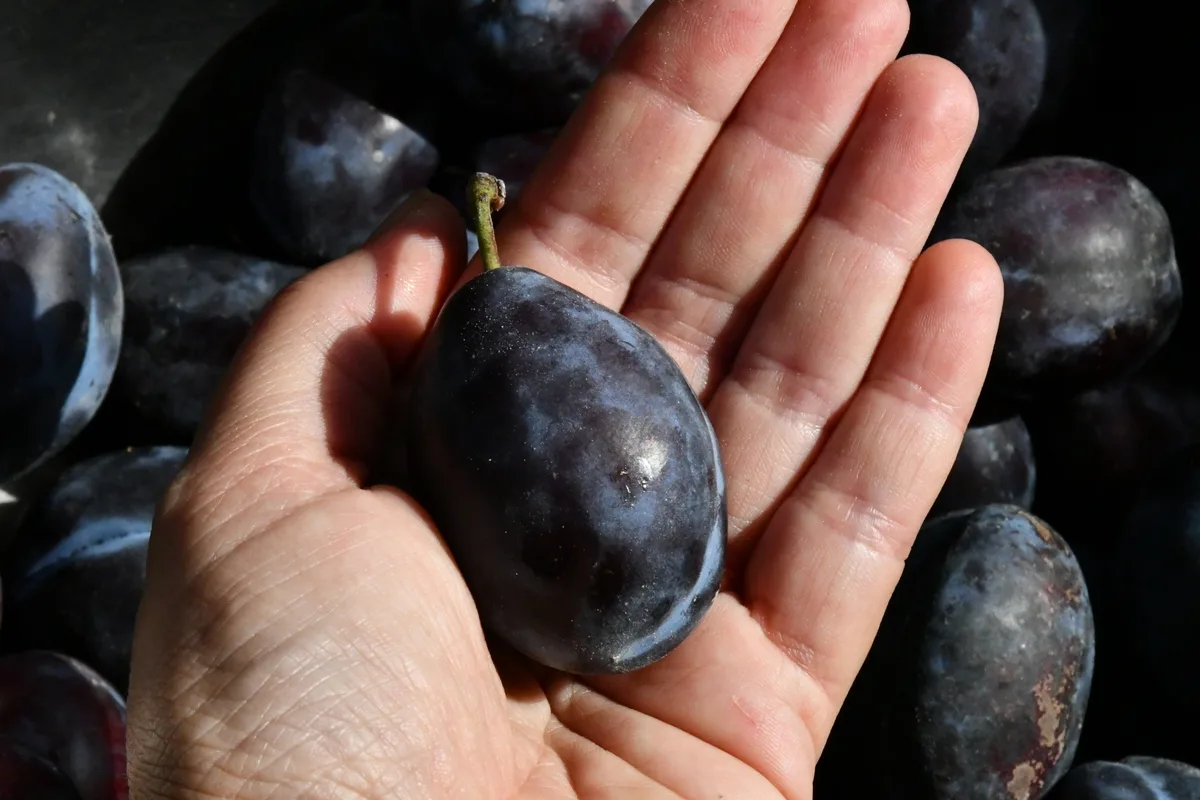
It’s said that there are about 40 varieties of plums. I’d like to believe there are some undiscovered ones out there as well, hanging around in some old, overgrown orchard with only nature to eat the delicious abundance.
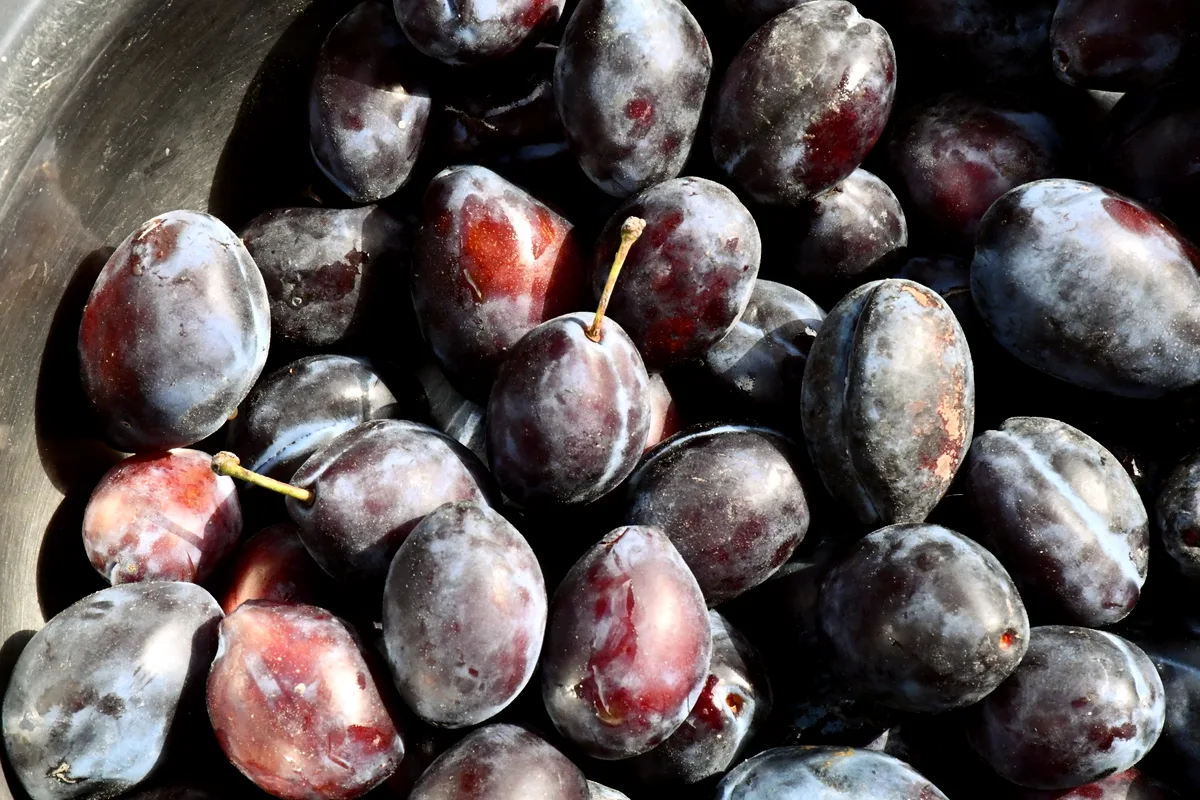
Realistically speaking, there are at least 22 varieties of plums that you may find here and there, depending on how close you are to a plum orchard.
Truth be told, any plum would work for a delightful jar of spiced pickled plums. What you want to look out for, is that the plums aren’t overripe and that they are mold-free and worm-free.
Above all, do your best to make sure they are perfectly ripe. Otherwise if overripe, your pickled plums may become a bit soggy, if underripe, then too hard to be the most enjoyable.
If this happens, make the best out of the situation. Remove any and all hard spices, such as the star anise and bay leaves, then blitz the rest into a spiced plum paste. You can then enjoy this on toast. Nothing loved is ever lost.
So, let’s get to the ingredients before plum season is quickly over.
Quick and Easy Spiced Pickled Plums
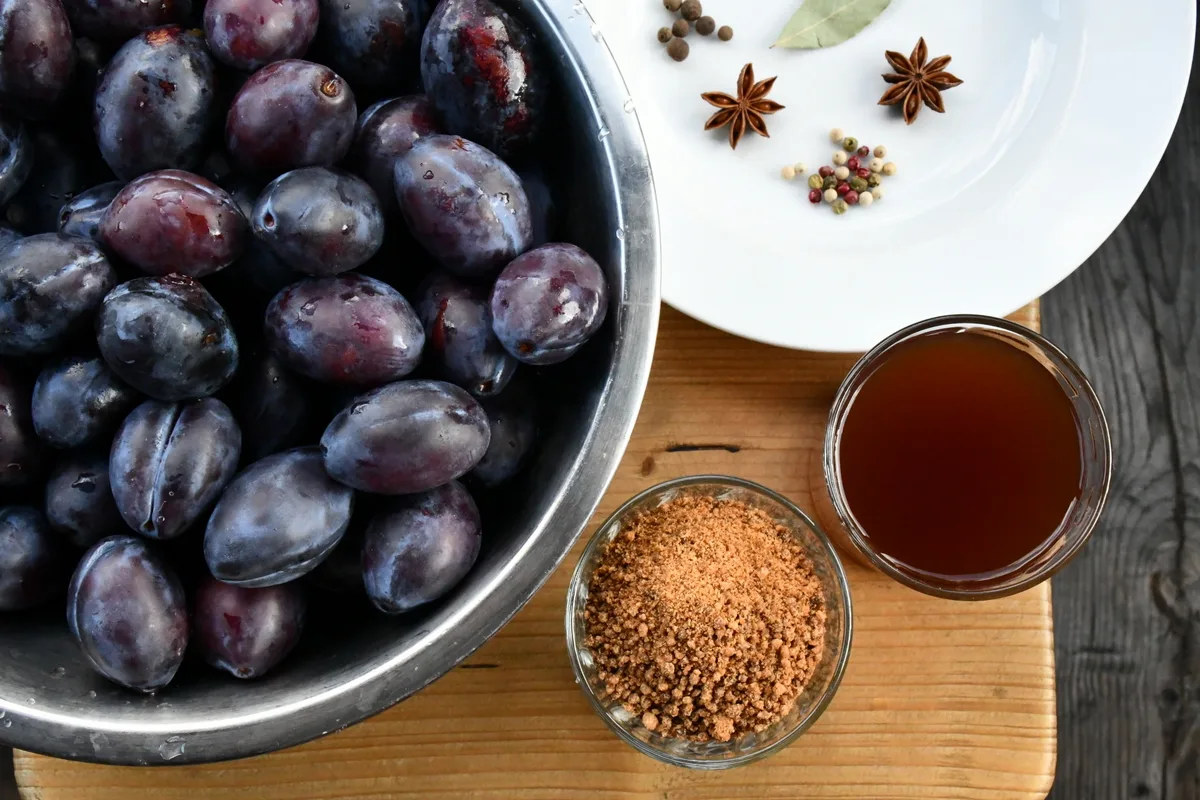
Ingredients
- 3 pounds of ripe plums, any kind
- 2 cups brown sugar
- 2 cups red wine vinegar
- 2 cups water
- 1 star anise for each jar
- 1-2 bay leaves for each jar
- 1/2 teaspoon allspice berries or 1/4 teaspoon ground allspice
- pinch of salt
- optional: 1 teaspoon red, white and green peppercorns
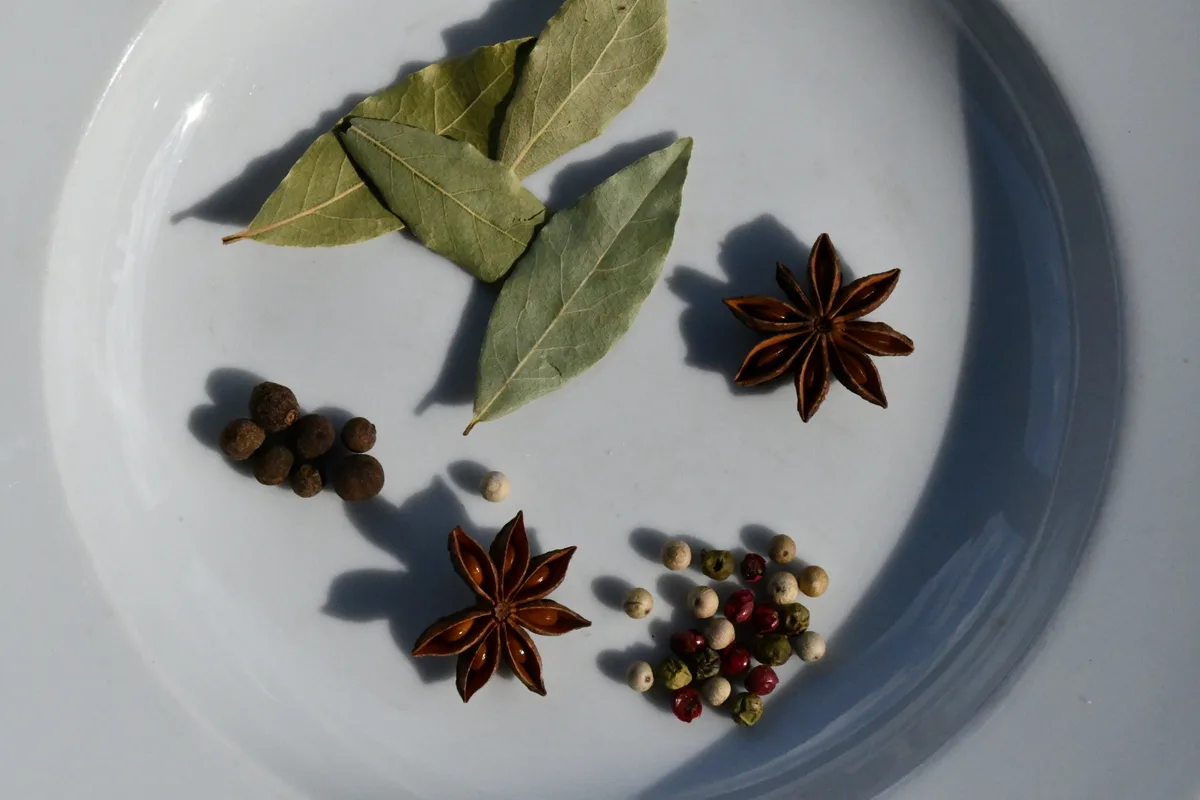
Instructions
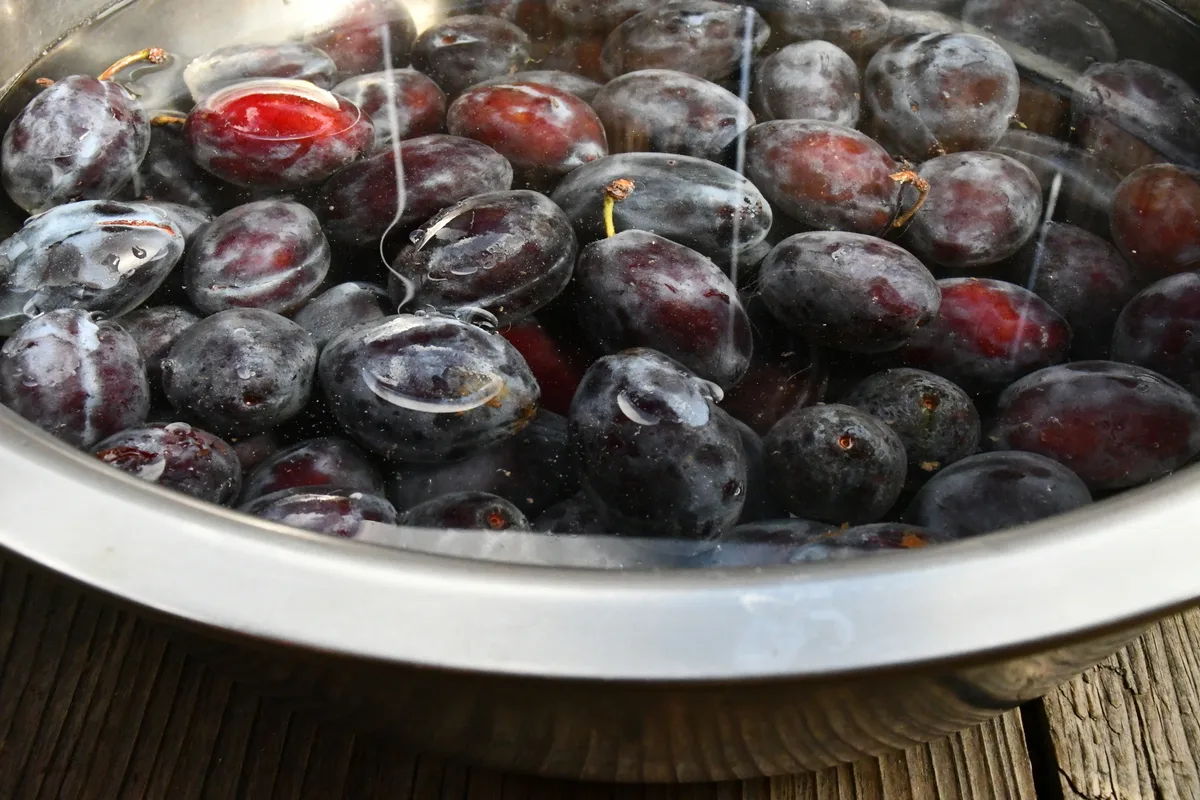
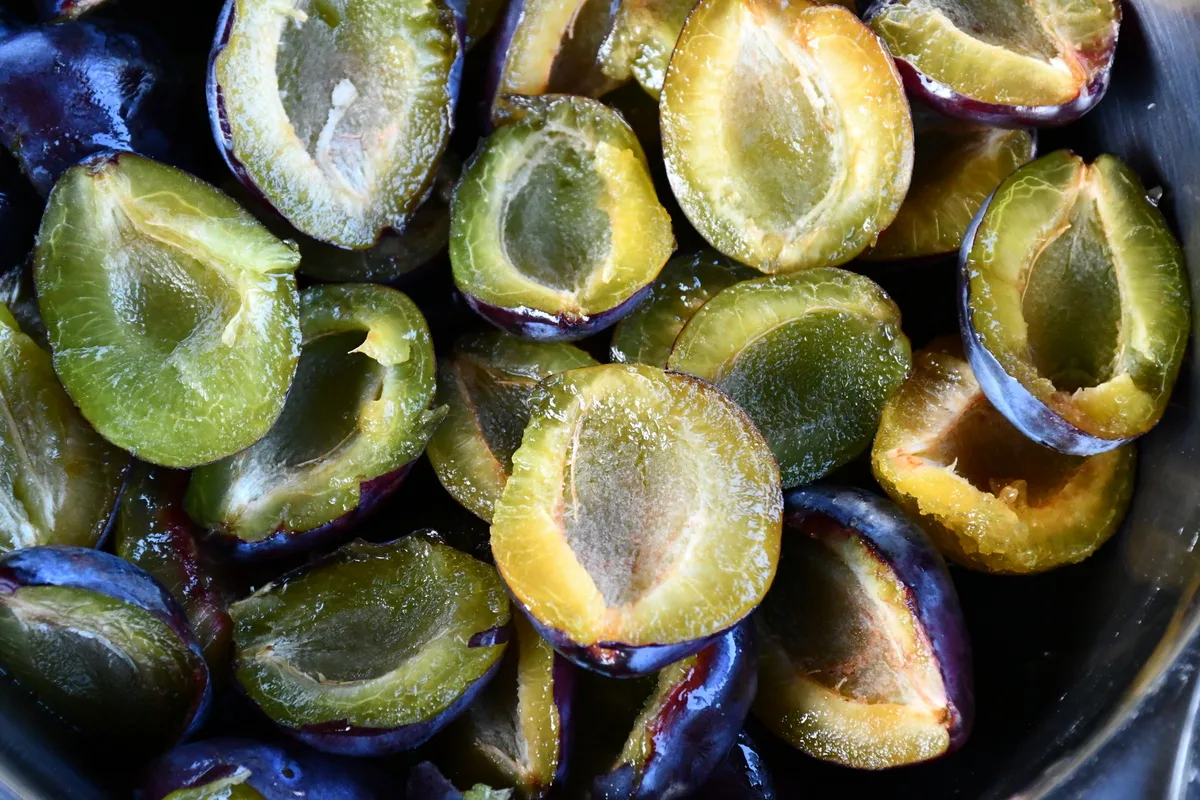
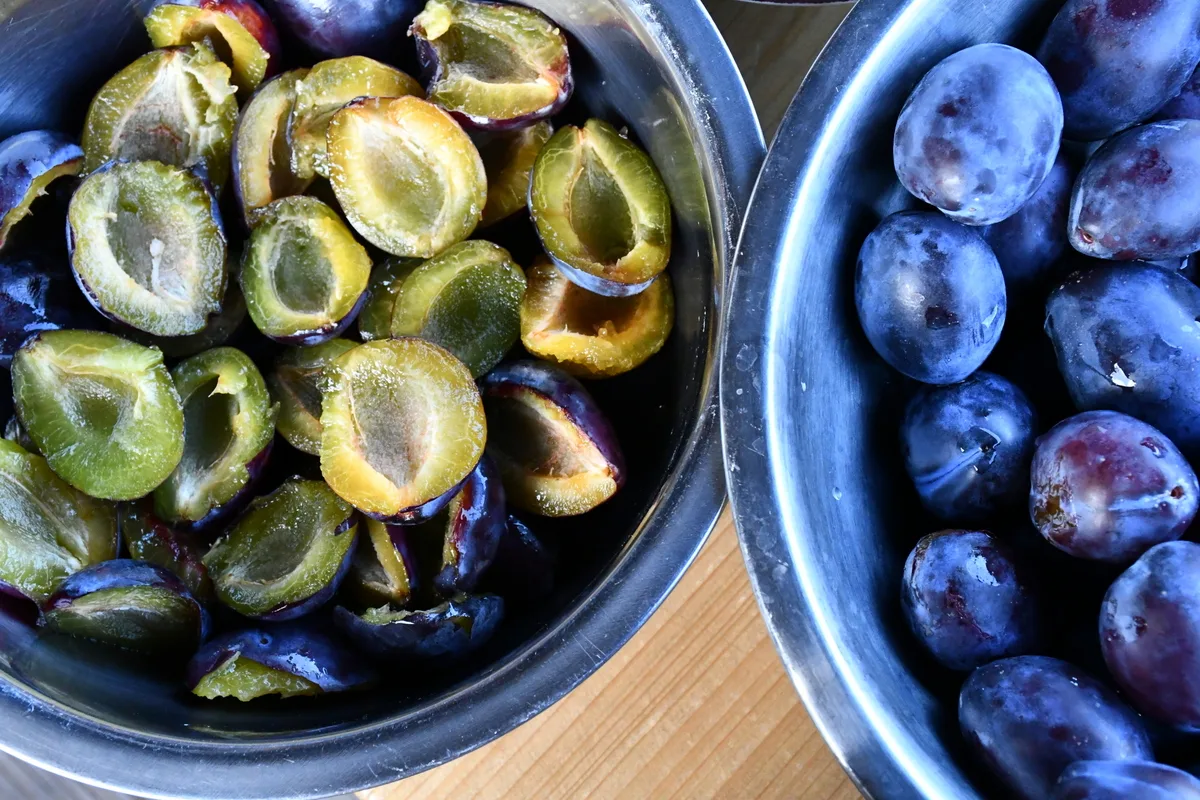
Step 1 – Wash plums and cut in half to remove the pit.
Step 2 – In a heavy saucepan, combine the vinegar, brown sugar and water; bring to a light boil. Add salt, peppercorns and allspice. Simmer for five minutes, then add the cut plums.
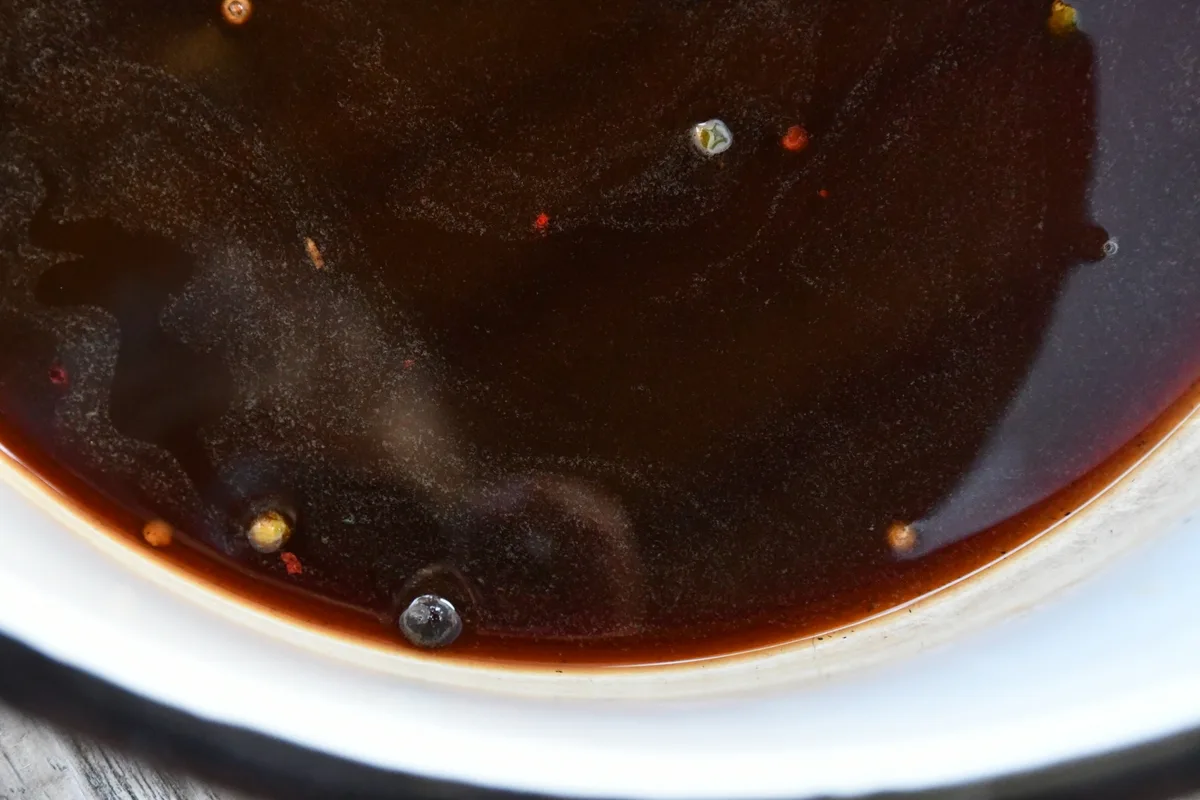
Step 3 – Simmer the plums for 5-10 minutes until tender. Remove from heat and quickly ladle the hot plums into sterilized jars. Cover completely with the sweet and sour pickling brine, leaving a 1/4″ headspace.
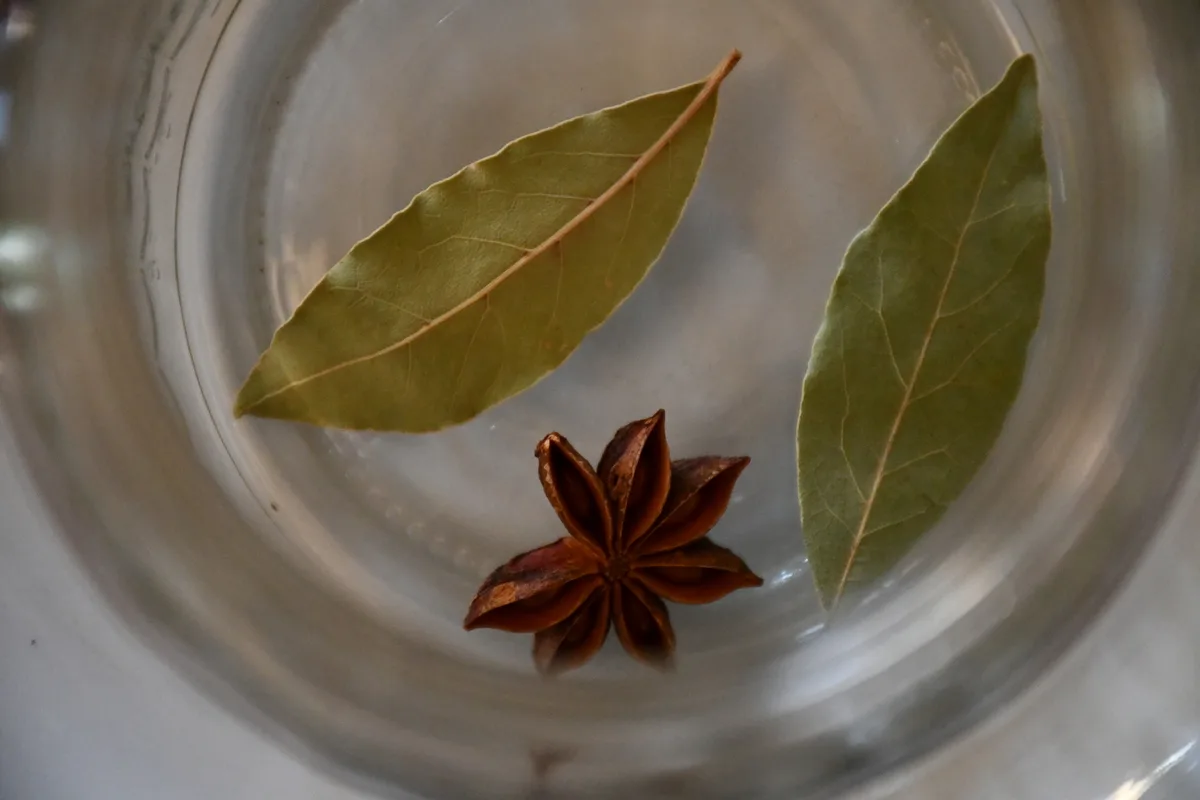
Step 4 – If you are canning: process the jars in a water-bath canner for 5 minutes, then remove jars from canner and allow to come to room temperature before labeling and storing on pantry shelf for up to a year, or even longer.
If it’s quick pickled plums you are after, load up the jars, put the lids on tightly and allow the jars to come to room temperature before storing in the fridge. Once you open a jar, aim to finish it off in 3 months. That shouldn’t be a problem, especially if you are strategic and make several small jars.
How To Eat Spiced Pickled Plums
Serve with, you guessed it – vanilla ice cream! No, really, that probably wasn’t your first thought. Though you’ll want to try it, once your spiced pickled plums are ready.
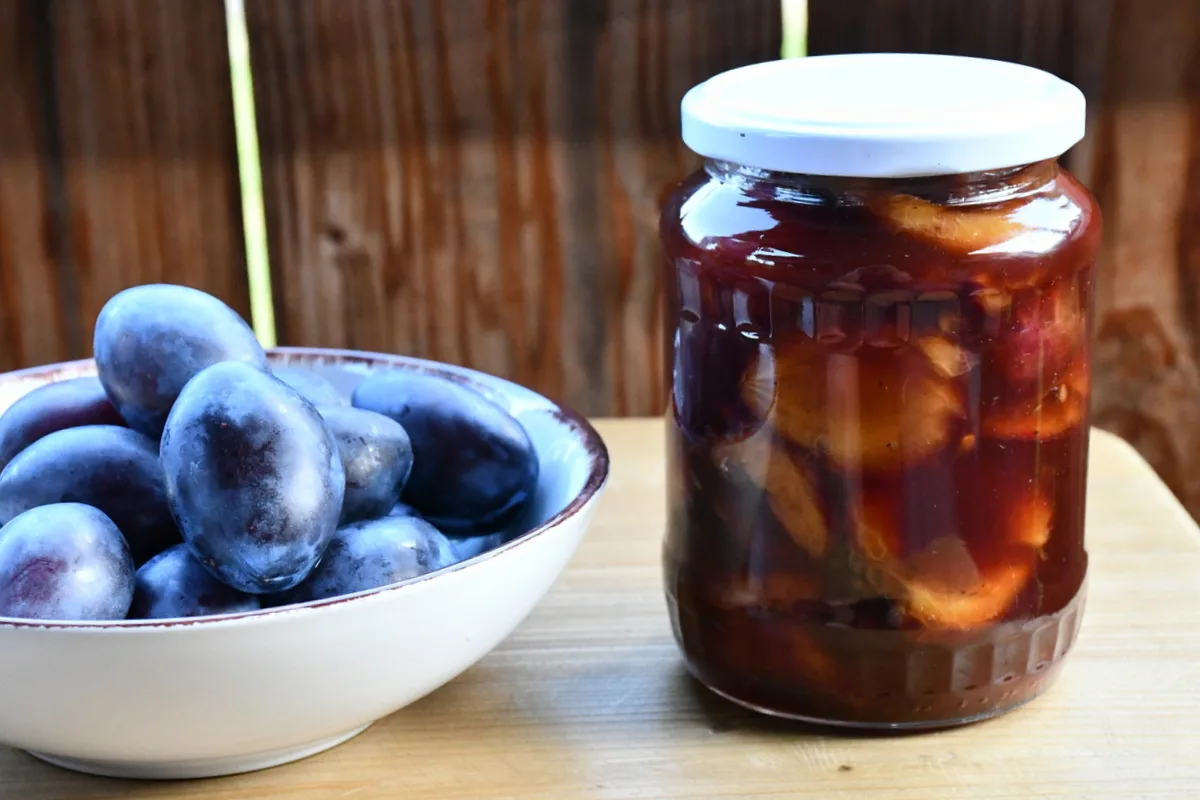
You can also eat pickled plums on sandwiches with smoked ham and cheese, or just with smoked cheese (my mind is chowing down on this right now).
You can add a few pickled plums to a summer salad, spoon a few on your crêpes, serve it next to a winter-warming roast.
And, by all means, save that sweet and salty pickle juice for a later snack or beverage. Toss it in a salad dressing or drizzle some over your morning yogurt. Heck, you can even add some spiced plum pickle juice to a glass of sparkling water for a non-alcoholic refreshing drink, to sip in between bouts of canning or gardening.
If a glut of plums is your biggest problem…
Our favorite way to use up a ton of plums, is in jars of 100% plum jam. This is the ultimate way to stuff as many plums in a jar as possible. Not even sugar, or sweeteners of any kind are needed.
You can also make plum juice, or dried prunes, perhaps even some plum ice cream to go with your spiced pickled plums. Here are a few more ideas if the abundance of plums is too much to bear.
Spiced Pickled Plums
You've probably never thought to pickle your plums, but you'll want to after seeing this.
Ingredients
- 3 pounds of ripe plums, any kind
- 2 cups brown sugar
- 2 cups red wine vinegar
- 2 cups water
- 1 star anise for each jar
- 1-2 bay leaves for each jar
- 1/2 teaspoon allspice berries or 1/4 teaspoon ground allspice
- pinch of salt
- optional: 1 teaspoon red, white and green peppercorns
Instructions
1. Wash plums and cut in half to remove the pit.
2. In a heavy saucepan, combine the vinegar, brown sugar and water; bring to a light boil. Add salt, peppercorns and allspice. Simmer for five minutes, then add the cut plums.
3. Simmer the plums for 5-10 minutes until tender. Remove from heat and quickly ladle the hot plums into sterilized jars. Cover completely with the sweet and sour pickling brine, leaving a 1/4″ headspace.
4. If you are canning: process the jars in a water-bath canner for 5 minutes, then remove jars from canner and allow to come to room temperature before labeling and storing on pantry shelf for up to a year, or even longer. If it’s quick pickled plums you are after, load up the jars, put the lids on tightly and allow the jars to come to room temperature before storing in the fridge.

Get the famous Rural Sprout newsletter delivered to your inbox.
Including Sunday musings from our editor, Tracey, as well as “What’s Up Wednesday” our roundup of what’s in season and new article updates and alerts.

