Start this now and enjoy it for the holidays.
Today was a rainy fall day, one of my favorite kinds of fall days. The leaves on the trees always pop when the skies are gray.
It got me whistful for cold weather and spiced mead and snow and the holidays. I know, I know, I’m usually alone in my desire for snow.

A nice glass of spiced mead would have been lovely to sip while watching the rain. While I wasn’t able to taste any today, I did decide to make sure I could enjoy some during the upcoming holidays.
Normally, this would mean I would have had to start my spiced mead way back in the spring or summer. However, I can still have my mead and drink it too. And you can too!
Making any mead or wine is an exercise in patience.
Good homebrews take time, often requiring a year or two for the flavors to develop. But sometimes you just want to make something fun and easy, that you can drink without waiting that long. And for that, there are short meads.
What’s a short mead?
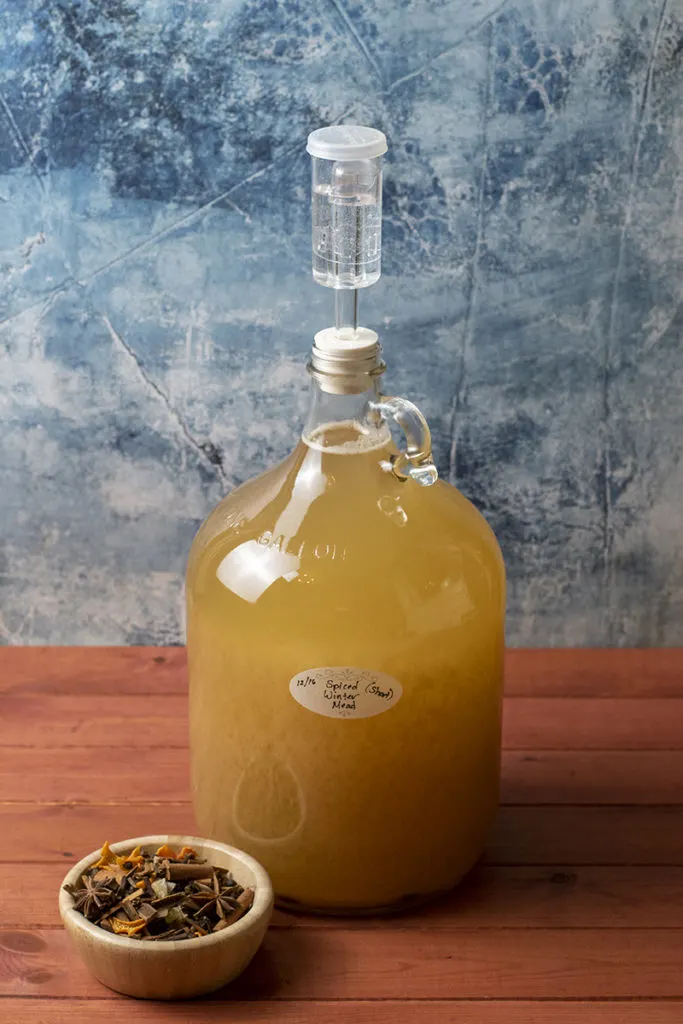
A short mead (sometimes called a small mead) is a honey wine made using less honey than would normally be used. With less honey, there is less sugar for the yeast to consume, so it takes less time to ferment.
You can usually enjoy your small mead within a month.
Because there is less honey, to begin with, the yeast will make less alcohol, meaning you’ll end up with a lower ABV. Instead, it will render you a lovely mead packed with flavor but without the serious alcoholic punch.
Unlike a traditional mead with higher alcohol content, short meads are meant to be drunk right away, rather than bottle-conditioned. This makes short meads a great choice to make for the holidays or parties. (Planning on going wassailing? A short mead is just the ticket.)
Short Mead – Short Equipment List
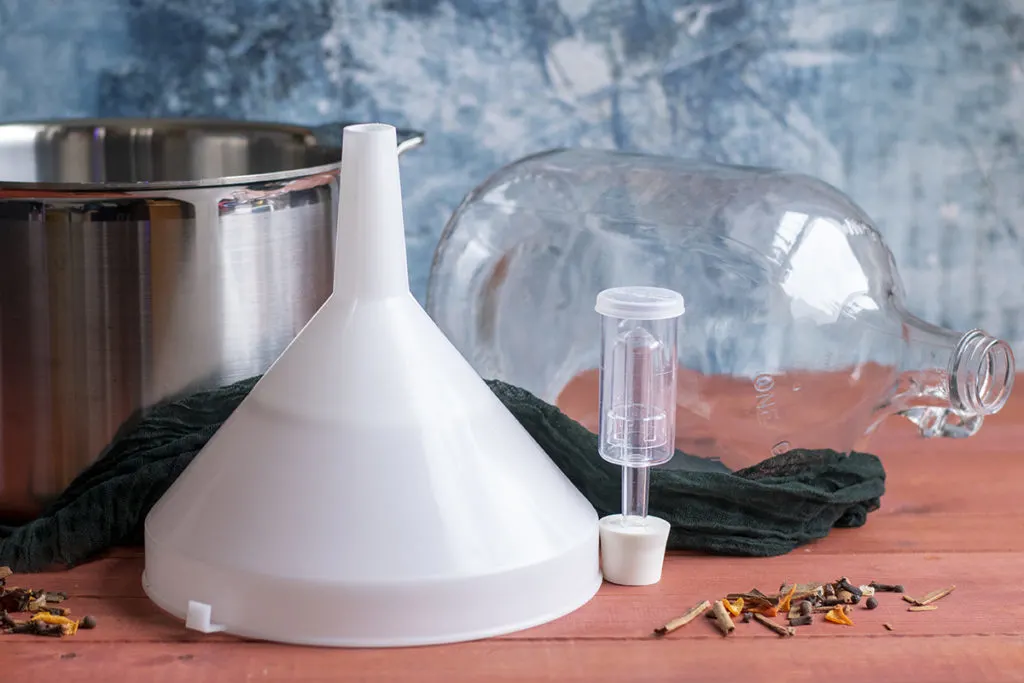
Another great feature of small meads is how little equipment is needed to make them. Because you won’t be bottling the mead to age, you don’t need to worry about bottling equipment. Really, all you need is a stockpot, a wooden spoon, a funnel with a screen, a one-gallon jar, and an airlock and rubber stopper.
You’ll be mixing everything right in the carboy, so you don’t need to drag out the ol’ brew bucket. And as the mead isn’t racked from primary to secondary or bottled, you don’t need tubing or a racking cane.
Winter Spices & Honey
This particular mead is going to be a spiced mead. We’ll add some traditional winter flavors to our honey for a spicy, golden mead that’s perfect for sipping in the evening by the fire. Go ahead, have another glass.
Because we’ll be using a commercial strain of yeast, it’s unnecessary to use raw honey. However, I do find that raw honey always provides the best flavor. And of course, use local honey if you are able.
For the spices I chose for this particular mead, I used a couple of tablespoons of my mulling spice blend. I like using mulling spices because everything is already mixed, and it’s just a matter of adding a couple of spoonfuls into my stockpot.
If you’ve never made your mulling spices, I recommend giving it a try. It’s as simple as mixing whole spices up in a bowl. My recipe makes a one-quart jarful of mulling spice, enough for gift giving, making a couple of gallons of spiced mead, and keeping my family in mugs full of hot mulled cider and wine for the entire holiday season.
However, you can also use spices normally found in your cupboard.
Consider using any combination of the following to flavor your mead:
- 1 whole 3” cinnamon stick (Ceylon is best)
- 4 allspice berries
- 2 star anise
- 3 cloves
- 1 slice of candied ginger
- 1-2 1/8” slices of peeled, fresh ginger
- 3 juniper berries
- 5 peppercorns
- 1 whole nutmeg (crushed)
To achieve a nice, spicy flavor, choose at least three of these spices.
Shall we mix up a short mead together?
Sanitizing
As with all home brewing, it’s important to start with cleaned and sanitized equipment. Don’t forget to wash your hands too.
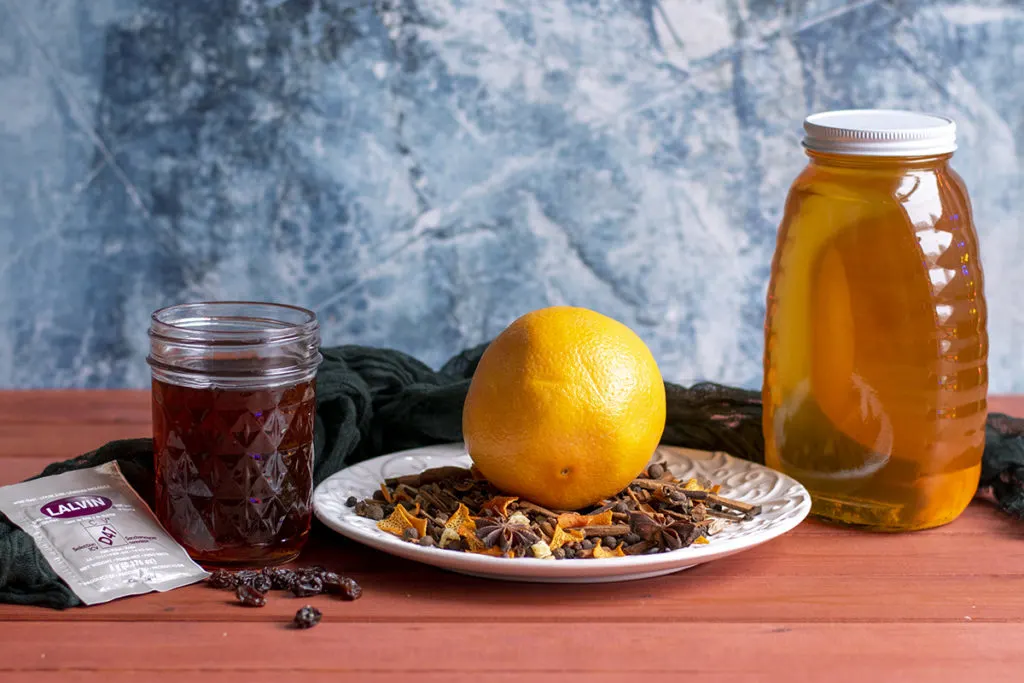
Spiced Winter Mead Ingredients
- One gallon of water
- 2 lb. jar of honey
- 12 raisins
- Juice from one orange
- One cup of strong, black tea, cooled
- Spice blend
- One packet of Lalvin D47 yeast
Directions
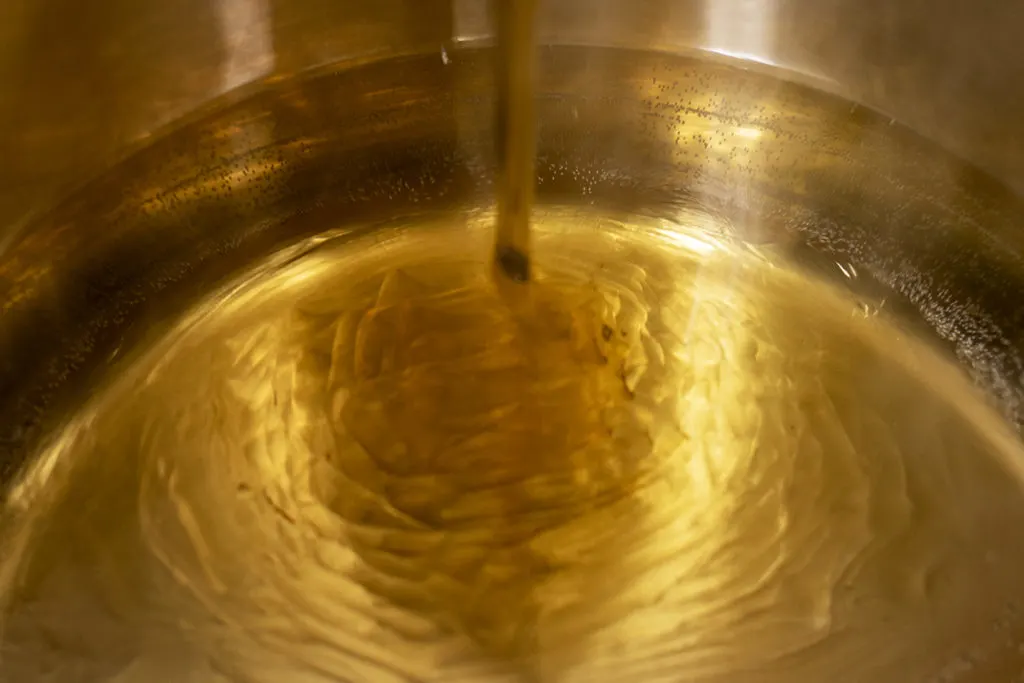
- In a large stockpot, pour in 4/5 of the gallon of water and the honey. Bring to a boil over medium-high heat and add the spices to the boiling honey water.
- Stir well.
- Let the mixture simmer for 30 minutes to an hour. The longer you let it simmer, the more flavor will be extracted from the spices.
- White foam may form on the top of the water; this is natural and expected.
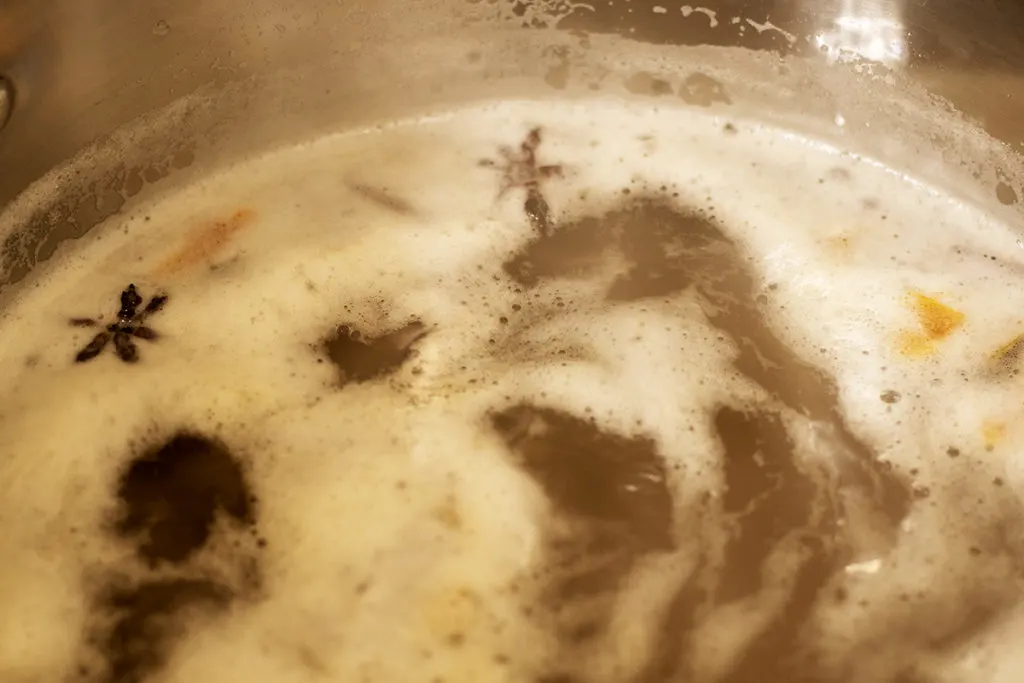
- After the mixture has simmered for the allotted time, turn the heat off and skim off the foam. You’ll remove some of the spices; that’s fine as they will be removed when this mixture is poured through the funnel with the screen
- Let the mixture cool to room temperature. If it’s cold outside, you can cool the spiced honey-water quickly by placing the pot outside for half an hour.
- While the mixture cools, add the raisins, tea, and orange juice to the one-gallon jug.
- Once the honey-water is room temperature, add the yeast packet to the jug and swirl it in the tea and orange juice mixture. Let the jug sit for a few minutes.
- Using the funnel with the screen, pour the spiced honey-water into the jug.
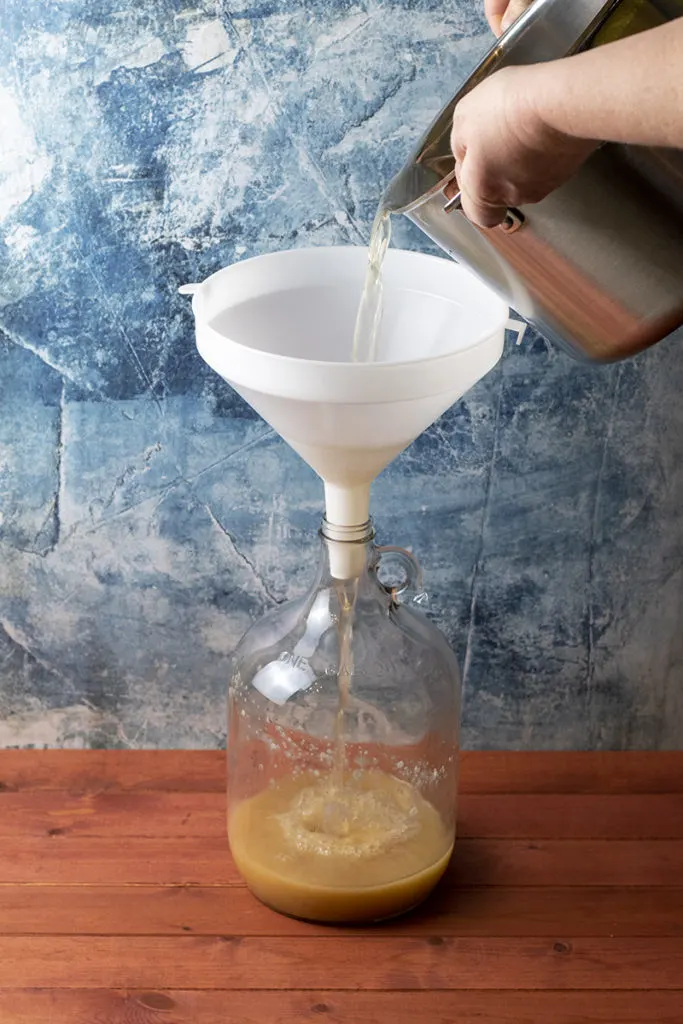
- You want the liquid to come up to the neck of the jug. If you need to, add additional water. Put the rubber stopper in the jug, and put your finger over the hole in the stopper. Swirl gently to incorporate the water.
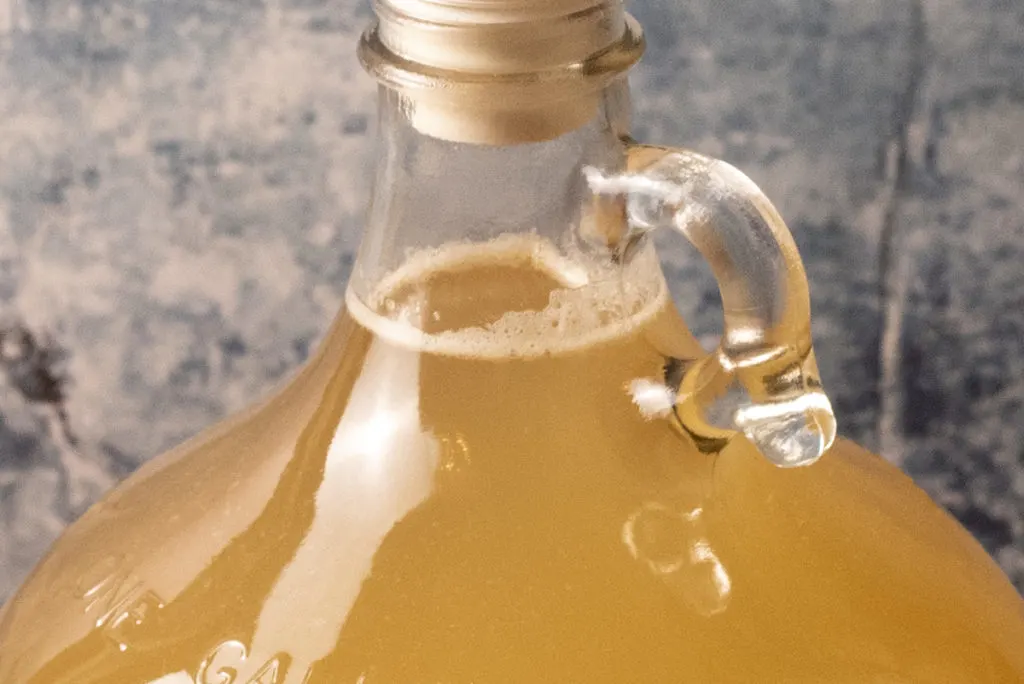
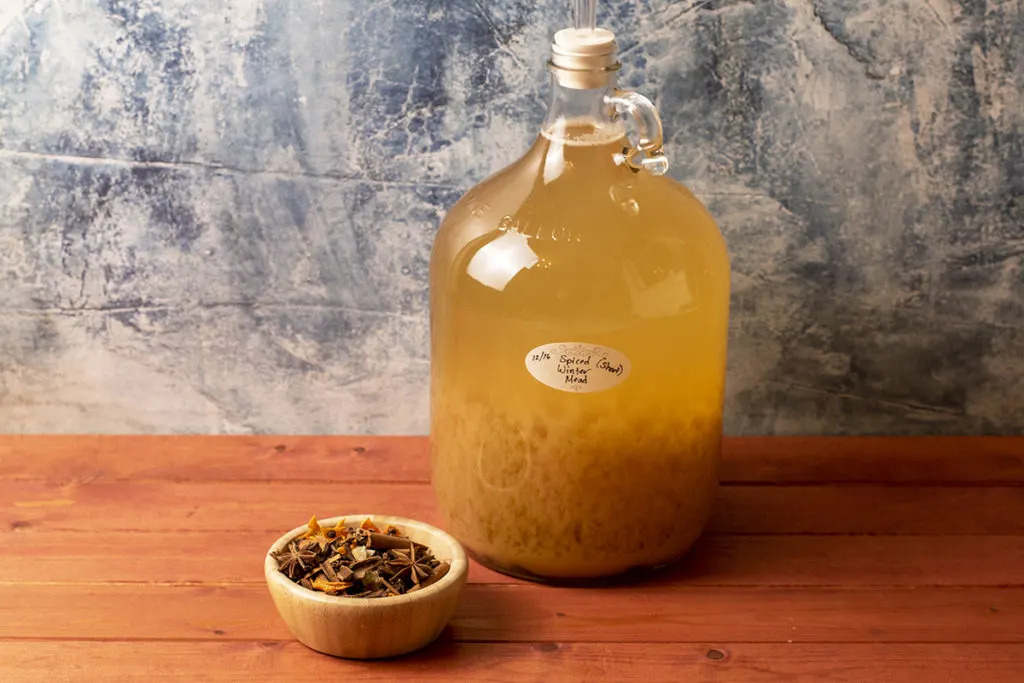
- Fit the rubber stopper with a water-filled airlock. Label and date the mead and place your jug someplace warm and dark to ferment.
Within 48 hours, you should hear the happy work of the yeast evident in your bubbling airlock.
Is My Spiced Mead Ready Yet?
Your short mead will be ready to drink in about a month. Remember, these are made to enjoy right away. The finished mead will have lots of flavor, little alcohol, and a bit of fizz to it. You won’t have the same body you would with a mead made with more time and honey.
What Can I Do with It?
To enjoy your mead just as it is, slowly pour it from the jug into a glass. Or you can pour the whole thing into another clean carboy, being careful to leave the lees behind.
And of course, you can bottle it if you wish, but you’ll need to bottle it in swing-top bottles and store it in the refrigerator. The cold will slow fermentation almost to a stop. You may need to burp the bottles each day for a few days if excess carbonation builds up. After that, you can enjoy these chilled bottles of mead over the next few weeks.
But honestly, half the fun of making a short mead is skipping all of that fuss.
Short meads are great fun to doctor up in the glass. While they’re delightful on their own, you can easily fortify them with the spirit of your choice. A few personal favorites are whiskey, brandy, rum, and krupnik (a Polish honey liquor). A splash of any of these will give your mead a bit more kick. And small meads make a great base for punch or to be used for mulled mead.
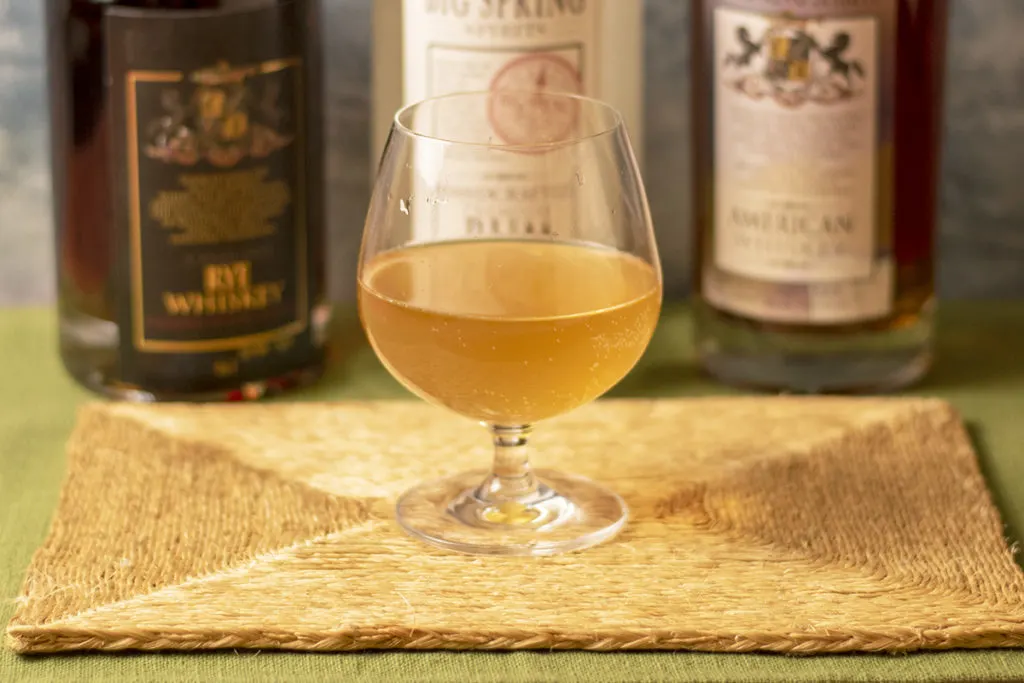
Heat your mead for a warming winter drink.
Get this delightful mead going soon, and come next month, you’ll be enjoying a glass of your own homemade mead.

Get the famous Rural Sprout newsletter delivered to your inbox.
Including Sunday musings from our editor, Tracey, as well as “What’s Up Wednesday” our roundup of what’s in season and new article updates and alerts.

