There’s nothing better than creating a personal fruit oasis in your own backyard.
While many people’s imaginations turn to thoughts of apple trees and strawberry patches when planning out their perennial food plot, raspberries are an underrated homestead staple.
These delicate berries don’t fair well when shipped across the country, which can lead to exorbitant prices at the grocery store.
The good news is that by putting in some effort now, you can establish a raspberry patch that provides you with a low-cost bounty for seasons to come.
Your future self—and your grocery bill—will thank you!
Should You Grow Raspberry Canes?
The first step in your journey towards backyard raspberries is learning whether your climate can accommodate them.
These jewel-toned berries thrive in zones 4 through 8, though some varieties are heat-resistant enough to work in zone 9.
You’ll need a space that gets full sun for maximum berry potential, and most varieties need ample access to pollinators like bees and other insects.
From a maintenance perspective, raspberry canes require minimal care once they get established. They only need to be pruned annually for optimal fruit production, and you’ll need to wait at least a year for your first harvest.
Keep in mind that other creatures—especially rabbits—will love to nibble on your canes over the winter when food is scarce, so it’s essential to invest in chicken wire fencing to prevent some ‘over-pruning’ during dormancy.
How to Choose the Best Raspberry Varieties
If you’re still enthusiastic about learning how to start raspberry canes, the next step is deciding which varieties to plant.
While it may be tempting to snatch some canes from an established plot of your neighbor’s, you risk introducing viral diseases into your yard unless you start with certified stock from a reputable nursery.
Once a virus makes it into your patch, there’s little you can do besides destroying the plants and starting over somewhere else.
In most cases, raspberries are sold from nurseries in the following forms:
- Transplants: Established raspberry canes that are dug up and replanted in a new location.
- Suckers: Sprouts that grow from a root system that can be cut off and planted on their own.
- Root Cuttings: pieces of stems that are nurtured to establish root growth before getting replanted.
Buying raspberry canes online and having them shipped usually works perfectly. Just make sure the varieties you choose work in your growing zone!
In most cases, your plants will arrive dormant and looking more like a dirty twig than a viable plant. That’s okay—you’ll be surprised how soon they perk up.
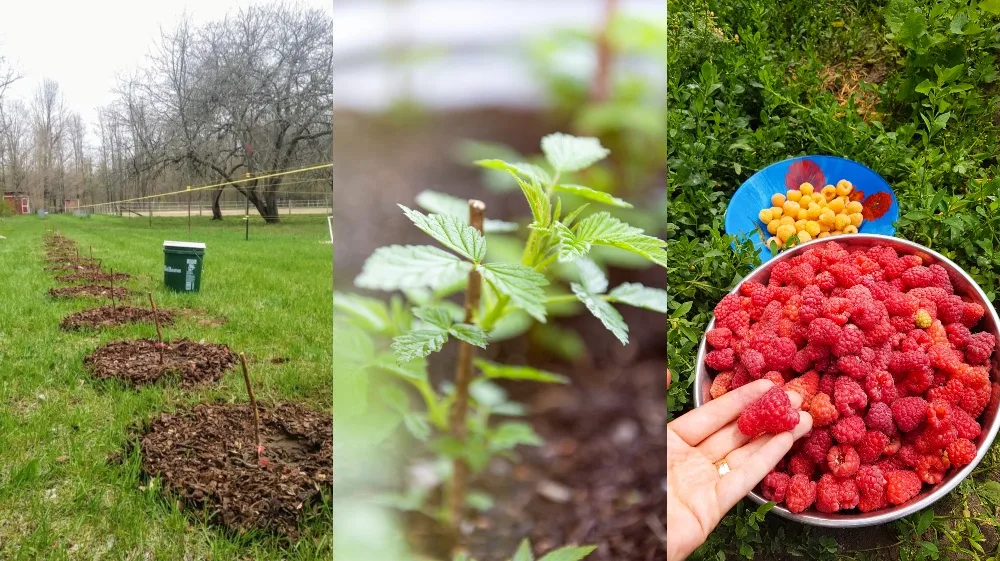
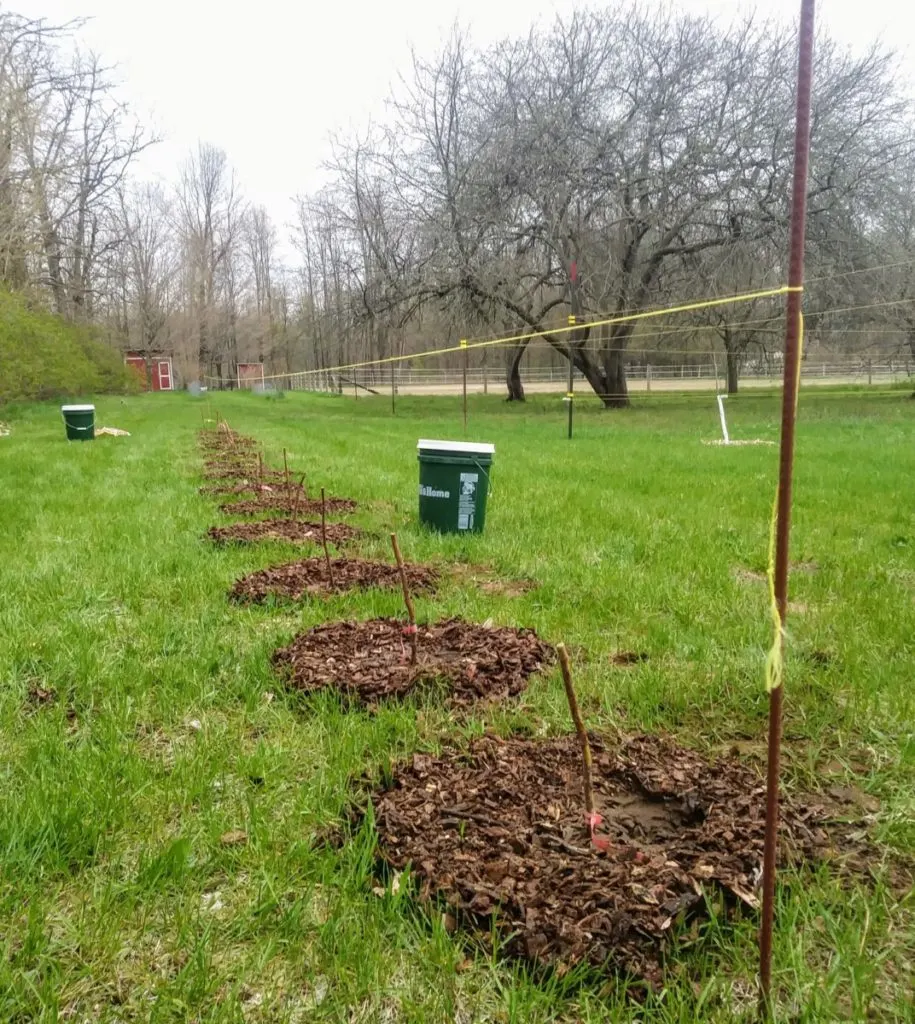
I ordered my canes from Raintree Nursery, and they arrived looking like bare sticks with small bits of roots on the bottom. They looked a little sad for the first few weeks, but green growth sprouted out from the bases as soon as the weather warmed.
You’ll next need to decide on your berry’s coloring. Raspberries come in red, black, and purple varieties. Yellow raspberries are not considered their own category because they are a sub-variety of red that doesn’t make red pigment.
Beyond taste, these types are different developmentally. Red raspberries produce new canes (called primocanes) both from the base of their second-year growth (known as floricanes) and from buds that grow up from the roots. This means the plants can spread in any direction and need heavy pruning to control their direction.
Black and purple varieties, in contrast, only produce new canes from the base of the floricanes. This keeps them clumped up and makes it easier to manage their growth. The berries also tend to contain fewer seeds, ripen earlier in the year, and are considered most the varieties best-suited cooking and canning.
Popular Raspberry Varieties
All raspberry varieties have different beneficial attributes, ranging from sweetness, how well they store, whether they are everbearing or produce once per season, and more.
I opted to grow Polka Raspberries on my homestead, which is a thornless, self-pollinating variety that produces large red berries from late summer through the fall. It’s considered resistant to root rot and mosaic virus complex.
Other varieties you might consider include the following:
Boyne: This bright red, sweet-flavored berry is cold hard and disease resistant. Expect a big harvest in early July. (zones 3-8).
Raspberry shortcake: This dwarf plant does well in containers, making it ideal for gardening in small spaces. You won’t need to worry about trellising, and it makes it possible to get homegrown fruit from a balcony (zones 5-8).
Royalty: This black and red hybrid produces large, full-flavored fruit and is known for being a vigorous grower. Expect a few weeks of fruit starting in July (zones 4-7).
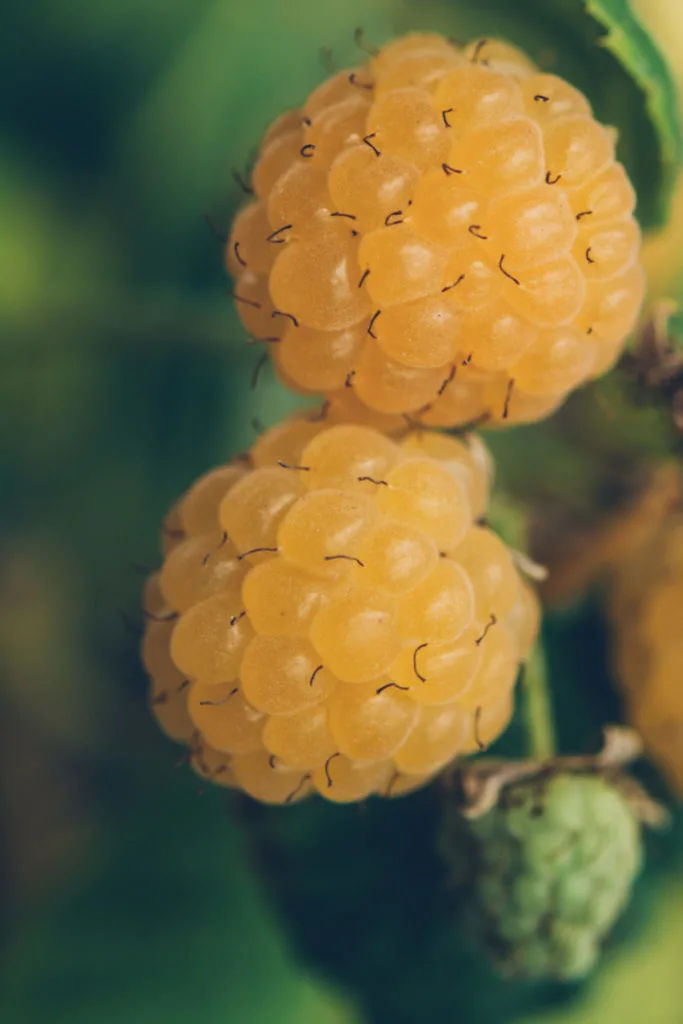
Anne: Enjoy this everbearing raspberry’s yellow-gold fruit all summer, which is considered a disease-resistant variety with a taste reminiscent of the tropics (zones 4-9).
Jewel: An everbearing black raspberry, Jewel berries are medium-sized, sweet, and have few seeds, which makes them perfect for canning. However, they tend to have low yields, so you’re best off planting a large patch.
If at all possible, see if you can taste-test a variety before buying it. There’s nothing worse than committing years to a plant only to learn it’s not the right match for your palate.
Are Everbearing Raspberry Canes Best?
When you first consider growing raspberries, it’s easy to assume everbearing varieties are best. Who doesn’t want a continuous supply of fruit all summer?
However, it’s essential to understand that everbearing raspberries require a more significant time commitment from a picking standpoint than summer-bearing varieties.
So ask yourself, are you willing to wrestle through brambles a few times a week for a smaller harvest each picking session, or would you prefer to pick hard for a few weeks and have a surplus of berries available at once for canning and freezing?
You might find it best to experiment with both worlds by growing multiple cultivars at once.
How Many Raspberry Canes To Plant?
Raspberry cane math allows for an average yield of one to two quarts of berries per established plant. The general rule is to plant four to five plants per household member, and more if you hope to can and freeze them.
However, you’re likely safe deciding to err on the side of fewer canes at the start. Once you get your raspberry canes established, the plants are happy to do the hard work for you by sending runners out in numerous directions to create new plant patches.
You can keep the canes in line with a hoe if they start getting out of control, and a trellising system will also keep them off the ground and spreading.
How to Plant Raspberry Canes
It’s best to plant new raspberry canes in late fall or early winter when the soil is still moist.
All quality nurseries will send you your plants wrapped in plastic and wet organic material around the roots to keep them moist until you get them in the ground.
If you need to wait a week or more after arrival before planting, you’ll want to “heel in” the plants. Do this by digging a sheltered, shallow trench, laying the plants on their side, and burying their roots with a few inches of dirt. Assuming you keep the soil moist, the canes can survive for a month or two like this before you plant them for good.
Alternatively, you can store canes in the fridge for a week or two before planting.
The actual planting process is simple once you’re prepped for it. These berries do best in rich, well-drained soil that gets plenty of sunlight. Acidic soil should be amended with lime until it averages a pH around 6.
Avoid any garden space that recently grew tomatoes, peppers or potatoes, as you risk introducing verticillium wilt to your new plants.
Those with heavy clay soil will have better results planting their berries in a permanent raised bed that they fill with a blend of four-fifths topsoil and a one-fifth mix of sand and manure.
It’s best to soak your cane’s roots for six hours or so before planting. You might want to add a vitamin B1 growth stimulant to the water to speed up results (1/2 teaspoon per quart of water).
Plant each cane in a hole approximately one foot deep by one foot wide, with a handful of manure or organic fertilizer at the base. Place the plant in the hole, spreading the roots to maximize their growing space. Keep each plant about 18”-24” inches apart, with at least eight feet between rows.
You can then refill the hole and lightly mulch around the stem with straw, wood chips, or shredded newspaper. Keep this mulch under three inches deep, so you don’t smother the plant.
Raspberry canes need consistent watering for their first year of life. Drip irrigation works best, or you can plan to give each plant 1”-2” inches per week during the growing season, and as much as 4” inches during harvest time.
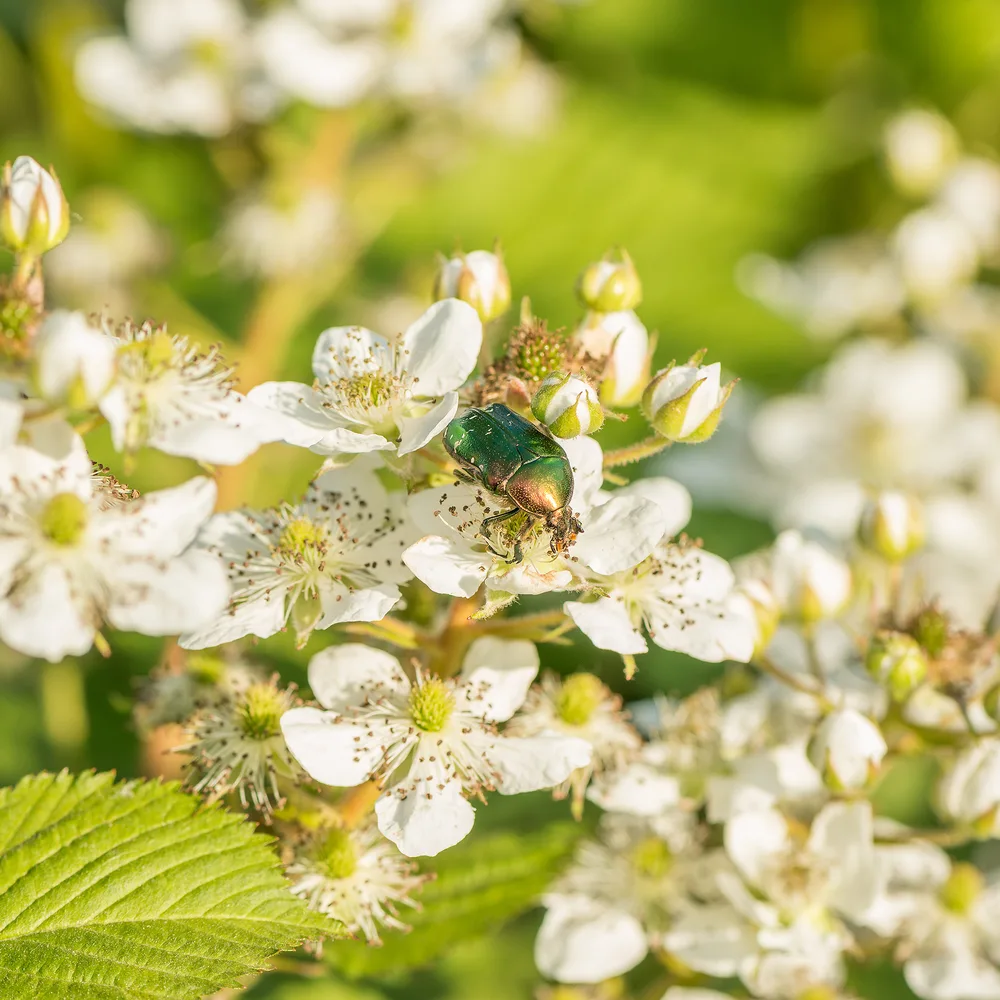
These hardy plants tend to be free of pest and disease damage, though you might have issues with weevils, aphids, fruit worms, and Japanese beetles once the fruit begins to ripen.
I struggled with Rose Chafer beetles for several weeks in early June, but they never ate enough of my plants to have much effect on their overall health.
Building a Raspberry Trellis System
Your baby canes won’t need trellising their first year, though it’s a good idea to protect them from hungry forest creatures with some chicken wire fencing.
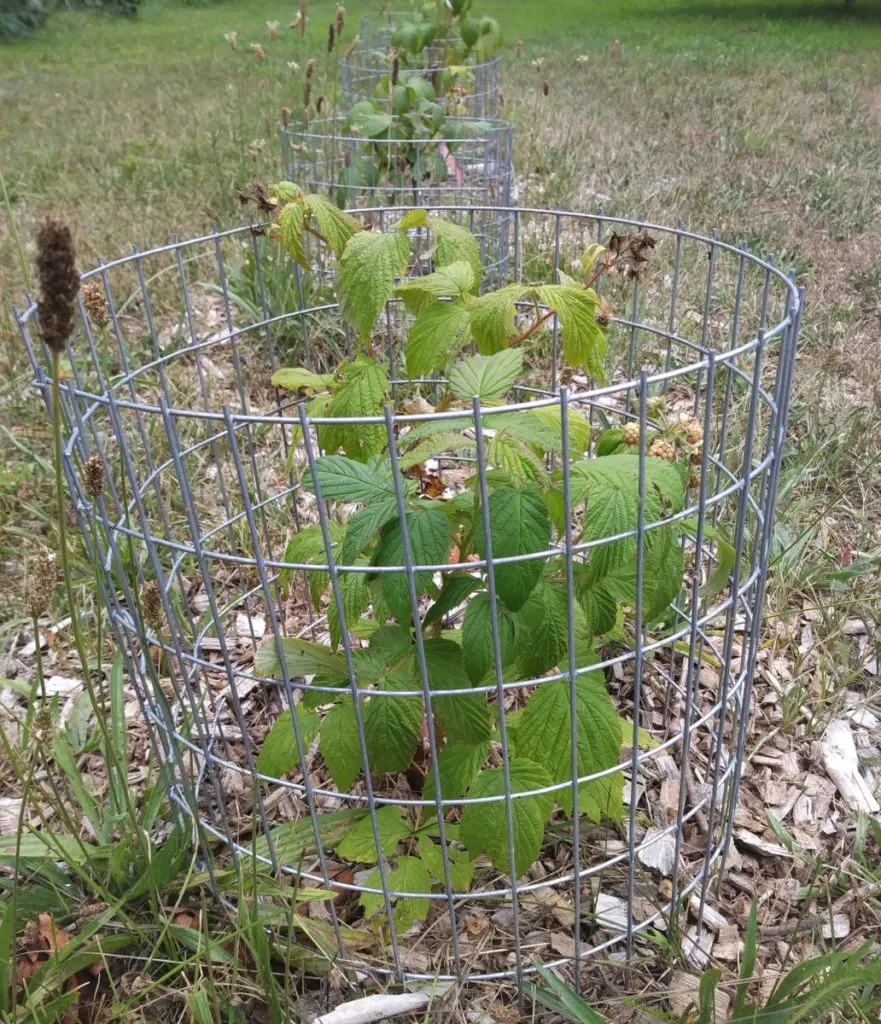
As the canes get bigger, they need strong supports so the berries don’t drape on the ground. This allows for easier picking and ensures good airflow that keeps the plants healthy and disease-free.
There are many trellising systems to choose from, but most involve a T-post with top wire that supports the canes as they grow. You want the berries to drape over the wires for easy picking over the long run.
Get inspiration from this YouTube video.
You can also purchase pre-made raspberry trellising for a less DIY route.
How to Prune Raspberry Canes
You’ll maximize your raspberry production by pruning away old canes each year to make space for the newer ones that produce fruit. The best time to do so is in the early spring when the plants are still in dormancy.
If you have everbearing berries, the simplest method is to cut each cane down an inch from the ground. However, this delays your fruiting until early fall and can cut out up to half of your harvest.
The alternative is to cut one-year-old canes down to the level of the top support wire while cutting down the two-year-old canes to an inch above soil level. The remaining canes will then start fruiting in July, and new canes will grow from the base of the older ones and produce a fall crop. This is the preferred method for summer-fruiting varieties.
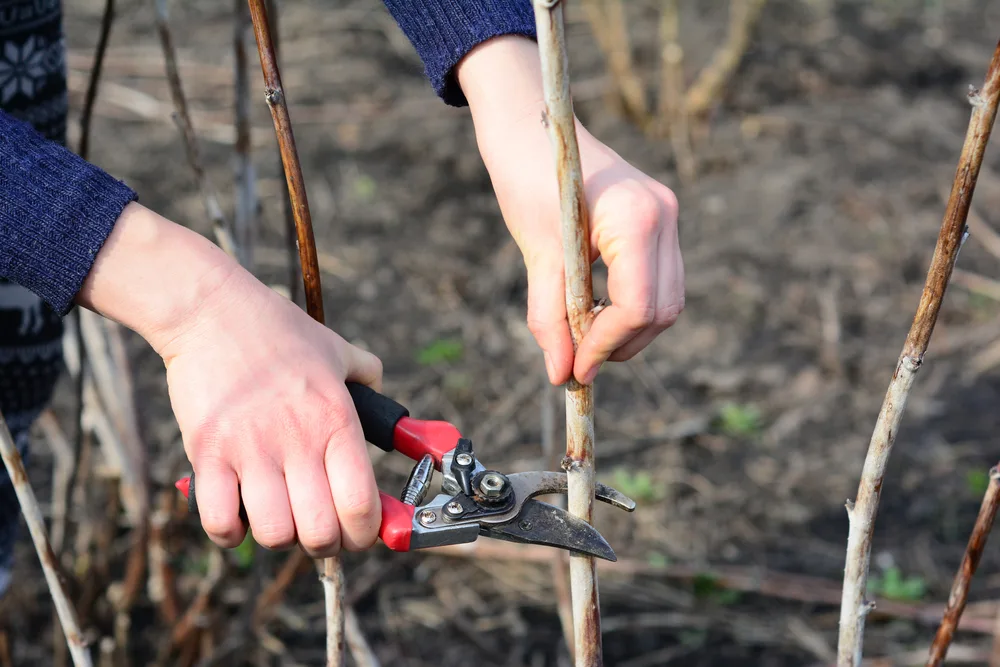
It’s also a good idea to top-dress your canes after pruning with some well-rotted manure and organic berry fertilizer to jump-start the growing process for the upcoming season.
If you notice signs of fruit rot, this is usually an indication that your canes are too crowded, and you’re creating habitat for fungus to flourish. Repruning to generate some airflow within the patch and avoiding overhead watering can solve this problem quickly—and usually without long-term damage.
Unless you have a self-pollinating variety, it pays to plant some pollinator-friendly flowers close to your plants to lure in bees and butterflies.
5 Ways to Use Your Raspberry Harvest
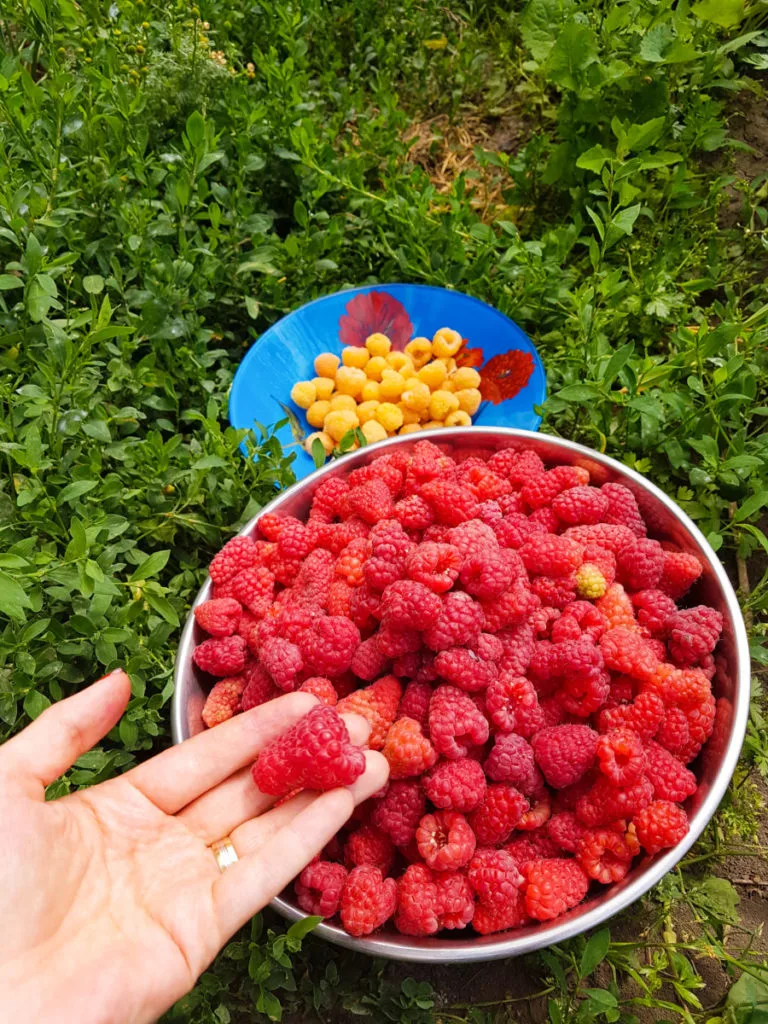
Some initial work upfront this season to learn how to start raspberry canes will pay you back in premium quality berries for at least a decade. In upcoming years, your greatest challenge will be determining how to use the bounty.
Once you tire of eating them fresh—if that’s even possible—here are other ways to put up your harvest.
1. Freeze Them

Nothing tastes better than a winter smoothie made with summer-picked fruit from the homestead. Prepare your berry harvest for the colder months by washing your berries and freezing them on a cookie sheet. This prevents them from sticking together and allows you to dish out as many as desired for baking for smoothies.
Once frozen, scoop the berries into freezer bags. Better yet, follow my method of using a vacuum sealer to maximize freshness.
Every time I slice open a bag, I get access to beautiful berries that are never freezer-burned.
2. Make Homemade Ice Cream
Homemade ice-cream is an incredible summer treat made even better when you can add your own backyard berries. This easy recipe comes together in just four hours.
3. Make Pectin-free Raspberry Jam
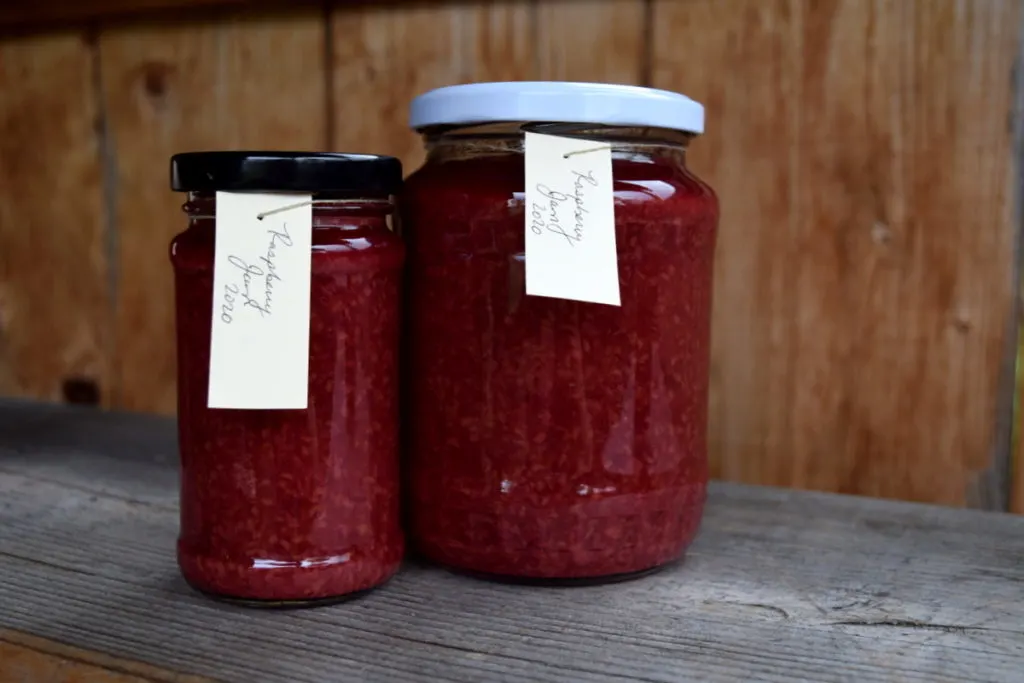
Nothing goes better with homemade sourdough bread than raspberry jam. This lightly sweet recipe is pectin-free, and you can make it with fresh or frozen berries.
4. Mix Up Simple Homemade Raspberry Syrup
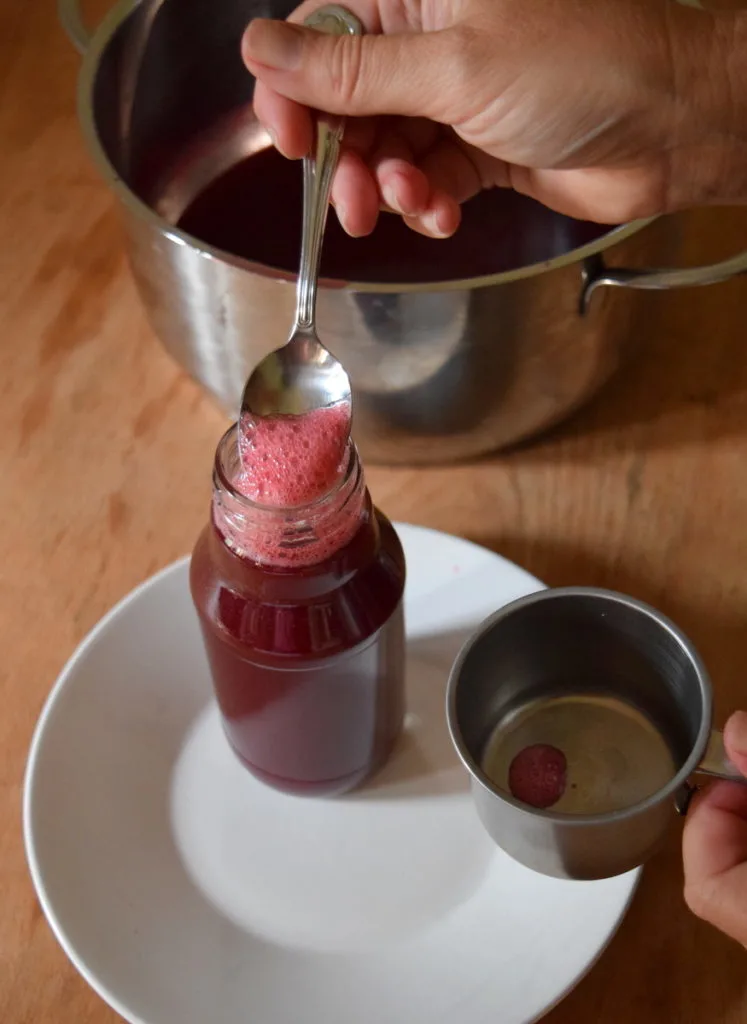
Forget maple syrup; nothing tastes better on buttermilk pancakes than homemade raspberry syrup.
This recipe is a great way to gain your small-batch canning confidence, and it lets you enjoy the taste of fresh fruit all year long.
5. Make Raspberry Vinegar
Apple cider vinegar may get all the credit, but raspberries hold their own in this tangy condiment. Not only is raspberry vinegar a shelf-stable way to store your harvest, but your health will benefit from the high antioxidant content.

Get the famous Rural Sprout newsletter delivered to your inbox.
Including Sunday musings from our editor, Tracey, as well as “What’s Up Wednesday” our roundup of what’s in season and new article updates and alerts.

