Oh my goodness, Rural Sprout readers, I’m beyond excited to share this fun project with you – we’re going to make tea bombs.

If you want to make your next cup of tea extra special or if you need a quick but impressive gift, tea bombs are just the ticket.
As a tea-loving mom, I can say these would make a beautiful and thoughtful Mother’s Day gift. They only take an hour or so to make too.
And other than the silicone mold, you probably have everything you need to make a tea bomb already.
What’s a Tea Bomb?
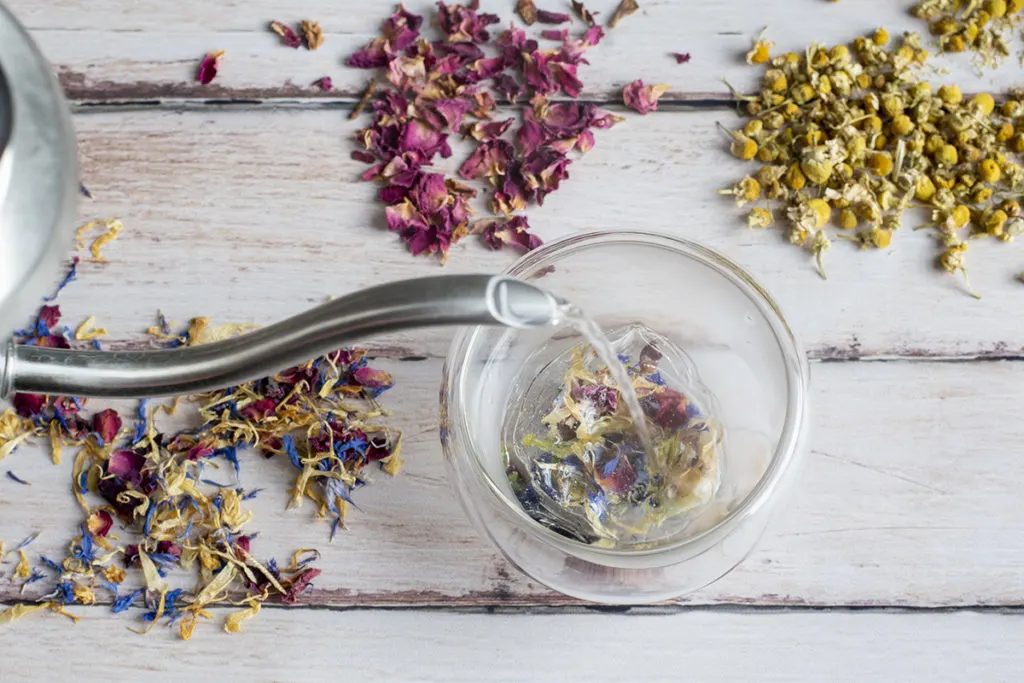
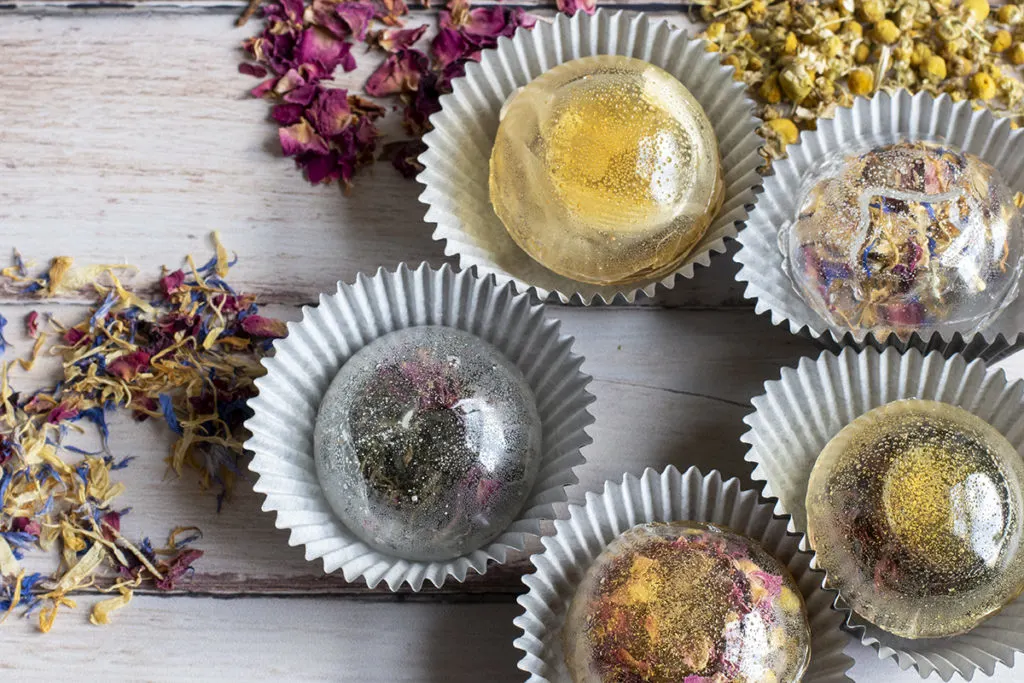
It’s a clear shell around a tea bag or loose tea that melts once hot water is poured over it. I’m sure you’ve heard of hot chocolate bombs, and these are very similar.
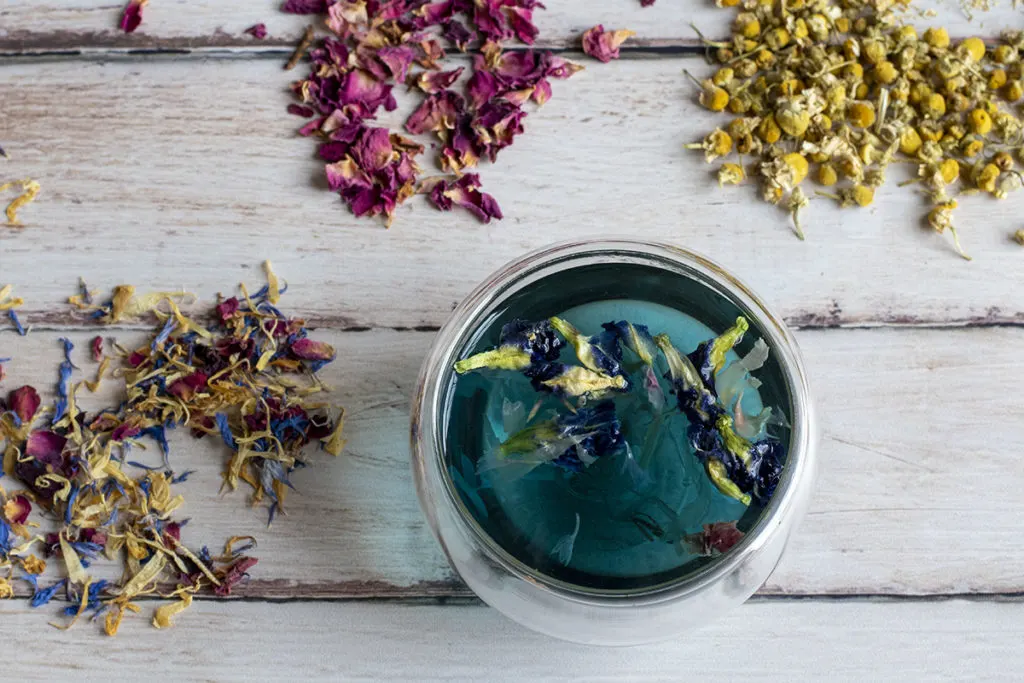
The shell can be made with honey and sugar or isomalt.
These lovely tea bombs make your daily cuppa extraordinary. And they’re surprisingly easy to make. I thought for sure they were going to be super fussy and hard to make. Lo and behold, they came together with minimal fuss. I even figured out an easy trick to make filling the molds even easier to do.
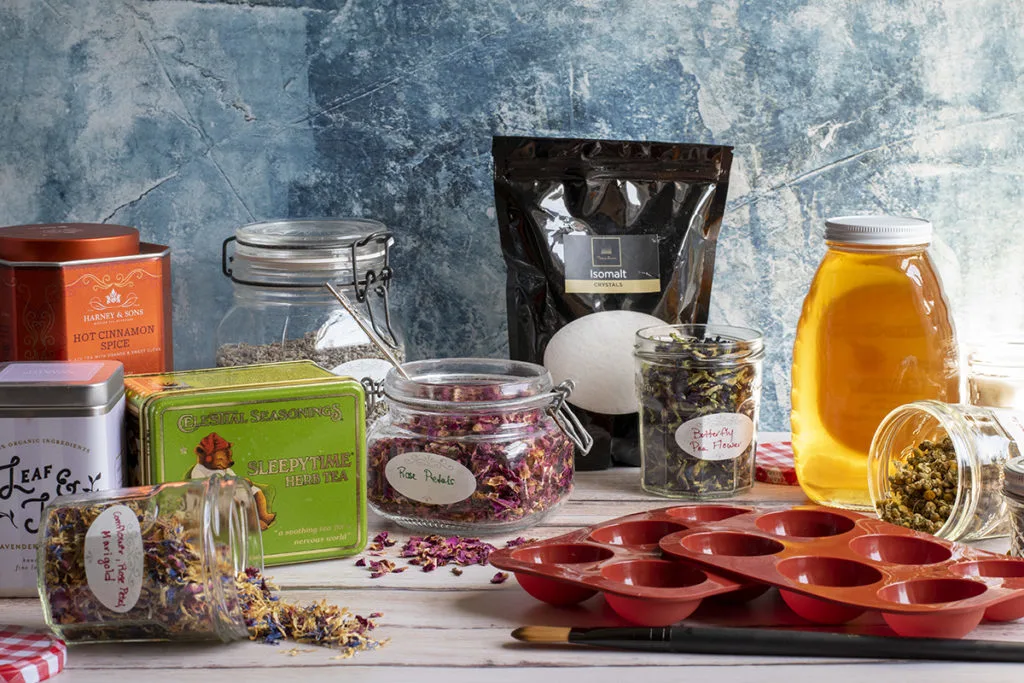
What You’ll Need
- Silicone candy mold (ball-shaped, or other shape meant to have two halves molded together)
- Candy thermometer or infrared thermometer
- A nice fluffy paintbrush (good quality, so it doesn’t shed)
- Parchment muffin cups
- Small saucepan
- Small frying pan
- Honey and Sugar or Isomalt Crystals
- Assorted teas – in teabags or loose tea
Silicone Candy Mold
For the silicone candy mold, you want something pretty flexible so you can remove the shells without them cracking. I purchased my molds on Amazon, but I’m sure you can easily find them at nearly any craft store.
Using Isomalt
Isomalt is a sugar substitute made from beets. It has no impact on blood sugar levels, making it a good option for people with diabetes. However, you shouldn’t consume more than 20g of isomalt in a day, as it has a natural laxative effect. That comes out to no more than two tea bombs a day.
Honey and Sugar
Using honey and sugar will give you a more classic sweetened tea. The tea bombs will be a soft golden hue, though. If you want to dye your tea bombs or have clear shells to see the tea inside them, you may wish to use isomalt.
Sticky Tea Bombs
For the best results, work on a day (or in the air conditioning) when the humidity is relatively low. If it’s too humid out, the shells get sticky and will start to become limp.
Making Tea Bomb Shells
Making the tea shells is quite simple; however, you will be working with a very hot and sticky liquid. You will need to move quickly as it cools fast. I would not recommend this project for young children. I would also suggest wearing heat-resistant kitchen gloves to avoid any burns from the scalding liquid.
I’ll walk you through making both the isomalt and the honey and sugar shells. Once your shells are made, the rest of the instructions are the same.
Isomalt Shells
- 1 cup of isomalt crystals
- 2 tbsp water
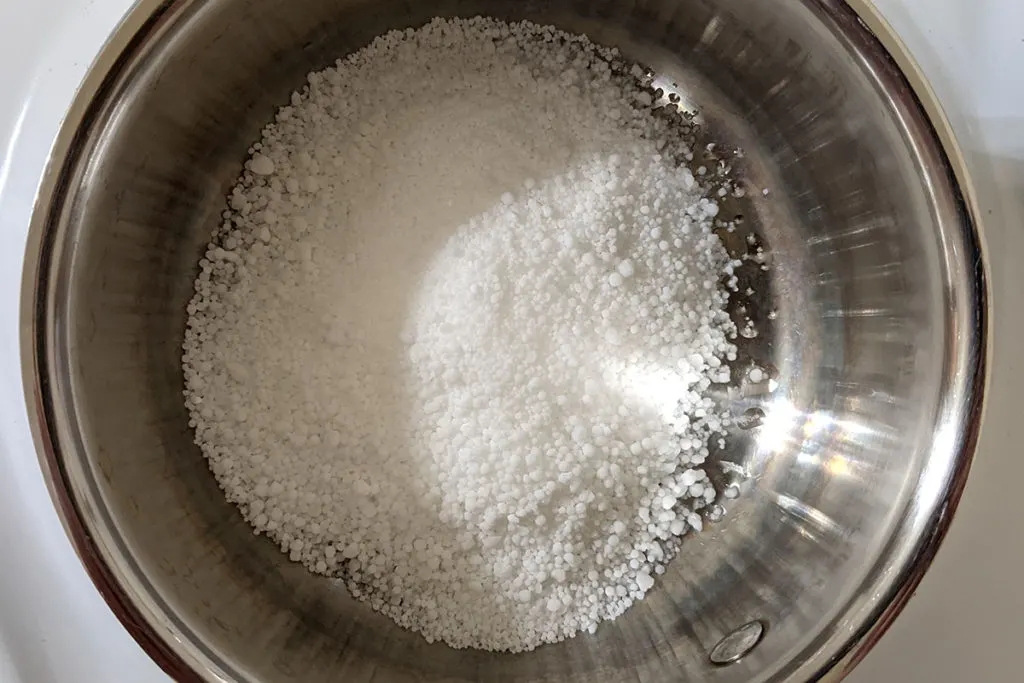
Heat the isomalt crystals and water in a small saucepan over med-high heat until completely dissolved, clear, and bubbling rapidly. You may swirl the liquid in the pan or use a wooden spoon to help them dissolve faster.
Once the liquid is clear and bubbly, you can begin to fill your molds.
Honey and Sugar Shells
- 1 cup of sugar
- 1/3 cup of honey
- 2 tbsp water
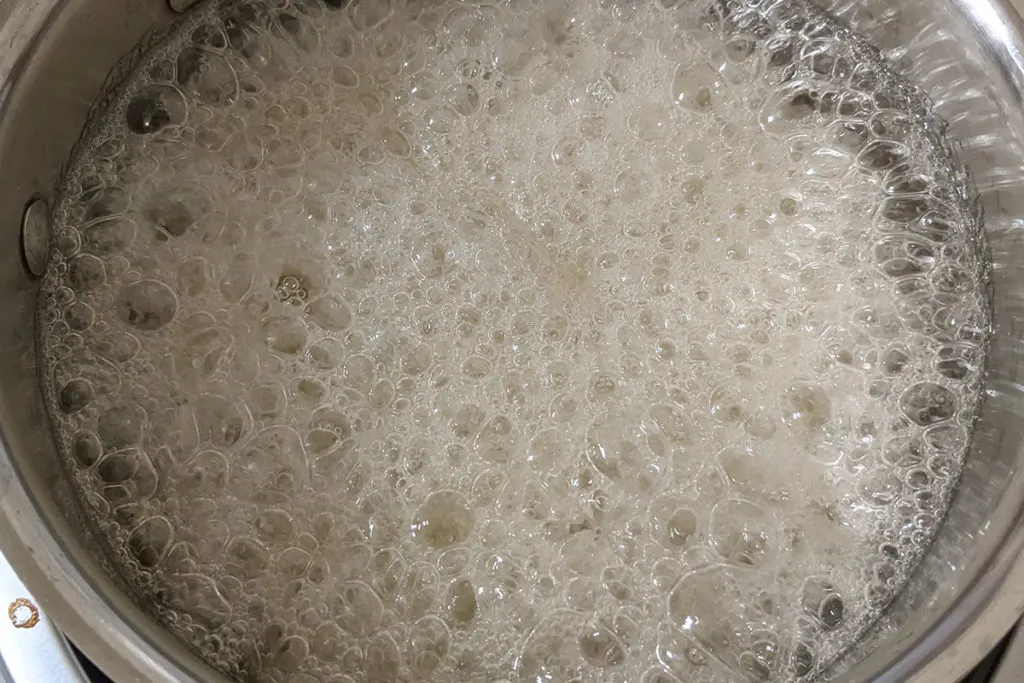
Heat the sugar, honey and water in a small saucepan over med-high heat, stirring until completely dissolved. You will need to bring this mixture to 290 degrees. It will be bubbling and foaming rapidly but shouldn’t overflow your saucepan. Check the temperature often, and as soon as it reached 290 degrees F, remove the saucepan from the heat and begin to fill your molds.
Filling the Molds
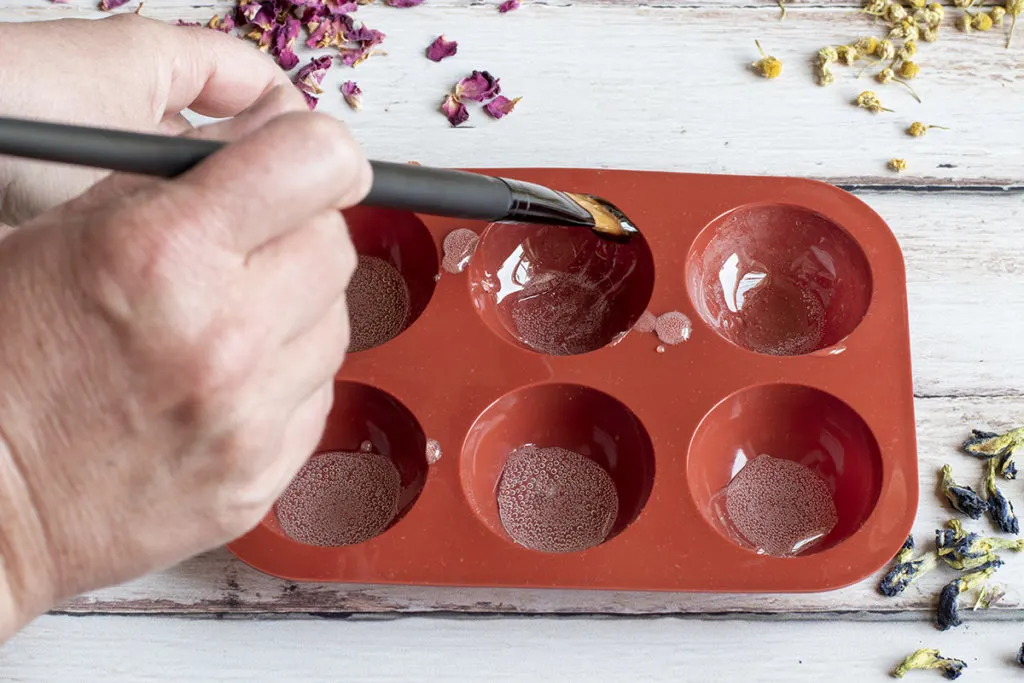
I found that around one teaspoon per dome worked well for 2” tea bombs. You can pour directly from the saucepan into the molds or use a silicone spoon to dip out the hot sugar.
Don’t worry if you dribble a little on the mold or around the edges; it easily cracks off once the shell has set up.
You’ll need to work quickly to spread the hot liquid up around the whole dome.
I found the best way to do this was with a fluffy artist’s paintbrush. I simply swirled the paintbrush around the bottom of each dome and up the sides. This worked exceptionally well and was much easier than suggestions I found in other tutorials.
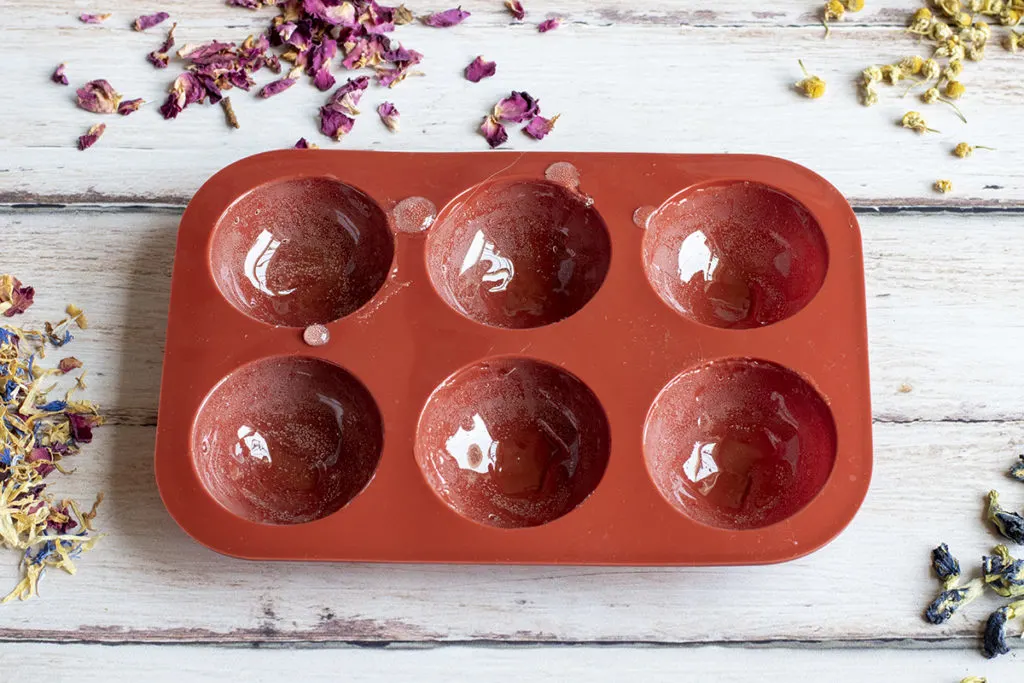
Once you’ve filled the mold, place it in your fridge for 10-15 minutes.
Removing the Shells From the Mold
Take your candy molds out of the fridge and gently peel back the mold from the tea bomb shell while also pressing it out from the bottom. Work carefully and in one smooth motion. I found that if I stretched the mold out, the shell would crack.
If a shell cracks before you get it out of the mold, you can easily paint over it with a bit of the hot liquid and the paintbrush. Place it back in the fridge for another 10-15 minutes, then try again.
Place the shells on a square of parchment paper. You don’t want to put them on anything like a napkin, paper towel or dishtowel as they will stick.
Let the shells come to room temperature before you add your tea.
Filling Your Tea Bombs
The nice thing with tea bombs is you can use teabags or loose tea. You will only be filling one half of the shells.
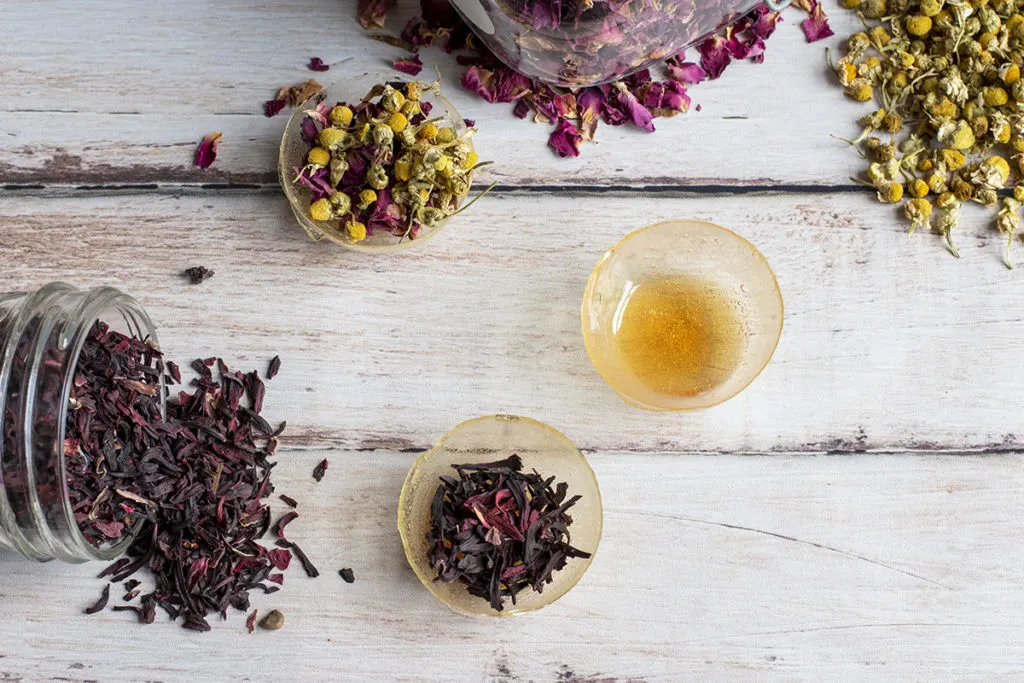
Use one heaping teaspoon of black tea or herbal tea for loose teas.
You can pull the strings off the teabags or seal the tea bomb with the string sticking out. I found the pyramid teabags fit nicely on their own, but larger square sachets need to be folded in at the corners to fit.
You can get creative here or keep it simple. Tea bombs are so beautiful and fun; they make even a simple Lipton teabag special.
Here are a few ideas for filling tea bombs.
Floral Black Teas
So many flowers make such a wonderful accompaniment to black tea. Earl Grey and lavender are a fantastic combination. Rose petals and pouchong go well together. Or how about a chai tea bomb, add some cloves, dried ginger, and a small piece of cinnamon stick.
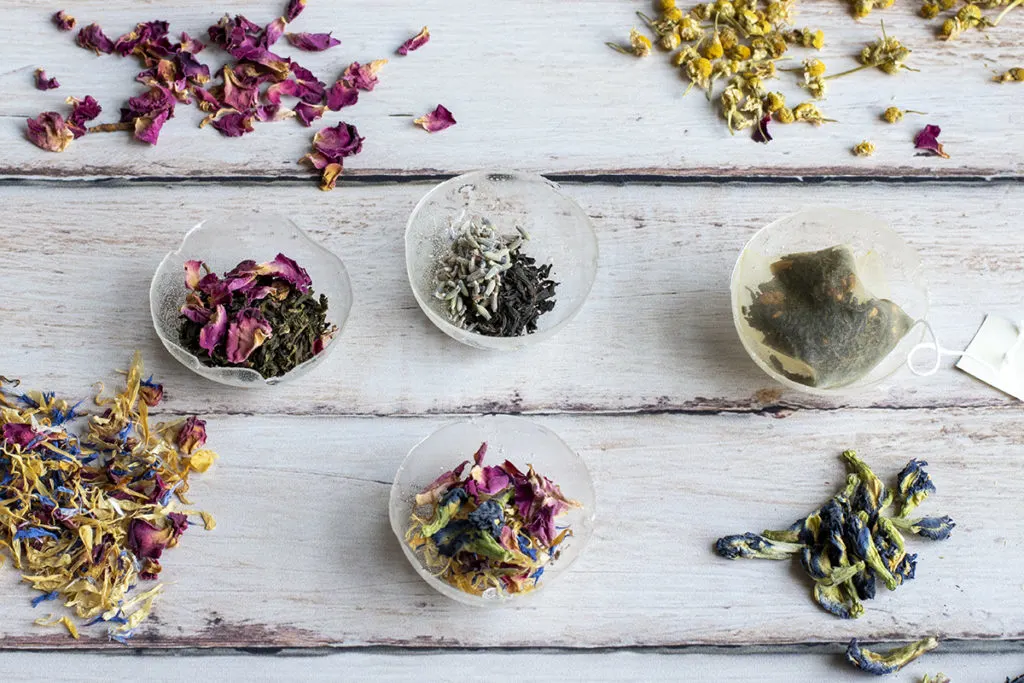
Mix Your Own Herbal Teas
Making a mix of herbs for individual tea bombs is such a great way to try new combinations. If you hit on something you like particularly well, you can mix up a bigger batch of it.
Get Well Tea Bombs
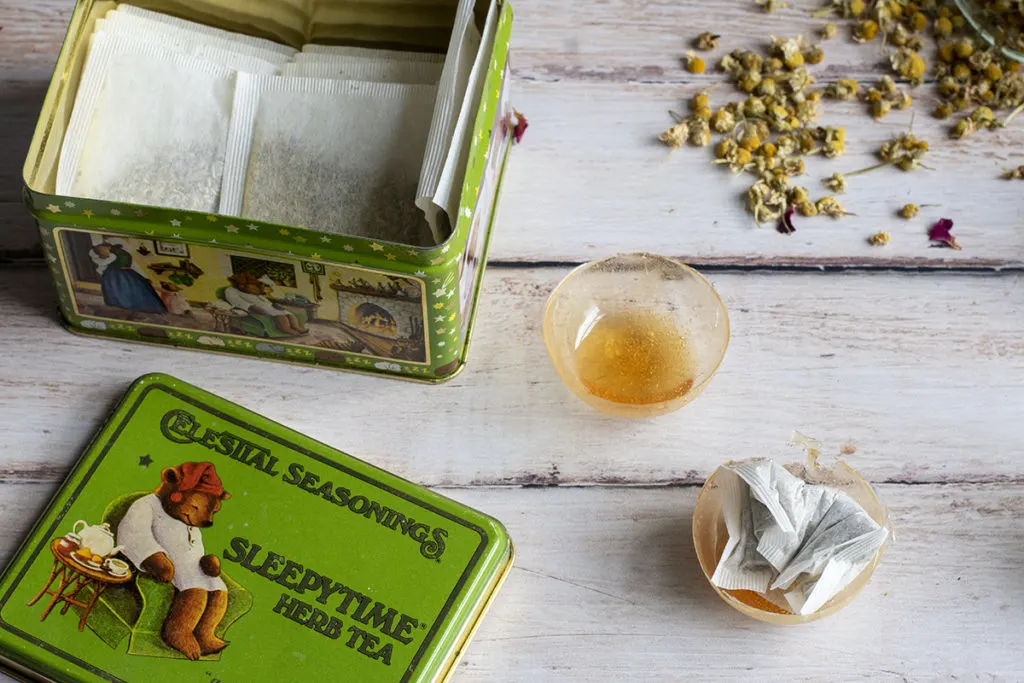
Why not make tea bombs for a friend who’s under the weather or going through a rough patch. Choose caffeine-free teas that will help soothe upset tummies, sore throats or help frazzled nerves and ease sleep.
Tea Bomb Favorites
Purchase a loved one’s favorite tea and make tea bombs using that tea.
Sealing Tea Bombs
Once you’ve filled one half of a tea bomb shell, heat a small frying pan over med-low heat until it’s good and hot. Turn the heat off. Holding an empty half of shell, gently press it down on the frying pan for a couple of seconds. It doesn’t take much longer than that.
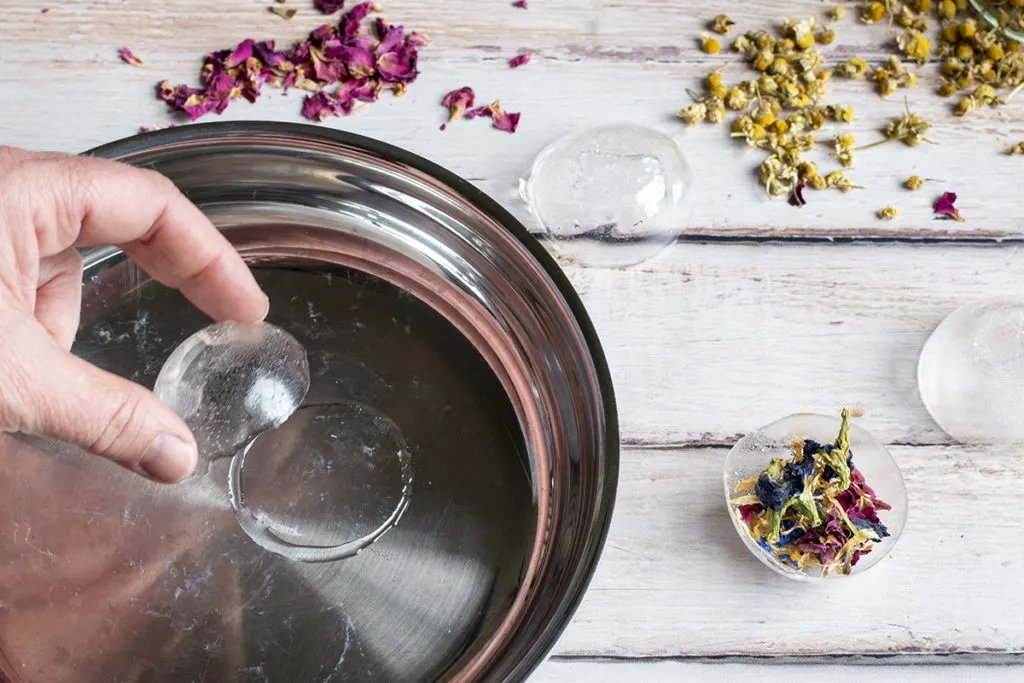
Pull the shell away and quickly press the two halves together. You may get some fine strings of sugar, but they can easily be wiped away.
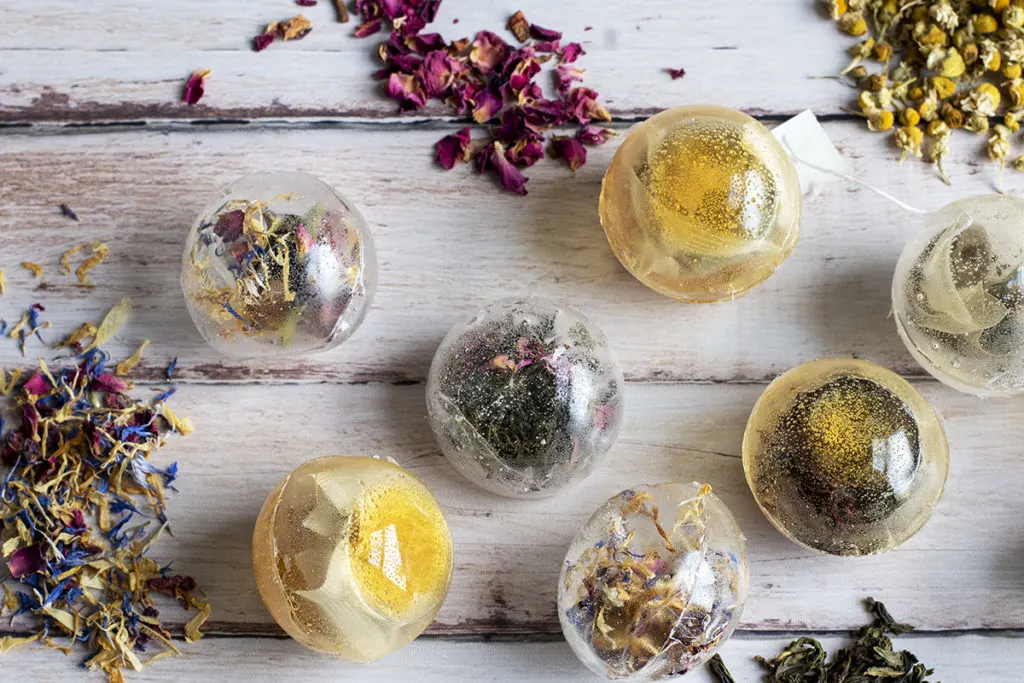
Let the tea bombs cool on parchment paper.
Storing Tea Bombs
To store them put each tea bomb in a parchment muffin liner and store them in an airtight container. The tea bombs are best if used within a week or two; humidity will cause them to stick together or cave in on themselves after much longer than that. While this won’t affect the taste, they are less pretty.
Serving Your Tea Bombs
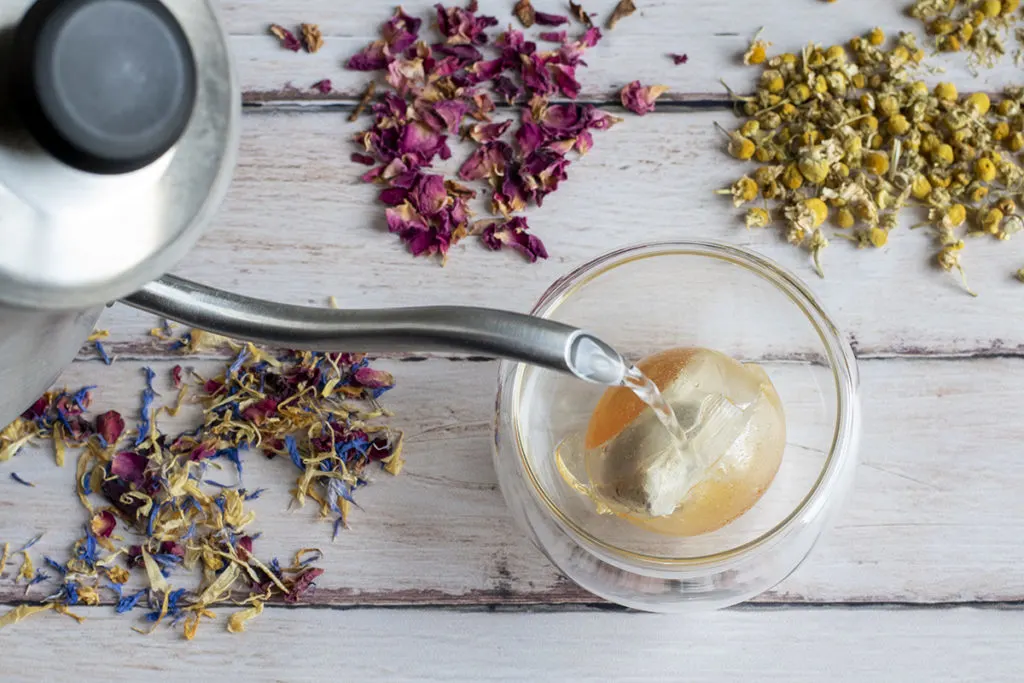
To serve tea bombs, simply place one in a teacup and pour boiling water over it. The shells will melt, sweetening your tea and revealing the tea inside them.
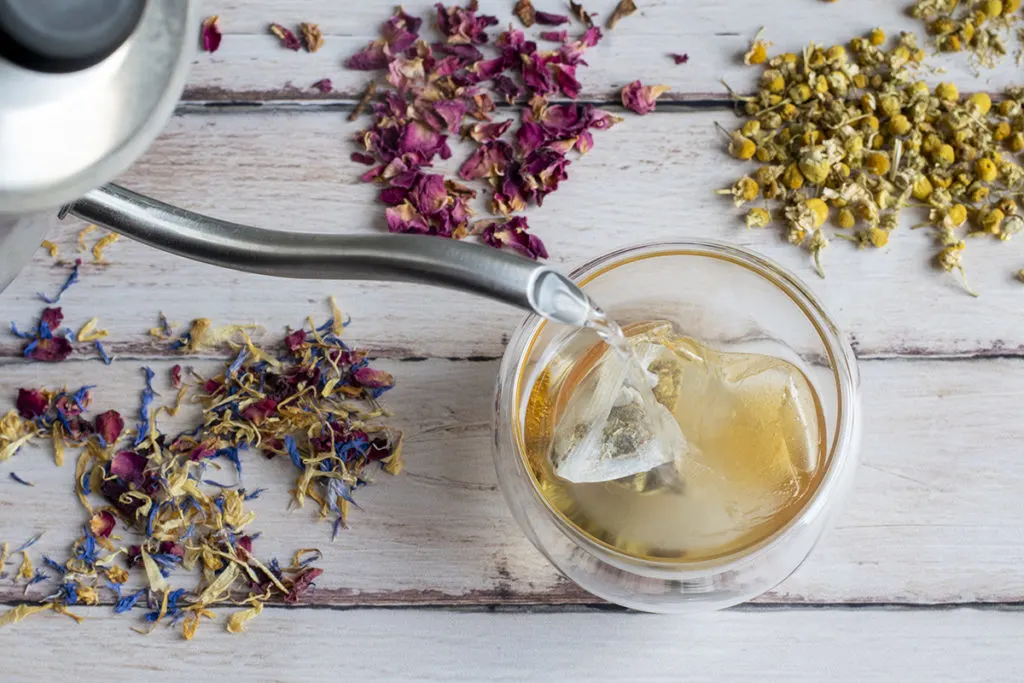
If you plan on using loose leaf tea, you may wish to consider using a tea diffuser. Consider using a clear teapot with a diffuser to enjoy beautifully colored floral teas.
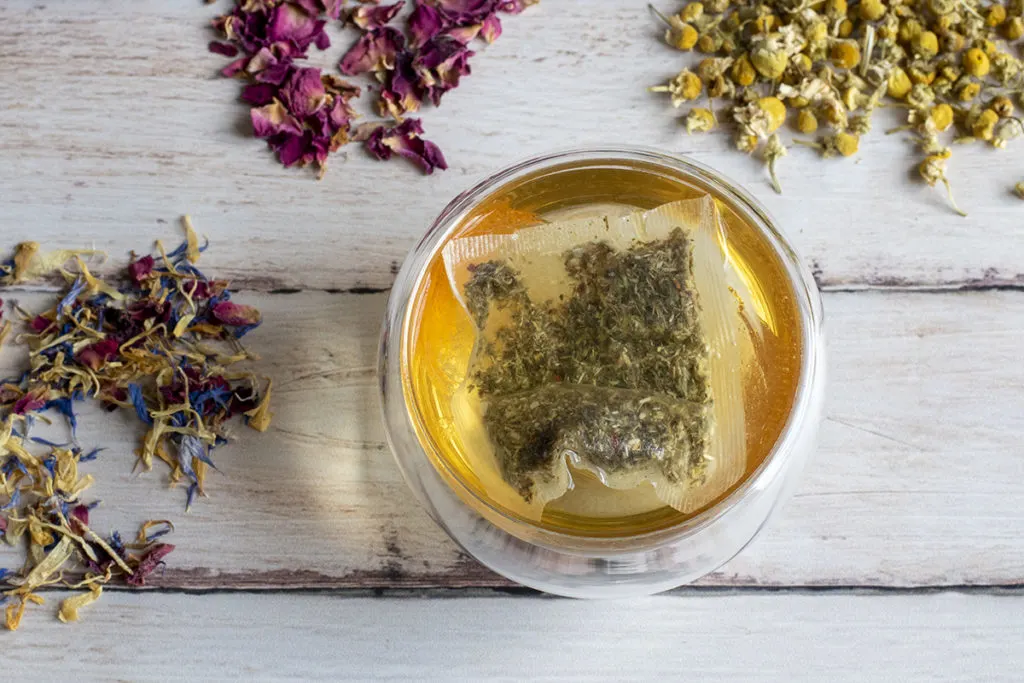
After reading the directions, I know it sounds like a lot of work, but it all goes quite quickly. Get started, and you’ll be amazed at how soon you’ll be sipping tea made with your first batch of tea bombs. Enjoy my friends!
For another easy, but oh-so-impressive gift idea, try making homemade violet syrup.

Get the famous Rural Sprout newsletter delivered to your inbox.
Including Sunday musings from our editor, Tracey, as well as “What’s Up Wednesday” our roundup of what’s in season and new article updates and alerts.


