I’m sure we can all agree that summer flowers are beautiful. And it’s hard to top the jewel tones of mums in the fall. But there’s something about those first flowers of spring that’s downright magical.
Maybe it’s because we’re starved for color after a drab winter, or maybe nature is at its best when everything is fresh and new. Whatever the reason, we’re obsessed with the bold, colorful blooms of crocus, daffodils and tulips. Especially tulips.
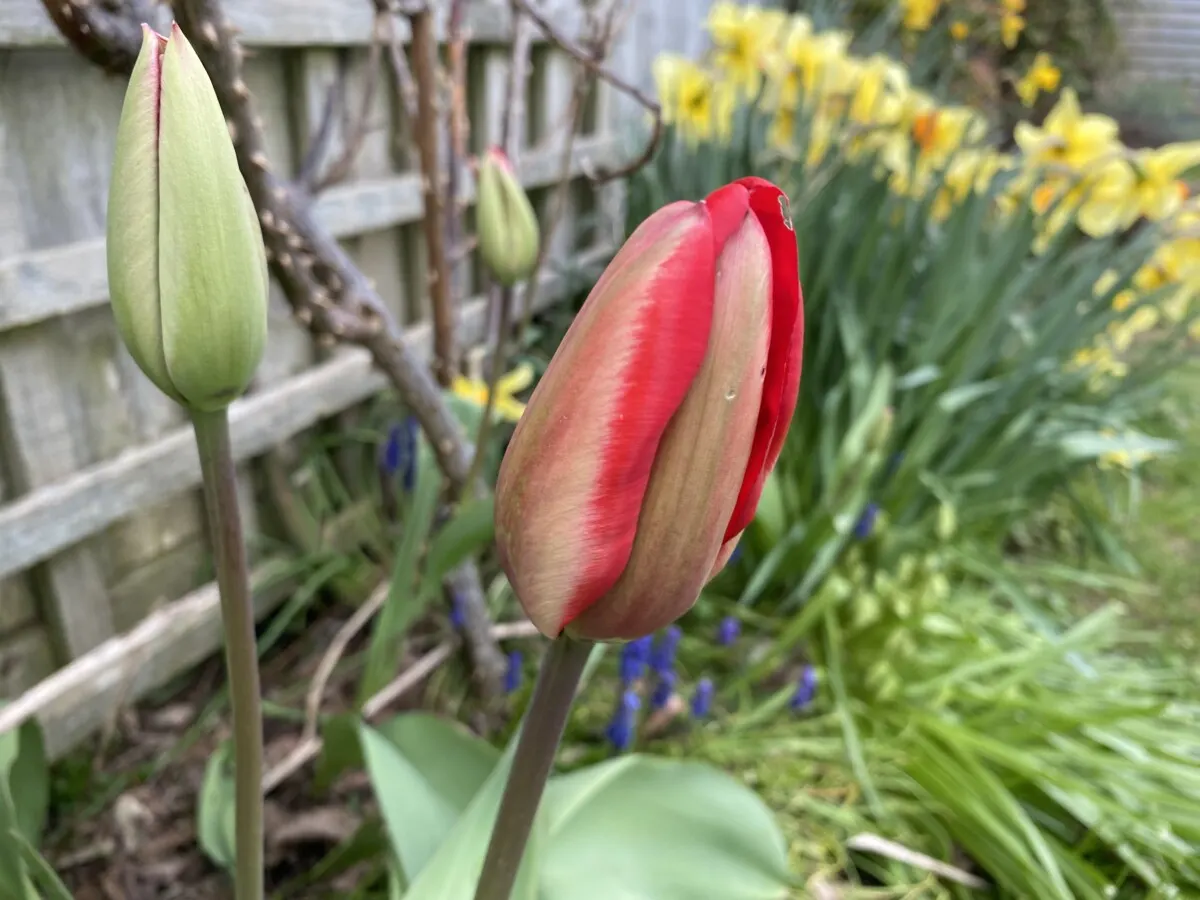
No other flower offers more variety for your spring garden than tulips.
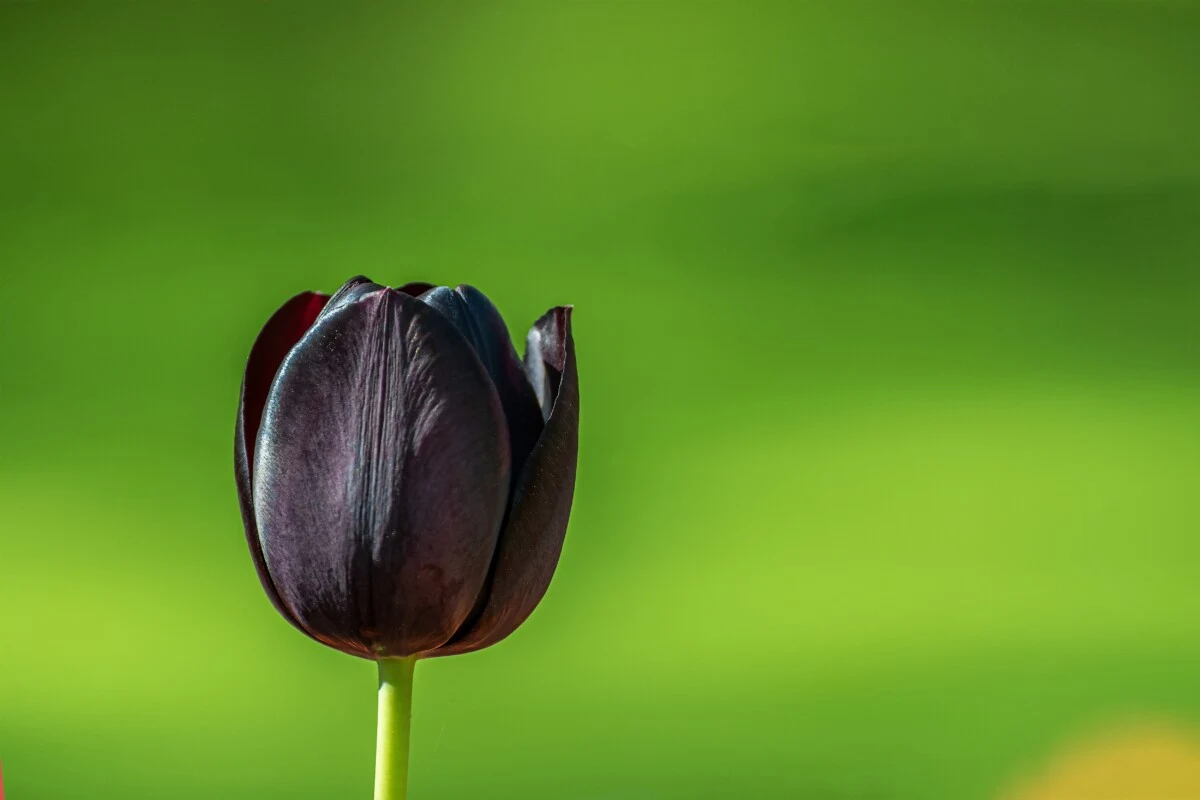
There are so many colors, ranging from silky black to the perfect orange-pink of a sunset to stark white. Tulips can be tall and stately or short and elegant. Petals are soft and matte or shiny like satin; they can even be fringed. You can choose goblet-shaped tulips or tulips that are dainty little cups.
It’s no wonder we bury scads of them in the fall, eager for the riotous display that awaits us the following spring.
But when spring has come and gone, then what?
Unlike their hardier cousins, the daffodil, tulips are notorious for being one-time bloomers. If you want another show-stopping spring, it often means planting new bulbs again in the fall.
Why?
Because the bulbs we planted last fall were bred and selected based on their size. They ended up in the store or your mailbox because they are the chosen ones, fussed over and nurtured and then picked because they’re the most likely to produce flowers.
But after that first season, the plant goes into reproduction mode, and the main bulb creates new, smaller bulbs around itself.
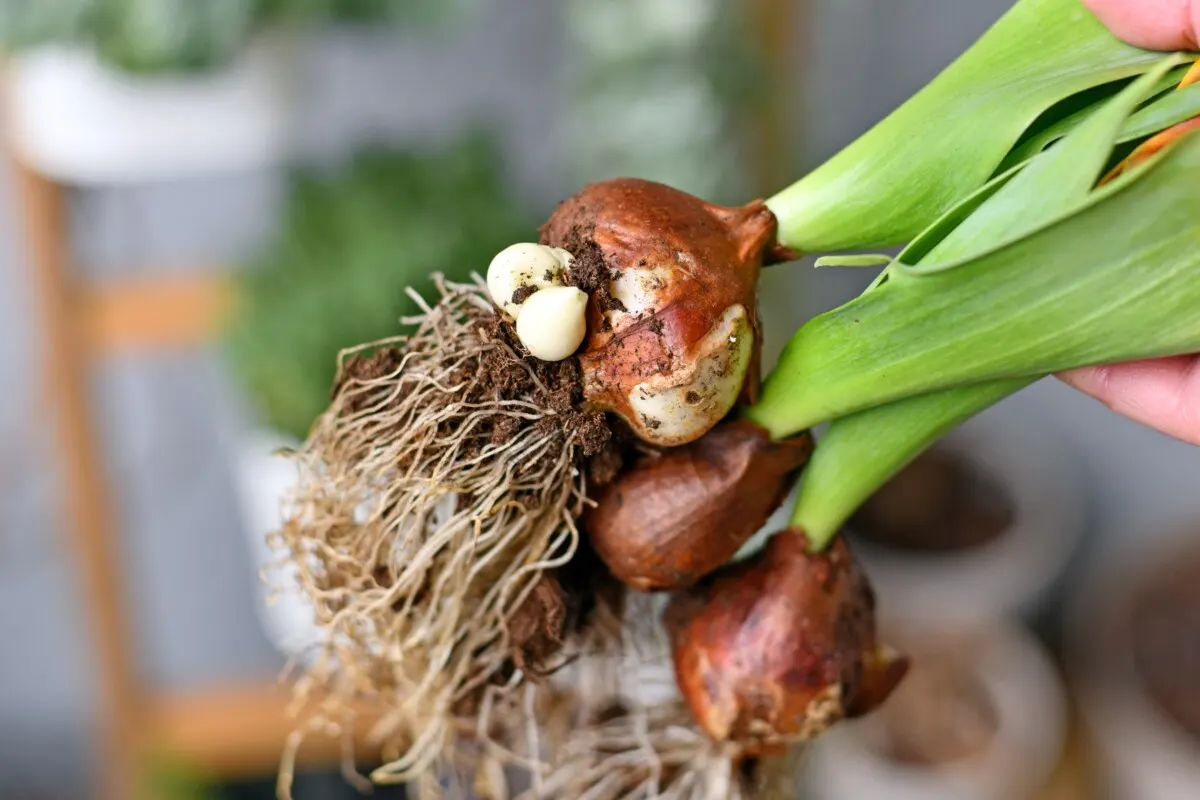
These smaller bulbs aren’t strong enough yet to produce blooms. And at this point, the main bulb is investing its energy in creating new bulbs and storing nutrients for next year’s plant, so it’s also not strong enough to produce the same big flower it did this year.
This is especially true of the hundreds of hybrid tulips. It’s why the prevailing wisdom is to plant new tulip bulbs each fall.
But that’s a lot of work, and it’s pretty darn expensive.
Instead, let’s look at how to care for your tulips to give them the best chance at blooming again the following year.
Tulips Aren’t from the Netherlands

Despite the Netherlands’ notoriety for their exquisite tulips, the flowers originated in the mountains of Central Asia. In their native home, the plants endured frigid winters and the intense heat of an arid summer. After centuries of breeding that allows them to be grown nearly anywhere, tulips are still hardwired to experience a dry summer and cold winter before blooming again in the spring.
Luckily, with a little dirt under our nails, we can replicate this cycle in our backyards. (Or refrigerators.)
Don’t Cut the Leaves, But Do Cut the Flowers
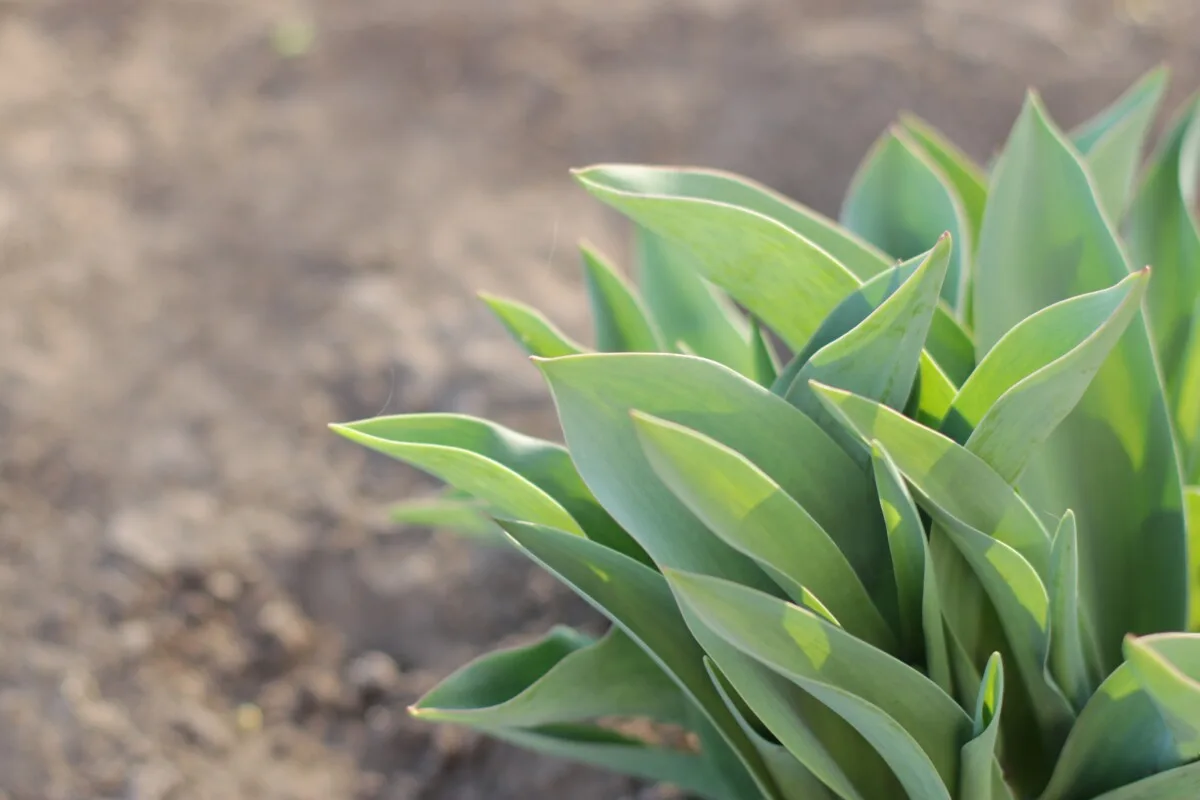
Tulips are bulbiferous geophytes (just like daffodils), meaning they have an underground storage organ – the bulb – that’s used to retain nutrients during a period of dormancy before growing again. The leaves are what the plant uses to make those nutrients through photosynthesis.
If you make the mistake of cutting the leaves once your tulip has finished blooming, you’re depriving it of the energy it will need to survive and bloom again next year. It’s important to let the leaves continue to grow after your tulips have finished blooming. Remember, it’s busy making bulblets and storing energy; it needs all the nutrients it can get for as long as it can get them.
Tulips are gorgeous…until they aren’t.
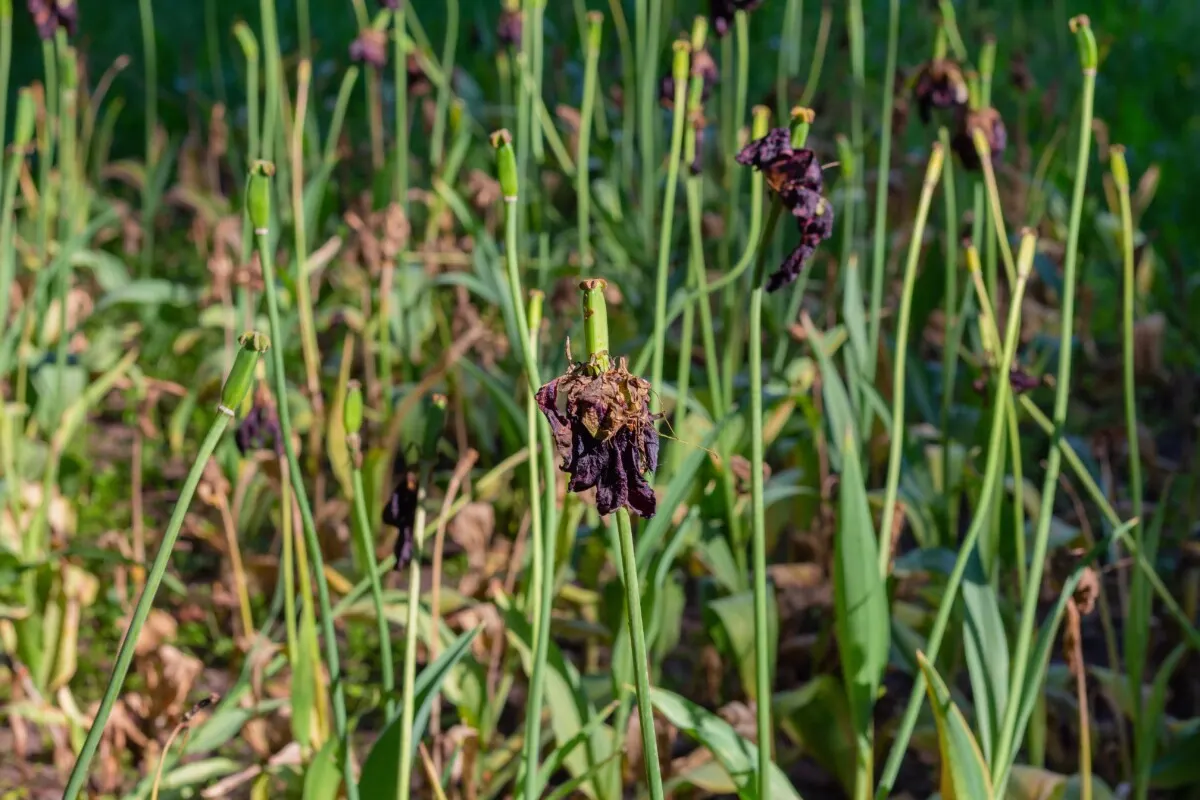
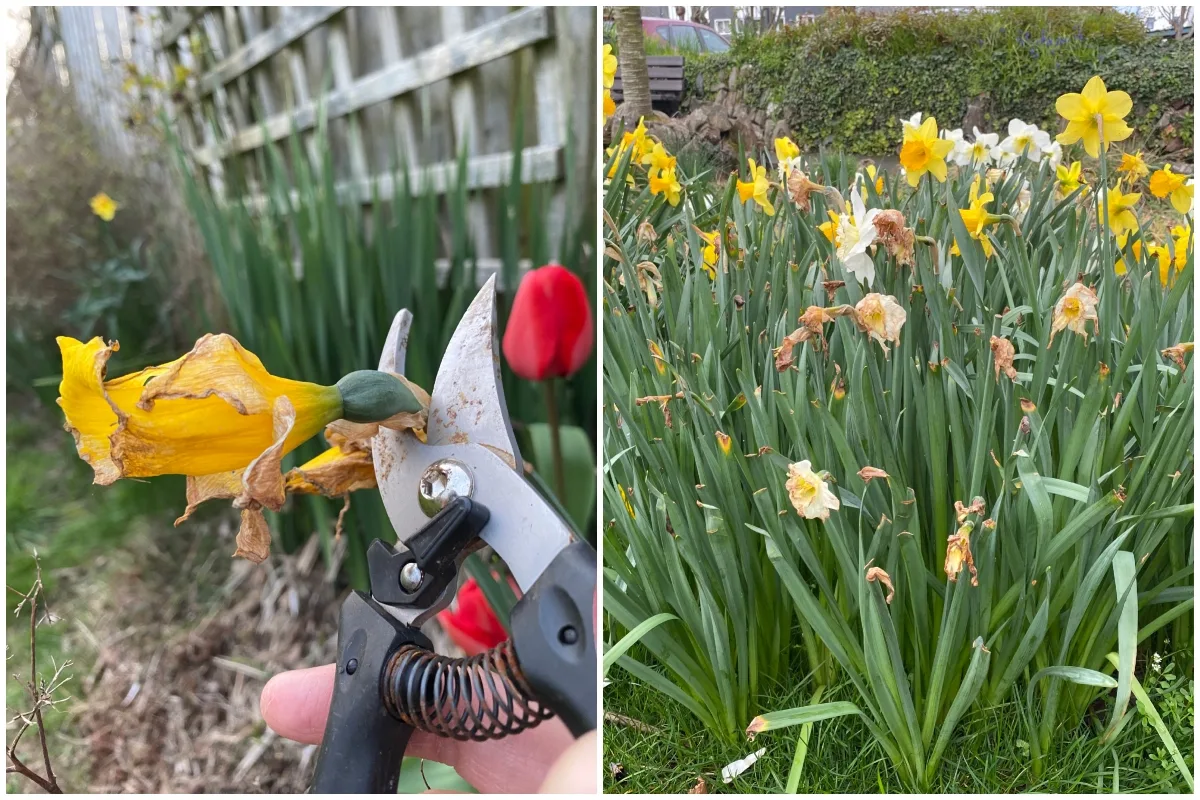
They tend to go from graceful to sad in a matter of days. So, as soon as they’re a bit past their prime, grab your sterilized garden sheers and cut the flowers off a couple of inches down the stem.
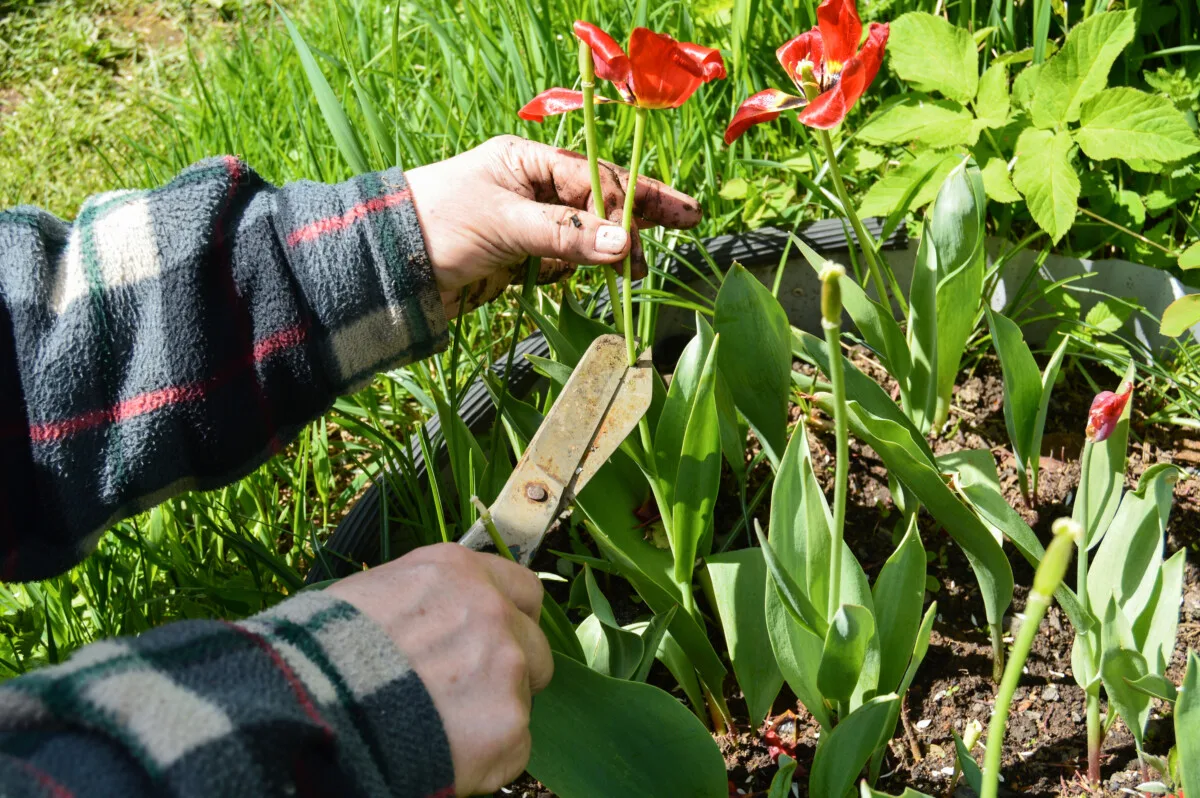
Removing the wilted flower signals to the plant to focus all its energy on making and storing nutrients in the bulb through its leaves.
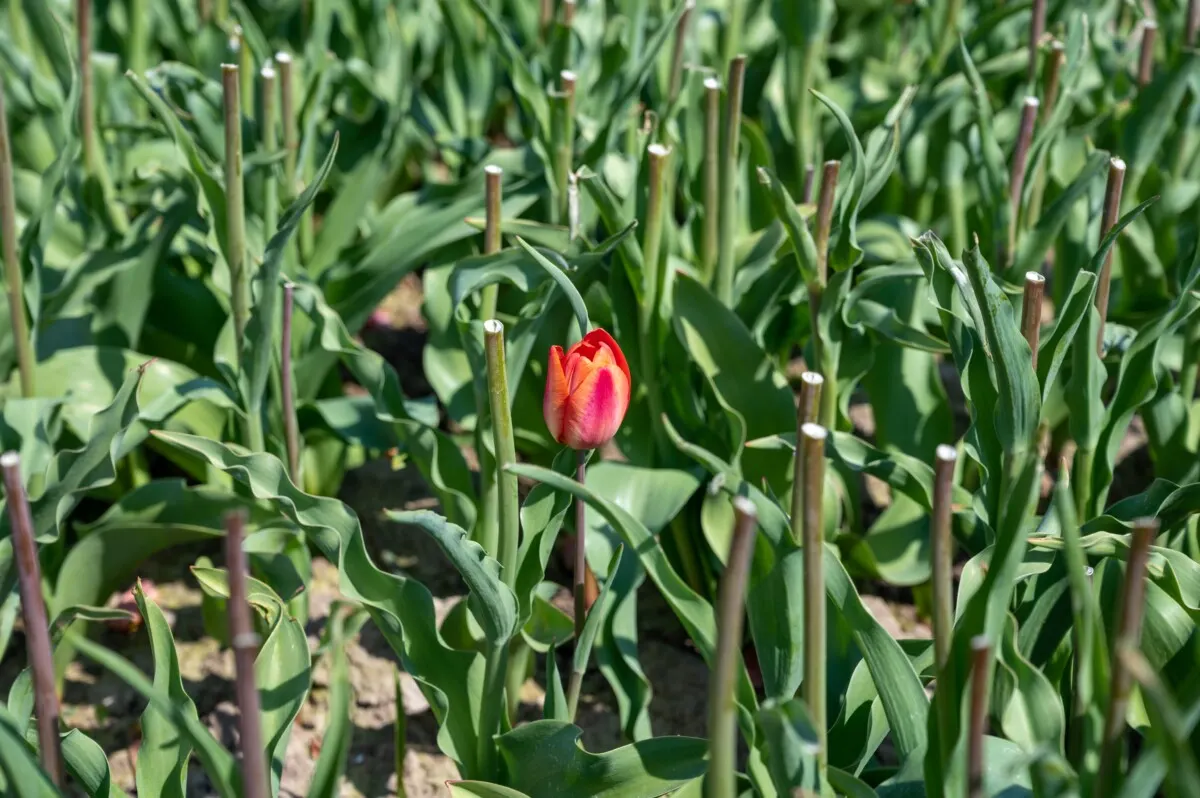
Leave the leaves alone until they dry out and die back, around eight weeks after blooming. For most, that’s sometime near June. The longer the leaves stay green, the more nutrients can be stored in the bulb.
Fertilize Your Tulips for a Bulb-Boost
The first year you plant tulips, you don’t need to fertilize them. Everything they need is already in the bulb. They’re the chosen ones, remember?
But after that first year, it’s a good idea to fertilize your tulips to help rebuild the bulb’s stores. Adding compost to your tulips after you deadhead the blooms is a great way to replenish nutrients. You can also fertilize them with a fertilizer specifically for bulbs (something with a much higher phosphorous content than nitrogen or potassium). Bone meal is great for bulbs.
Do You Need to Dig Up Your Tulips?
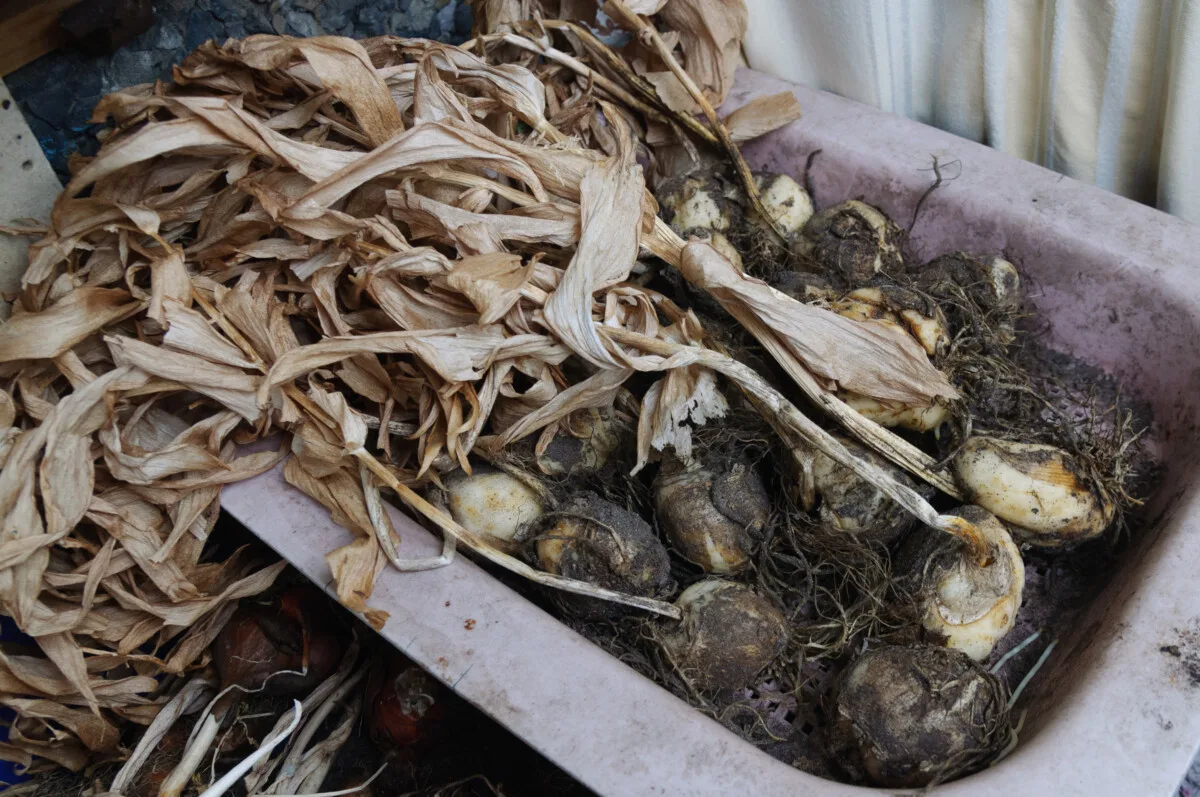
Depending on where you live, you may need to dig up your tulips if you want them to bloom again next spring. In the US, if you live in zones 8 and higher, you will need to dig up your tulips each year, as your winters do not get cold enough to trigger the growth of a flower.
You should only dig up bulbs once the leaves have died off.
Use a garden fork to lift the bulbs from the soil gently. Using a shovel or a trowel often leads to sliced and damaged bulbs.

Place the bulbs on a screen or cardboard somewhere with good airflow and allow the dirt to dry for a couple of hours.
Brush the dirt off the bulb, use sterilized scissors to trim away dead leaves and gently pull off the old roots. Separate any newly formed bulbs from the main bulb.
Return the bulbs to the cardboard or screen and allow them to cure for several days, drying out.
Bulbs must be kept somewhere with a consistent temperature between 35-45 degrees F.
For warm weather areas, this usually means the fridge. Place the bulbs in a paper bag and keep them in the fridge for 10-14 weeks, but no longer.
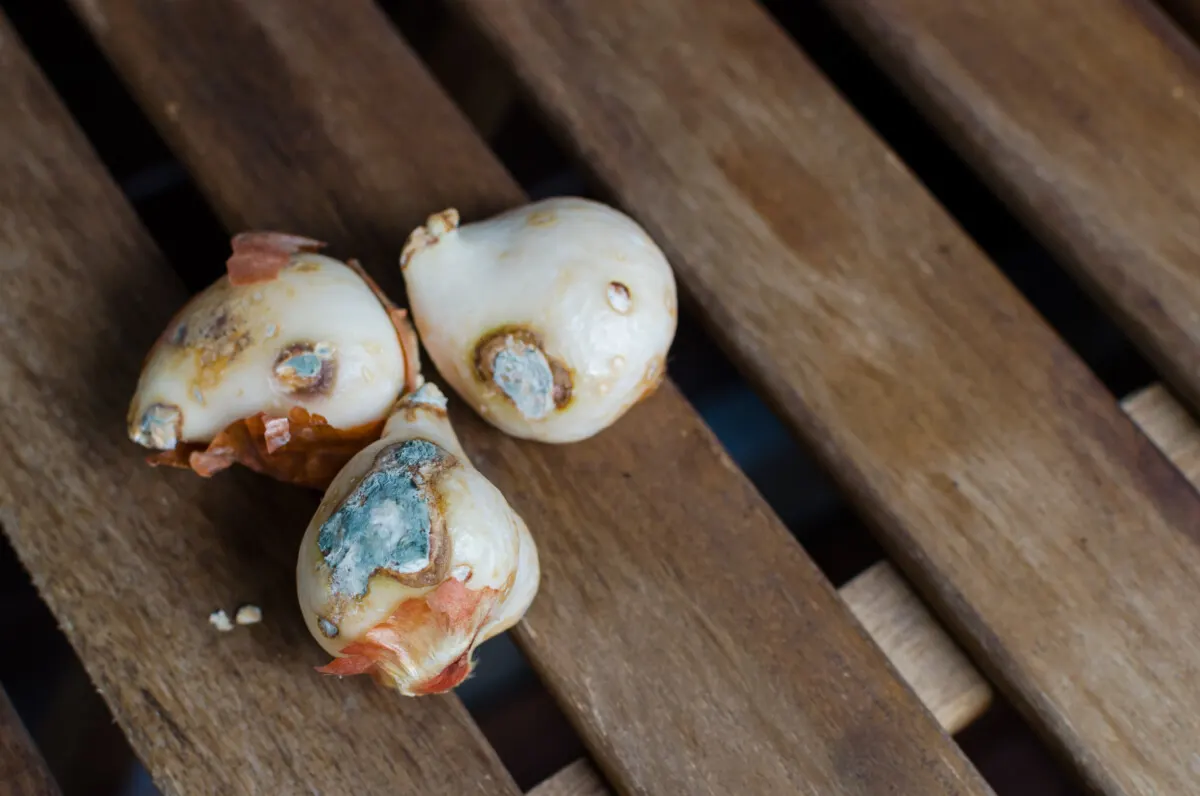
Do not put them in an airtight container, and don’t keep them near fruits in your fridge. Many fruits give off ethylene gas which can rot the bulbs.
Digging up, storing bulbs in the fridge and replanting them each year can be a bit of a hassle, so for those in warmer climes, planting new bulbs each fall is the more convenient choice.
Be Choosy About Your Tulips
Whether digging them up or leaving them in the ground, there are some things to remember if you want tulips that will bloom each year.
- Choose an early blooming variety. Tulips that bloom early have more time to store nutrients before going dormant.
- Plant tulip bulbs a little deeper than most bulbs, four times the bulb height. This protects them better from temperature fluctuations and puts them closer to nutrients stored deeper in the ground.
- Skip the fancy hybrid varieties and choose species-specific tulips (those still have Latin names). These tend to be hardier tulips.
- Tulip bulbs don’t like to be cramped. If you live in a zone that doesn’t require you to dig your bulbs up every year, be sure to dig them up and divide them at least once every three years.
- Also, if you leave your bulbs in the ground during the summer, consider where you decide to plant them. They need at least six hours of sunlight a day and someplace dry during the summer during dormancy.
- Avoid growing thirsty annual flowers overtop your tulips during the summer. The excess water needed to maintain the annual can dimmish your tulip’s flower production.

While tulips are certainly a bit more work than most spring bulbs, the sheer number of different varieties and gorgeous colors make it worthwhile. By properly caring for them once they’ve bloomed, you can set your bulbs up for success next spring.
Read Next:

Get the famous Rural Sprout newsletter delivered to your inbox.
Including Sunday musings from our editor, Tracey, as well as “What’s Up Wednesday” our roundup of what’s in season and new article updates and alerts.


