When life hands you lemons, make lemonade. When tomatoes are ripe and in season – make salsa!
You already know that tomatoes are good for you – they are one of the best sources of lycopene, just as they are an antioxidant-rich food that helps to protect your eyes, bones and skin.
Eat the rainbow and the benefits of consuming tomatoes merge into anti-inflammatory effects.
Keep in mind that over-processing of tomatoes (homogenization, high-heat cooking and the addition of oil) affect the bioavailability of anti-inflammatory nutrients. That’s where lacto-fermentation comes into play, starting with raw fruits and vegetables to create a gut-healthy probiotic-infused foodstuff that fills your body with pure goodness.
Ingredients for fermented salsa
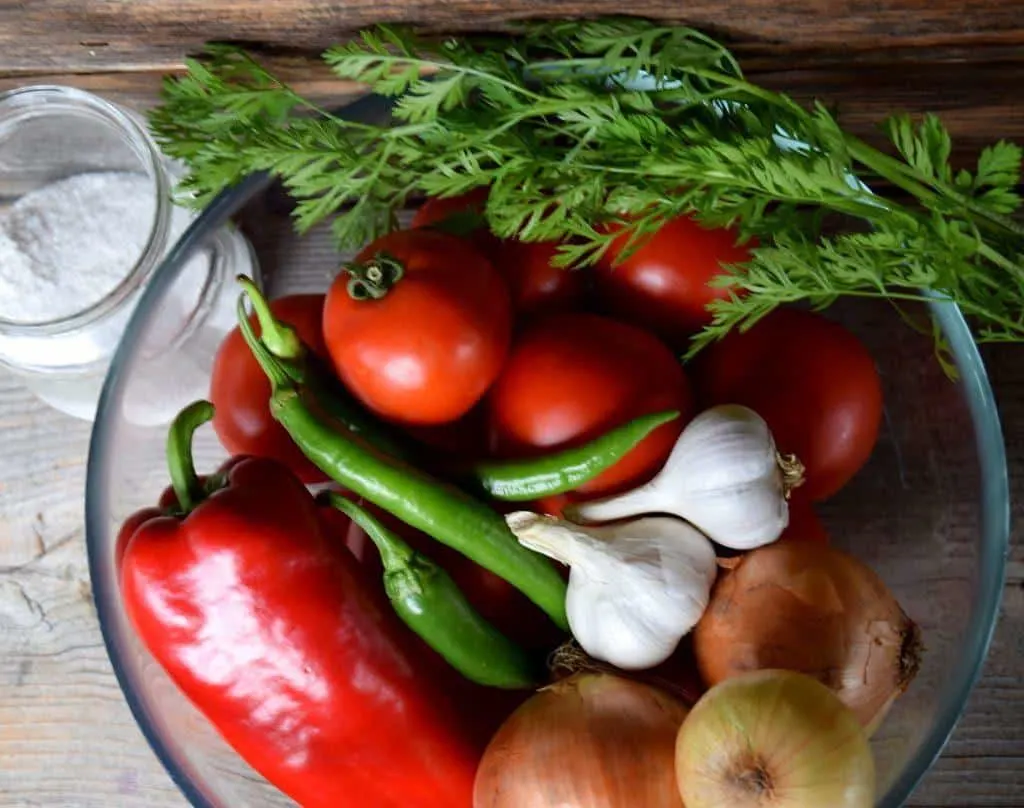
If you happen to have juicy heirloom tomatoes growing in your backyard, then you are in luck!
If you don’t have a garden or if you have had some tomato troubles this year, seek out an interesting variety at a farmers market – who doesn’t love yellow or purple salsa?
Tomatoes, in the color red, are the most commonly grown – if that is what you have, use it. Your salsa is going to turn out fabulous, no matter what variety of tomato you use.
More importantly, be sure to start with crisp, fresh organic vegetables.
Conventional farming produces fruits and vegetables that are grown with various pesticides, some that can even inhibit the growth of beneficial bacteria in your ferments.
Wash your produce well – and never use old, soft vegetables that are more susceptible to mold in the fermentation jar.
To make the wild fermented salsa you will need:
- 3 pounds tomatoes, cored and finely chopped
- 1 or 2 bell peppers, minced
- 2 onions, minced
- 1 head of garlic, minced
- 2 hot peppers, minced
- 1 cup finely chopped cilantro, parsley leaf, or carrot greens
- 2 tbsp. salt
- 1/2 tsp. ground cumin, optional
- 3 tsp. freshly squeezed lime juice, optional
This list of ingredients is just a general guideline. Vary the amounts as you wish, more spice or less, less garlic or more, depending on your family preference. Nevertheless, be sure to fill it with plenty of juicy tomatoes for that perfect salsa consistency.
Rest assured, even choosy eaters will devour this salsa, there is something irresistible about it, but you’ll have to first ferment it to find out what makes it so much better than store-bought.
Instructions for wild fermented salsa
1. Wash tomatoes thoroughly, core and chop into small pieces. You’ll want to save as much juice as possible, so cut them on a flat plate, rather than a cutting board. Set chopped tomatoes aside in a glass, or ceramic bowl.
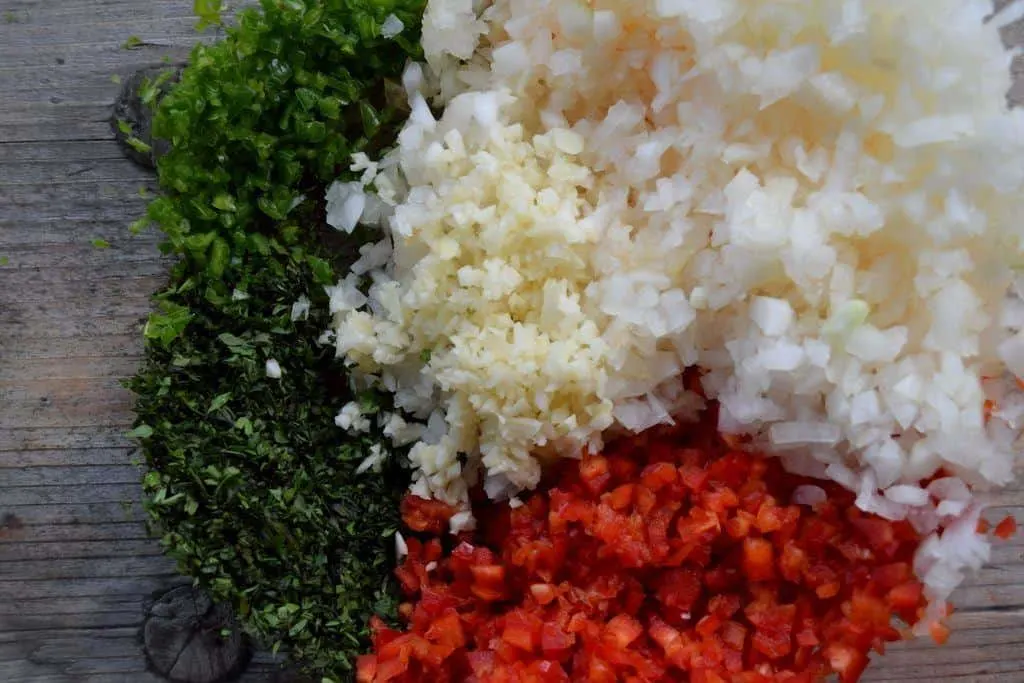
2. Dice your sweet pepper, onions, garlic, cilantro and hot peppers (stems and seeds removed) and add to tomatoes. Alternatively, you can use a food processor to pulse everything together, but there is something to be said for having excellent knives – and the skills to go with them.
3. Add salt and dried cumin (if using), then stir everything together with a metal spoon.
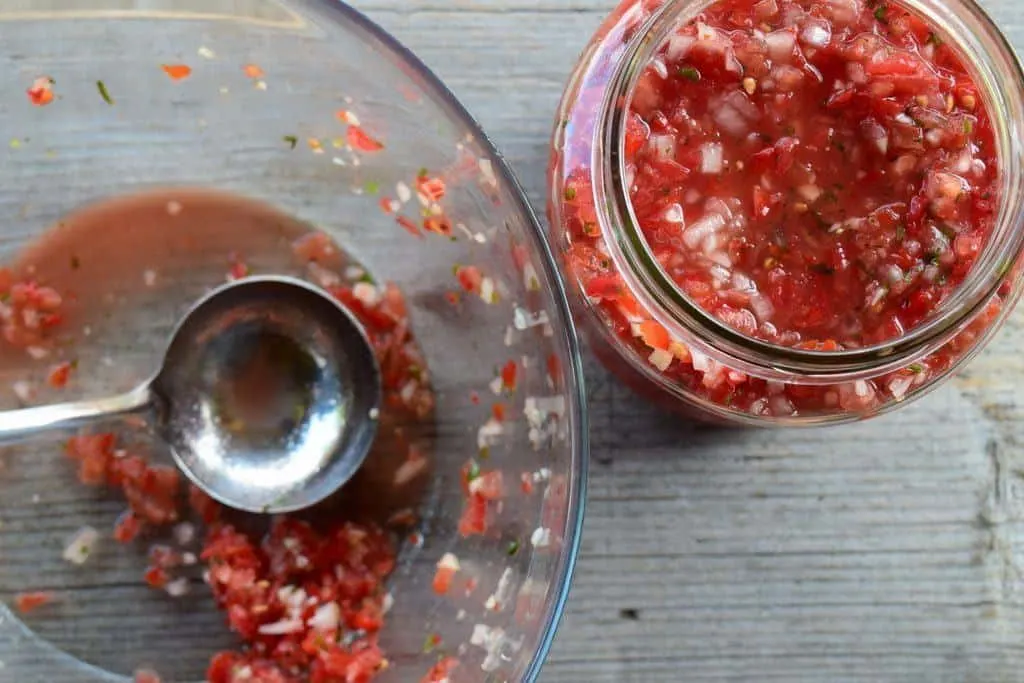
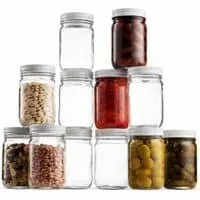
4. Fill salsa into glass jars, or other fermentation vessels. Be sure to push the salsa down to remove all trapped air, and make sure that all vegetable pieces are underneath the liquid. Leave at least one inch of headspace, then add a grape leaf or fermentation weight to keep the solids down.
5. Seal the jars loosely with a lid or cheesecloth. Do not tighten the lid, you must allow the built-up carbon dioxide to escape!
6. The vegetables will separate from the liquid. When this happens, simply stir it with a clean spoon, pushing the solids back down.
7. Allow your wild fermented salsa to sit (out of sunlight) for a few days, in a cool room. Salsa made with whey will ferment faster, in about 2 days, depending on the temperature. Fermented salsa without whey will be ready in 3-5 days. Sample it after the bubbles have stopped and test it for acidity and flavor. When it is to your liking, place it in cold storage, fridge or cellar, to slow down the fermentation.
8. Now it is ready to enjoy with a bowl of tortilla chips or taco salad, serve it on top of your omelette or burger!
How to store your wild fermented salsa
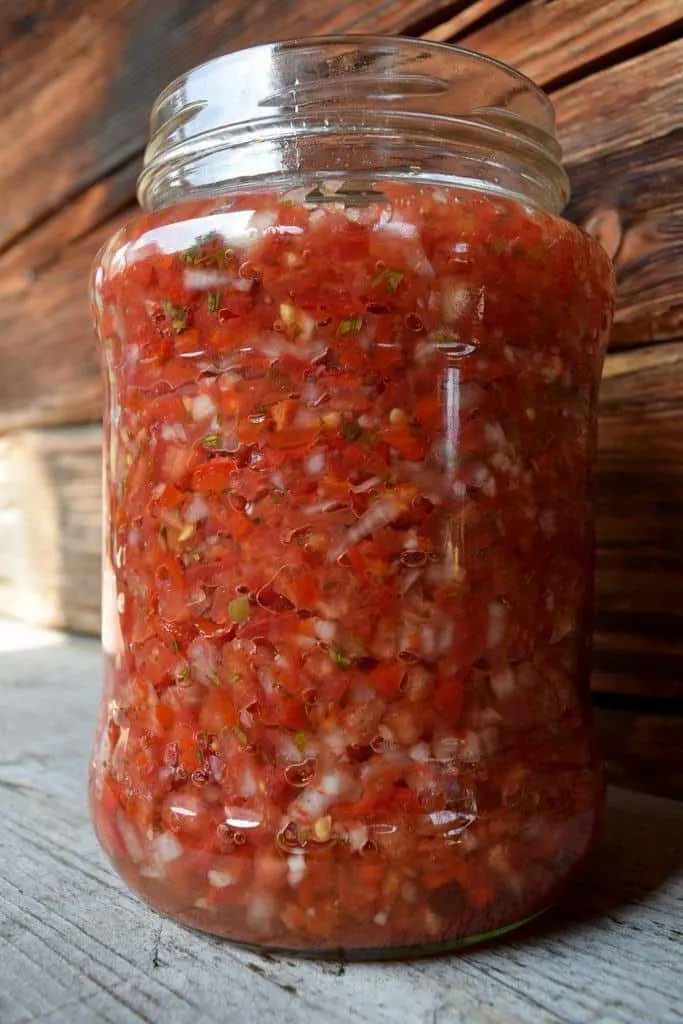
When your salsa is properly fermented, you can store it for several months, even up to a year – if you can refrain from diving into it – in the refrigerator or basement/cellar. The key to longevity is to keep the salsa jar clean, reaching in with a new spoon each and every time you take from it.
Perfecting your salsa-making expertise may take some trial and error as fermenting is a delicate skill to learn. Trust your taste buds to tell you what is right and wrong, and when in doubt, immerse yourself in the subject, watch videos and read plenty of books.
To brush up on your knowledge of lacto-fermentation, we recommend reading The Art of Fermentation by Sandor Katz as well as invaluable information on Cultures for Health.
Whey or whey-free?
Whey has long been used as a starter culture in fermentation, and it does have benefits, when making yogurt for example, but for vegetables whey is not necessary.
It can make for a quicker ferment, or prevent food waste if you are a cheese maker, though it only speeds up the process by a day or two. There is no rush in fermentation, it takes all the time it needs – all you need to do is sit back and allow nature to work for you.
If you are lactose or casein intolerant, that is another good reason to skip this ingredient.
Adding citrus to your naturally fermented salsa
If you’ve been browsing Pinterest for salsa recipes, you have likely found that most of them include lime or lemon juice. You’ll also find that fermented salsa is already more sour than the pre-cooked vinegar based ones you buy from the store, so why bring more acid into the mix?
That being said, it is also another liquid to add to the already juicy tomatoes, and while the juice is nice, nobody likes a mushy tortilla chip.
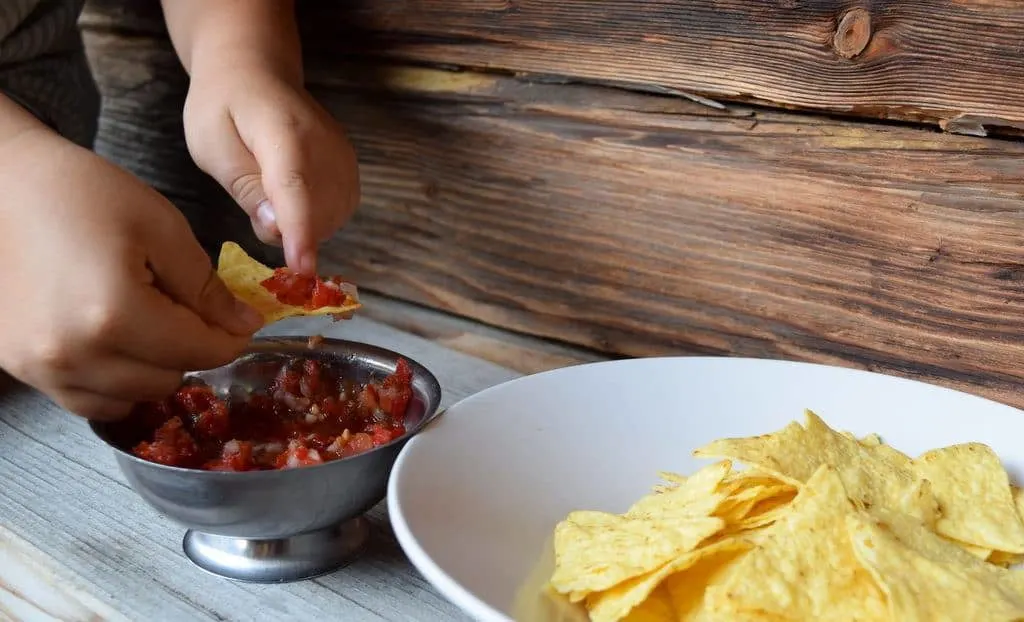
Making your own jar, or multiple jars(!), of wild fermented salsa is so incredibly easy, you’ll begin to wonder why no one has told you about it before.
It is suitable for all vegans, dairy-free and gluten-free lovers of salsa, what’s more, kids like it too.
Go reap the benefits of this delicious probiotic-rich, lacto-fermented salsa and let us know how it goes!
Wild Fermented Salsa Without Whey
When tomatoes are ripe and in season – make salsa!
Ingredients
- 3 pounds tomatoes, cored and finely chopped
- 1 or 2 bell peppers, minced
- 2 onions, minced
- 1 head of garlic, minced
- 2 hot peppers, minced
- 1 cup finely chopped cilantro, parsley leaf, or carrot greens
- 2 tbsp. salt
- 1/2 tsp. ground cumin, optional
- 3 tsp. freshly squeezed lime juice, optional
Instructions
1. Wash tomatoes thoroughly, core and chop into small pieces. You’ll want to save as much juice as possible, so cut them on a flat plate, rather than a cutting board. Set chopped tomatoes aside in a glass, or ceramic bowl.
2. Dice your sweet pepper, onions, garlic, cilantro and hot peppers (stems and seeds removed) and add to tomatoes. Alternatively, you can use a food processor to pulse everything together, but there is something to be said for having excellent knives – and the skills to go with them.
3. Add salt and dried cumin (if using), then stir everything together with a metal spoon.
4. Fill salsa into glass jars, or other fermentation vessels. Be sure to push the salsa down to remove all trapped air, and make sure that all vegetable pieces are underneath the liquid. Leave at least one inch of headspace, then add a grape leaf or fermentation weight to keep the solids down.
5. Seal the jars loosely with a lid or cheesecloth. Do not tighten the lid, you must allow the built-up carbon dioxide to escape!
6. The vegetables will separate from the liquid. When this happens, simply stir it with a clean spoon, pushing the solids back down.
7. Allow your wild fermented salsa to sit (out of sunlight) for a few days, in a cool room. Salsa made with whey will ferment faster, in about 2 days, depending on the temperature. Fermented salsa without whey will be ready in 3-5 days. Sample it after the bubbles have stopped and test it for acidity and flavor. When it is to your liking, place it in cold storage, fridge or cellar, to slow down the fermentation.
8. Now it is ready to enjoy with a bowl of tortilla chips or taco salad, serve it on top of your omelette or burger!
Recommended Products
As an Amazon Associate and member of other affiliate programs, I earn from qualifying purchases.
Pin This To Save For Later
Read Next: How To Make A Wild Yeast Sourdough Starter

Get the famous Rural Sprout newsletter delivered to your inbox.
Including Sunday musings from our editor, Tracey, as well as “What’s Up Wednesday” our roundup of what’s in season and new article updates and alerts.

